If you want to know how to make a home studio in a spare room, the short version is this: clear the room, block the daylight, hang one plain backdrop, and position a single light at about 45 degrees to your subject. One light and one backdrop will carry you through most portrait and interview work. A full afternoon of measuring and moving furniture gets you 90% of the way there.
Most spare bedrooms are between 80 and 140 square feet. That is plenty. Professional studios rent by the hour and run small rooms all day long, so a spare room at home gives you something they cannot: the ability to shoot at 9pm on a Tuesday without a clock ticking.
I work in small rooms almost every week, and the pattern repeats. The studios that produce clean, repeatable images are not the ones with the most gear. They are the ones where somebody measured the space before buying anything and kept it simple afterward.
Below is the process I would follow, in the order I would follow it.
Table of Contents
- What You Need: The Short List Before the Long List
- Step-by-Step: Building Your Home Photography Studio
- Common Mistakes and How to Fix Them
- Frequently Asked Questions
- How big does a spare room need to be for a home photography studio?
- What is the best lighting setup for portraits in a small room?
- Do I need a backdrop to make a home studio in a spare room?
- How can I reduce echo and outside noise in a small studio?
- Can a spare room work for portrait photography without expensive equipment?
- Should I use a permanent room setup or keep my studio mobile?
- Start With One Shoot, Not One Full Kit
What You Need: The Short List Before the Long List
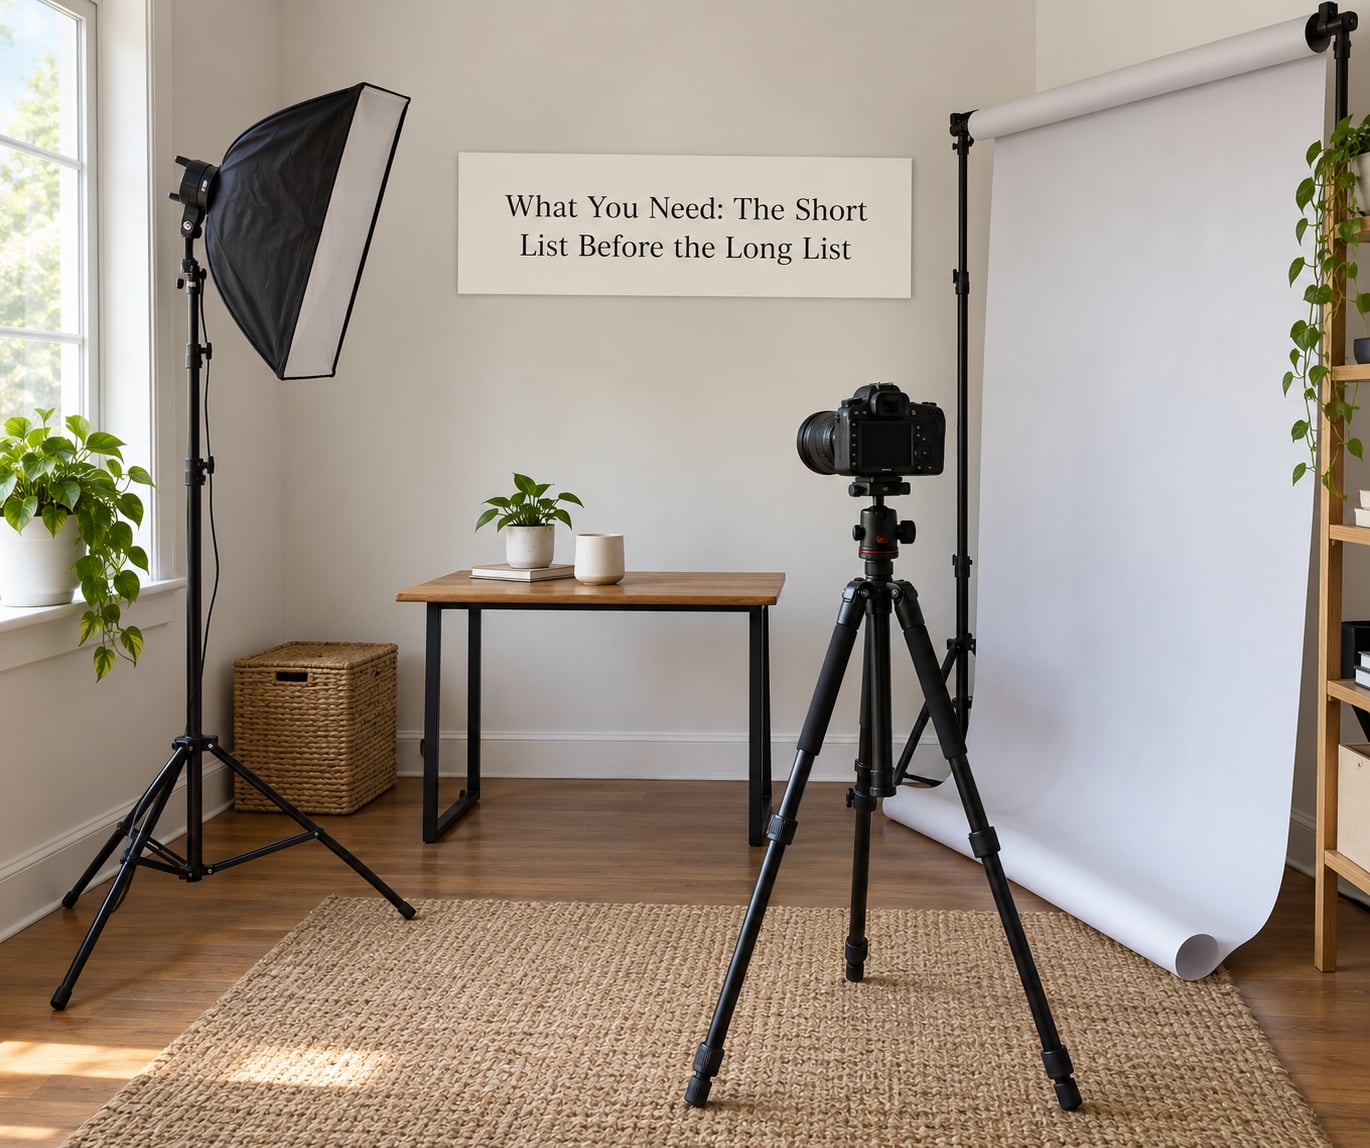
You need far less than the gear lists on the internet suggest. A camera you already own, one light, one modifier, one backdrop and a tripod will let you shoot professional portraits, headshots and talking-head video today.
What to buy first
These five items do most of the work:
- A tripod. A sturdy one with a ball head. Without it your camera moves between frames and every shot becomes a retouch job.
- One light source. A continuous LED panel or monolight gives you live previews and instant feedback, which matters more in a small room than raw power. A speedlight or a strobe costs less and freezes motion, but you lose the live view.
- One modifier. A softbox roughly one to two meters wide softens the light enough for portraits. In tight spaces, one large modifier beats three small ones.
- A reflector. A 5-in-1 reflector or a piece of white foam board bounces light back into the shadow side so you do not need a second light.
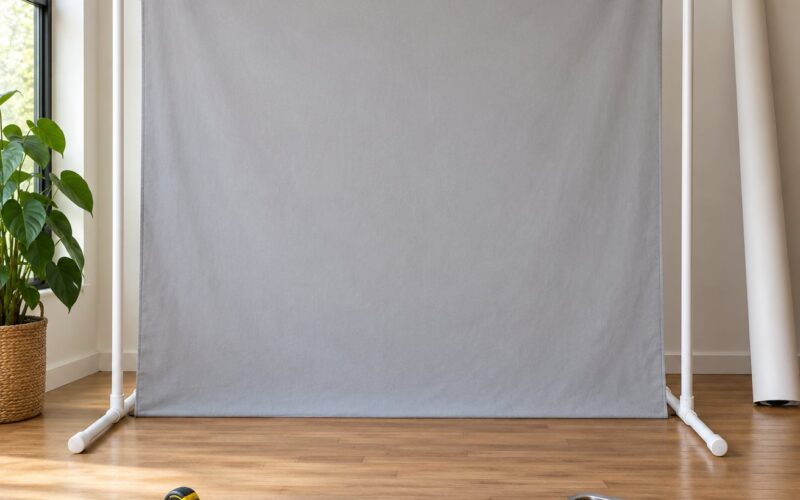
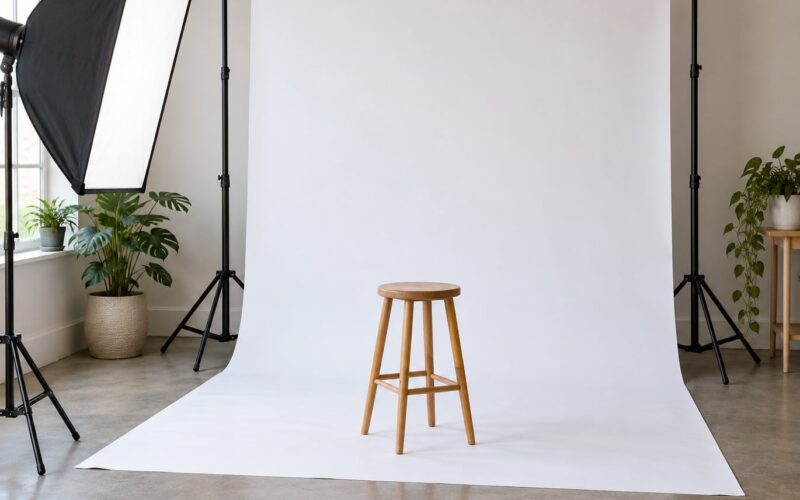
- A backdrop. One roll of seamless paper, one plain painted wall, or a hung fabric sheet. Solid mid-grey or white paper is the most forgiving starting point.
What can wait a few months
Add a second light, sandbags, a trigger, a tethering cable, ceiling mounts and any kind of roller system once the basics are working. People buy stands and backdrops first and never learn to light, which is backwards. The light is the studio.
Safety before aesthetics
Some spare rooms need real work before they need gear. Adding new electrical circuits, moving outlets, or cutting into walls is licensed work in most places, so hire an electrician rather than doing it yourself. Check the circuit a heavy light will share before you plug it in: a continuous LED running near its rated wattage can trip a breaker that also feeds a hair dryer.
Anchor anything mounted high. A backdrop or stand near a low ceiling is only stable if it carries weight on the floor, not if it leans against plasterboard.
Step-by-Step: Building Your Home Photography Studio
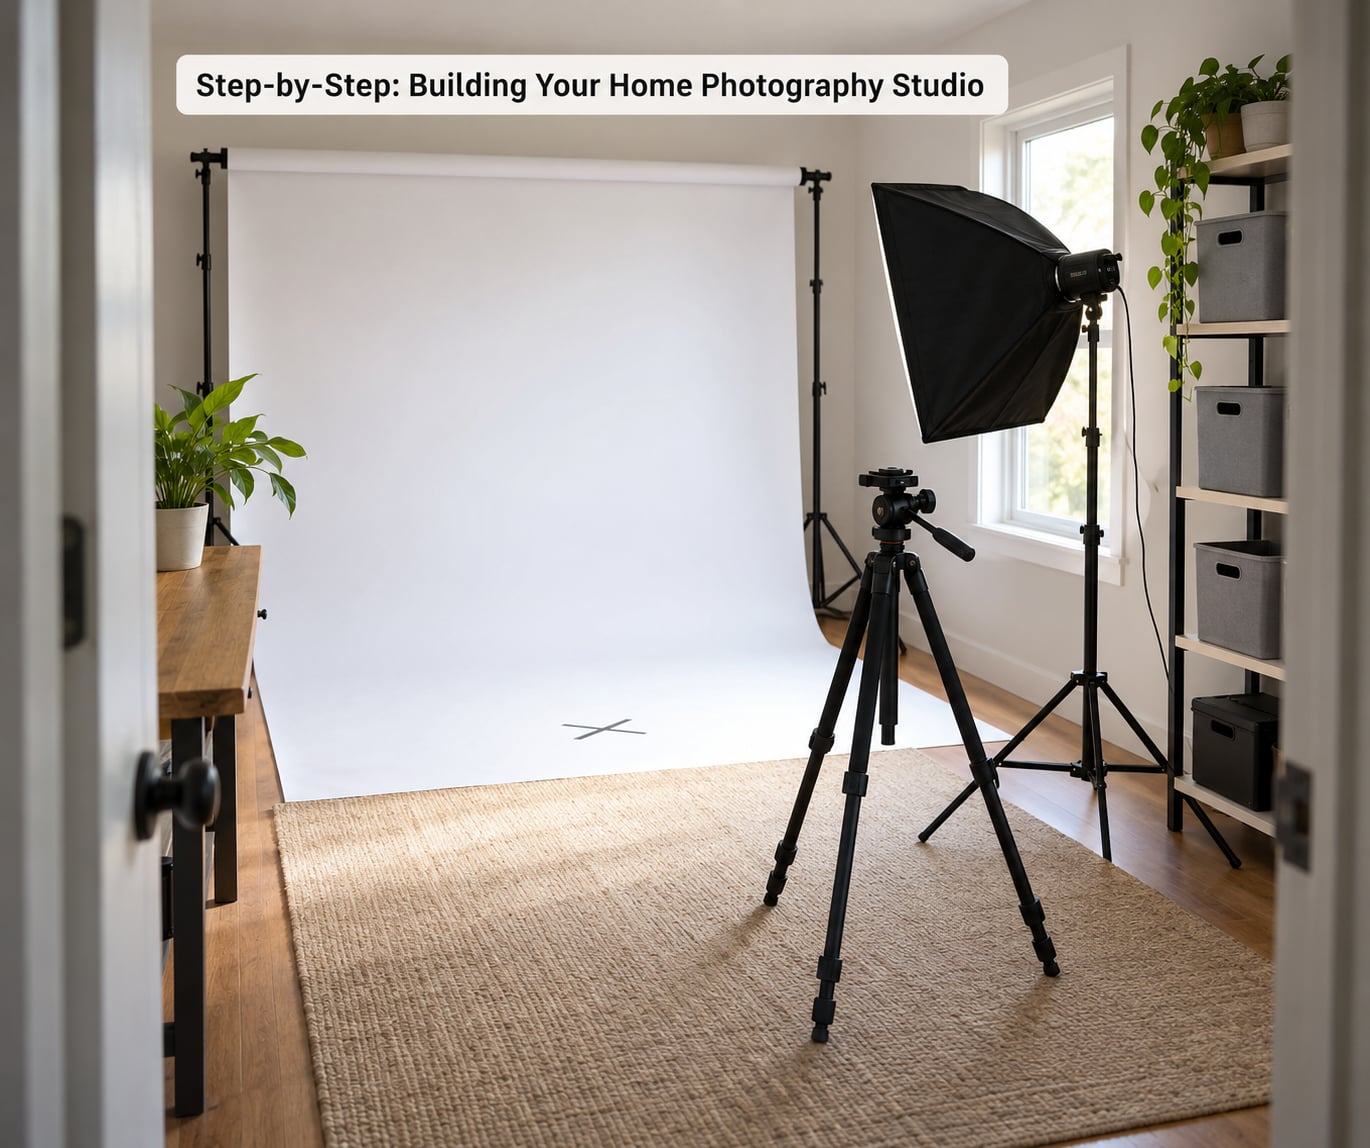
Build in this order: measure, clear, control light, set the camera position, then tidy the workflow. Each stage has a simple check that tells you it worked, and if a check fails you stop rather than move on to the next stage.
Step 1: Measure and Clear the Room
Measure first, and write the numbers down: two wall lengths, ceiling height, window count and locations, and the position of every outlet.
Spare rooms have three specific problems that ruin a layout if you ignore them. A door that swings into the room can block the spot where your subject needs to stand. Closet doors that cannot be removed eat 60 to 90 cm of usable wall. A single HVAC vent pointed at your backdrop moves paper and lifts dust into the frame.
Then clear the room to bare floor. Furniture that stays in the room becomes a reflector you did not choose and a shadow you cannot explain. Most people are shocked at how much bigger a room feels with only a table, a chair and their gear in it.
How to tell it worked: stand where your subject will stand and look toward the camera position. You should see a clear walking route, no door arc crossing your frame, and your backdrop wall in full view.
Step 2: Control Light and Backgrounds
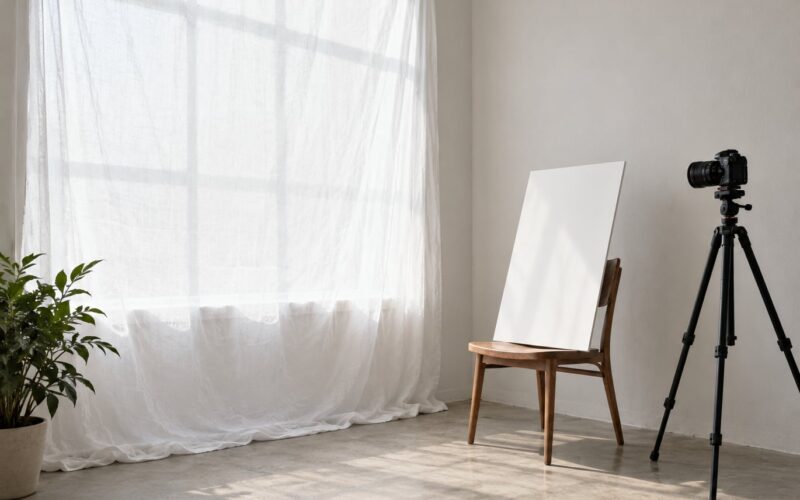
Control the light you did not choose before you add the light you did. That means blackout curtains, a blind, or blackout fabric taped over window frames, and switching off every household source you can reach.
Do a night test. Shoot a grey card and a white sheet at the same settings you plan to use, with every light off. Anything that shows up is contamination: a street lamp through the window, a hallway bulb, a standby light, an adjacent monitor. Fix it before you judge your lighting, or you will spend an evening chasing shadows that were never caused by your flash.
Next, place the backdrop. Paper rolls hung between two stands at the widest part of the room give you a seamless surface with a generous sweep for floor shots. Tension-mounted rolls between the walls let you swap colors in under a minute without moving stands, and they leave no holes in the wall, which matters if you rent.
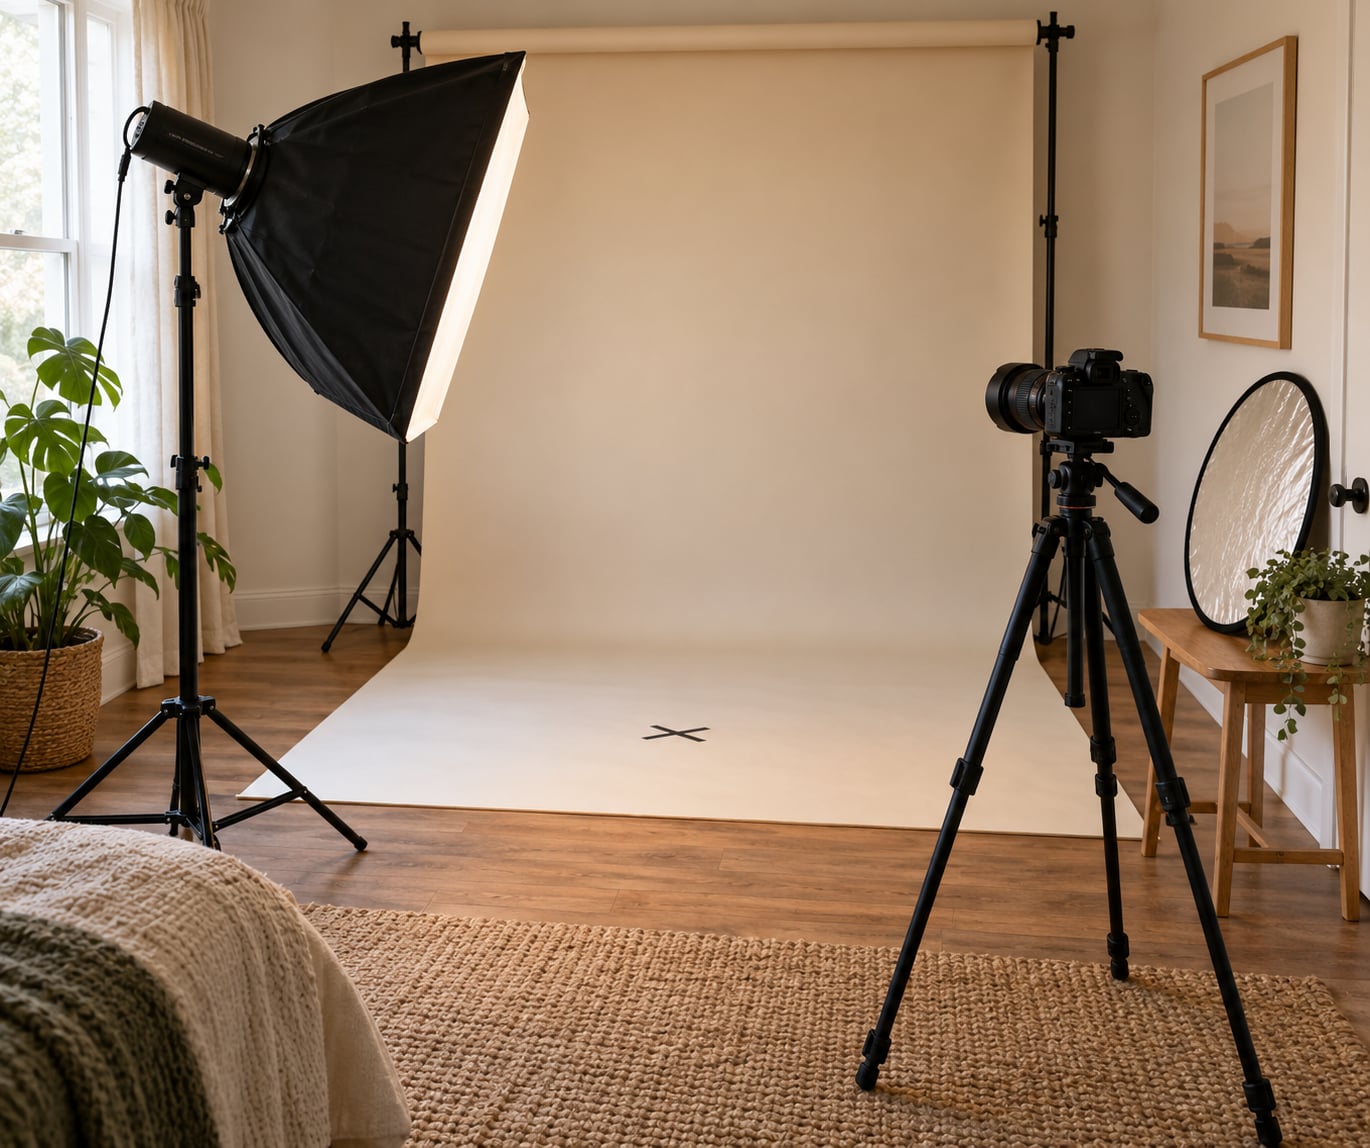
Position your single light at roughly 45 degrees to the subject and slightly above eye level. Closer means softer and less background spill, so in a small room you usually want the stand inside the room rather than pushed through a doorway.
How to tell it worked: take one frame with the subject standing in place. The background should be the same brightness across the frame, and any shadow from the light should fall away from the camera rather than toward it.
Step 3: Set Up the Camera and Subject Area
Mark two spots on the floor with tape: one where the subject stands, one where the tripod goes. Marking them takes 30 seconds and it makes every future session identical, which is what turns a decent portrait into a consistent series.
Set camera height to the subject’s eye level. A shooting position a metre or so below eye level and tilted up distorts faces, which is exactly the look that makes a headshot look amateur.
For portraits, start with your camera’s portrait mode or a wide aperture around f/2.8 to f/4, ISO 100, and a shutter speed fast enough to avoid camera shake or well above your flash sync speed if you are using strobes. White balance stays fixed once set against the grey card, because changing it between shots is how backgrounds end up mismatched in a sequence.
Choose the lens to fit the room, not the other way around. An 85 mm needs roughly 2.5 metres of working distance to frame a head and shoulders, so in a small room you may need a wider lens and to accept the extra distance. A 35 to 50 mm is often the more sensible portrait choice in a spare bedroom.
How to tell it worked: shoot a stand-in at both marked positions and compare. Focus, framing and exposure should match frame to frame with no adjustment.
Step 4: Improve Sound, Storage, and Workflow
Small rooms and bare walls are loud. A hard room adds a flutter echo in about a fifth of a second, which shows up as a metallic ring on video and mud on dialogue.
Cheap fixes work better than expensive ones here. Hang moving blankets or heavy blackout fabric on the wall opposite your shooting position, put a thick rug down, and drape fabric over hard furniture. Soft, irregular surfaces in odd numbers do more than foam panels ever did. If you shoot a lot of video, position your microphone close to the subject and treat the room as secondary.
For storage, a rolling tool cart from a hardware shop beats a purpose-built studio cart. Group gear into zones: one for lighting and stands, one for backgrounds and clamps, one for cables. Sandbags on the base of every stand are close to mandatory in a tight room, because a stand foot near a walking route will get kicked.
Run cables along the wall base or under a mat, never across the walking route. Tape down a cable run to the floor if you shoot video and people will be moving around.
If you plan a dual-purpose room, decide in advance what gets broken down. Stands fold, paper rolls drop, cables coil. Set yourself a fifteen-minute teardown list taped to the wall, and the room converts back into a guest bedroom without an argument.
How to tell it worked: record 15 seconds of room tone and 15 seconds of you speaking from the subject position. If you can hear a long ring after you stop talking, you need more soft surfaces.
Step 5: Test the Studio Before the First Session
Run one complete test the day before a real booking. It takes 20 minutes and it saves the session.
Check exposure on the grey card and confirm the background tone matches what you want. Check focus at the subject position, and check it again from the camera position with the tripod at full height. Confirm the background is the same colour across the frame and that no seam or wrinkle shows behind the head.
Check the white balance by shooting a frame against the grey card and reviewing it at full size. Check audio at the position the subject will actually occupy, not at the desk where you were sitting. Then walk the full route from door to subject spot to back, and fix anything you snag on.
Finally, confirm the room resets: lights off, paper rolled, stands folded, cables coiled.
How to tell it worked: if a client walked in right now, nothing else would have to move before the first frame.
Common Mistakes and How to Fix Them
Five mistakes account for nearly every disappointing first session in a spare room. Each one has a short fix.
Overcrowding the room. A spare room with 90 square feet cannot hold a full light rig. The usual symptom is a stand foot in the edge of the frame or the light bouncing off a wall you did not know was there. Fix: one modifier, one stand, everything else against the wall or outside the room.
Leaving the overhead light on. Ceiling fixtures are the top light nobody controls, and they flatten faces while adding a second shadow under the chin. Fix: switch it off and keep it off during every shoot.
Mounting the backdrop badly. A roll hung too narrow leaves visible edges, and a sagging sweep shows a wrinkle line right where the subject’s shoulders land. Fix: mount wider than you think you need and tension the paper until the sweep is flat.
Adding modifiers before mastering one light. Two small lights at opposite angles give you flatter results than one large source and half the light. Fix: get one source right, then add a second for rim or hair separation.
Running cables across the floor. This is the most common safety problem in home studios and the easiest to fix. Fix: run cables along the base of a wall, cover crossings with a mat, and never daisy-chain extension leads past their rating.
A few extra habits pay off quickly. Vacuum the room before you bring the camera in, since dust on a backdrop is far more visible than dust on a table. Keep a small notebook with the exact camera, light and background settings from the last good session, because you will not remember them a month later. And leave the room slightly darker than you think it should be; fixing shadows afterward costs far more than moving a stand.
Frequently Asked Questions
How big does a spare room need to be for a home photography studio?
Around 80 to 100 square feet is enough for portraits, headshots and product work. You need roughly 2 to 2.5 metres of depth between the backdrop and the camera for a typical portrait, and about 1.5 metres of side space for lights and stands. Below 60 square feet the room works but forces very wide lenses and lights pressed close to the subject.
What is the best lighting setup for portraits in a small room?
One large modifier at roughly 45 degrees to the subject, slightly above eye level, with a reflector or white foam board opposite to fill the shadows. In a small room, a single softbox close to the subject beats two smaller lights because it wraps softer light and spills less onto the background. Add a second light only once the one-light setup is repeatable.
Do I need a backdrop to make a home studio in a spare room?
No, not on day one. A plain painted wall in a neutral tone works fine for headshots and interviews, especially with the camera positioned so the wall is in shadow. Add seamless paper or a hung fabric sheet when you need a clean sweep for full-length portraits or floor-based product shots. Backdrop colour changes are cheap; lighting control is what matters first.
How can I reduce echo and outside noise in a small studio?
Soft, irregular surfaces kill echo better than foam. Hang moving blankets or heavy blackout fabric on the wall opposite the shooting position, add a thick rug, and drape fabric over hard furniture. For outside noise, blackout curtains and a closed door with a draught excluder help more than acoustic panels. If video is a priority, get the microphone close to the subject and treat the room second.
Can a spare room work for portrait photography without expensive equipment?
Yes. A camera you already own, a tripod, one continuous LED panel, one softbox, a reflector and a paper roll covers most portrait and headshot work. Spend first on the tripod and the light, because those two decide sharpness and skin tone. Buy extra lights and modifiers only after you can repeat a good result with one setup.
Should I use a permanent room setup or keep my studio mobile?
Permanent makes sense if the room is no longer a guest bedroom: wall-mounted backdrops and ceiling-anchored stands save time every session. Mobile makes sense if the room still needs to convert back, or if you rent. Tension-mounted backdrop rolls, folding stands, coiled cables and a rolling cart let you reset a room in about fifteen minutes without drilling anything.
Start With One Shoot, Not One Full Kit
If you do one thing this week, measure the room and write down the wall lengths, ceiling height and outlet positions. Everything else in how to make a home studio in a spare room follows from those numbers, and a set of lights chosen before the measuring tape came out is usually the wrong size for the room you actually have.