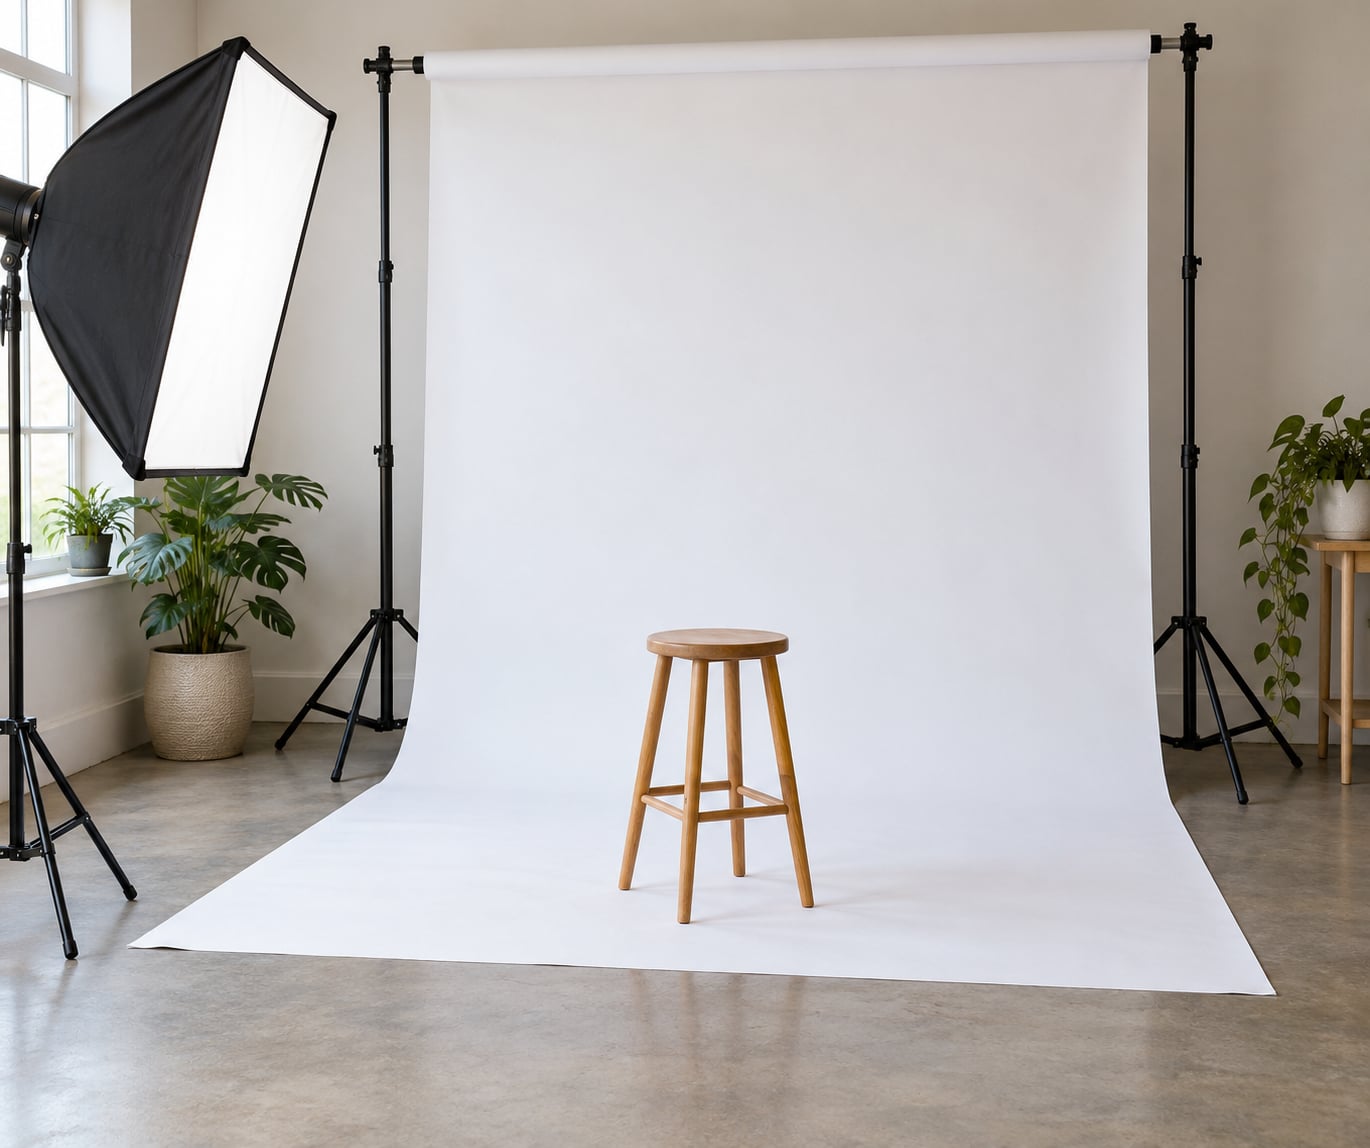
The fastest way to hang a paper backdrop at home is to rest the roll on a support bar that is at least as wide as the roll, unroll it to the floor, clamp the edges so it cannot travel further, and let the paper curve toward you where it meets the floor. That curve is the sweep, and it is what makes the background look like one continuous surface instead of a sheet taped to a wall. The whole job takes about 20 minutes once you have the hardware.
Paper is unforgiving. Every crease, dent and curl you leave in it shows up on camera, which is why the hang matters more than the camera body. Get the support level, keep the tension even, and the paper will do most of the work for you.
Table of Contents
- What You Need
- Step-by-Step: How to Hang a Paper Backdrop at Home
- Common Mistakes
- Frequently Asked Questions
- Do I need a backdrop frame to hang a paper backdrop at home?
- How do I stop a paper backdrop from wrinkling while it hangs?
- Should a paper backdrop touch the floor?
- Can I reuse a paper backdrop after a photo session?
- How can I hang a paper backdrop in a small room?
- What is the best way to keep a paper backdrop straight?
- Conclusion
What You Need
You can hang a backdrop with a proper background system, or with a length of dowel or PVC pipe on a wall. Most people use one of three things: two light stands with a crossbar, a wooden dowel screwed to the wall, or a rope-and-pulley drop from the ceiling. All three hold a paper roll fine, as long as the bar is at least as wide as the roll is long.
- A paper roll. Common widths are 26 in. x 36 ft, 53 in. x 36 ft and 107 in. x 36 ft. Pick the narrow roll for headshots and tabletop work, and the wide roll if you shoot full-length or small groups.
- A support bar. A crossbar between two light stands, a 1 to 2 inch diameter wooden dowel, or PVC pipe with end caps.
- Clamps. Two or more heavy clamps hold the paper edges in place. Weighty hardware-store clamps work better than small spring clips.
- Gaffers tape. For the floor edge and for any wall contact you do not want to clamp.
- A tape measure and a small level. A spirit level matters more than it sounds.
- A step ladder, scissors and a box cutter. Trim with the box cutter, never with scissors, which leave a jagged edge.
- Optional weights. Sandbags or spare sand on stand legs stop a loaded crossbar from walking sideways.
On paper width, work backwards from your framing. A 26 in. roll works for head and shoulders. A 53 in. roll gives a three-quarter length portrait room to breathe. A 107 in. roll lets you shoot a full body without the camera seeing the edge of the background, which happens fast if you frame wide.
If you rent, or your room has no floor space, skip the stands. A dowel mounted on drywall anchors or a ceiling pulley rig takes less room and leaves nothing on the floor for you to trip over.
Step-by-Step: How to Hang a Paper Backdrop at Home
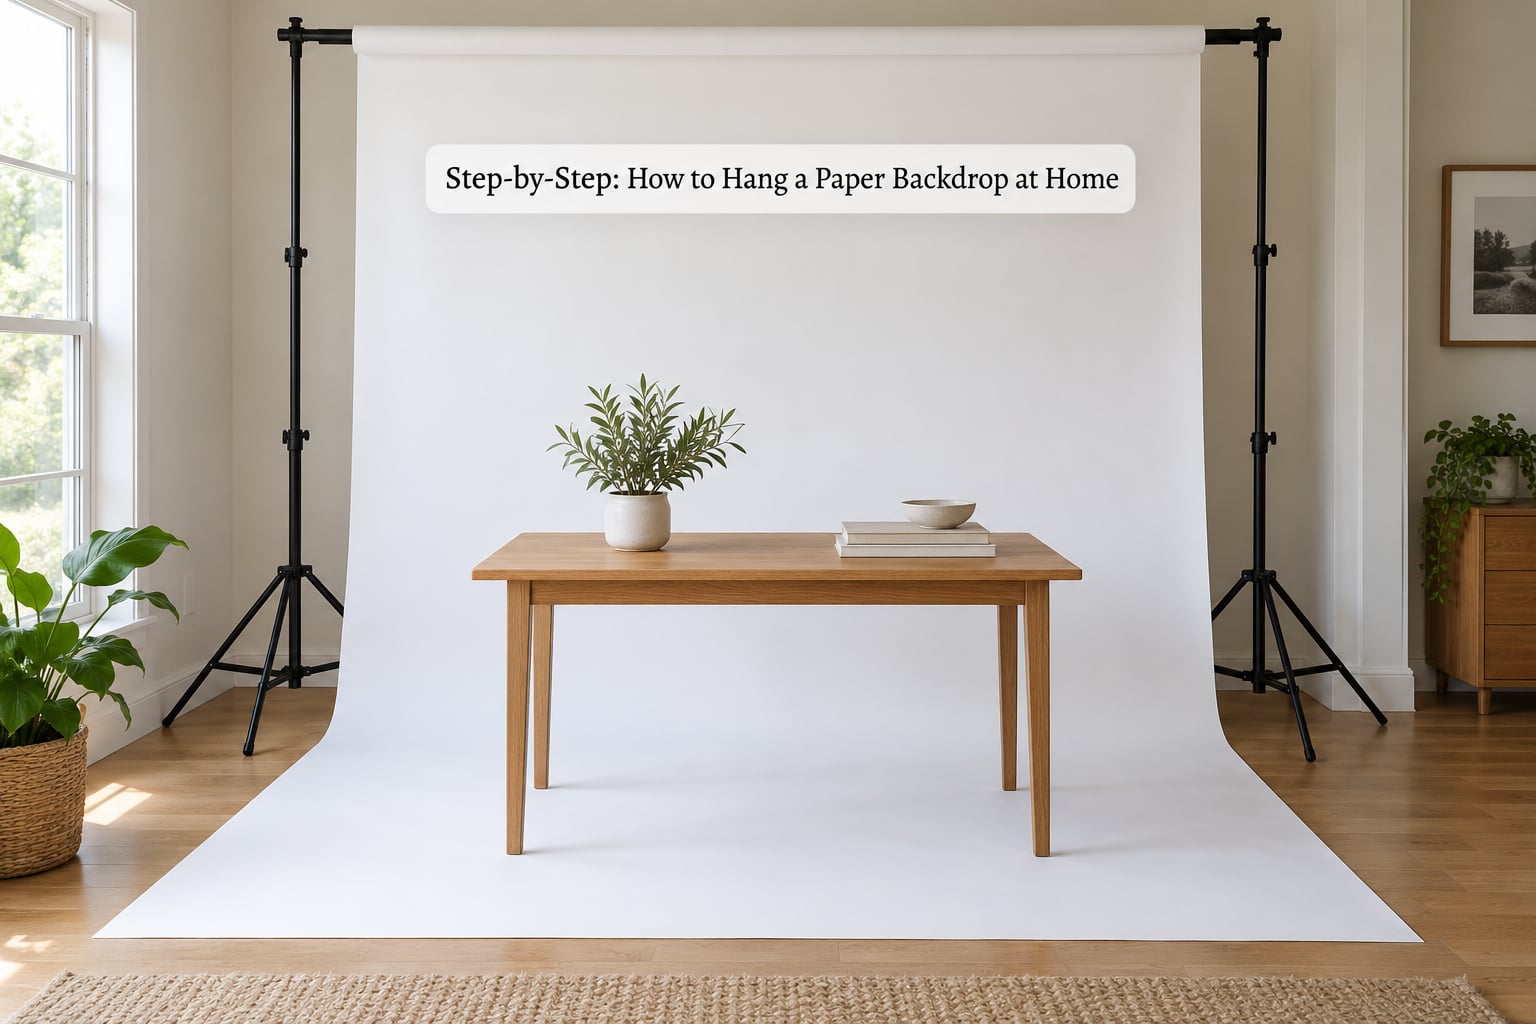
The goal is a centred, evenly tensioned sheet that reaches the floor and curves toward the camera without twisting, buckling or sagging. Work in the order below and check each step before moving on, because a mistake early on becomes a problem later.
Step 1: Measure the Room and Position the Support
Measure the wall and the shooting area before you move anything. Set the two supports far enough apart that the bar is at least a few inches wider than the roll on each side, so the paper cannot slide off an end. Position the whole rig away from strong side light, since a bare bulb or window to one side throws a shadow of the stand onto the paper.
You will know it is placed correctly when the camera at its shooting angle sees paper on both sides of the subject with margin to spare.
Step 2: Secure the Crossbar or Frame
Assemble the stands, drop them into the spreader bars and set the height first, then fit the crossbar between them. Check for wobble by pushing the bar gently in the middle; if it moves, tighten the riser collars and add sand to the legs. Put the level on top of the bar and adjust until the bubble sits in the middle.
Skip wobbly tables, chairs and doorframes as supports. They shift mid-session, and a bar that bows a few inches in the middle will print that bow as a curve in your background. If you are working at height, have someone steady the ladder or the stand while you clamp.
Step 3: How to Hang a Paper Backdrop on the Support
Open the roll carefully over a clear floor, because paper tears and picks up dust quickly. Rest the roll on top of the crossbar with the coloured or printed side facing the subject. Centre the roll so an equal length hangs on each side of the bar, then clamp it loosely at two or three evenly spaced points.
Use temporary clamps at this stage. You will be re-positioning them as the paper comes down, and clamps that are too tight at the start leave pinch marks in the sheet.
Step 4: Tension and Shape the Paper
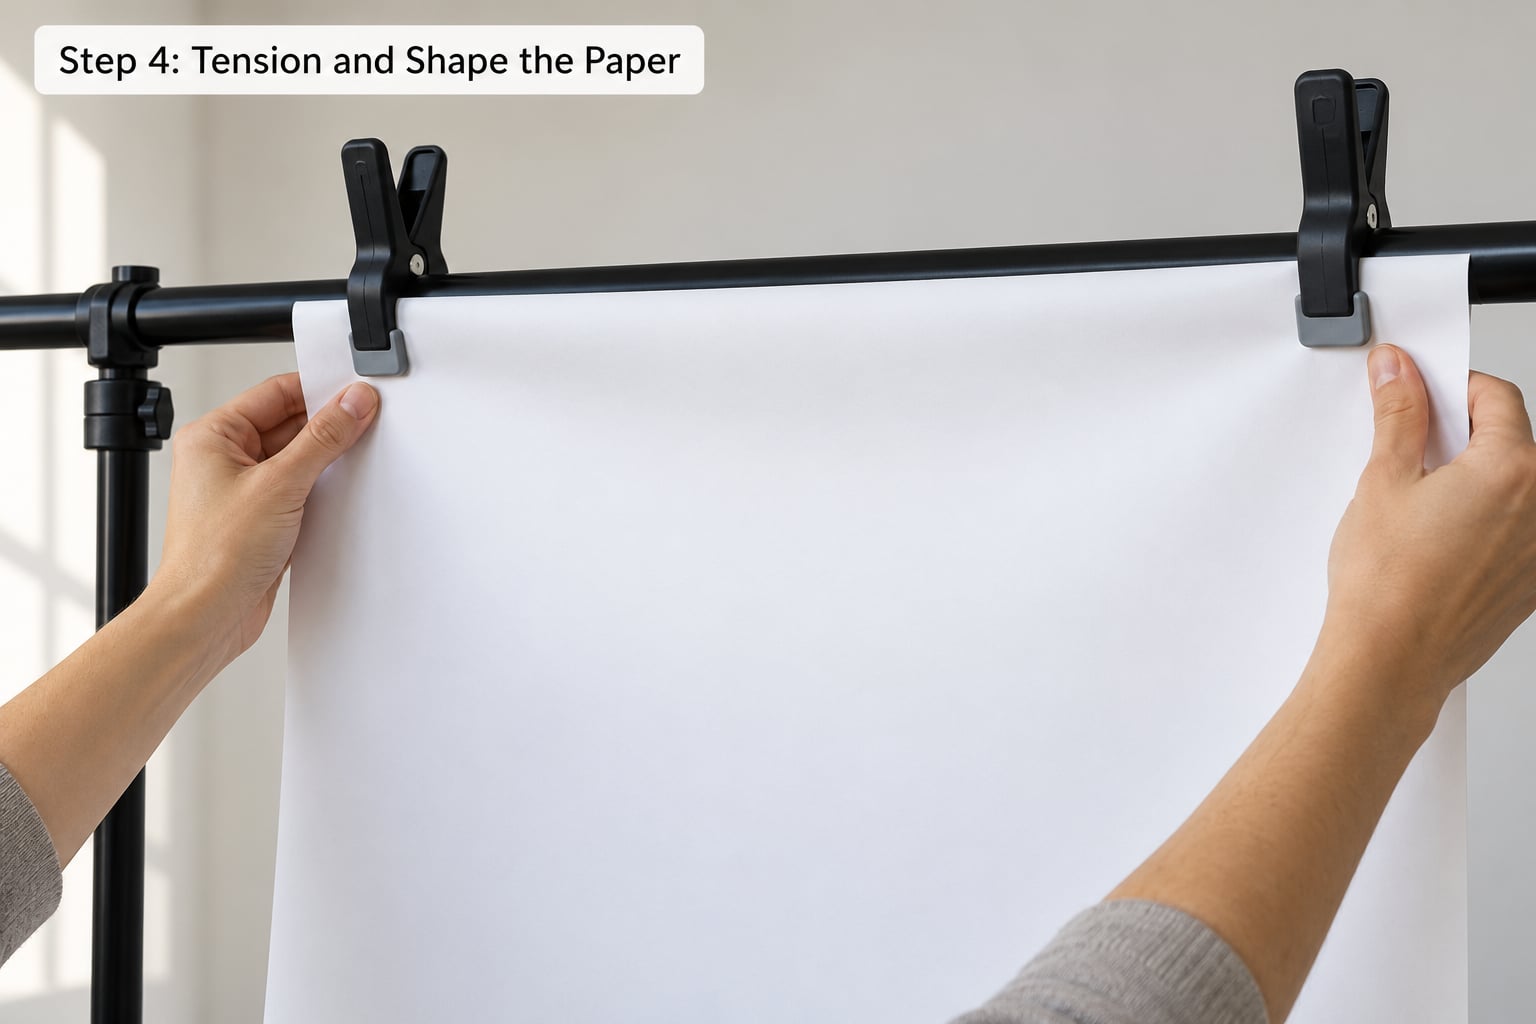
Unroll the paper a hand’s width at a time and work from the centre outward. Keep the top edge level with the bar as you go, and pull gently at the sides rather than tugging down hard. Large folds usually come out by pulling gently on the lower corners and letting the sheet find its own hang.
Leave a little slack. Paper pulled drum tight develops vertical ripples that no amount of smoothing will fix, and it will curl more at the floor. Smooth the face with flat hands from the top down, working any air pocket out toward the edges.
Step 5: Trim and Create the Floor Sweep
Only cut once the paper hangs correctly. Trim the excess from each side with a box cutter held against a straight edge, cutting away from your body. Then shape the floor line with a broad, gentle curve that runs from the back of the wall toward the camera, rather than a hard crease at the join.
If you have furniture in the way, such as a credenza or a table you cannot move, cut the paper just above the surface and tape the bottom edge down. That loses the sweep but keeps the background clean, which matters more than a perfect curve. Check from your actual camera position that no support or clamp shows in frame.
Step 6: Test the Setup Before Shooting
Shoot one test frame from the exact position and height you plan to use. Look at the top edge for a straight line, look at the floor for a crease or a bright reflective patch, and look at the sides for clamps or a stand leg intruding.
A test frame with the lights off catches every dent in the paper, which is exactly what you want to catch before the subject arrives. Fix what it shows you, then take one more test with your normal lighting to check for shadows cast onto the paper.
Common Mistakes
Over-tightening the paper. Drum-tight paper ripples and curls more than loose paper. Pull until the sheet looks flat and stop there.
Support heights that do not match. A bar tilted a few degrees prints as a slanted top edge in every frame. Level it before you unroll.
Cutting too early. Trim after the hang is straight, never before. Paper cut while twisted stays twisted.
A sharp fold where the paper hits the floor. This is the most reported mistake on photography forums. Sweep the curve gently and hold it in place with tape or a hidden weight.
Light clamps. Small spring clips can slide down the paper under its own weight and take the sweep with them. Weighty clamps hold better.
Testing only from directly in front. Move to your real camera position. A paper edge that looks fine head-on often shows at a 45 degree angle.
Assuming a stand system is required. A dowel on a wall or a pulley drop from the ceiling works in rooms where two stands will not fit.
A short checklist before you start: measure twice, level the bar once, keep tension even from the centre out, and take a test frame with the lights off. Those four things fix most of what people dislike about a paper background.
Frequently Asked Questions
Do I need a backdrop frame to hang a paper backdrop at home?
No. A frame is convenient, not required. A 1 to 2 inch diameter wooden dowel or a length of PVC pipe mounted on drywall anchors works just as well, and a rope-and-pulley rig hung from the ceiling takes no floor space at all. Whichever you choose, the bar must be at least as wide as the paper roll and mounted level, or the background will bow and the top edge will sit crooked.
How do I stop a paper backdrop from wrinkling while it hangs?
Unroll it slowly, work from the centre outward, and smooth with flat hands instead of pulling hard at the edges. Wrinkles come from uneven tension, not from the paper itself, so keep both sides coming down at the same rate. If a fold persists, pull gently on the lower corners until the air moves, then let the sheet settle on its own. Over-tightening causes ripples of its own.
Should a paper backdrop touch the floor?
Yes, if you want the seamless sweep that makes a background look infinite. Run the paper past the join between wall and floor and curve it gently toward the camera, then hold the curve with tape or a small weight. Avoid a hard crease at the join. Where furniture blocks the floor, cut above the surface and tape the edge down instead, and accept losing the sweep.
Can I reuse a paper backdrop after a photo session?
Usually, yes. Roll it back up loosely first, then re-roll it tightly around the original core so the next hang unrolls flat. Store the roll upright rather than on its side, and keep it somewhere with steady temperature and humidity, since mid and dark colours can pucker when conditions swing. Paper with creases from a sharp floor fold usually relaxes after a day or two rolled up.
How can I hang a paper backdrop in a small room?
Pick a narrow roll and mount it on a wall instead of on stands. A 26 in. wide roll suits headshots and tabletop work in a room where two stands would eat the floor space. Mount a dowel or PVC pipe on drywall anchors above the furniture, and tape the bottom edge down if the floor is blocked. Keeping the rig against the wall also leaves the rest of the room free to move around in.
What is the best way to keep a paper backdrop straight?
Keep it level and tensioned evenly from the centre out. Set the bar on a level before unrolling, use clamps at several evenly spaced points rather than one at each end, and smooth the paper downward with flat hands. Weighty clamps help because they resist the paper sliding down under its own weight. Check the result from your real camera position, since paper often looks straight head-on but not from an angle.
Conclusion
Start by measuring the wall and the shooting area, then level the supports before the paper goes anywhere near them. Once the bar sits straight, unroll from the centre out, keep the tension even, curve the paper into the floor and take one test frame from your real camera position. That last habit catches the wrinkles while fixing them still costs nothing.