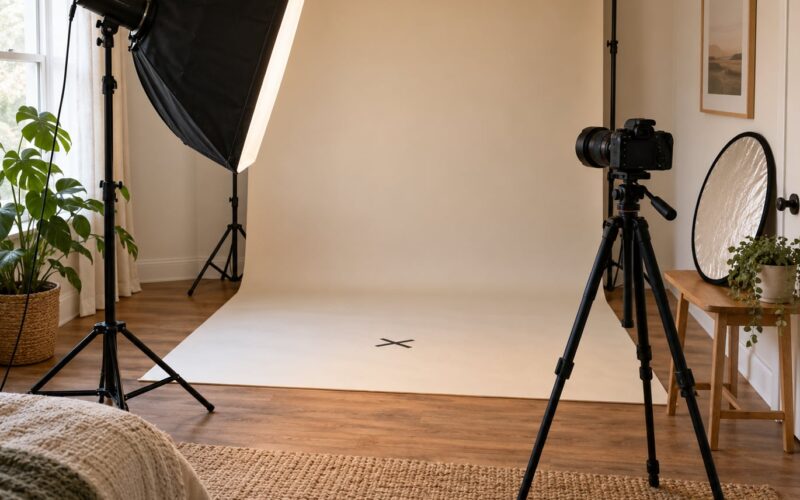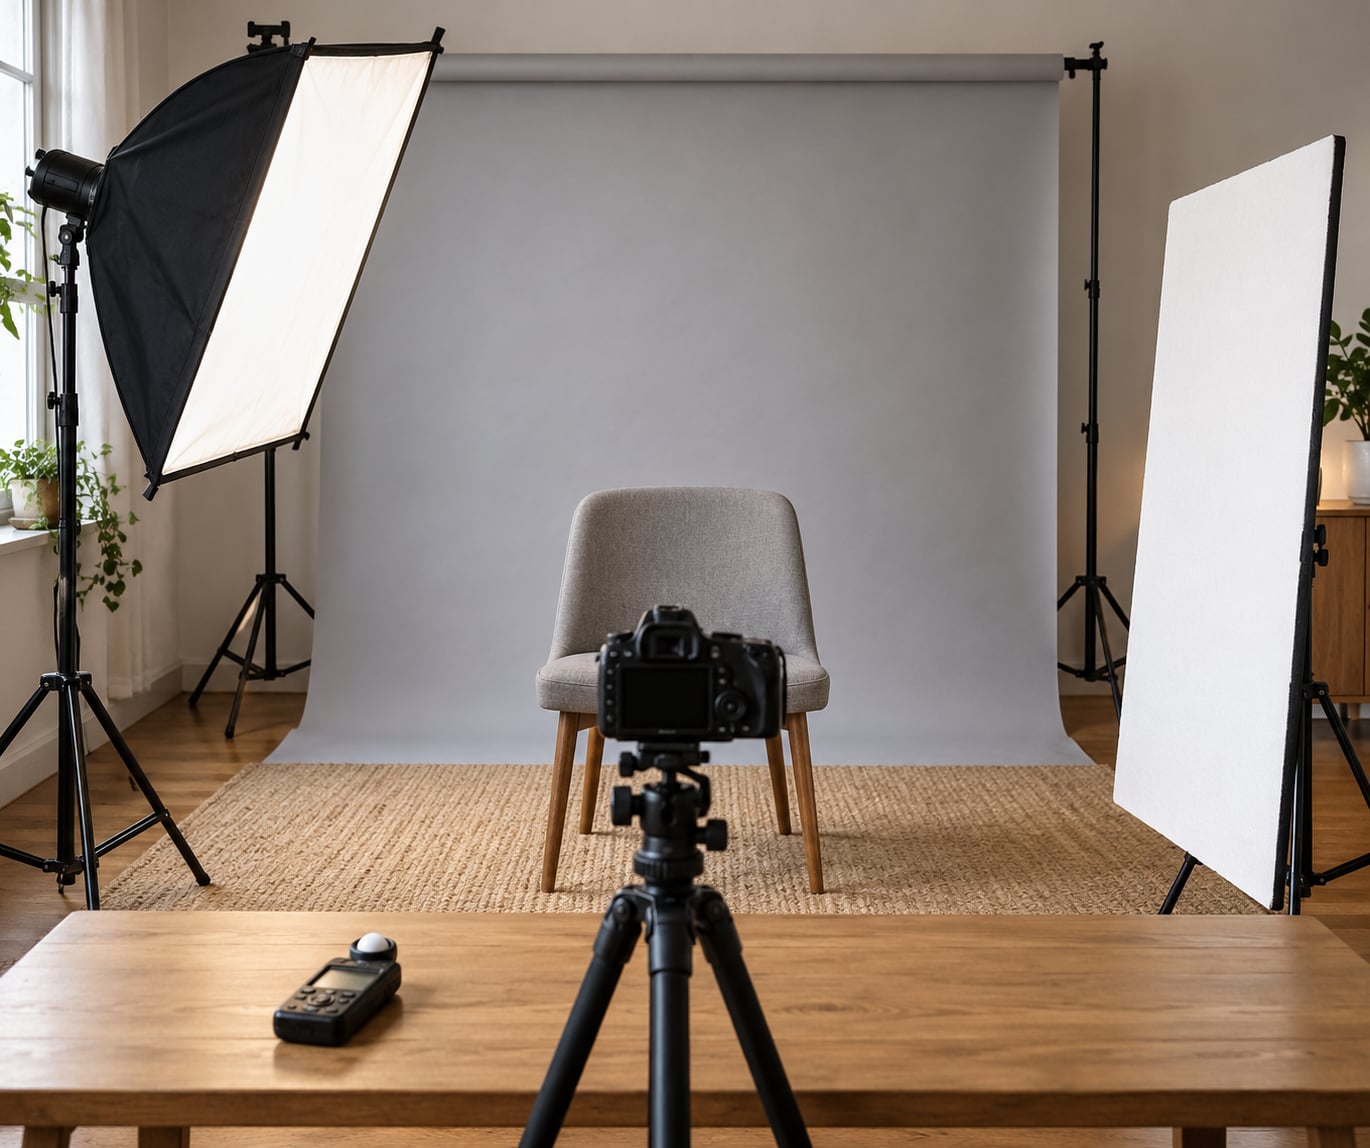
To light a headshot for LinkedIn, put one large soft source about 30-45 degrees to one side of the camera and slightly above eye level, then place a white reflector on the opposite side to lift the shadows. Add a hair or background light only when the head starts to merge into the backdrop. The whole rig takes about ten minutes to build and works in a spare room.
A profile photo is the tightest portrait most people are ever judged on. It sits in a small circle at the top of a profile page, right next to a name and a job title, and it is the first thing a recruiter, a client or a new contact sees.
Because the crop is so close, lighting errors show up immediately. A blown forehead, a dark socket under one eye, or a background the same shade as the hair reads as amateur in a way it never would in a waist-up portrait. Good light fixes all three before you open any editing software.
The target look is approachable and competent, not dramatic. Most people searching for how to light a headshot for LinkedIn want to look like themselves on a good day, not like a catalogue model. That single sentence drives every choice below.
Table of Contents
- What You Need
- Step-by-Step: Build a Natural Headshot Setup
- Common Mistakes and Quick Fixes
- Frequently Asked Questions
- What is the best lighting setup for professional headshots?
- What is a good two-light setup for taking headshots?
- Can I light a LinkedIn headshot with just a window?
- Is a smartphone good enough for a LinkedIn profile photo?
- What background color is best for a LinkedIn profile photo?
- How tight should a LinkedIn headshot crop be?
- Conclusion
What You Need
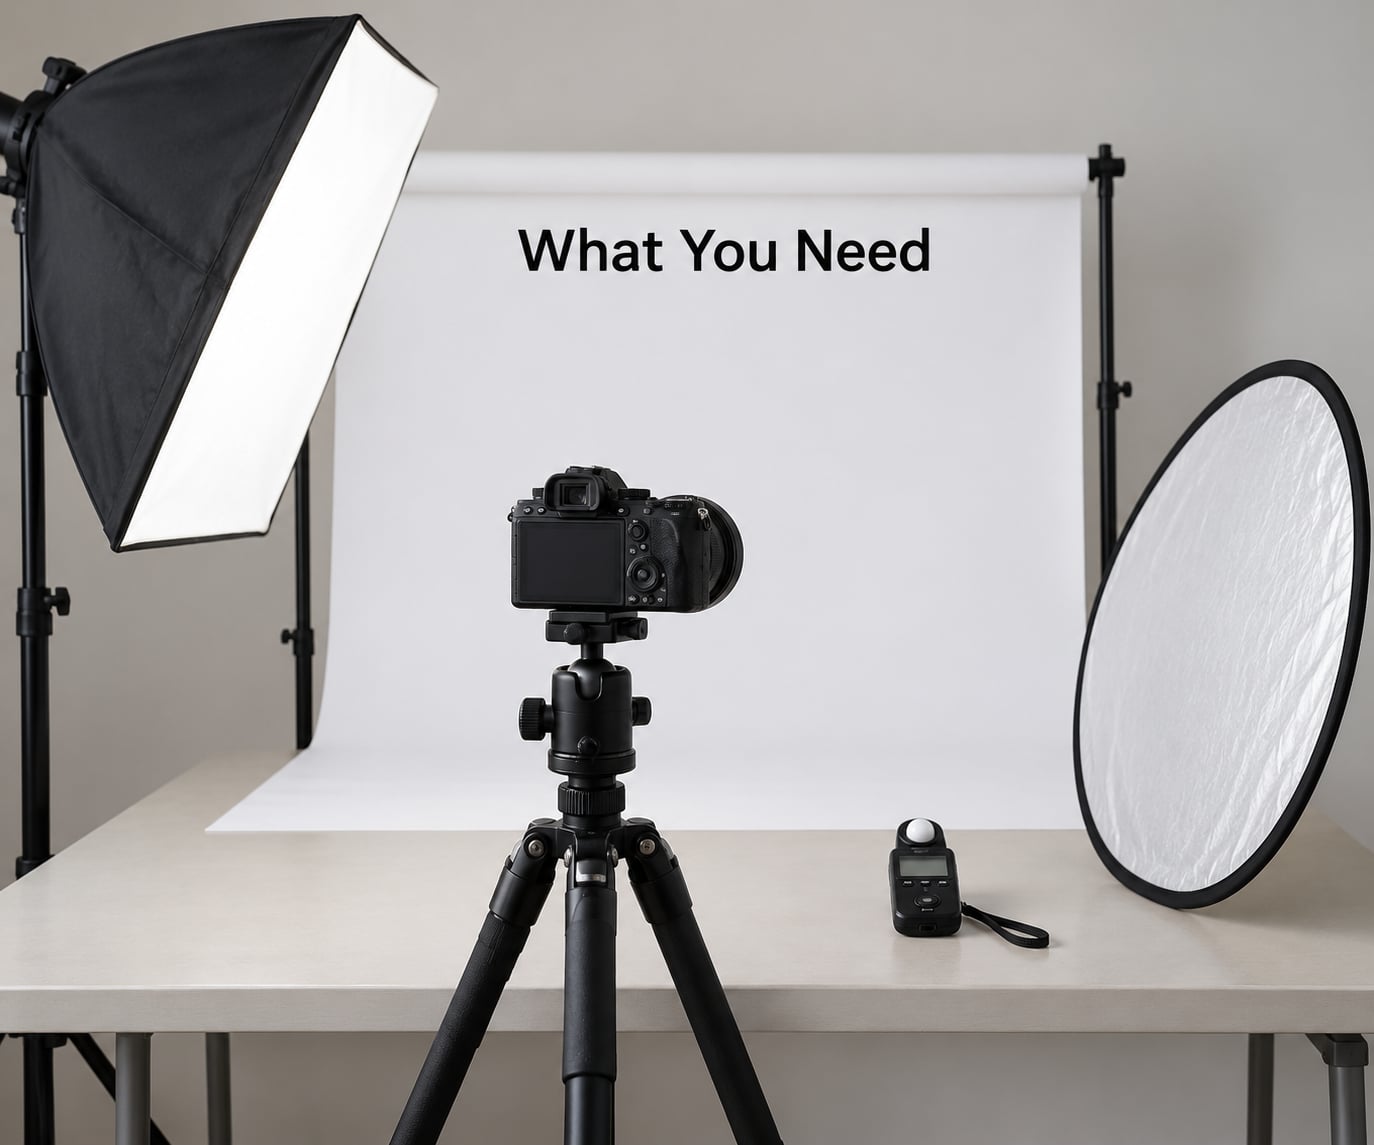
You can build this with gear most people already own. The essentials are a camera, one source of light bigger than your fist, a white surface to bounce that light back, and something plain behind the subject.
The essentials, in order of how much they matter:
- A camera. A phone works fine for this. A mirrorless or DSLR body with any 50mm or longer lens works better, and a 30mm lens is a known good performer for tight head-and-shoulders frames.
- One light source larger than your fist. A softbox, an octabox, a large LED panel, or even a north-facing window. The size relative to the subject is what decides whether shadows look soft or hard.
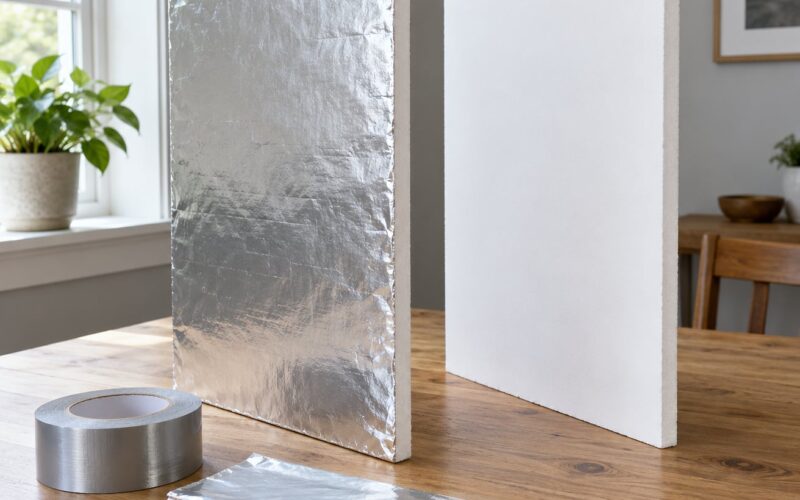
- A white bounce. A piece of white foam board, a bedsheet stretched over a frame, or a white card. This does the job of a second light for the cost of nothing.
- A plain background. A smooth wall, a roll of paper backdrop, or a large sheet of neutral-coloured fabric. Light grey and off-white are the safest.
- Something to hold height. A light stand, a boom arm, a clamp light on a door frame, or a stack of books with a desk lamp on top.
Optional upgrades, once the basics work: a second light for the background or hair, a beauty dish for a slightly harder and more sculpted look, a small reflector with a silver side, and a hand-held light meter if you shoot in changing daylight.
One thing worth knowing early, because it explains most beginner frustration: light falls off with distance. Double the distance from light to face and you quarter the light on the face, which is why moving a lamp back two feet feels like losing a whole stop.
Step-by-Step: Build a Natural Headshot Setup
Work in this order. Key light first, then the pattern and catchlight, then the shadows, then separation, then the background. Rearranging the sequence is how people end up chasing shadows that a bad light position caused.
1. Choose a Clean, Undistracting Background
Pick something with no objects, no strong pattern, and no colour that fights the clothing. Light grey, soft white and muted blue are the three that work with almost every wardrobe and every skin tone.
Put the subject a metre or two in front of that background so the light falls off across it and it goes slightly darker than the face. A subject pressed flat against a wall picks up a shadow edge around the head and shoulders, and that outline is the single most amateur-looking thing in a bad profile photo.
Check it by squinting at the frame on the back of the camera. If the background is the first thing you notice, it is too bright, too busy, or too close in tone to the hair.
2. Position the Subject at a Slight Angle
Turn the shoulders roughly 30 to 45 degrees away from the camera, then bring the head back toward the lens. The result is a three-quarter view that shows depth without looking posed.
Keep the camera at eye level or a few centimetres above, pointing slightly down. Shooting from below tips the chin up, deepens the eye sockets and adds a shadow under the nose, which is the fastest way to make a friendly person look tired.
Ask the subject to push the chin slightly forward and down. It lengthens the neck, sharpens the jaw, and removes the double chin that shows up in almost every straight-on portrait.
With the shoulders turned, light the side of the face nearest the camera. That is short lighting, and it is the version most people with deeper skin tones and most people with rounder faces prefer because it keeps the face looking slimmer and keeps the shadow side out of the middle of the picture.
3. Set the Main Light Above Eye Level
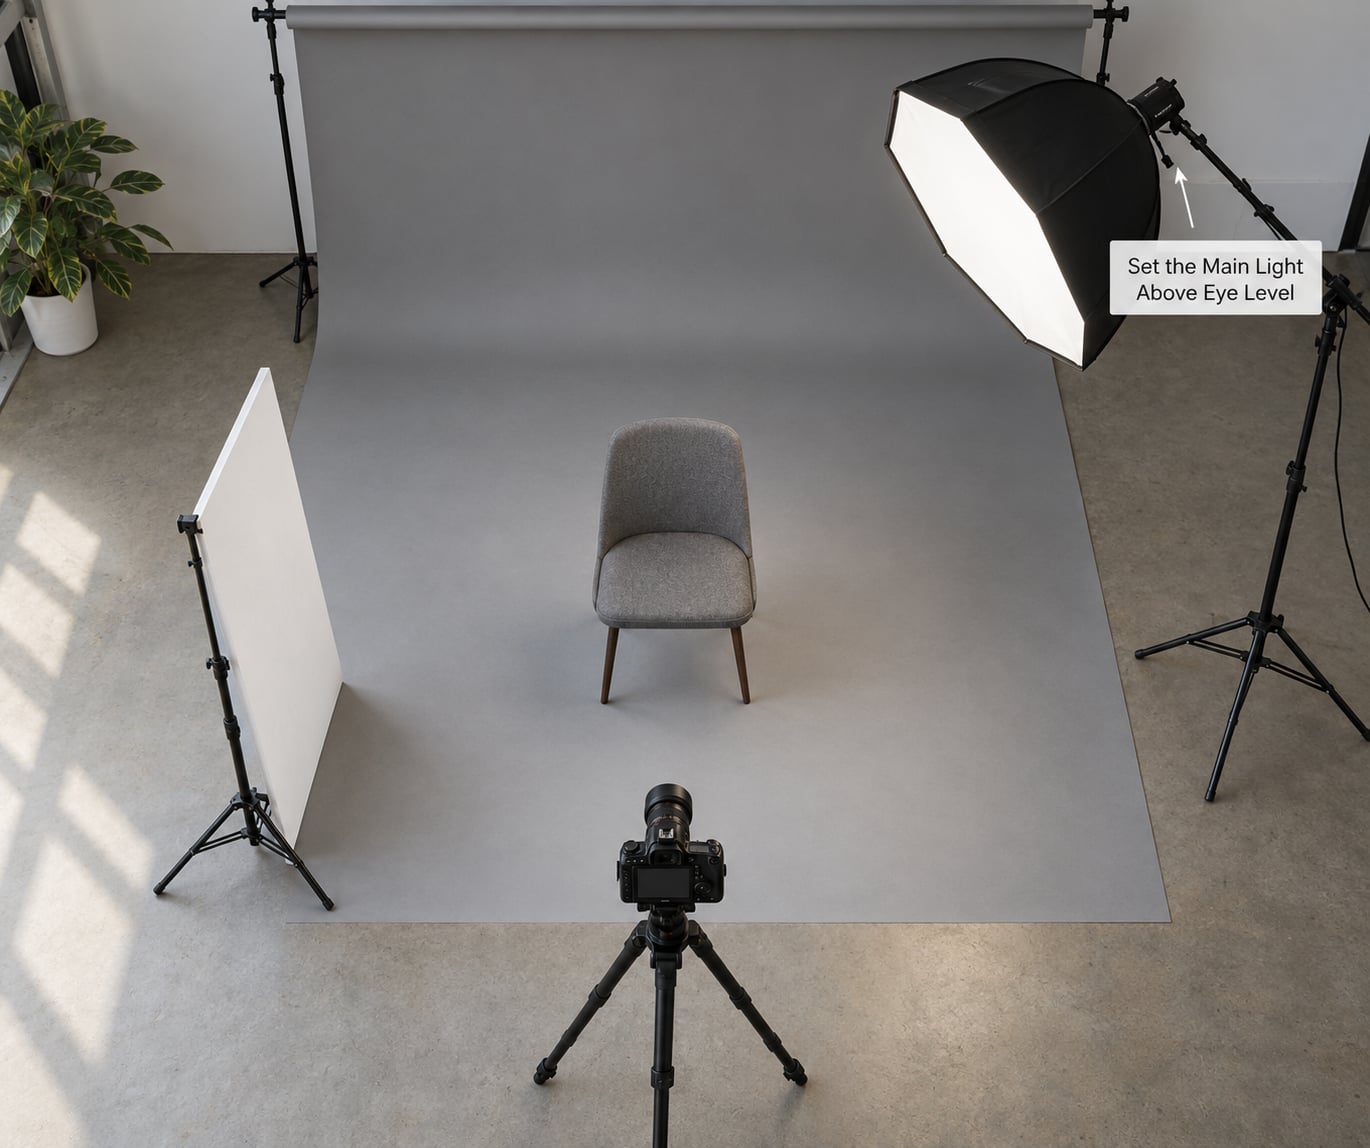
Place the key light about 30 to 45 degrees to one side of the camera axis and roughly 30 to 45 degrees above the subject’s eyes, angled down toward the face. That single position is the answer to how to light a headshot for Linkedin, and it is the position to adjust from, not something to redesign every shoot.
Above eye level does real work. It keeps the catchlights in the upper part of the eye instead of on the eyelid, and it throws the shadow from the nose down and to the side rather than straight across the cheek.
Look for the loop pattern: a small, soft shadow beside the nose that does not touch the shadow from the cheek. If the nose shadow merges with the cheek shadow into a dark patch, move the light up and further round. That shape is what makes a face look three-dimensional rather than flat.
Then check the catchlight. You want a bright reflection in each eye at about the ten o’clock or two o’clock position, a small window or panel shape rather than a single hot dot. A single hot dot usually means a bare bulb pointed straight at the face, which gives you raccoon eyes within a few degrees.
Adjust softness by distance, not by guessing. The further a source is from the face, the smaller its apparent size and the harder the shadow edges. Closer gives you softer, more forgiving light; further gives you more contrast and more shape.
4. Add a Reflector to Control Shadows
Put a white board on the opposite side from the key, close to the camera axis, about 30 to 60 centimetres from the subject’s face. It catches the key light and bounces it into the shadow side, filling it without flattening the modelling the key just created.
The plain-language version of fill ratio: the shadow side should sit about one stop under the lit side. That is roughly twice as bright, which reads as gentle and natural. Four times as bright is flat, and one to one with the key gives you the plastic, evenly lit look people describe as a passport photo.
Use a reflector with a silver face when you want more contrast, and to brighten deeper skin tones without washing out the highlights. Gold warms the fill and flatters cooler complexions. Plain white is the safe default and works for everyone.
For a face that still reads flat after all that, add negative fill: a black sheet, a piece of black card, or an unlit corner of a room on the shadow side to pull that side down. On critique threads this comes up again and again as the fix for corporate-lit faces that look lifeless, and it costs nothing.
5. Set the Camera for Consistent Head-and-Shoulders Frames
Shoot RAW and set the white balance manually rather than leaving it on auto. Aim for a daylight-balanced look around 5000 to 5500 Kelvin, and make sure every source in the room is at roughly the same colour temperature. Mixed temperatures are what turn skin orange or green, and they are much harder to correct later than they are to prevent.
Start at f/4, ISO 100 to 400, and 1/125 second or faster if you are hand-holding. Apertures between f/2.8 and f/5.6 cover the range where one eye and the far cheek are both acceptably sharp. Faster apertures blur the far ear, which is fine for a profile photo and not fine for a full body portrait.
Focus on the nearest eye, switch to single-point or eye-detection autofocus, and shoot vertically. Leave a little headroom above the head, because the circular crop takes more off the top than you expect once the image is uploaded.
Check the histogram or the highlight warnings after every test frame. The skin should sit just under clipping. If the forehead or the bridge of the nose is flashing, pull exposure down until it stops, then open the aperture or add light back afterwards.
6. Direct the Expression and Capture Variations
Give the subject something to think about rather than saying smile. Ask them to imagine a colleague they like walking in, or to repeat a sentence, and press the shutter on the last word. That produces a mouth that moves and eyes that stay present.
Shoot three expressions in one pass: a closed-mouth half smile, a natural smile with teeth, and a neutral and serious frame. All three have legitimate uses on LinkedIn, and the corporate version often comes from the frame you almost deleted.
Then vary the head angle by a few degrees between frames. Three degrees of rotation changes the light pattern across the face and gives you options during the crop.
Before you finish, crop one frame to a circle and look at it at small size. If the head fills the circle edge to edge with no breathing room, back off. That is roughly how it will appear on a profile page.
Common Mistakes and Quick Fixes
Almost every bad corporate headshot comes from one of a handful of causes. Find the symptom, work out the cause, then make the fix.
- Hard-edged shadow under the nose or cheek. Usually a small or bare source placed close to the face. Move the light further back, add diffusion, or bounce it into a larger surface first.
- Bright dot high in the eye with dark sockets. The key is too high and too close, and there is no fill. Drop the light to just above eye level and bring in a white reflector at a 2:1 ratio.
- Orange or green skin. Mixed colour temperatures between sources. Match all sources to daylight, set white balance manually and shoot RAW.
- Two shadows on the background or cheek. A key light plus a hard, unmasked fill. Diffuse the fill, or replace it entirely with a reflector.
- Face looks flat and lifeless. Fill too strong, or the source sits too close to the lens axis. Pull the fill back to a 2:1 ratio and add negative fill on the shadow side.
- Bright halo or hard edge behind the head. The background is lit as brightly as the face. Flag the background light, or step the subject further forward so the light falls off across it.
How to Avoid Harsh Shadows
Recognise it by looking at the shadow edge. Soft edges fade over a distance you could cover with a fingertip; hard edges switch from lit to shadow in a couple of millimetres.
Fix it in this order: move the light further from the face, make its apparent size bigger, then raise it slightly. Moving further away is free and often enough. If you are using daylight, put a sheer curtain between the window and the subject, or move the subject into open shade rather than direct sun.
On-camera flash is the usual culprit for hard shadows on self-taken profile photos. Point it at a white ceiling from a low angle to turn it into a big soft bounce, or turn it off entirely and rely on a window.
How to Prevent Overexposed Skin
Clipped skin is not recoverable. Once a highlight channel is blown, there is no texture left to pull back in a raw file, and plastic-looking skin is the fastest way to make an expensive setup look cheap.
Turn on highlight warnings and check the histogram after every test frame. When the forehead or nose flashes, lower ISO first, then close the aperture, then move the light further away, before you touch anything else.
Meter off the face rather than the whole frame. Metering a dark jacket against a bright background leaves the face underexposed, and metering the background blows the face, so both extremes come from the same mistake.
Frequently Asked Questions
What is the best lighting setup for professional headshots?
One large soft source 30 to 45 degrees to one side of the camera and slightly above eye level, plus a white reflector on the shadow side. That gives flattering loop lighting, a clean catchlight at the ten or two o’clock position, and enough fill to keep the face open. Add a hair or background light only if the head blends into the backdrop. Everything else is refinement.
What is a good two-light setup for taking headshots?
Key light at 30 to 45 degrees and above eye level, then a second light behind and above the subject aimed at the backdrop or the top of the head. Keep it high and pointed down so it does not hit the face, and raise it a stop brighter than the key so it reads as separation rather than a second source. Raise it further if the backdrop is dark.
Can I light a LinkedIn headshot with just a window?
Yes, and it is the best free starting point. Put the subject about a metre from a north-facing window, turn the shoulders 45 degrees away from the glass, and bounce a white board into the shadow side. Hang a sheer curtain if the light is too contrasty, or diffuse it with a bedsheet on a frame. Avoid direct sun, which gives hard edges and squinting.
Is a smartphone good enough for a LinkedIn profile photo?
More than good enough. Modern phone cameras hold skin tone well in daylight, and a phone on a tripod with a timer and Bluetooth or remote release solves the self-portrait problem. What a phone cannot do for you is wide open the aperture, so keep the extra light close and large to keep shadows soft. Portrait mode is the setting to avoid, because it fakes blur on hair and ears.
What background color is best for a LinkedIn profile photo?
Light grey, off-white or a muted mid-blue are the three that work with almost every wardrobe and skin tone. Keep the background a stop or two darker than the face so the head separates, and put the subject a metre or two in front of it so the light falls off across it. Avoid busy patterns and bright white, which blows out and pulls the eye away from the face.
How tight should a LinkedIn headshot crop be?
Frame from the top of the head to just below the shoulders, leaving a small margin above the head, and shoot vertically. The circular profile crop removes more from the top than the sides, so extra headroom saves the framing. Check the crop as a circle at small size before you shoot the final frames, and keep the eyes in the upper third of the circle.
Conclusion
Start with this: turn the shoulders about 45 degrees away from the camera, raise one large soft light to 30 to 45 degrees above and to the side of the face, bounce a white board into the shadow side at about 2:1, and check the circular crop before you shoot anything final.
Getting how to light a headshot for Linkedin right comes down to that one position. Change it once, before you start changing anything else.
That setup takes ten minutes and works in a home office. Everything after that, the second light, the background light, the beauty dish, is solving a problem you only have once the simple version is working.