To photograph kids who will not sit still, stop asking them to sit. Photograph a moving subject with a camera built for speed: shutter speed at 1/500s or faster, continuous autofocus, burst mode, and a wide aperture. Then give your child something worth doing — a game, a song, a bucket of blocks — and let the expressions arrive on their own.
That reframing is the whole answer. A child who will not hold a pose is not being difficult; the pose demand is a camera problem wearing a costume. The technique below takes about 20 minutes of setup and covers everything from shutter speed to what to say when the shoot falls apart at minute eight.
Table of Contents
- The 8-Step Quick Answer
- What You Need
- Step-by-Step: How to Photograph Kids Who Will Not Sit Still
- 1. Build Trust Before You Start Shooting
- 2. Choose an Activity Instead of a Pose
- 3. Use Shutter Speed to Freeze the Action
- 4. Follow the Movement Instead of Leading It
- 5. Make the Environment Easier to Photograph
- 6. Capture the In-Between Moments
- 7. Give Simple, Action-Based Instructions
- 8. Shoot More Frames and Review Quickly
- What Works by Age
- Photographing Kids With a Phone
- Common Mistakes and How to Fix Them
- Frequently Asked Questions
- Start With Play, Not a Pose
The 8-Step Quick Answer
If you only have two minutes, run this list. Each step is one adjustment, and they stack.
- Let them run, climb or dance for ten minutes before you lift the camera.
- Set shutter speed to 1/500s or faster; go to 1/1000s for running and jumping.
- Switch autofocus to continuous (AF-C / Servo / AI Servo).
- Turn on high-speed burst and hold it for three or four seconds, not one frame.
- Open the aperture to f/2.8 or wider to soften the background.
- Give them an activity with its own momentum, such as a ball or bubbles.
- Get the camera down to their eye level instead of standing over them.
- Cull fast afterwards: three passes through 200 frames, save only the real expressions.
Every step below explains why it works and what it looks like when it does not.
What You Need
Here is the honest answer about gear: a fast camera and a flexible approach beat an expensive one. Every setting in this guide can be dialled in on a body you already own, or reached on a phone in about thirty seconds.
- A camera with usable autofocus tracking. Anything with continuous AF and a usable burst rate will do. Frame rate matters less than whether the focus point holds on a moving face.
- A short zoom or a moderate prime. A wide lens lets you back off instead of following, and a lens around 35mm to 50mm keeps you close without being in their face.
- Light that moves with you. Open shade, a bright room with no overhead glare, or a doorway. Indoor movement needs more light than a sitting portrait, not less.
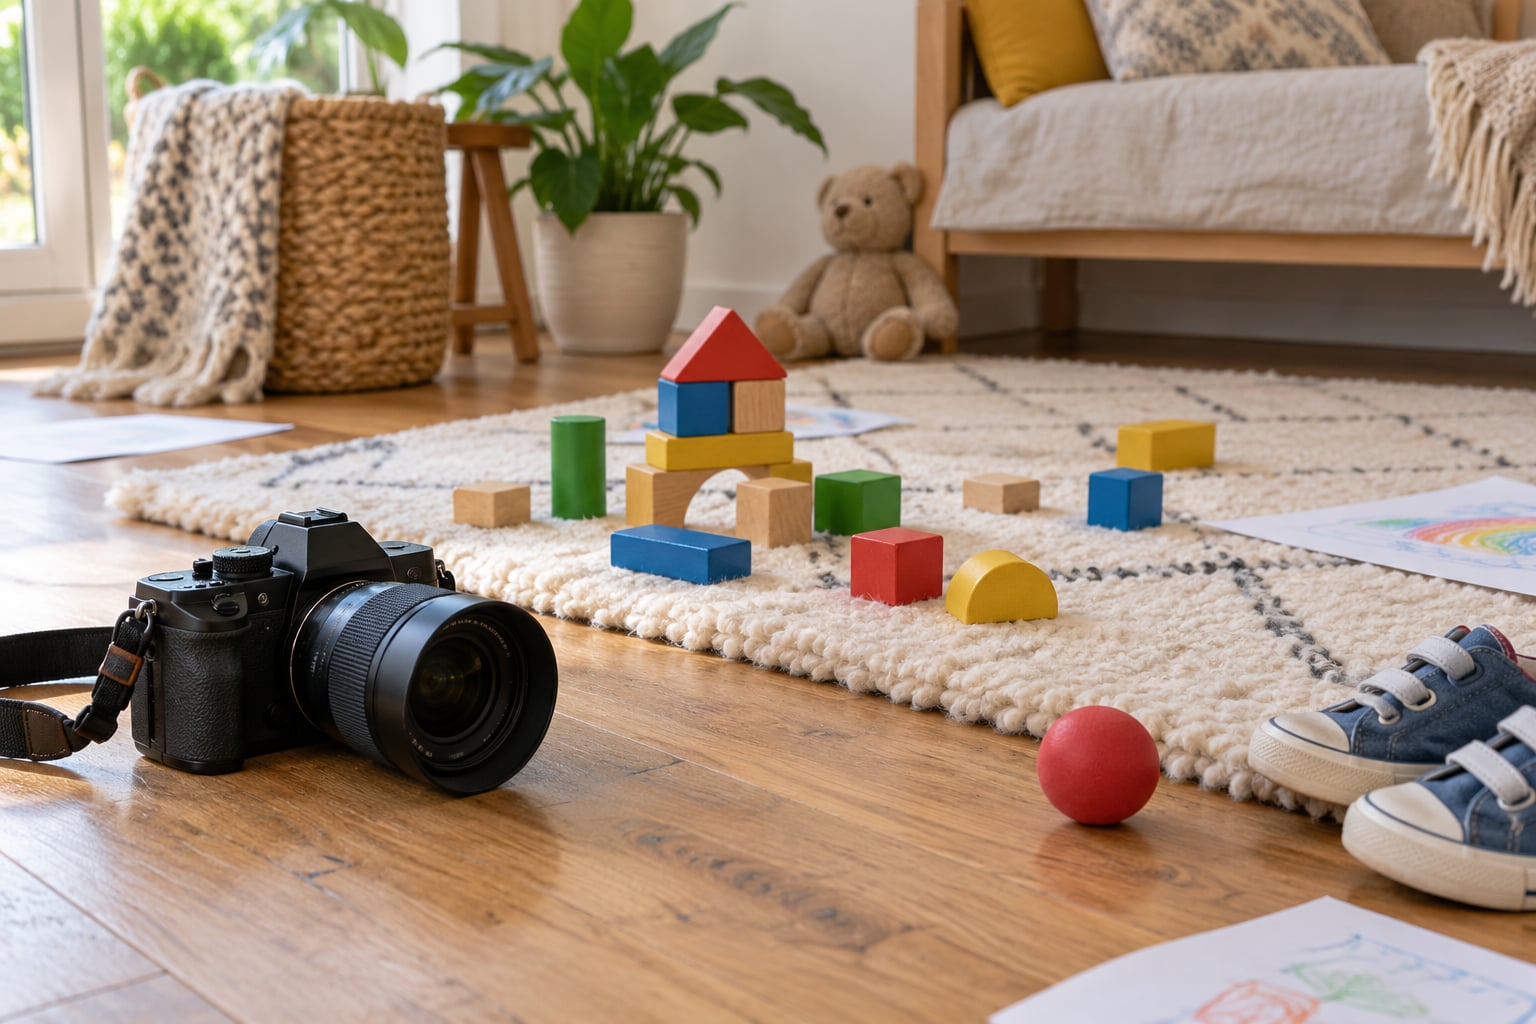
- Two or three props they can act on. A ball, a blanket tent, a cushion stack, a bucket of blocks, a dog. Skip anything breakable near a two-year-old.
- A familiar activity. The single most useful item in the room. More on this in step two.
- Ten minutes of unstructured time. The prep that makes the shoot possible and costs nothing.
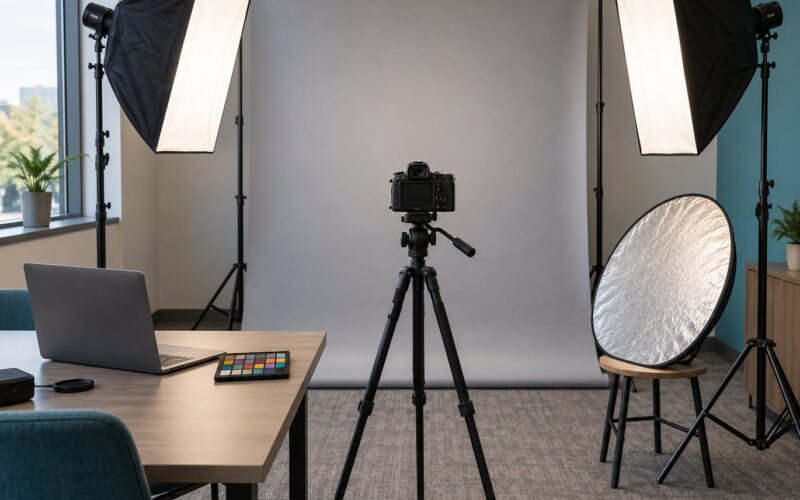
Skip the reflector, the backdrop and the bag of tricks if you have to choose. Those matter for a seated portrait. Here, they matter less than where the light lands.
Step-by-Step: How to Photograph Kids Who Will Not Sit Still
This process takes a moving five-year-old and a one-year-old on the same day, because the mechanics are identical. What changes is the activity, the distance and how long you stay. The goal in every step is the same: photograph movement and personality rather than insist on a stationary pose.
1. Build Trust Before You Start Shooting
The first ten frames should be shots of the room, not the child. Put the camera down, watch what they do on their own, and let them hear your voice without a lens pointed at them.
Pressure is the mechanism behind most failed kid photos. A child who senses they are being evaluated stops playing, and a child who stops playing gives you nothing but a flat expression and turned shoulders.
What worked for me was unglamorous: I spend the first five minutes doing nothing photographic at all, then lift the camera and shoot a few unposed frames while they are still absorbed in whatever they were already doing. Those early frames are throwaways technically. They are not throwaways in terms of trust — the child stops noticing the camera, and that is the point.
2. Choose an Activity Instead of a Pose
Replace the pose with a task. A task has its own momentum, so you are not generating energy, you are borrowing it from something the child already wants to do.
Activities that work, roughly in order of how well they pull a camera’s attention:
- Throwing or kicking a ball. Turns and follow-through on their own, no instruction needed.
- Bubbles. Produces a head that tracks something you control, and delighted faces when they pop.
- A song with movement in it. Standing on the sofa is still standing, and it wears off a lot of friction.
- Building something. Blocks on the floor give you low angles and concentration instead of fussing.
- Drawing together. Quiet and indoors; you can get in close without crowding.
- A blanket fort and flashlights. Useful in a living room when the weather is against you.
The test for a good activity is simple: does it make them look somewhere you did not point? If yes, shoot it. If it leaves them standing still and waiting for you, swap it.
3. Use Shutter Speed to Freeze the Action
This is the single change that fixes most blurry kids photos. The camera is the bottleneck, not the child.
Use shutter priority (S / Tv / shutter-priority) and set the speed yourself so nothing else can drag it down. The rule of thumb for children:
- 1/125s — standing, sitting, holding something. Portrait pace.
- 1/500s — walking, turning, reaching, most ordinary playing.
- 1/1000s — running, jumping, spinning, a first step.
- 1/1600s and faster — hand-held with a zoom, or indoor light where you also need to push ISO.
If the light will not support 1/500s, you have two levers and both are fine. Open the aperture to f/2.8 or wider, then raise ISO until the shutter speed holds. Modern sensors handle ISO 3200 in a family room without complaint, and grain is far easier to fix in editing than a face blurred by one pixel of movement.
Is f/2.8 or f/4 better here? For moving children, f/2.8, every time. The wider aperture lets in more light, so you can hold 1/500s without climbing to an ISO that looks noisy, and it throws the background out of focus so a busy living room stops competing with the face.
Continuous autofocus (called AF-C on Nikon and Sony, Servo on Canon, AI Servo on some bodies, and simply “AF-C” or “tracking AF” on phones) is non-negotiable with a moving subject. Single autofocus locks the moment you half-press the shutter and will happily stay locked on the bookshelf behind your child. Continuous mode keeps re-evaluating the distance while you track. Turn on subject detection or eye detection if your camera has it, but check what it is locking onto: with animal detection active on a camera that has it, a child’s face is the harder target, not the easier one.
| Setting | Start here for a moving child | When to change it |
|---|---|---|
| Shooting mode | Shutter priority (S / Tv) | Switch to aperture priority in low light if you want to fix depth of field |
| Shutter speed | 1/500s | 1/1000s for running and jumping; 1/250s indoors if ISO allows |
| Aperture | f/2.8 | f/4 only when you need more light for a faster shutter |
| ISO | Auto ISO with a ceiling around 3200 | Lower the ceiling if your files look noisy in a dim room |
| Autofocus | Continuous AF with subject detection | Back-button focus if you struggle to start tracking |
| Drive mode | High-speed burst, 5+ fps | Single frame only for deliberate quiet moments |
4. Follow the Movement Instead of Leading It
Give up on directing the pose and start directing your own feet. Pan with the child, keep moving at their pace, and stay low.
Three habits do most of the work:
Leave room in front of them. Walk backwards ahead of a running child and you frame the space they are entering. Shoot from the side or slightly behind and the frame fills itself.
Do not lead with the lens. Push your body first, then let the camera follow. Turning your whole torso toward the child is the fastest way to stay in the right place without shoving them.
Move in bursts, not continuously. Cover ten steps, stop, shoot a sequence, reposition. Constant backpedalling produces shaky frames and takes up the attention you need for the shot.
If a child runs out of frame, do not chase into a long zoom shot. Wait three seconds. They almost always come back through the same space, and they will be out of breath and pleased with themselves, which is a better frame than the one you nearly got.
5. Make the Environment Easier to Photograph
You cannot control a four-year-old. You can very much control what is behind them.
- Choose somewhere simple. A blank wall, a patch of open shade at the edge of a park, a rug indoors. One metre of clear space behind the child does more for the photo than any lens.
- Use open shade, not deep shade. Under a tree canopy or a porch roof beats direct sun: the light is soft, you can face the child into it, and the background goes darker and simpler.
- Turn them into the light. Face the brightness, not the camera. Backlit movement gives you rim light and a clean background, which is why many movement shots are shot into the sun.
- Watch for overhead indoor light. Ceiling fixtures put ugly shadows in the eyes and reflections in the eyes themselves. Turn them off and use a window instead, even a dim one.
- Move the clutter, not the child. Two minutes of tidying pays back on every frame.
And stay low. Shooting from a standing position puts the horizon across your child’s body and makes them look small. Drop to their eye level and the same scene reads as a portrait, and children hold eye contact longer when nobody is towering over them.
6. Capture the In-Between Moments
The posed portrait is one frame out of a few hundred. The photograph you will still care about in ten years is usually the one between instructions: the child turning back mid-stride, laughing at something off-camera, sitting down without being asked, wiping sticky hands on a jumper.
So shoot through the boring parts. When they stop to do the thing you asked, take a frame or two, then keep the camera up and wait for the release — the slump, the glance at a parent, the sudden interest in a toy.
Two techniques help here. One is to shoot during the recovery: after a fall, after losing a race, after saying something silly, the face is unguarded for about a second. The other is to photograph a parent and child together and ignore the child for a minute; children frequently turn towards the adult they trust, and that turn is the shot you were after.
7. Give Simple, Action-Based Instructions
Instructions work when they describe an action rather than a result. “Smile at the camera” is a result, and no child can produce one on demand. “Run to Dad” is an action, and the expression arrives as a side effect.
Prompts that keep producing frames:
- “Jump as high as you can!” — gives you a burst at the top of the jump.
- “Spin round three times then stop!” — the stop is the frame.
- “Show me your fastest dinosaur.”
- “Go get the yellow block and bring it to me.”
- “Squeeze Mum’s hand as hard as you can.”
- “What are you thinking about?” — then wait. The answer is often funnier than anything you planned.
Give one instruction at a time and stop talking. Kids stop moving when adults narrate. Silence is the most useful thing you can give a child photographer, and it feels wrong for the first few minutes.
If they will not look at the lens, do not insist. Put yourself where their eyes already want to be — a parent, a sibling, a sound, a pet — and shoot from there. Why does my kid look away from the camera? Because a lens pointed at a small child reads as a demand, and the cheapest fix is a photograph taken slightly off-axis, from just behind your shoulder, where the attention is already going.
8. Shoot More Frames and Review Quickly
Child-led photography means you cannot control which frame catches the expression, so you shoot the sequence and choose later. Two hundred frames from a good session is normal, and culling them takes under five minutes.
- Burst in short clips. Three to four seconds, then release. Very long bursts fill the buffer and the card with near-identical frames you will not enjoy reviewing.
- Check exposure and focus between activities, not during them. Twenty seconds of settings while they are stacking blocks costs nothing and saves the whole sequence.
- Cull in three passes. First pass: reject any frame where eyes are closed or half closed, and any where the focus is on a shoulder. Second pass: keep only frames with an expression worth printing, which usually leaves 15 to 30. Third pass: check eyes are sharp at 100% and rank your keepers.
- Save the near-misses as a sequence. Three frames of a jump are better as a set than any single one cut short.
Back up the same day. Cards fill, laptops get borrowed, and a cache of raw files is the only thing standing between a happy accident and a lost afternoon.
What Works by Age
The mechanics stay the same; the tolerance for direction does not.
| Age | Typical attention span | What works | What fails |
|---|---|---|---|
| 1-2 years | A few seconds | Shoot during ordinary play. Two minutes of total camera time is a good session. | Instructions, groups, anything involving waiting |
| 2-3 years | About 3-5 minutes | One activity, one location, parent nearby, plenty of frames | Moving between activities, long setups |
| 4-6 years | 5-15 minutes | Games with rules, a hunt for objects, a short list of actions | Repeated corrections, “just one more” after the tenth try |
If a child is sensory-sensitive or neurodivergent, lower the pressure further. Skip the group games, keep one predictable activity in a familiar room, work on their schedule rather than yours, and treat any good frame as a bonus. A predictable sequence — same activity, same room, same order — becomes easier for them each time, so a repeat session usually beats a longer one.
Photographing Kids With a Phone
Everything above is achievable on a phone, and the auto mode on a modern handset is closer to the recommended settings than most people assume. What you control directly:
- Open the camera app and switch to the burst control. On iPhone, swipe up while holding the shutter for the row of frames, or press and hold the volume button. On Android, the burst usually lives in the shooting mode options or on the shutter icon itself.
- Hold the phone in portrait orientation if you are close and moving; turning the phone sideways handles a running child better because it keeps more of the path in frame.
- Use the rear camera, not the front one, and use the 2x or 3x telephoto rather than the ultra-wide if you have a choice. Wide lenses near a moving subject produce edge distortion and genuinely worse focus.
- Lock exposure and focus by pressing and holding the screen on the child, then lower the exposure slider a little. Phone meters always try to brighten faces, and a bright face against a dark background goes chalky.
- Watch for indoor flicker. If you shoot under certain LEDs and get bands across the frame, drop your shutter below the flicker threshold or turn off lights and use a window.
If the phone autofocus hunts constantly on a fast-moving child, the fix is light, not settings. Move somewhere brighter.
Common Mistakes and How to Fix Them
Chasing the child constantly. You end up shooting from awkward angles with no breath, and every frame is tilted. Fix: work in short bursts from a set position, or use a longer lens and stand still while they do the moving. A 70mm lens at ten metres solves more wiggly-child problems than any trick you can think of.
Using a slow shutter speed. The camera’s auto mode picks what looks right for a still subject, and a child is never still. Fix: shutter priority, 1/500s minimum, 1/1000s if they are running. Raise ISO before you surrender the shutter speed.
Asking for too many instructions. Three commands in a row converts a session into a series of tense attempts. Fix: one activity, one instruction, then silence and shooting.
Relying on flash. Direct flash freezes the moment and flattens the face, and children often hate it after the first try. Fix: no flash. Use open shade or a window, and turn off overhead lights indoors.
Relying on one pose. If a single seated setup fails, repeating it will not fix it. Fix: change the activity rather than the child’s effort. Movement generates expression; standing still and being told to smile removes it.
Filling the frame with no room to move. A tight shot leaves nowhere for the child to go, so you lose the frame the moment they step. Fix: back up and leave space in the direction they are travelling.
Stopping when they are having fun. The best frames often arrive after the “photos” are technically over. Fix: keep shooting for five minutes after you have your shots. Then check the last twenty frames before you stop.
Frequently Asked Questions
How do I help my kid sit still?
Short answer: stop asking. Kids cannot hold a pose because attention spans are short and their bodies are built to move, so pressure usually makes things worse. Let them run or play for ten minutes first, give them an activity with its own momentum, and shoot 1/500s in continuous autofocus with burst mode so you can photograph movement instead of waiting for stillness. You will get more usable frames than you would from three more attempts at sitting down.
Why does my kid look away from the camera?
Because a lens pointed at a small child reads as a demand, and being asked to perform for it is uncomfortable. Put yourself where their attention already wants to be: a parent, a sibling, a pet, a sound. Shoot from just behind your shoulder or from the side, in short bursts, and stop talking while you shoot. Plenty of strong portraits catch the child mid-turn toward the person they trust.
What shutter speed do I need for photographing kids?
Use 1/500s as your floor for ordinary movement such as walking, turning and reaching. Go to 1/1000s for running, jumping and spinning, and 1/1600s if you are hand-holding a zoom in dim light. Set it manually in shutter priority mode so nothing drags it down, and raise ISO or open the aperture to f/2.8 to hold that speed indoors. Grain is easier to fix in editing than a blurred face.
What is the best autofocus mode for kids photography?
Continuous autofocus, called AF-C, Servo or AI Servo depending on your brand. Single autofocus locks when you half-press the shutter and stays locked, so it focuses on the sofa behind your child instead of the child. Continuous mode keeps re-evaluating distance while you track, which is what a subject changing direction every second needs. Turn on subject or eye detection if the camera has it, and check what it is actually locking onto.
Should I use burst mode for kids photography?
Yes, and keep the clips short: three to four seconds, then release. Very long bursts fill the buffer with near-identical frames and give you more culling than photographs. Continuous frames also raise your chance of catching a blink or a soft moment inside an otherwise good expression, and one frame from a twenty-frame jump is usually the one you would have missed. Shoot bursts while they are moving, not while they are posing.
How long should a kids photo session be?
Ten minutes of camera time for a one or two-year-old, twenty for a preschooler, and up to forty for a five or six-year-old who is enjoying it. Watch for the signal that it is over: repeated escape attempts, crying, or turning away from every activity. Stop while it is still fun. Leaving early means the next session starts with a child who remembers something good, and a short session with plenty of frames beats a long one full of corrections.
Start With Play, Not a Pose
If you take one action from this guide, let them play for ten minutes before you lift the camera. Everything else follows from it: the activity gives them something to do, the settings give you sharp frames while they do it, and the burst gives you a choice of expressions afterwards.
How to photograph kids who will not sit still comes down to a swap. Trade the posed portrait for a moving subject with a job to do, set 1/500s, continuous autofocus and burst mode, get down to their height, and shoot several short sequences. The frames you keep will not be the ones you planned, which is exactly how the good ones usually happen.