To photograph people wearing glasses without glare, you change an angle so the reflection never reaches the lens. Eyeglass lenses are mirrors, and light bouncing off them obeys the law of reflection: the angle it arrives at equals the angle it leaves. Move the light above eye level, tilt the frames, or raise the camera a few inches and the white blob slides off the glass and out of frame.
It sounds obvious once you see it, and most of the work is done in the first ten seconds of a shoot. This guide walks through the whole process, from cleaning the lenses to the last check on the back of the camera.
Updated for 2026.
Table of Contents
- What You Need
- Step-by-Step: How to Photograph People Wearing Glasses Without Glare
- Frequently Asked Questions
- How do you photograph someone wearing glasses without glare?
- Should I ask the person to wear their glasses straight on or turn them slightly?
- How do you handle dark-rimmed glasses in a portrait?
- Can I photograph people with tinted or prescription sunglasses?
- What aperture is best for a sharp portrait of someone wearing glasses?
- How can I fix glare in a photo when retouching is not an option?
- Conclusion
What You Need
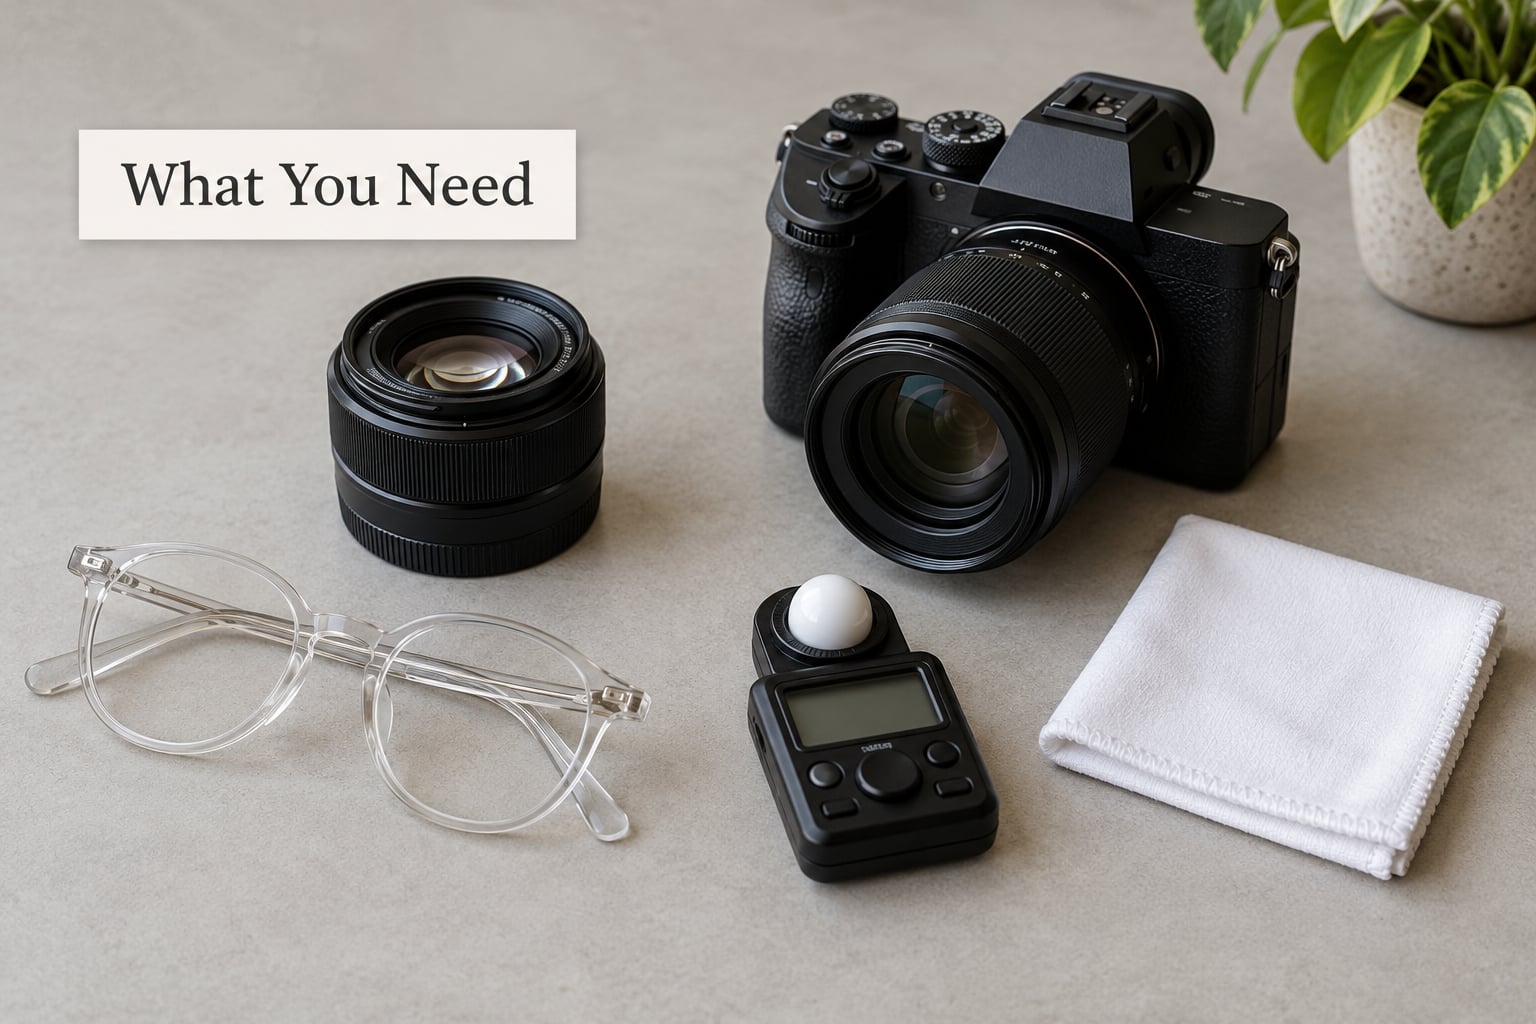
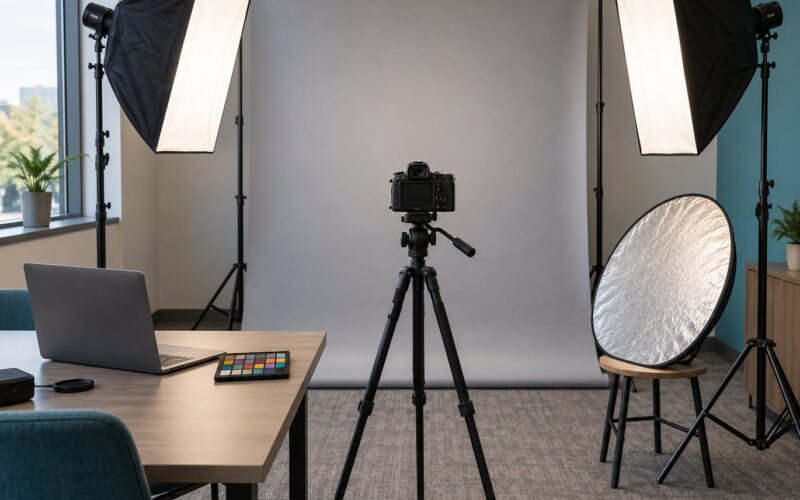
The good news is that almost nothing here is specialised gear. If you own a camera, a light source you can move, and a piece of white card, you have enough to shoot clean eyeglass portraits.
- A camera with a tilting screen or a rear viewfinder. The angle you check the reflection from changes what you see, so a screen you can angle is genuinely useful.
- A short telephoto or a normal lens. An 85mm equivalent is the classic headshot choice; anything from 50mm to 135mm works. Wide angles exaggerate noses and shrink ears, and eyeglass frames exaggerate along with them.
- A light you can raise. A strobe with a stand, a softbox, an LED panel, or even a desk lamp. The single most important feature is that it can sit above the subject’s eye line.
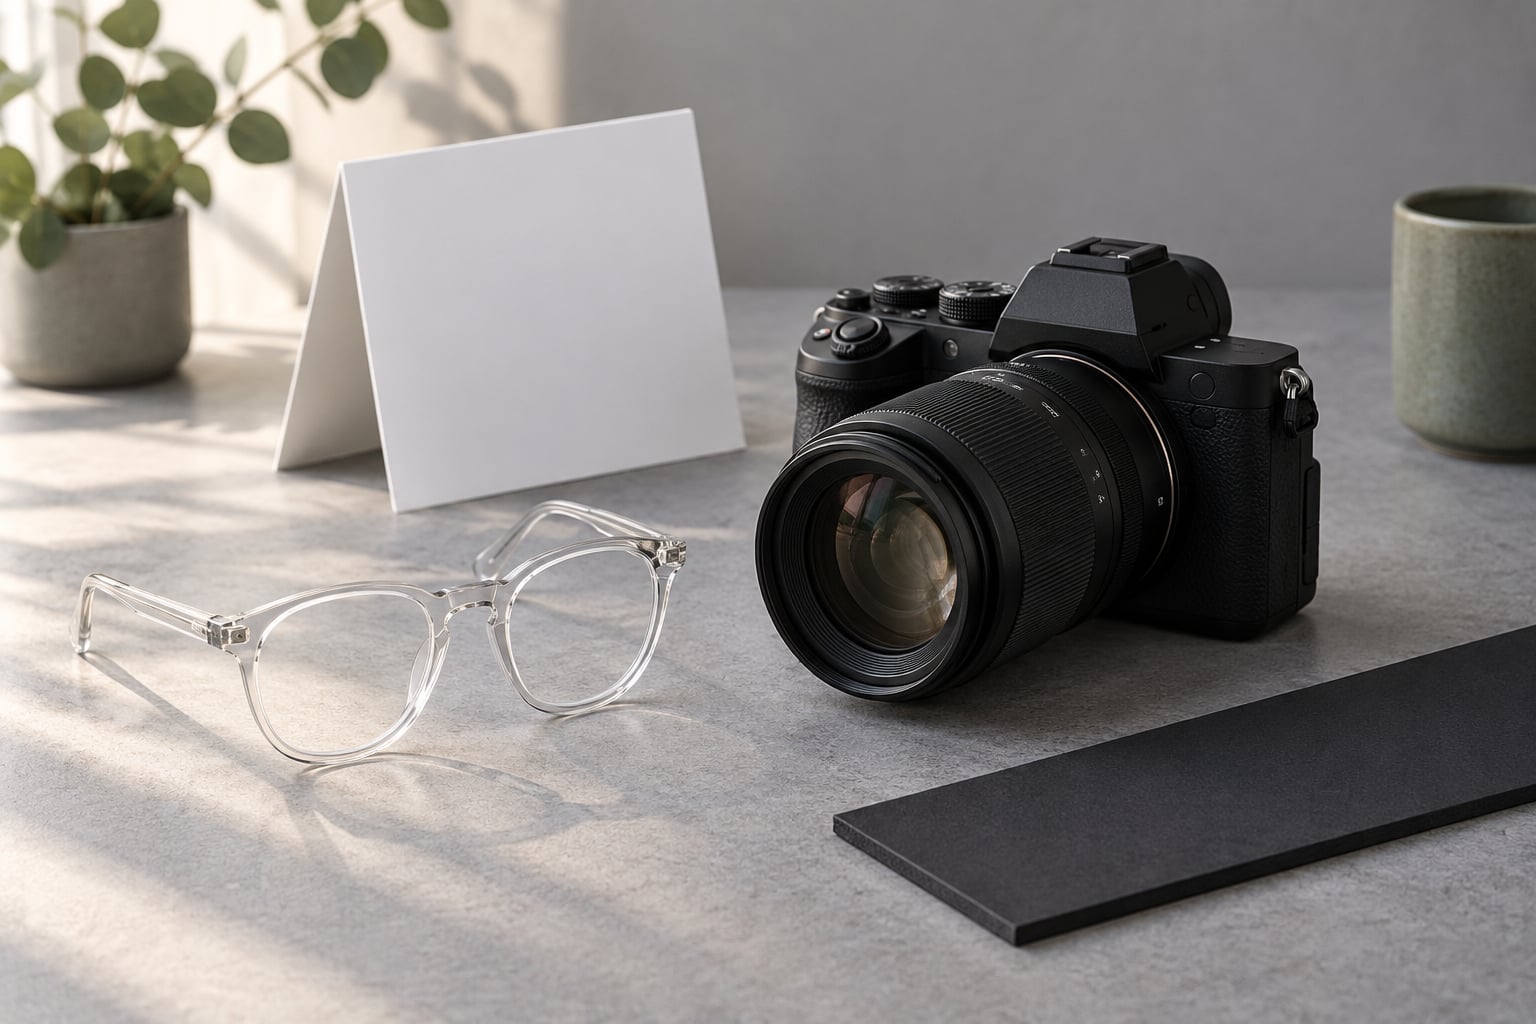
- Something large and white to bounce off. A foam board, a bedsheet, a pale wall. This turns a hard specular highlight into a soft wash that spreads out instead of burning a hole in the lens.
- Black card or foam core to flag the light. Black absorbs. It kills reflections that white cannot.
- A lens cloth and a small blower. Fingerprints and dust on the subject’s lenses scatter light into a haze that no angle trick will fix.
- Optional: a circular polarizer, a lens hood, and a remote release or two-second timer so nothing shifts between frames.
Step-by-Step: How to Photograph People Wearing Glasses Without Glare
How to Prepare the Subject and Glasses
Start by cleaning. Hand the subject a soft cloth and ask them to wipe both lenses and the front of the frames, then hold them up to the light to check. Add a drop of dish soap to water in a bowl if they have no cleaner; most people wipe lenses with a shirt hem and end up with a smear instead.
If the glasses have just come out of a warm bag and fog up, let them sit for a minute. Condensation is a soft, wide reflection that no repositioning will fully clear.
Then get the fit right. Ask the subject to push the frames up the bridge of the nose so more of the eye shows above the rim. This is the fastest fix in the whole business and it costs nothing.
The second fastest fix is to ask them to tilt the head down about five degrees. That drops the lenses toward the floor so they pick up dark boards instead of your softbox. A small chin-down tilt also tends to relax the jaw, so you get a better portrait out of it.
Ask both of these before you mention glare at all. Telling someone their glasses are a problem makes them think about their glasses for the next twenty minutes.
Frame shapes and lens types change the problem
| Frame or lens type | What you will see | Best move |
|---|---|---|
| Full-rim acetate | The thick plastic rim holds highlights you cannot move; the lens area behaves predictably | Raise the key light and tilt the frames. The rim glare is often stylised rather than wrong |
| Thin metal frame | Bright white lines along the temples and bridge, easy to spot against hair | Angle the light higher and slightly behind so the metal edges go dark |
| Half-rim or rimless | Almost no frame to hide behind; every reflection lands on bare lens | Tilt harder, diffuse bigger, and expect to work the angles rather than the frames |
| Anti-reflective coated lenses | Green, blue or purple sheen instead of a white blowout; still reflective at steep angles | Rotate the subject so the coating flare moves off the iris |
| High-index lenses | Higher reflectance than standard plastic glass, so glare comes back twice as strong | Diffuse and bounce rather than rely on position alone |
| Tinted or dark sunglasses | Eyes hidden in shadow, reflections still bright | Raise ambient light, add gentle fill under the frames, and accept a flatter look |
| Progressive lenses | Peripheral distortion if the head turns far | Keep the face near-square to the camera |
Which Lens and Camera Settings Work Best?
Shoot between 85mm and 135mm equivalent for a head-and-shoulders frame. That range keeps facial proportions honest and compresses the background so whatever is behind the subject stops competing.
For depth of field, f/4 to f/5.6 is the working range. Wide open at f/1.8 gives you a gorgeous background, but the far eye and the far edge of the frame go soft, and a soft eye behind a sharp frame reads as a mistake. Stopping down a stop or two keeps both eyes and the whole frame crisp while still melting the background enough to hide reflections.
Shutter speed depends on whether your subject moves. Anything at or above 1/125s handles a person holding still. If they are talking and gesturing, go to 1/250s and raise ISO rather than dragging the shutter.
Autofocus is the part to be deliberate about. Focus on the nearer eye, single point, single shot. If your camera offers eye detection, use it, then confirm it locked onto the eye and not the frame. Half-press and hold, then recompose rather than refocusing after the move.
Where Should You Position the Light?
This is the whole problem. Your camera sits roughly on the subject’s eye line, so any light placed near that line reflects straight back into the lens and straight into your sensor.
Move the key light above eye level and off the camera-to-subject axis, about 30 to 45 degrees to one side and 30 to 45 degrees up. From that position the reflection travels down and away from the lens instead of into it. The exact numbers matter less than the direction: high, side, and never dead in front of the face.
Then soften it. A bare strobe gives a hard white edge that reads as a mistake even when it does not cover the pupil. A softbox or umbrella spreads the source so the highlight becomes a soft, low-contrast patch that sits across the frame instead of on the eye. Bigger source, dimmer output, same overall exposure.
Bouncing does the same thing with cheaper gear. Put the light low and aim it at a white ceiling or a pale wall, then flag the wall so it does not spill onto the background. The lens picks up a broad, even wash with no defined hotspot.
Watch what else is in the room. Windows, glossy floors, white walls, a laptop screen, a mirror, a phone in someone’s hand. Every one of these is a second light source. If a reflection appears in the lens and you cannot find a matching object by panning your head, walk around and find it.
Catch lights are worth chasing, but they are a smaller shape than the lens, so aim for a single clean catch rather than a bright streak across the whole frame. A round catchlight high in the pupil at about the 11 o’clock or 1 o’clock position reads as alert and healthy.
A polarizer deserves a straight answer. A single circular polarizer on your camera lens helps outdoors, when you are shooting deep sky or water and both the surface you are photographing and your subject’s lenses happen to be polarised in a compatible way. It does very little about a strobe or softbox reflecting in prescription lenses, because the light coming off the subject is not polarised to begin with. A cross-polarised rig, one filter on the light and one on the lens, does cut reflections, but you lose several stops of light, which means a brighter source and a longer exposure, and in practice it rescues fewer bad frames than the price tag suggests. Own one for landscape work. Do not expect it to solve this problem.
Outdoor window light follows the same rule. Put the subject three to four feet from the window, turned roughly 45 degrees to it, and put the window on the side of the face you want modelled. If the lens picks up the window, rotate the subject until it does not.
How to Set Focus and Exposure
Set focus on the nearer eye, then meter for the face. Most digital cameras will try to expose the frame as a whole, which means a bright window or white shirt pulls the exposure down and leaves the face grey. Switch to spot metering or centre-weighted and meter off the forehead.
Watch the histogram around the frames. Bright acetate and thin metal both clip to pure white long before skin does, and a clipped reflection is a reflection you cannot recover. Pull exposure down a third of a stop if the frame edges are glowing.
Check your shutter and aperture after any light move, since a bounced source is much softer than a bare one and often wants a slower shutter. Recheck focus too. Every time you shift the subject or yourself, the near eye changes distance.
How to Check and Refine the Reflections
Take one test frame before you take the real ones. Look at the LCD, zoom in on the lenses, and use the highlight warning. Photographers burn whole takes because they never checked the screen, and the reflection looked exactly the same every time because nothing had moved.
Work through this table when something is still wrong:
| Symptom | Likely cause | Fix |
|---|---|---|
| White blob in one lens only | Key light or window sits on one side of the camera axis | Rotate the subject a few degrees away from the light, or move the light further to the other side |
| White blobs in both lenses | Light is directly in front, above the head and centred | Raise the light and push it off axis to about 45 degrees; diffuse it larger |
| Bright lines along the rims and temples | Thick acetate or polished metal catching the source | Move the light higher and slightly behind so the frame edges fall into shadow |
| Dark rectangle in the lens | You, your camera, or your monitor is the reflection | Flag it. Hang black card above and behind the camera, or step the tripod sideways |
| Green or purple sheen across the lens | Anti-reflective coating, not a lighting fault | Rotate the subject until the sheen moves off the iris |
| Reflection that changes with every frame | Subject fidgeting, or frames sliding down the nose | Reset the pose, push the frames up, and shoot several frames in a row |
If you are stuck, shoot one extra frame with the glasses removed and the eyes open, matching the pose and settings exactly. Keep both raw files. In Photoshop or GIMP, paste the clean eyes over the glare and mask the difference, then blend the edges with a soft eraser or a layer mask. Some photographers find this reads false, because removing lenses changes the apparent width of the eye, and that reaction is reasonable. Treat it as a fallback, not a habit.
The other fallback is empty frames. Removing the lenses and shooting bare rims kills every reflection at once, but it looks wrong on rimless and half-rim frames, and it unnerves people who depend on their glasses. Some studios borrow a pair from a partner optical shop for the session and return them afterwards. Only do it if the subject is genuinely fine with it.
Common Mistakes
Leaving the light in front of the face. The 45-degree textbook position that flatters everyone else puts the hotspot dead centre in the lenses for a glasses-wearer. Raise it above the eye line and check again.
Focusing on the wrong thing. Half the frames sharp and the eyes soft is a worse result than a flat image. Focus on the nearer eye every time, and stop down rather than shooting wide open.
Too shallow a depth of field. f/1.4 on a head-and-shoulders frame leaves one eye and one frame edge out of focus. f/4 to f/5.6 gives you both.
Ignoring fingerprints on the lenses. Smears scatter light into a fog that reads as a camera fault. Clean them before the shoot, not after.
Never checking the LCD. A reflection you did not look for is a reflection you did not fix. Test frame, zoom in, adjust, shoot.
Talking about the glasses too early. Once someone hears that their glasses are a problem, they stop relaxing and start adjusting. Handle the fit and the angles quietly, and by the time they notice you have been moving a stand around, the problem is already handled.
Frequently Asked Questions
How do you photograph someone wearing glasses without glare?
Move the key light above the subject’s eye line and 30 to 45 degrees off the camera-to-subject axis, then enlarge and soften the source with a softbox, umbrella or white bounce card. Diffused light spreads the reflection into a faint wash instead of a hard white blob. Check one test frame on the LCD before shooting the real ones, and keep black card handy to flag out reflections from windows, walls, monitors or your own camera.
Should I ask the person to wear their glasses straight on or turn them slightly?
Turn them slightly. A head rotated a few degrees off the camera axis changes where the reflected light lands, and it also gives you a better three-quarter portrait with more shape in the face. Ask the subject to push the frames up the nose and tilt the chin down about five degrees, which lowers the lenses toward the floor so they reflect dark boards rather than your light.
How do you handle dark-rimmed glasses in a portrait?
Treat the frame and the lens as two separate problems. Raise the key light above eye level to clear the lens, and accept some brightness on thick acetate because it reads as a deliberate look on dark frames. If the rim highlight is harsh, soften the source or bounce it off a pale wall rather than trying to angle it away entirely, since dark rims catch almost any front light.
Can I photograph people with tinted or prescription sunglasses?
Yes, but expect less to work with. Tinted lenses hide the eyes, so raise ambient light and add gentle fill below the frames rather than pushing more light into them. Reflections still need the same treatment as clear lenses: light above the eye line, softened, off the camera axis. Dark and polarized sunglasses in direct sun will fight you, so move to open shade near the session time.
What aperture is best for a sharp portrait of someone wearing glasses?
Start at f/4 or f/5.6 for a head-and-shoulders frame. That keeps both eyes and the whole frame sharp while still softening the background enough to hide stray reflections. Shooting wide open at f/1.8 leaves the far eye and the far edge of the frames out of focus, which reads as a mistake rather than as shallow depth of field.
How can I fix glare in a photo when retouching is not an option?
Shoot one extra frame with the glasses off and the eyes open, holding the pose, camera settings and framing identical. The matching clean eye detail gives you a layer to work from later, and it is free. On the day itself, the real fixes are physical: clean the lenses, tilt the frames down, and move the light until the reflection disappears from the screen.
Conclusion
Start here: clean the lenses, ask the subject to push the frames up and tip the chin down slightly, then raise your main light above eye level and off to one side until the glare leaves the screen. Watch the LCD after every change, because a reflection you did not look at is a reflection you will not fix.
Once that is clean, get on with it. Glasses are part of how people look, and portraits that fight them end up lifeless. Angle the light, check the frame, and move on.