To photograph people with braces well, keep the main light 45 to 60 degrees off the lens axis and above eye level, shoot on an 85mm lens at f/2.8 to f/4 and 1/250s, focus on the near eye, and coach a small relaxed smile instead of a wide one. The whole method takes about ten minutes of setup once you know what to look for, and the tricky part is not the camera, it is the reflection.
Brackets are small curved mirrors. Polished metal, ceramic and even the clear plastic in aligners all throw light back along the path it arrived from, which is why a flash mounted right on the lens produces hard white hotspots across the teeth. Move that light off-axis and the same reflection becomes harmless sparkle instead of a blown highlight.
I have shot plenty of senior sessions, family frames and headshots where metal was in the smile, and the fix is almost never new gear. It is fifteen seconds of repositioning plus a little patience while the subject remembers they are allowed to smile like a human being.
What You Need to Photograph People With Braces
The gear list here is short, and most people already own most of it. What matters is the light control, not the camera.
- A camera with a decent portrait lens. An 85mm on full frame, or roughly 56 to 60mm on a crop sensor, is the classic choice. A phone in portrait mode works for casual shots if you keep the distance long and the light soft.
- A light source you can move. A window works indoors. Outdoors, a reflector, a white foam board or a collapsible diffuser is enough. A speedlight with a bounce card covers small indoor rooms and event spaces.
- Something to flag with. Black foam board, dark fabric or even a black jacket hung on a light stand absorbs stray bounce so it stops travelling straight back into the lens.
- A lens cloth and a breath. Braces and lips sit in front of the lens far more often than people expect, and fingerprints on a front element cost you contrast on the exact detail you came for.
- Lip balm and a mirror. Chapstick smooths lip texture in close-ups. The mirror lets the subject check for food caught in brackets before you press the shutter.
- Editing software. Raw capture plus a converter like Lightroom or the Raw module of your editing app is all the post work this job needs.
Budget matters less than direction here. A phone and a sheet of white card by a window can produce a better brace portrait than an expensive flash fired straight at the face, because the reflection is controlled by geometry, not by price.
Step-by-Step
Prepare the Portrait Session
Talk before you shoot. Knowing how to photograph people with braces starts with that conversation, not with the camera. Ask what the session is for and whether they have mentioned braces to anyone in the room, because a lot of hesitation comes from dread of a specific person rather than the metal itself.
Say plainly that braces are a normal thing to photograph and that you will light them so they do not blow out. That one sentence does more for the expression than any lens choice.
Then handle the practical prep. Have them rinse with water, run a floss threader around the brackets and the gum line, and blot rather than rub. Food caught under an elastic is the thing people notice in a photo before they notice anything else. Apply lip balm and let it settle for a minute so it stops catching the light as a gloss.
Pick the location and the hour before the subject arrives. Open shade outdoors beats direct sun, since midday sun creates hard shadows under the nose and chin. Indoors, a large window facing the subject works better than a wall behind them.
If lipstick is part of the look, a soft nude or a muted rose reads calmly next to silver hardware. Very saturated reds and deep plums pull the eye straight to the mouth and compete with the brackets.
Choose the Right Camera and Lens to Photograph People With Braces
Focal length changes how prominent the braces look. Longer lenses compress the face and keep the mouth proportional to the eyes, while a wide lens close to the subject exaggerates the front of the face, and the braces are the nearest thing to camera. Standing back with an 85mm is the simplest cure.
Aperture controls how much of the smile stays sharp. Wide open at f/1.8 can leave the far side of the mouth and the archwire soft, which reads as a mistake on a face. f/2.8 to f/4 keeps the brackets and the eyes in the same plane.
| Setup | Focal length | Aperture | Shutter speed | ISO |
|---|---|---|---|---|
| Mirrorless or DSLR, full frame | 85mm | f/2.8 to f/4 | 1/250s | 100 to 400 |
| Mirrorless or DSLR, crop sensor | 56 to 60mm | f/2.8 to f/4 | 1/250s | 100 to 400 |
| Phone, bright open shade | 2x telephoto if available | Portrait mode or auto | 1/500s or faster | Auto, capped low |
| Small room with flash or window | 50mm | f/2.8 | 1/160s | 400 to 800 |
| Group of four to eight | 35 to 50mm | f/4 to f/5.6 | 1/250s | 400 |
Keep the shutter at or above 1/160s because people move when they laugh, and raise ISO rather than dragging the shutter down. Shoot raw so you can correct the white balance on skin without wrecking the neutral tone of the enamel.
Position the Lights to Avoid Dental Reflections
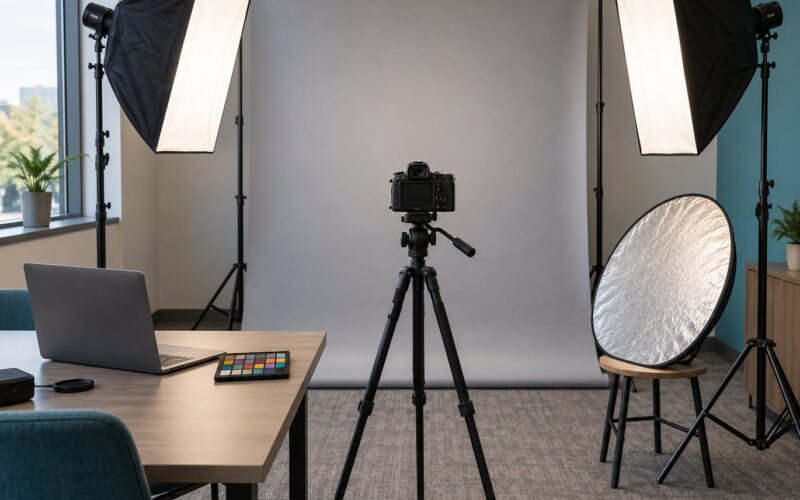
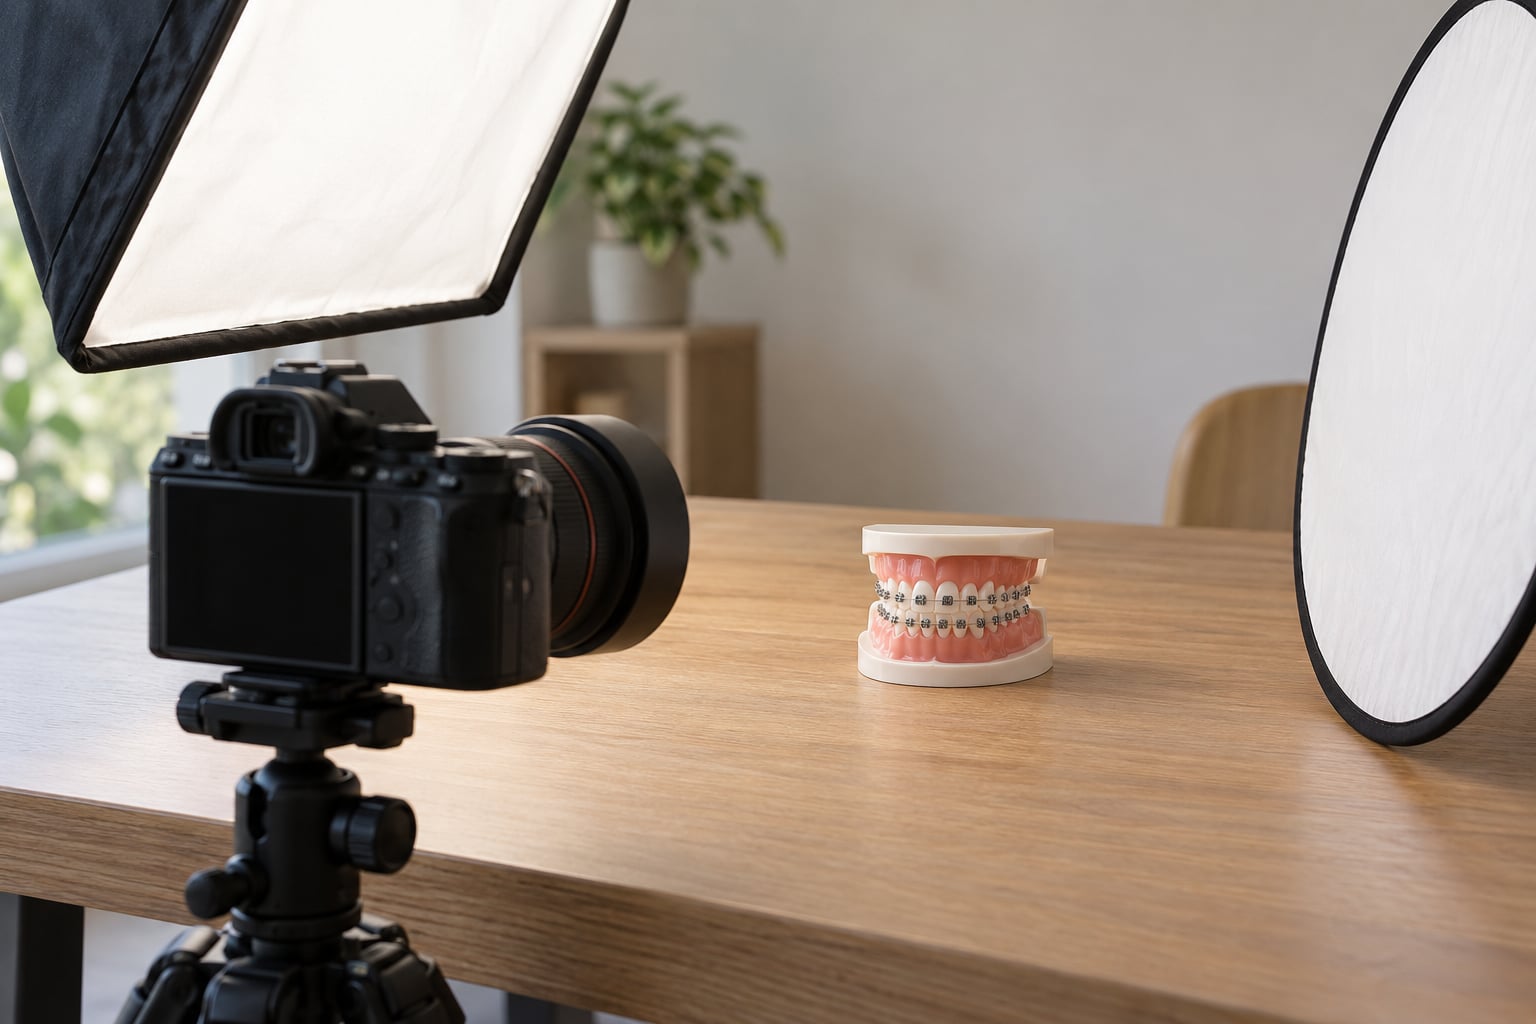
Turn your main light about 45 to 60 degrees to one side of the camera and raise it above eye level. This single move kills most brace hotspots because the reflection off each bracket now travels off to the side instead of back into the lens.
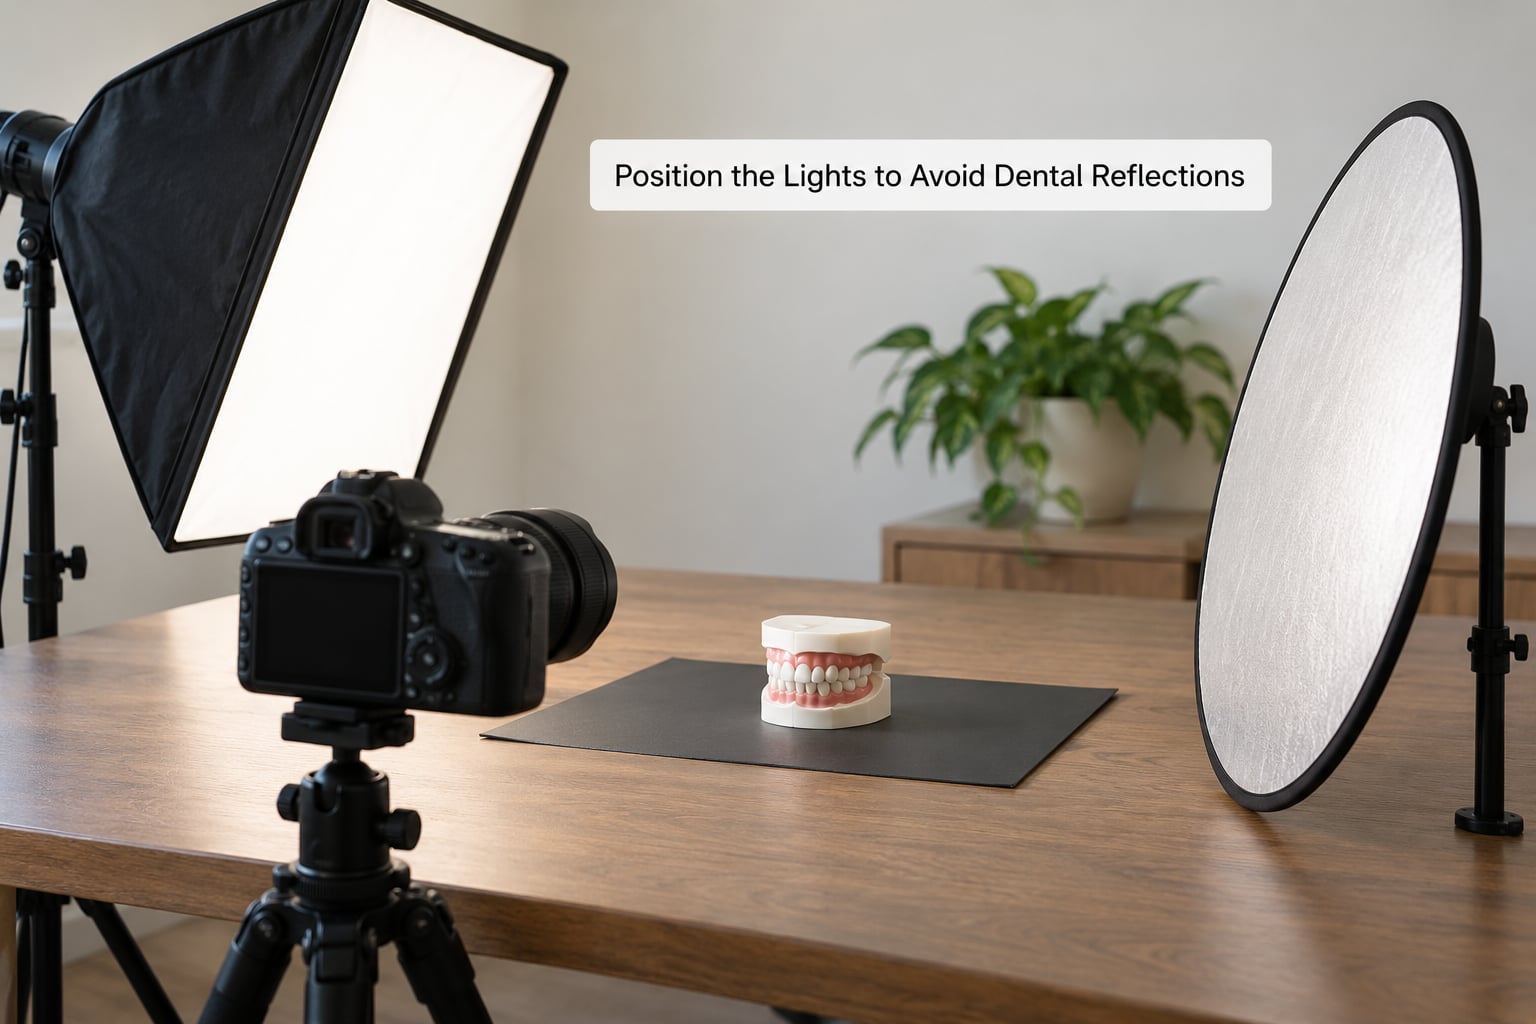
Fill the other side with a reflector or a card rather than a second bare light. A bright second light from the opposite side can send its own reflection into the mouth, and two hotspots are harder to control than one.
Flash is not the problem, its position is. If you must use flash indoors, raise it well above the lens and angle it down about 30 to 45 degrees, or bounce it off a white ceiling and flag the front face so the panel itself does not show. Direct on-axis flash is the worst possible arrangement for polished brackets.
On the bounce side, hang a black flag where light would otherwise return toward the camera. This negative fill also deepens the shadow side of the face, which makes the lit cheek look cleaner by contrast.
Ceramic brackets and tooth-coloured ligatures scatter more softly than metal but still throw a bright edge, so use the same angle rule. Lingual braces sit behind the teeth and mostly read as texture in a normal portrait. Clear aligners are the easiest of all, though a plastic tray in raking light can look milky, so soften the key a little and keep it high.
Direct a Natural Expression and Pose
Ask for a small smile, not a big one. Teeth slightly separated and lips just past the teeth shows the braces without stretching the lips thin over the arch, which is where brackets start to look oversized.
Give them something to think about rather than telling them to smile. Recount a mildly embarrassing story from their year, name a friend they will recognise instantly, or ask them to read your last two messages out loud. A real smile engages the eyes, and the cheek lift that goes with it keeps the mouth relaxed.
Watch the jaw. When someone concentrates on their teeth, the jaw tightens and the lips purse, and that tension shows more than the braces ever do. A quick reset between frames fixes it faster than any amount of instruction.
A closed-mouth smile is a legitimate choice, not a dodge. Offer it as an option, then keep shooting both ways. Most people relax once they see that both versions exist.
With hands and shoulders, give them a job so the rest of the body reads as composed. Angling the shoulders slightly away from the lens and letting one hand rest on a shoulder or a jacket lapel stops the stiff square-on stance that makes a close-up look clinical.
Focus on the Eyes and Check the Braces
Put your focus point on the eye nearest the camera. Eyes carry the portrait, and a face can be technically sharp everywhere except the eyes and still look lifeless.
Use continuous autofocus with face or eye detection if your camera has it, and let it track through the smile rather than hunting back and forth as the subject moves.
After every few frames, zoom in on the playback and check two things: that the eyelashes on the near eye are sharp, and that no bracket has gone pure white. A blown bracket usually means the light crept back toward the lens axis, so adjust position rather than exposure.
You want the braces clear enough to recognise as part of the smile, not so clear they become the subject. If the eye is crisp and the brackets are a touch softer, the picture reads as a portrait of a person.
On a phone, tap the face to lock focus and exposure, then slide exposure down slightly. Phone sensors clip highlights earlier than a dedicated camera, and a hotspot that survives on a larger sensor will turn into a white dot here.
Review and Adjust the Results
Start with white balance. Brackets are neutral grey and the enamel around them is the reference, so set the temperature until teeth look natural rather than yellow or blue. Shot raw, this is a two-click fix.
Then check exposure on the teeth. Pull highlights down slightly if any bracket is sitting at pure white, and hold off on raising the overall exposure, since the mouth is usually the brightest part of a face.
Sharpening masked to the eyes and hair is plenty. Aggressive clarity on the smile area pulls every scratch on the enamel into focus and makes the braces look rougher than they are.
Retouching braces out of a portrait is possible in Photoshop, and I would rather you did not. It changes what a person looked like on a specific day, and in family albums it produces a strange effect years later when the archived photo and the memory disagree. Clean up stray food marks, soften a shine spot on a lip, tidy a thread of hair. Leave the hardware alone, and tell the subject what you left alone.
Common Mistakes
Nearly every bad brace photo traces back to one of six things. Here they are with the fix.
Firing flash straight from the lens. The light travels out along the optical axis and returns along it, so every polished bracket becomes a hotspot. Raise the flash above eye level and angle it down, or bounce it off a ceiling and flag the panel.
Asking for a wide open-mouth smile. Full stretch pulls the lips back over the arch and makes the front brackets look large. Ask for teeth just barely showing, and shoot several small variations rather than one held grin.
Shooting too close with a wide lens. Perspective enlarges whatever is nearest the camera, which in a smile is the braces. Move back, use a longer focal length, and the mouth returns to proportion with the rest of the face.
Leaving a busy background behind the subject. Fence rails and window frames cut across hair and jawlines and the eye goes to the mess first. Walk the subject several steps left and right until the background is plain.
Over-smoothing teeth in post. Teeth should keep their natural texture. If they look like an advertisement, the retouching has gone further than the subject would want anyway.
Focusing on the braces instead of the eyes. It is tempting to focus where the detail is. Focus on the near eye and let the mouth sit just behind it in sharpness.
| Symptom | Cause | Fix |
|---|---|---|
| Hard white dots across the teeth | Light too close to the lens axis | Move the key 45 to 60 degrees off axis and above eye level |
| Dark sockets with a lit face | Key too low or too close | Raise the light, add a reflector on the shadow side |
| Flat, lifeless skin | Fill too strong, no contrast | Replace the second light with a reflector and add negative fill |
| Greenish or yellow cast on the teeth | Brass components plus wrong white balance | Shoot raw, set white balance from the enamel, not the brackets |
| Milky tray over the teeth | Raking light on clear aligners | Soften and lift the key so it sits more front-on |
| Sharp braces, soft eyes | Focus point placed on the mouth | Move the focus point to the eye nearest the lens |
Two habits help more than any single fix. Keep moving the light between setups rather than setting it once, and check the playback at full size every few frames instead of trusting the rear screen at arm’s length.
Frequently Asked Questions
How do I avoid glare on braces in photos?
Move your key light 45 to 60 degrees to the side of the lens axis and raise it above eye level, so reflections off the polished brackets travel away from the camera instead of back into it. If you use flash, raise it above the head and angle it down 30 to 45 degrees instead of firing straight on. Fill the opposite side with a white reflector rather than a second bare light, and flag the dark side with black fabric so stray bounce stops returning toward the lens.
Do I need a flash for portraits of people with braces?
No. Window light or open shade gives you more control and costs nothing. Flash is workable indoors because the issue is placement, not the equipment itself: on-axis flash produces the worst hotspots because the light returns along the lens axis. Raise it above the subject and angle it down, bounce it off a white ceiling, or place it behind a diffuser. One large soft source at 45 degrees beats two bare strobes every time.
What camera settings work best for a smile portrait?
Start at an 85mm focal length on full frame, about 56 to 60mm on a crop sensor, with an aperture of f/2.8 to f/4 so the brackets and the near eye sit in the same plane of focus. Keep the shutter at 1/250s or faster and raise ISO instead of slowing down. Shoot raw, set the focus point on the eye nearest the lens, and turn off any automatic flash the camera fires by itself.
Should I remove braces in Photoshop?
Generally no. Braces are what the person looked like that day, and removing them means the archived image disagrees with the memory years later. You can still tidy the frame: lift a stray food mark, reduce a shine spot on the lips, pull highlights down on an over-bright bracket, and clear away stray hairs. Keep the retouch restrained enough that the subject would recognise it as their own face on a good day.
How do I coach someone who is embarrassed to smile with braces?
Tell them early that metal in the teeth is normal to photograph and that you will light it so it does not blow out, then move straight on to other direction. Ask for a small smile rather than a big one, and give them something to think about, like recounting a story or reading your last messages, so a real expression arrives instead of a forced one. Shoot both open and closed-mouth frames so they see they have a choice.
What color braces and elastics photograph best?
Softer shades in the red, pink and purple range sit close to natural lip and skin tones, so they read as part of the smile rather than as hardware. Very light yellow and pale blue pick up the warm cast of tungsten light and can look dingy. Bright yellow and orange draw the eye straight to the mouth. Whatever the colour, the same rule applies: light from the side and above, never straight down the lens axis.
Conclusion
Move your light before you touch anything else. Put the key 45 to 60 degrees off the lens axis and above eye level, stand back with a longer lens, and take one frame to see whether the brackets have gone white.
The rest is judgement. Check the near eye first and the smile second, coach a small smile instead of a big one, and leave the braces in the frame. A good brace portrait still looks like the person, only lit by someone who knew where the reflection would land.