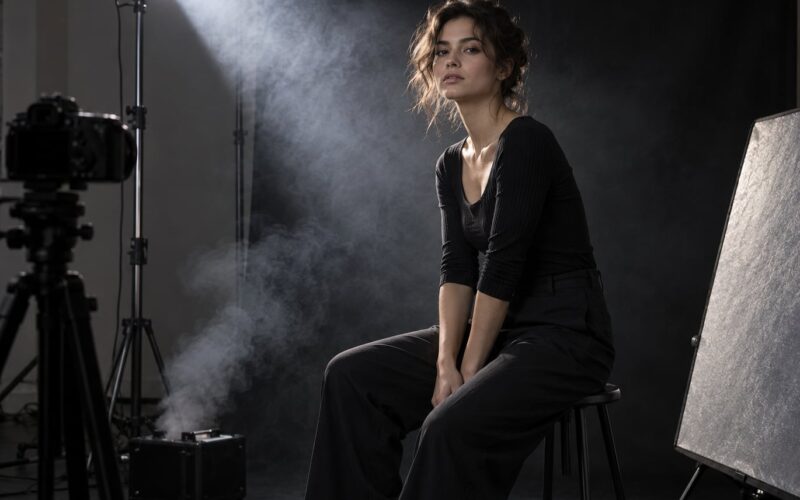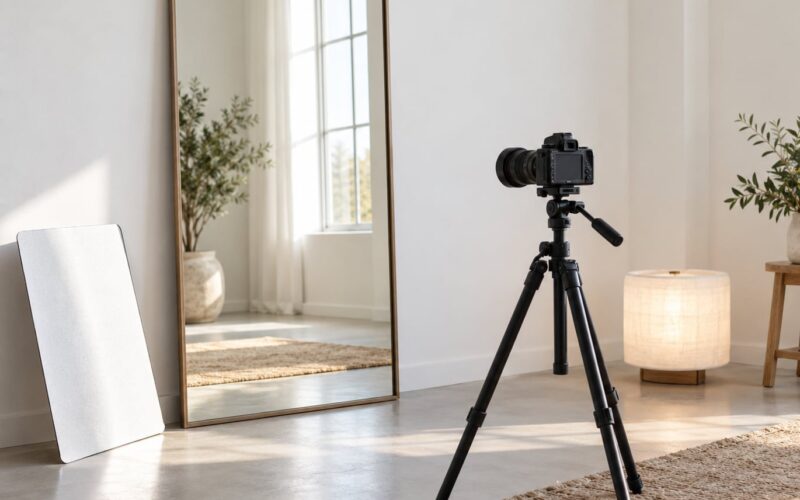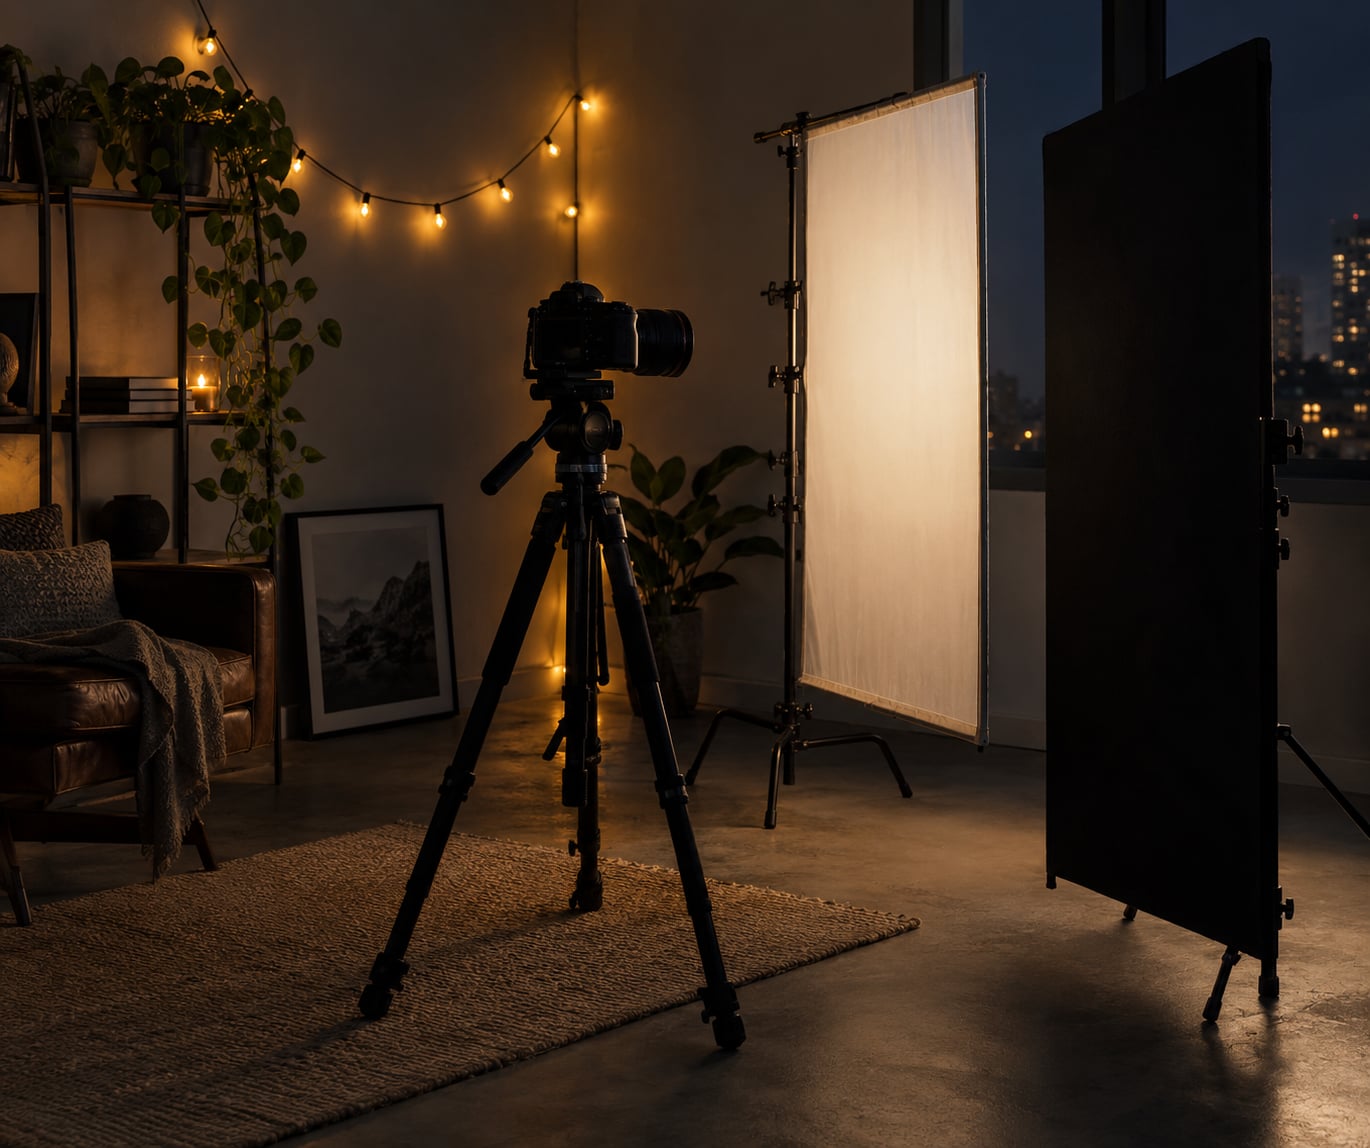
To shoot creative portraits with Christmas lights, treat the string as a small softbox: hang it close to your subject for soft skin, push it behind them for rim light, and bring it near the lens for glowing bokeh. Shoot RAW, use manual mode, and start around f/1.8, 1/100s, ISO 800.
You can shoot good portraits at night without flash by finding or making a strong light source, mounting the camera on a tripod, and using a slower shutter rather than cranking ISO. Christmas lights work well here because every bulb is its own tiny emitter, which gives you soft, warm light and characterful out-of-focus highlights for free.
One safety note before anything else. Incandescent bulbs get hot enough to redden skin and singe hair, and no string belongs near a real, dry tree or a paper surface. LEDs run cool, so they are the safer choice for portraits indoors and near foliage. Keep cables out of walkways, and never run extension leads under a rug.
What You Need
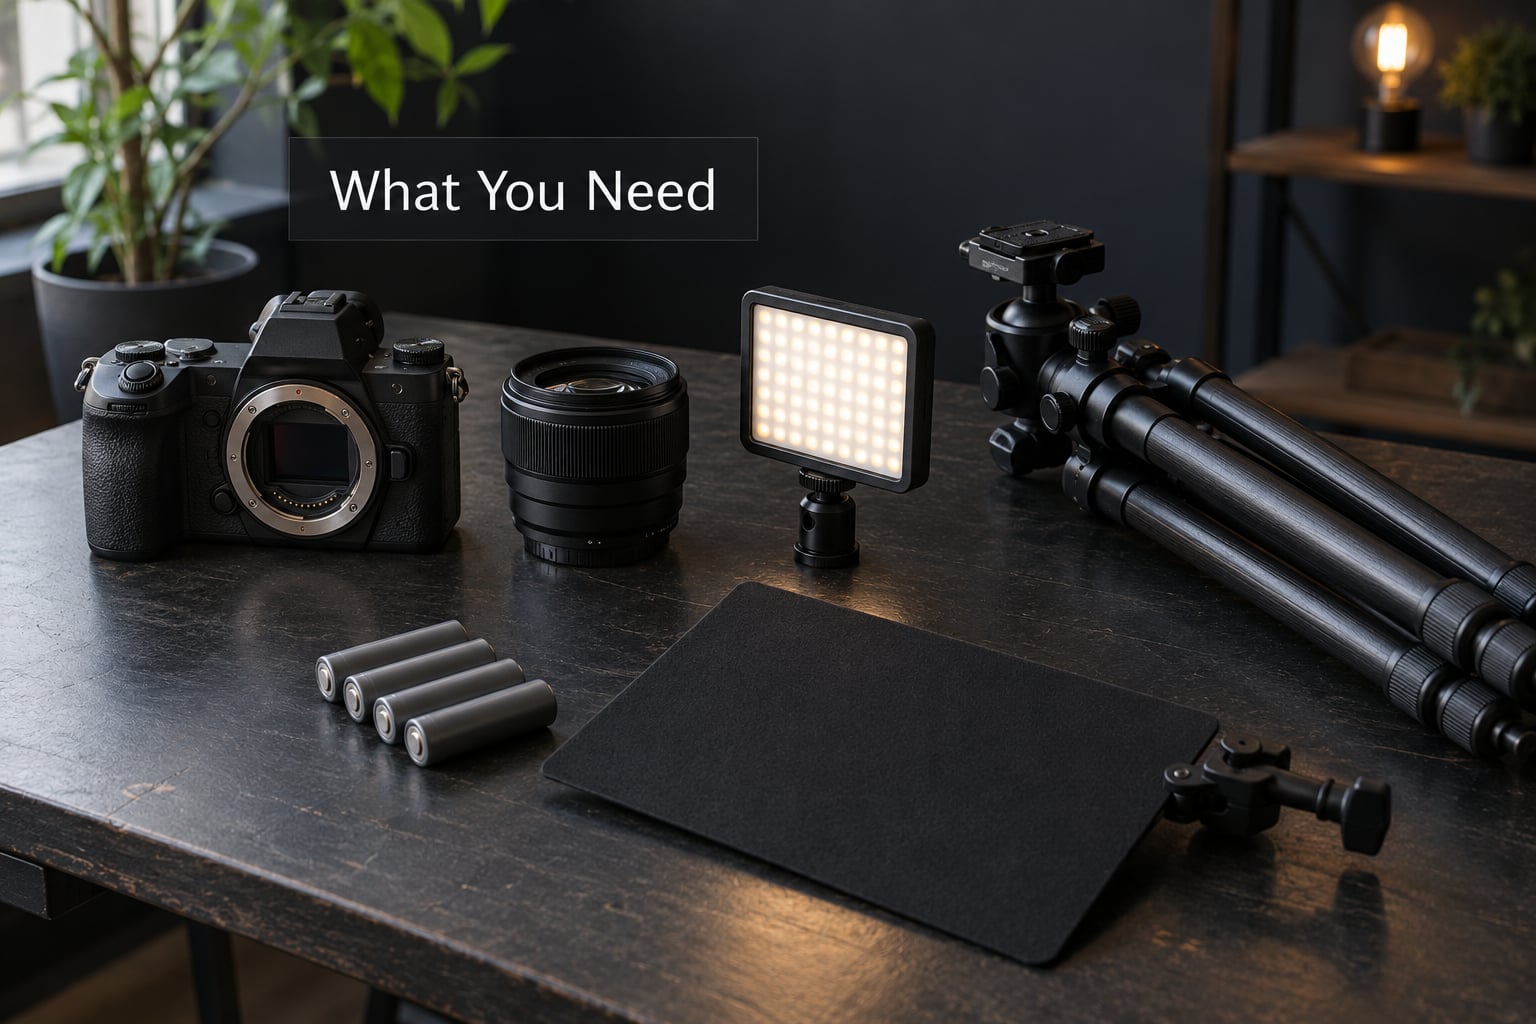
Gear for this is short, because the lights are the gear. Everything below has a job, and skipping the tripod is the one choice that will cost you the most frames.
- A camera with manual exposure and RAW capture. Any interchangeable camera or a recent phone with a manual or long-exposure mode works.
- A fast lens. 35mm or 50mm full-frame equivalent, ideally f/1.4 to f/2.8. Short focal lengths keep the string lights from far enough away to spread across the frame, which is what makes the bokeh orbs large.
- A tripod. Non-negotiable for anything slower than about 1/60s.
- A remote release or the two-second timer. Your hands shake more than you think, and a tripod without a release still gets nudged.
- A small reflector or fill light if you want control over how dark the shadow side goes.
- A black flag or foam board to shape spill and keep bulbs out of unwanted parts of the frame.
- Gaffer tape and a couple of clamps for fixing strings to walls and hiding cable runs.
- Fresh batteries for the camera and any speedlight. Batteries die mid-shoot, always at the worst moment.
Step-by-Step
1. Plan the look and test the location
Decide the mood before you unpack anything: warm and cosy for indoor family frames, cold blue and orange contrast for outdoor city displays, or clean and modern for a studio-style frame on a white wall. Warm indoor bulbs against a cool window are a classic pairing and need no special colour work.
Scout the space with the lights switched on and your camera off. You want walls or corners that go properly dark once room lights are off, and you want to know whether your string will tangle, drape badly or hang into the subject’s face. Test frames at ISO 800, f/2.8 and 1/60s tell you in ten seconds whether the location works.
2. Choose the Christmas-light arrangement
The string’s job changes depending on where you put it, so pick the role before you hang it. Most good frames use one of five arrangements: halo behind the head, a backlight two to three metres behind the subject, foreground bokeh close to the lens, an accent on a wall or tree, or a practical the subject holds.
Colour temperature decides what your white balance has to do. Warm white LED sits near 3000K, cool white LED near 4000K to 5000K, and incandescent near 2700K. That last number is the same one your camera’s tungsten preset assumes, which is why tungsten bulbs look right and LED strings often need a manual Kelvin value.
3. Position the subject and background
Keep your subject at least two metres in front of any wall so the background falls off into darkness instead of showing a flat grey slab of paint. Then keep the lights behind and above the subject’s head line for separation.
Distance does the real work. Pull a strand further from your subject and the falloff gets faster and the face darker, so you compensate by adding fill. Push it closer and the light gets softer and more even. This is the inverse square law in action, and it is the single most useful thing to understand before you start buying anything else.
4. Set camera settings for mixed light
Set the aperture wide for bokeh, the shutter just fast enough to freeze movement, and ISO as low as the light allows. Then set white balance manually rather than leaving it on auto, because auto will hunt between frames as you move through brighter and darker parts of the string.
| Setup | Aperture | Shutter | ISO | White balance | Note |
|---|---|---|---|---|---|
| Bokeh background portrait | f/1.4 to f/2.8 | 1/125s | 400 to 1600 | Manual, match the bulbs | Lights close to the lens, subject far |
| Lights as the key light | f/2 | 1/100s | 800 to 3200 | Manual | Strand 30 cm from the face |
| Rim or hair light | f/2.8 | 1/160s | 400 to 1600 | Manual | Add a reflector on the front |
| Mixed bulbs in frame | f/4 | 1/125s | 400 to 800 | Manual, split the difference | Bracket, brightness varies strand to strand |
| Long exposure light trails | f/8 | 2 to 10s | 100 | Manual | Tripod and remote essential |
| Smartphone | Simulated | Night or manual mode | Auto | Lock if your phone allows | Rest the phone on something solid |
If you have no tripod, check the 500 rule: divide your focal length by 500 to get roughly the longest handheld shutter speed in seconds. With a 50mm lens that is about 1/10s, which is still slow for a moving subject, so stabilise your elbows against your body or use a wall.
5. Shape the light and protect the highlights
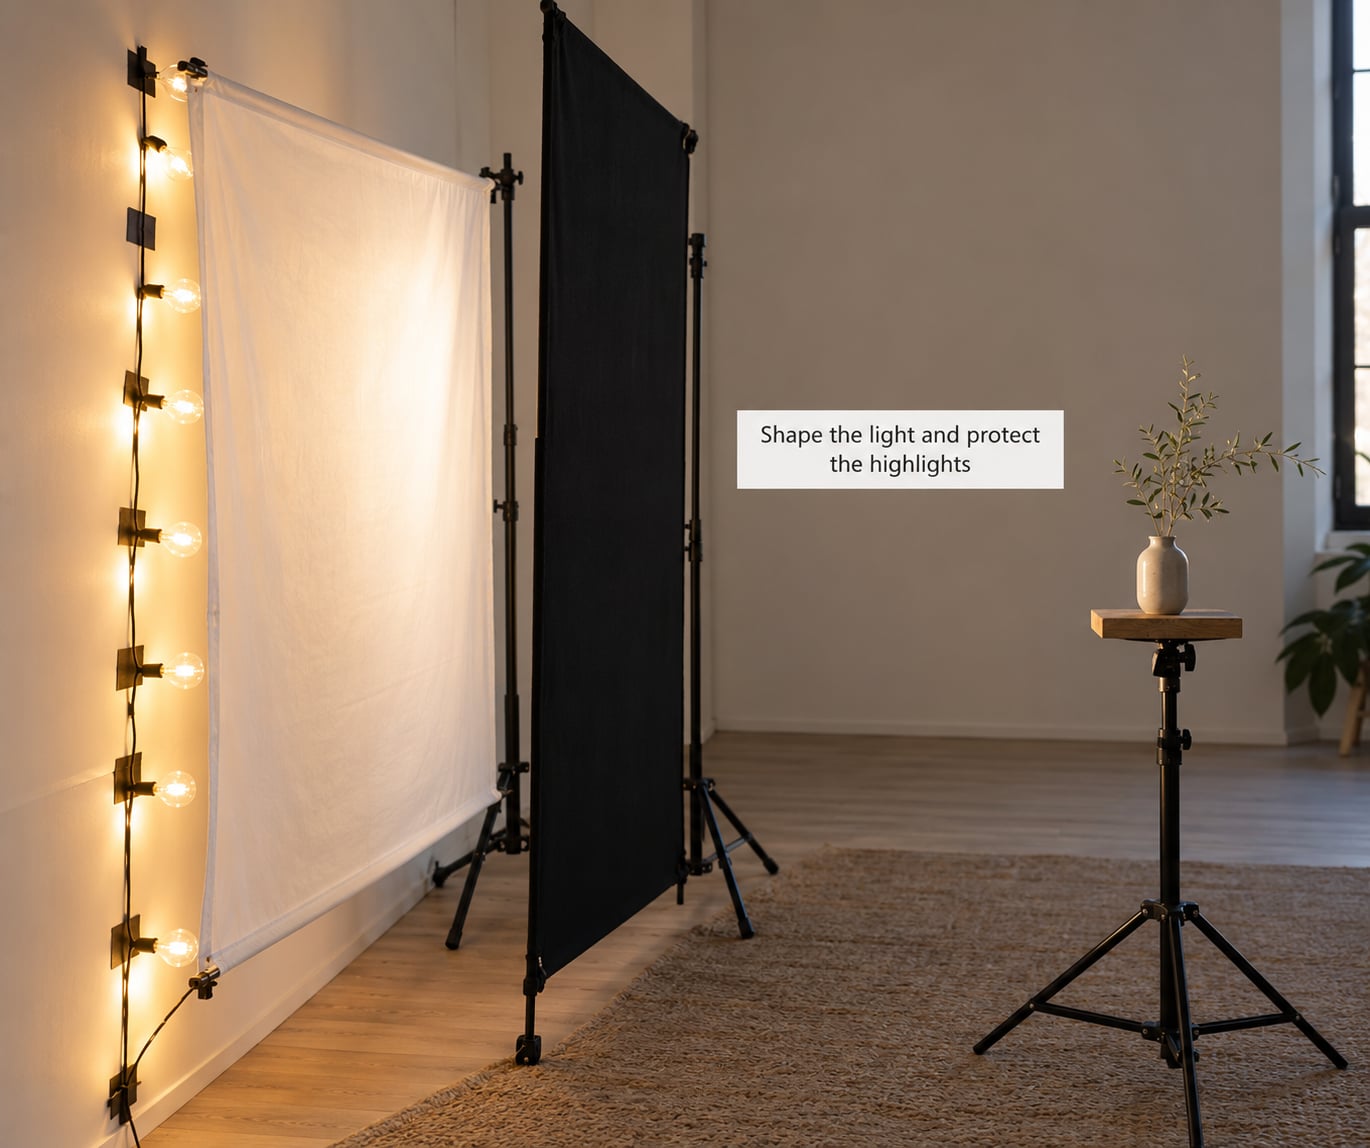
Bare bulbs are tiny and hot, so they blow out long before your face is properly exposed. Fix this with distance. Move the strand a metre or two back from your subject and the ratio between bulb brightness and skin brightness improves without losing the glow.
For softer facial light, hang a sheet of white diffusion fabric or a frosted shower curtain between the string and the subject. For harder control, clip a black flag on the other side so the string lights only wrap one side of the face and the rest falls into shadow. That single move is what separates a snapshot from a portrait with shape.
Outdoors, shoot at twilight rather than full dark. The blue sky still gives you a soft top light, and the string reads as warm accents rather than as the only source in the frame.
6. Direct creative poses and movement
Most guides stop at the lighting, which is a shame, because a person standing in beautiful light still looks stiff. Give the subject something to do and the pictures improve on their own.
- Hands and the lights. Put a clear jar with a battery string in it into the subject’s hands, held at chest height, and ask them to look at it rather than at you. A real practical light that moves with the person also solves your lighting problem.
- Turn away, then back. Ask for a shoulder toward camera, then a slow turn toward the lights. Fire during the turn, or use the two-second timer so the frame lands mid-movement.
- Interaction. For a couple or family, ask them to pass a bulb or a bauble from one hand to the other. You get a natural frame with motion in it.
- Look into the light. Face the subject toward the string and let them look straight into the brightest bulb. Expect flare and squinting, and keep a backup frame at 1/250s.
- Stillness for the last frame. After the movement shots, go quiet and shoot a single held pose for two seconds. That frame is usually the one you print.
7. Review, refine, and edit selectively
Review shots at full size, not on the back of the camera. At night the LCD and the histogram both lie, so check the actual pixels for sharpness on the eyes, clipped bulbs and colour on skin. A simple check: zoom to 100 percent and look at the catchlights in the eyes.
Then edit with restraint. Start with white balance, using the skin as your reference rather than the bulbs, since you want warm lights and natural skin. Pull highlights back where bulbs clipped, apply noise reduction lightly, then dodge the face a little and burn the corners. A soft glow added at low opacity helps sell the warmth, but any more than that turns a portrait into a smear.
Two finishing moves earn their keep: a gentle warm-versus-cool split where warm bulbs frame a cooler face, and a slight sharpening pass on the eyes only after noise reduction.
Common Mistakes
Most frustration with these shoots comes down to a handful of fixable problems.
Blown-out bulbs. The light source is brighter than the meter expects. Move the strand further back, close the aperture a stop, or underexpose by a third and lift the shadows in the edit.
A soft, blurry subject. Use the two-second timer instead of the self-timer, and confirm your shutter is fast enough for movement. Bracket when brightness varies along the strand, since no single exposure holds an entire string.
Harsh, directional light. Bulbs close to the face create hard little shadows across the nose. Add diffusion fabric, move the string further away, or wrap the strand loosely so light arrives from more than one direction.
Tangled cables. The problem photographers mention most. Untangle before your subject arrives, test each strand, then tape runs down the wall with gaffer tape so nothing moves between frames.
A colour cast that will not settle. Mixed incandescent and LED on one display will not agree with any preset. Shoot RAW and split the difference in the edit, setting a Kelvin value by eye against the skin.
Too many competing decorations. A tree, a wall of lights, a wreath and a patterned rug in one frame give the eye nowhere to land. Pick one background element and let it go dark.
Judging exposure on the LCD. Night screens are unreadable. Take a test frame, review it at full size on the computer, and adjust by a stop at a time.
Frequently Asked Questions
What settings do you use for Christmas lights?
Start at f/1.8, 1/100s and ISO 800 in manual mode, with white balance set manually rather than left on auto. For long exposure work, go to ISO 100, f/8 and two to four seconds on a tripod. Bulb brightness varies along a strand, so bracket a stop either side of your first exposure and pick the best of the three.
How can I take good pictures at night without using flash?
Find or make one strong light source, mount the camera on a tripod and slow the shutter instead of raising ISO. Christmas lights, a lamp or a single bounced speedlight all work. Once the camera is steady, open the aperture wide and set white balance manually so frames stay consistent. Slow shutter plus tripod beats flash in almost every night scene.
Why do people say no flash photography?
Because direct flash flattens texture, adds hard shadows under the nose and chin, and reflects off skin. It also ruins the look you came for, since out-of-focus bulbs turn into dull grey blobs once a flash fires in front of them. A small flash bounced off a ceiling or wall still works if you keep it low and use it only to lift shadows.
Do LED Christmas lights photograph blue?
Often, but it is fixable. Cool white LED strings sit around 4000K to 5000K, so a daylight white balance makes them look blue and a tungsten preset makes skin look orange. Set white balance manually near 3200K for warm white LED, or shoot RAW and correct by eye with a grey card in the frame. Colour-changing and battery strings shift hue, so re-check between shots.
How do I focus when shooting bokeh lights?
Focus on the subject, never on the lights. Use single-point autofocus or manual focus with live view zoomed in, then confirm the catchlights are sharp at 100 percent before you fire. Leave a little depth of field on the near side of the face so the nose and eyes are not on different focal planes.
Can I use Christmas lights instead of a studio light?
As a fill, hair or rim light, yes, with no equipment beyond a clamp. As a full key on a subject standing more than a metre away, no. Each bulb is a weak point source, so light falls off fast and the shadow side goes black. Keep the string close to the subject, add a white reflector on the camera side, and it will carry a frame comfortably.
Conclusion
Pick one light arrangement tonight and stick to it. Choose bokeh, a practical the subject holds, or a rim behind the head, not all three at once. Keep the strand far enough away that the bulbs stop clipping, and shoot a test frame at full size on your computer before you call your subject back in.
Once that single frame works, add the complexity: a reflector on the dark side, a diffusion layer, or a second strand. Christmas lights portrait photography gets interesting the moment the lighting is controlled, and it stays cheap. Updated for 2026.