Learning how to scan film negatives at home comes down to one idea: put the negative between a bright, even light source and a sensor, then invert the result. You can do that with a flatbed scanner and a transparency unit, a dedicated film scanner, or a camera and macro lens over a light panel, and the camera route gives you the most control for the least money. First, though: undeveloped film cannot be scanned. If a roll was never sent to a lab, develop it before touching a scanner.
Updated for 2026. If your negatives came from a box in the attic, give them a slow inspection before loading anything, because old acetate can be brittle and fingerprints sink into the emulsion permanently.
Table of Contents
- What You Need
- Step-by-Step: How to Scan Film Negatives at Home
- Common Mistakes
- Frequently Asked Questions
- Can I scan film negatives with a regular scanner?
- What resolution should I scan film negatives at?
- Is there a free app that can scan film negatives?
- How do I remove dust from scanned film negatives?
- Do I need a dedicated film scanner, or will my camera work?
- Why do my scanned negatives look orange or green?
- Conclusion
What You Need
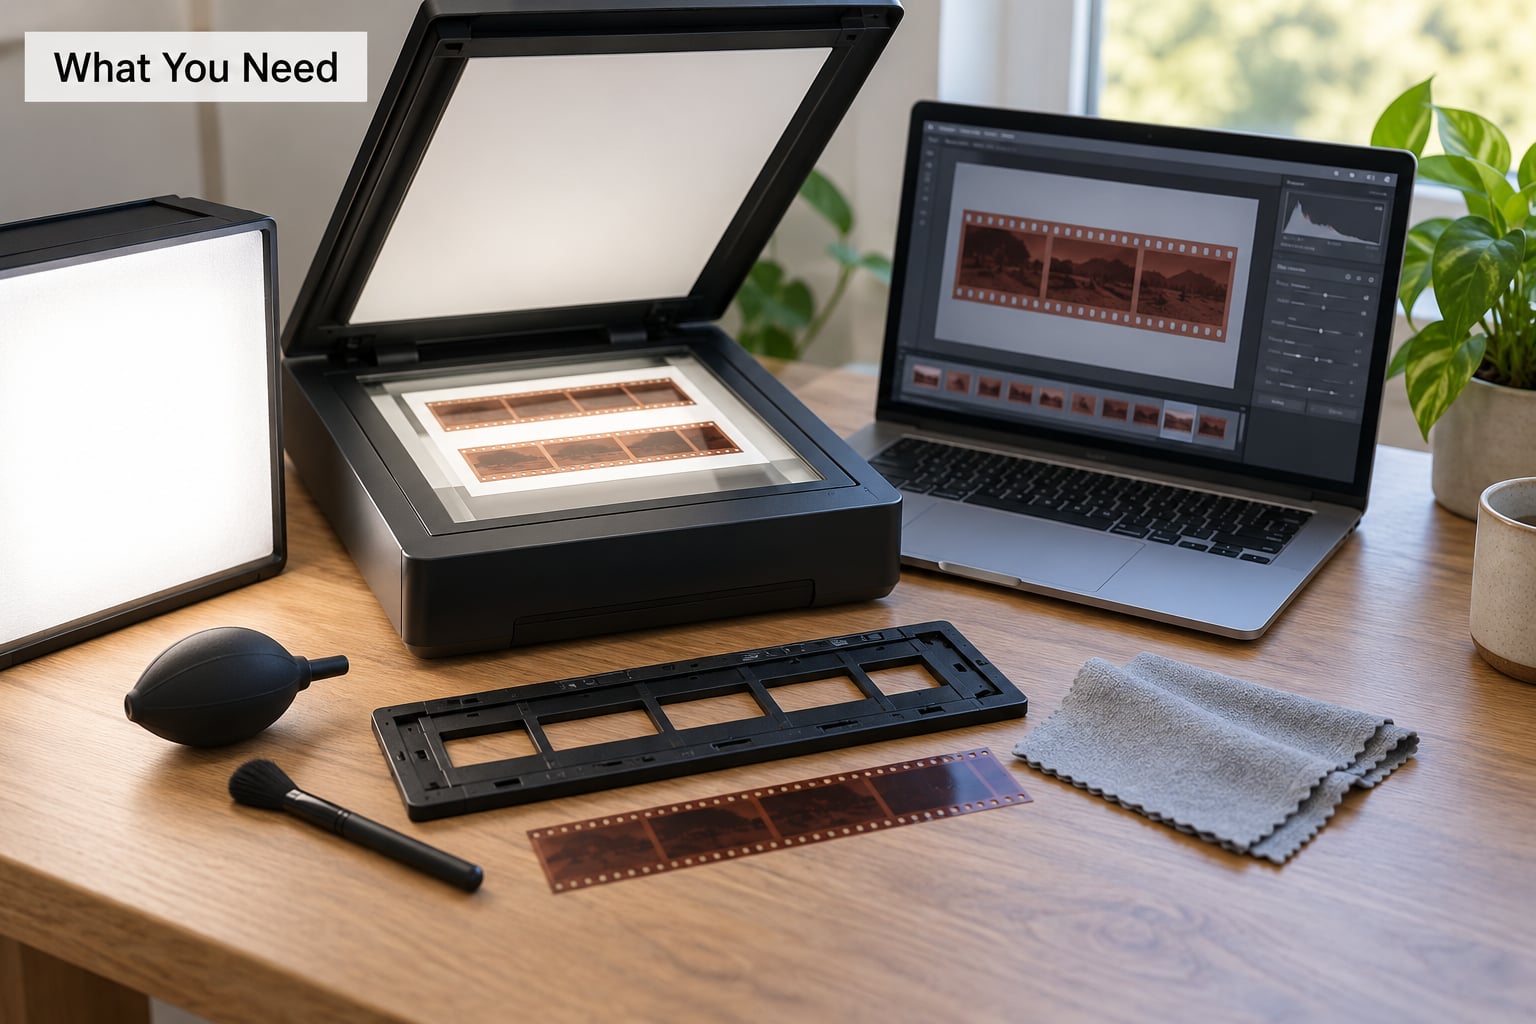
Four things sit under every method described here: even transmitted light, a way to hold the film perfectly flat, software that inverts and colour-corrects, and a clean workspace. Get those right and the rest is settings.
- A light source. A light table, a high-CRI LED panel, or a scanner lamp. Brightness matters more than colour accuracy, because you can correct colour later and you cannot add light that was never there.
- A flat holder. A glass or film holder that keeps the strip pressed flat against the sensor or lens plane. This is the single biggest cause of soft scans.
- A blower and a soft brush. A rubber bulb blower moves dust off film. Never use compressed air, which pushes grit into the emulsion, and never wipe a negative with anything dry and rough.
- Conversion software. Anything that inverts a negative and lets you set white balance afterwards.
Beyond that, what you need depends on the route you pick.
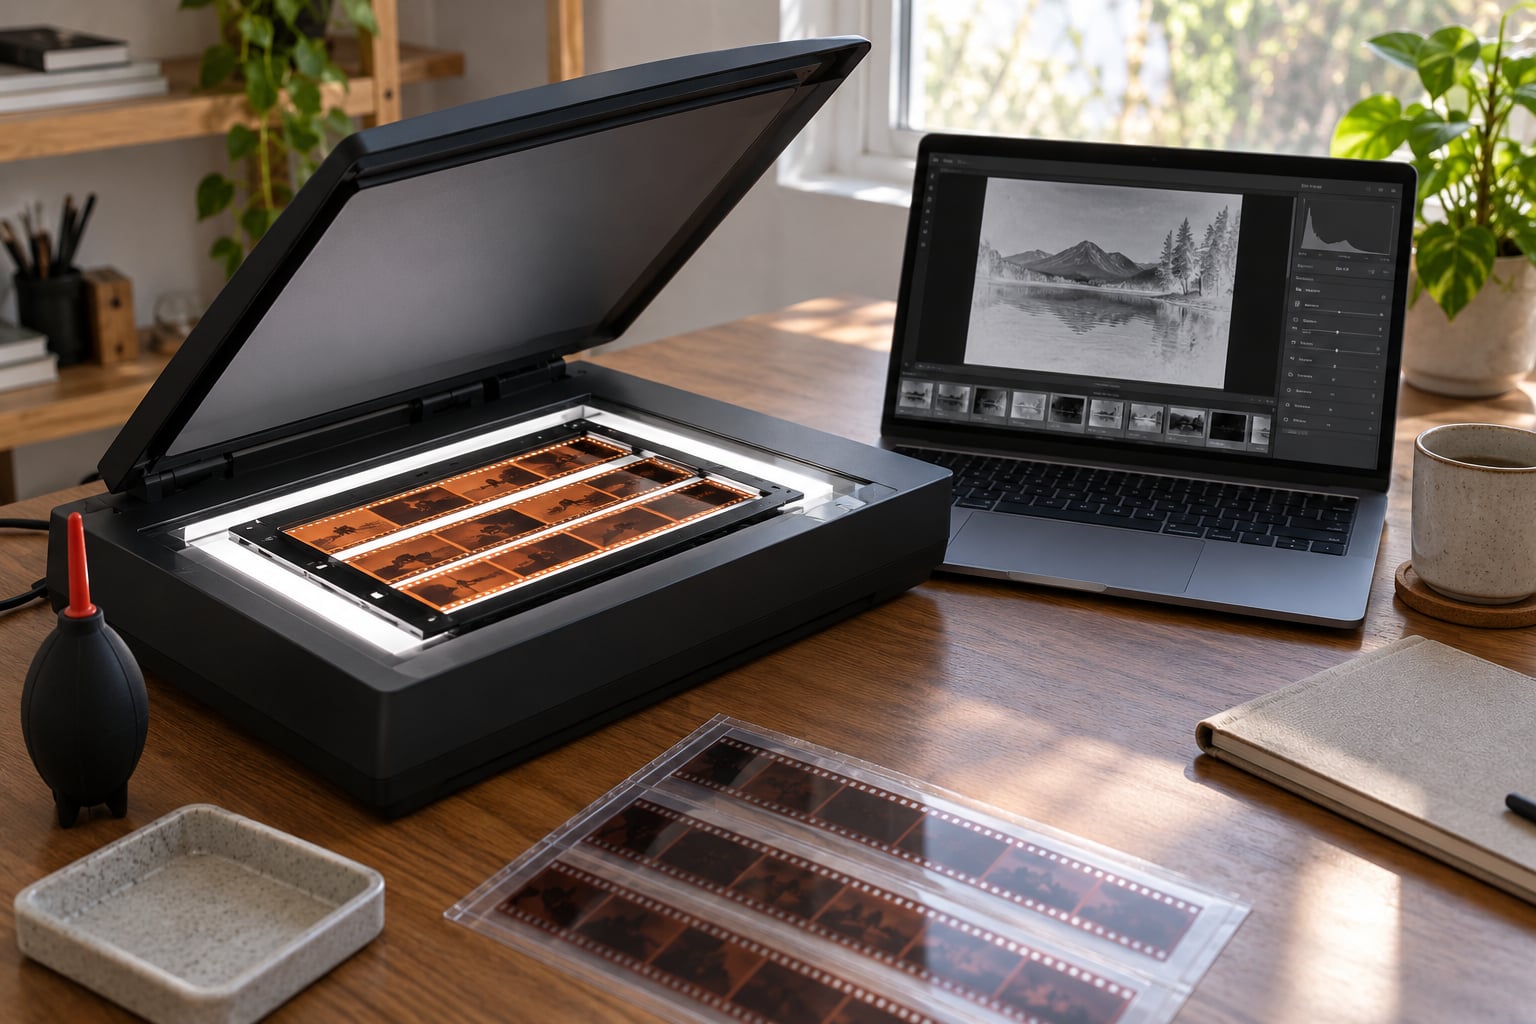
Flatbed scanner route. A scanner with a transparency unit or a holder that keeps the film in contact with the glass. This suits beginners who already own a decent flatbed and only have a few rolls.
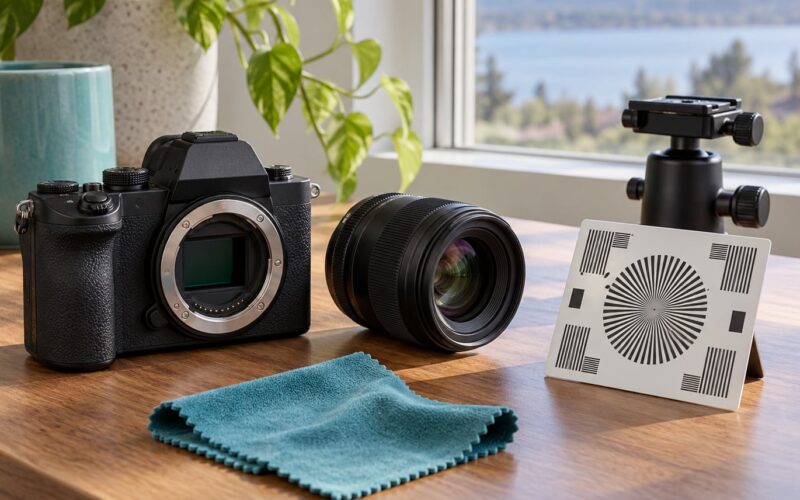
Camera route. A DSLR or mirrorless body, a macro lens or a close-up lens, a tripod or copy stand, an LED panel or light bed, and a 2-second timer or cable release. Most photographers already own three of those five.
Dedicated film scanner route. A dedicated unit that feeds film strips through automatically. It suits a large archive, where the scanning time per strip adds up, and nobody else.
Smartphone route. A phone, a bright white screen or a light pad, and a holder that keeps the film flat against the glass. Treat it as a preview or a last resort, not an archive.
Step-by-Step: How to Scan Film Negatives at Home
Prepare and Inspect the Film Negatives
Start by identifying the format: 35mm with sprocket holes, 120 or 220 medium format, 110 or APS, or a panoramic frame. The format decides which holder you need, and using the wrong one is how frames get cropped.
Look at the strip against a light. Check for dust, hairs, scratches, fingerprints, and edges that have curled away from the flat. Hold every strip by the edges only, and never touch the emulsion, which is the slightly duller side when you look at the film against a bright light.
Use the blower on anything loose. Cleaning fluid is optional and only for intact, modern film; skip it on very old negatives, on film with cracked or powdery emulsion, or on anything that smells faintly of vinegar.
Choosing How to Scan Film Negatives at Home
Each route produces a usable file. They differ sharply in cost, speed and how much you can control.
| Method | Setup | Time per roll | Main drawback |
|---|---|---|---|
| Flatbed scanner | Scanner plus transparency unit and film holder | About 20 to 30 minutes | Software is often clumsy and depth of field is shallow |
| Camera and macro lens | Body, macro lens, tripod or copy stand, LED panel | About 45 to 90 minutes | Needs a steady setup and good manual technique |
| Dedicated film scanner | Film scanner with strip feeding | About 10 to 20 minutes | Highest outlay, only worth it for big archives |
| Smartphone | Phone, bright screen, film holder | About 30 minutes | Uneven light and moire in the shadows |
For a beginner with one or two rolls, the flatbed is the fastest route to a decent result. If you shoot film regularly or own a camera already, the camera setup gives noticeably more detail and much better colour, and the extra time is mostly spent keeping things clean.
Set Up the Scanner or Camera
On a flatbed, clean the glass first with a lint-free cloth and a little isopropyl alcohol. A speck of dust on the platen prints a grey blob on every frame. Drop the transparency unit in, switch the scanner to transparency mode, and place the strip emulsion side down inside a holder so it lies flat.
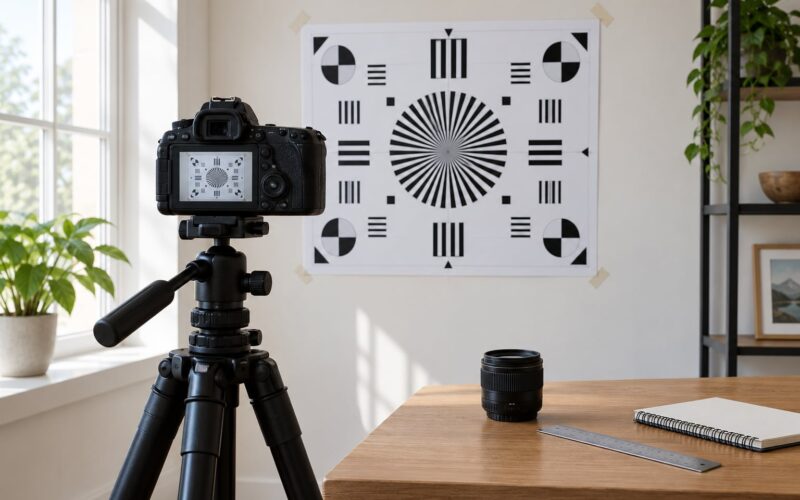
With a camera, work through this list before the first frame:
- Manual exposure mode, no auto anything.
- Lowest native ISO the camera offers, usually 100 or 64.
- Manual focus, with the lens magnified on the film plane until the sprocket edges are crisp. Autofocus hunts on featureless orange film.
- A custom white balance set from the light source itself, so the panel or screen is neutral.
- A 2-second timer or cable release. Every shot touched by hand is a slightly soft shot.
- RAW capture, and in-camera noise reduction, shadow recovery and lens corrections switched off.
- The camera directly overhead, squared up, so the frame lines up with the film edges.
Uneven light is the classic failure here. A light bed that is brighter at one edge produces one side of the frame lighter than the other, and no amount of editing fully hides it.
Scan in a Format That Preserves Detail
Capture more than you need and convert later. A TIFF or PNG at 16 bits per channel holds the tonal range a negative actually contains, and you can always export a smaller JPEG afterwards.
Ignore any resolution figure labelled interpolated or enhanced. Those modes multiply the file size without adding a single real pixel of detail, and on a 35mm frame they can push files into gigabyte territory for no benefit.
Match the optical resolution to the final use: around 1200 dpi for web sharing or a small print, 2400 dpi for a decent size print from 35mm, and 3200 dpi or more when you plan to crop heavily or scan medium format. A 35mm frame at 2400 dpi produces roughly 24 megapixels, so plan your storage before a weekend session.
Check the Scan and Adjust Color
Open one scan before doing the rest of the roll. Zoom to 100 percent and check four things: sharpness at the sprocket edges, overall exposure, dust visibility, and colour neutrality.
Invert once. Software like SilverFast, VueScan, Epson Scan 2, Negative Lab Pro, or the free browser tools from Lomography and Photomyne will do it for you, but the trick is to invert and then set white balance from the brightest area that should be white in the final image. Colour negative film carries an orange mask built into the base, and removing that cast is most of the work.
Infrared dust and scratch removal, often called ICE, is the reason many people buy a flatbed at all. It fails on Kodachrome and on most black and white film, where infrared light passes straight through the emulsion and the software cannot tell a scratch from a grain of dust. Use it as a bonus, not a foundation.
Damage is different from dust. Retouching dust is honest; painting over a long scratch or a fingernail groove changes the image. Keep an untouched scan and note anything significant rather than hiding it.
Save, Name, and Back Up the Files
Adopt a naming pattern on day one, such as date, camera, roll, and frame number. Once you own four hundred rolls, a pattern is the only thing that lets you find the frame you need.
Keep the unedited scan untouched and save corrected versions under a different name or in a separate folder. Then follow the 3-2-1 habit: three copies, on two kinds of media, with one off-site. An external drive in the same room as your computer is not a backup, it is a second copy.
Common Mistakes
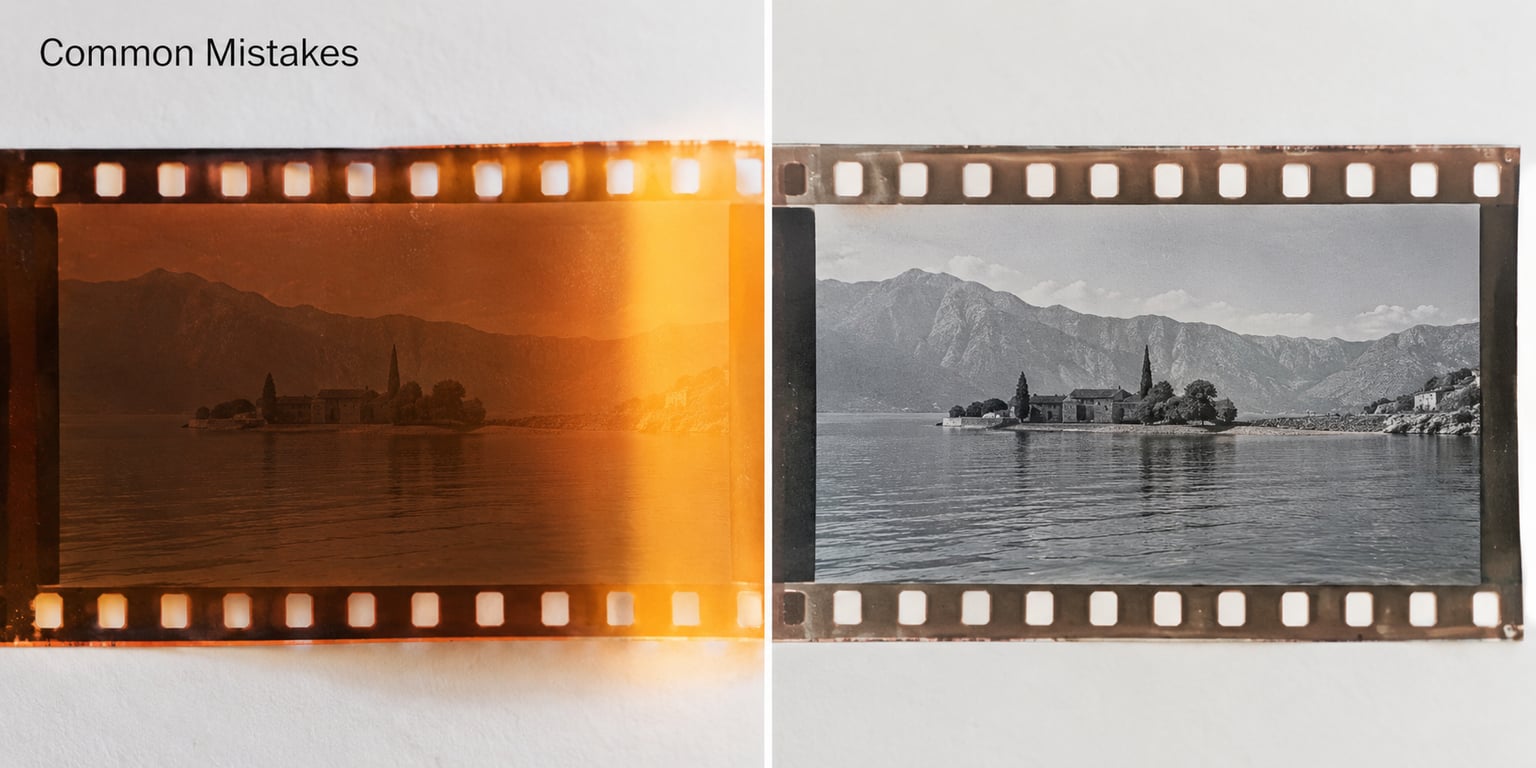
Blurry scans. Nearly always one of three things: film bowing away from the glass or lens plane, autofocus hunting, or camera shake. Fix flatness with a proper holder, focus manually with magnification, and use the timer.
Uneven illumination. One side of the frame lighter than the other. Your light source is off-centre or too close. Move it directly under the film and increase its distance.
Colour cast. Orange and green tints on colour negatives come from the film’s own mask, not from a fault. Adjust the white balance after inverting rather than reaching for saturation.
Dust that will not clean. Some of it is on the light source or the holder glass, not the film. Clean the holder every time you reload, and remember that dust you cannot remove is best left documented.
The negative negative. Inverting twice, usually by scanning an already inverted preview, leaves you with an orange image and inverted colours. Invert once, from the raw capture.
Frames cut off or misaligned. The film shifted between preview and capture, or the holder is sized for a different format. Preview the frame after loading and reframe before the batch.
Two habits prevent most of this. Clean the glass, the holder and the light before every session, and check the first scan at full size before committing a whole roll.
Frequently Asked Questions
Can I scan film negatives with a regular scanner?
Yes, as long as the scanner has a transparency unit or a holder that presses the film flat against the glass, and the software can invert the image. Most modern flatbeds can do it. Watch two limits: depth of field is shallow, so the film must sit flat, and infrared dust removal does not work on Kodachrome or black and white film.
What resolution should I scan film negatives at?
About 1200 dpi for web images and small prints, 2400 dpi for a good print from 35mm, and 3200 dpi or more if you plan heavy cropping or you shoot medium format. Skip any resolution labelled interpolated or enhanced, since it inflates the file size without adding detail. Focus matters more than resolution: a sharp 1200 dpi scan beats a soft 2400 dpi one.
Is there a free app that can scan film negatives?
Yes. Lomography’s DigitaLIZA and Photomyne’s FilmBox both invert negatives from a photo you took yourself, and GIMP can do the conversion by hand. They are fine for a preview or a small archive. Expect uneven light, screen reflections and moire patterns in the shadows, which is why a light bed and a phone camera beat a phone screen.
How do I remove dust from scanned film negatives?
Most dust never reaches the film if you work in a clean room, blow each strip with a rubber blower, and clean the holder glass and light source between reloads. For dust already captured, use infrared dust and scratch removal in SilverFast, VueScan or Epson Scan 2. It does not work on Kodachrome or black and white film, so retouch those by hand in Photoshop or GIMP.
Do I need a dedicated film scanner, or will my camera work?
Your camera will work well. A DSLR or mirrorless body with a macro lens, a tripod or copy stand, an LED panel, and a 2-second timer produces sharper results than most flatbeds, because the sensor and the film sit in a fixed, parallel relationship. A dedicated film scanner earns its place when you have hundreds of rolls and want the speed of automatic strip feeding.
Why do my scanned negatives look orange or green?
Colour negative film carries an orange mask in the base, and that is normal. Invert the raw scan once, then set white balance using the brightest area that should read as white in the final image. A strong orange or green cast that survives that usually means the light source was not neutral, so set a custom white balance from the light itself before you shoot.
Conclusion
The shortest correct workflow is this: inspect and blow the dust off the strip, load it flat in a holder, backlight it evenly, capture in 16-bit colour at a sensible optical resolution, invert once, set the white balance, then check the frame at full size before moving on. Whatever you own, that sequence works.
Start with one representative strip from a roll, finish the whole post-processing pass on it, and only then scan the rest. It is the cheapest way to find out that your light is off-centre or your focus is wrong, and both are much easier to fix after one frame than after thirty-six.