Consistent color from film scans means every frame of a roll starts from the same neutral reference, so one correction produces the same look on all 36 frames and on the next roll you shoot. You get there by locking white balance before scanning, sampling the film’s own base as neutral, inverting with a fixed film profile, and applying one per-stock preset across the batch instead of adjusting each frame by hand.
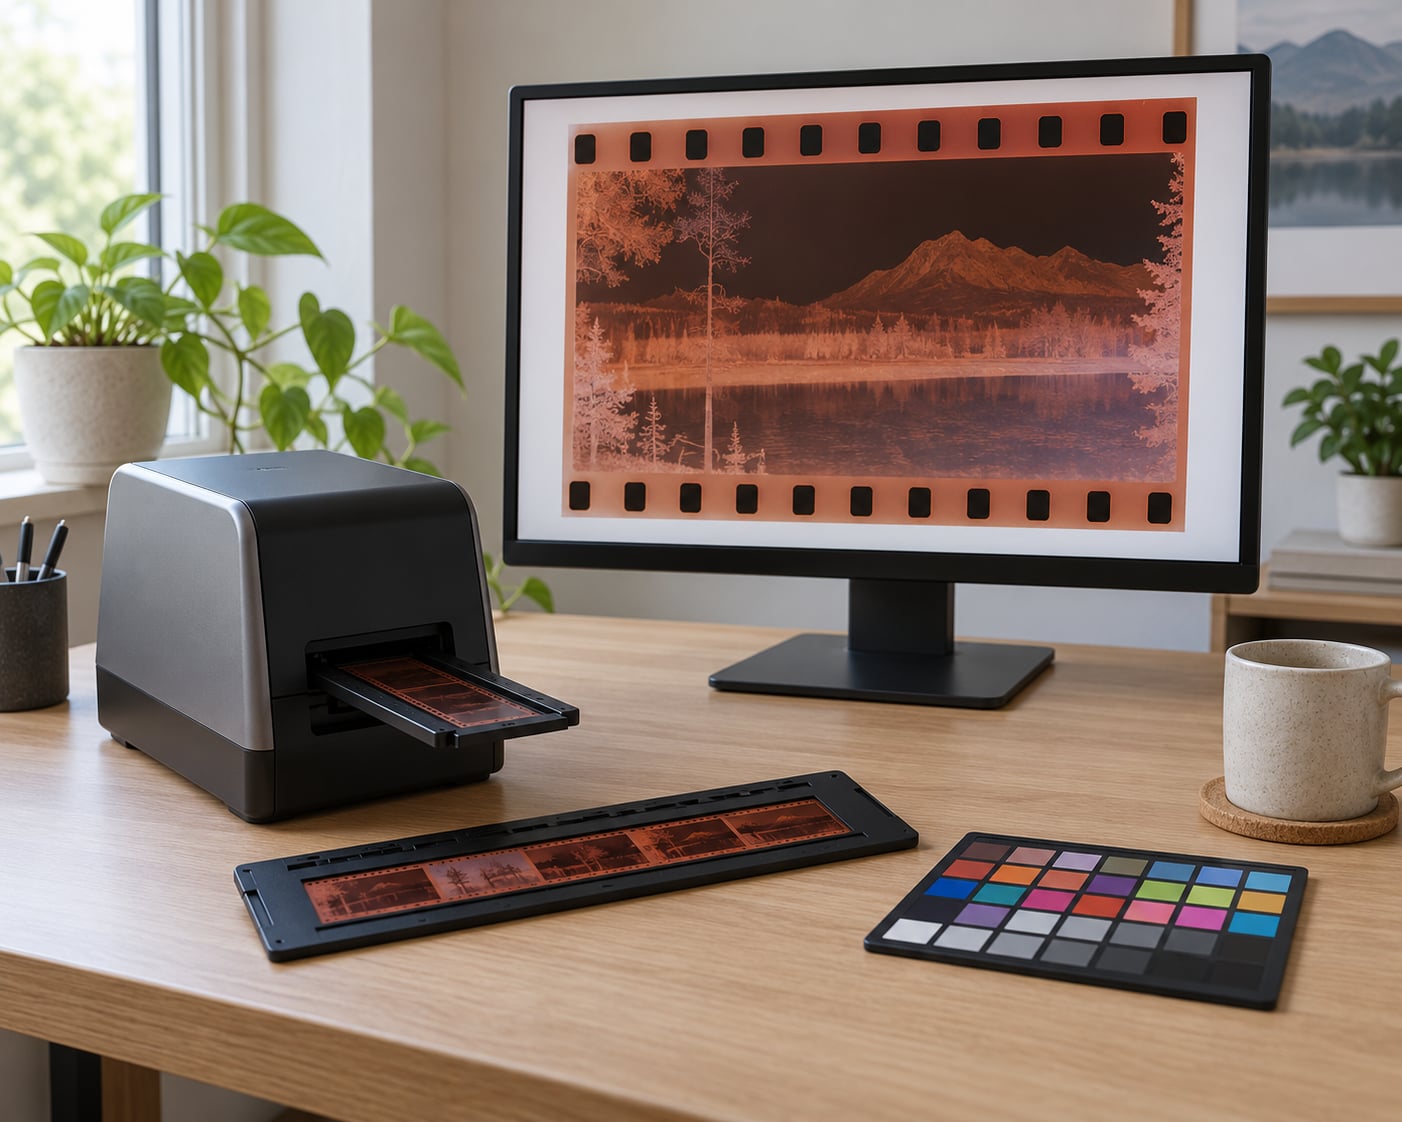
It sounds obvious, and it isn’t. Color negative film arrives home with an orange mask baked into the base, a rem-jet layer that your sensor reads as a heavy orange cast. Most scanning software tries to be helpful about that. Automatic white balance, auto color and auto contrast each recalculate for every single frame, which means frame 4 and frame 5 of the same roll end up neutralized against different targets. The result is a roll that looks fine one frame at a time and incoherent as a sequence.
Here is the whole workflow in five steps, and then the detail on each one:
- Stabilize the scanner, lock exposure, kill auto everything.
- Calibrate color management before the first frame, not after.
- Capture a neutral RAW scan with the film base set as your neutral point.
- Build one restrained per-stock look in your editor and save it as a preset.
- Batch, verify with measurements instead of eyeballing, and export from that one preset.
If you only fix one thing, fix the first. Automatic white balance recalculates per frame on the orange mask, and that single setting causes most of the drift people complain about.
Table of Contents
- What You Need
- Step-by-Step: How to Get Consistent Color from Film Scans
- Common Mistakes
- Frequently Asked Questions
- Do I need a different color workflow for every film type?
- What is the best scanner software for consistent film colors?
- Should I use a negative profile or a custom scan profile?
- Why do my film scans look different on another computer?
- Does consistent color mean every frame should have identical settings?
- Conclusion
What You Need
A controlled film scan workflow needs four things: a color-managed capture device, clean holders, a calibration reference, and editing software that can hold a preset per film stock. None of it has to be exotic, but each piece has to be repeatable.
- A color-managed scanner. A flatbed with a proper film holder, a dedicated film scanner, or a camera on a copy stand with a macro lens all work. What matters is whether the light source and the scan software can be locked, not which category it falls into.
- Clean, consistent film holders. A scratched or fogged holder glass, or one that clips the strip loosely, changes the light path from frame to frame. Keep one holder per format and clean the glass on a schedule.
- A calibration reference. Either the ICC profile your scanner software already ships with, or an IT8 target you scan yourself so the profile matches your specific machine and light source.
- VueScan 2.x for capture as the primary scanning application, or SilverFast if you own hardware it supports. Negative Lab Pro is a good complement for inversion profiles when your capture app is weak on that side.
- Adobe Lightroom Classic 14.x or another RAW-capable editor for consistent post-processing. Capture One and Photo Mechanic do the same job if that’s your editor.
Menu names and control labels shift between scanner drivers, operating systems and software versions, so treat exact paths below as the route for the versions named, then find the equivalent panel in yours. A calibration that reads as Preferences on one machine is often called Options or Settings on another. The order of operations is what carries across.
One more requirement that costs nothing: write down your scanner settings the first time you get them right. Repeatability claims beat memory, especially after a software update resets a panel you forgot existed.
Step-by-Step: How to Get Consistent Color from Film Scans
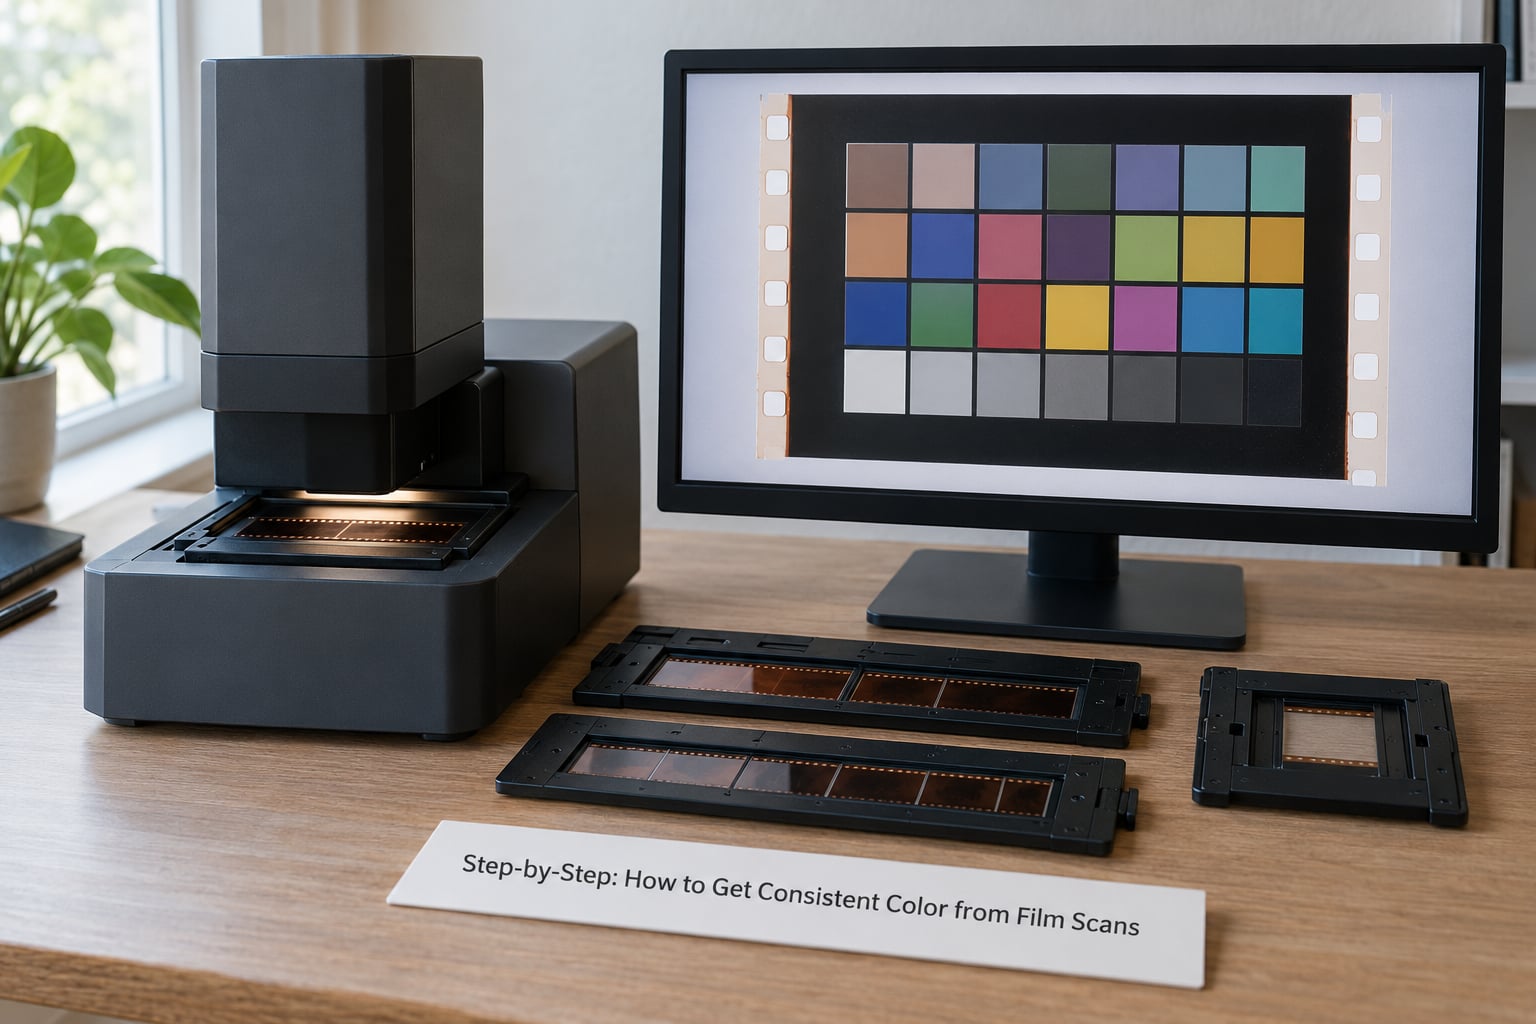
Step 1: Stabilize the Scanner and Lock the Exposure
Consistency starts before the software touches anything. Let a cold flatbed or copy-stand lamp warm up for 15 to 30 minutes before your first frame. Warm-up drift shows up as a slow brightness and warmth creep across a roll, and it is one of those problems people blame on the film for months.
Then turn off every automatic control your scan software offers:
- Auto exposure — set a fixed exposure or fixed ISO and aperture combination, or use a manual density setting on a dedicated film scanner.
- Auto white balance — switch it to a manual or locked value. This is the single highest-value change on this page.
- Auto color, auto contrast, auto dust removal — off. Auto dust removal in particular does unpredictable things to color negatives.
- Digital ICE and infrared dust channels — off for color negatives. Infrared cleaning flattens grain and can shift color where it touches fine detail.
Handle the film the same way every time: clean the holder glass and the film with a blower before loading, load emulsion-side down consistently, seat the strip flat, and scan from the same end of the roll. Rock the frame 3 of every roll before you begin so you’re not learning the holder mid-session.
How you know it worked: the preview brightness should sit at the same histogram position for the same frame position across a 36-exposure roll. If frame 36’s preview histogram is narrower than frame 1’s, the source is physical or thermal, not software. Stop the session, let the scanner settle, and start over. Recheck with the film base: the unexposed edge of the strip should read at the same density every time.
Step 2: Calibrate Color Management Before Scanning
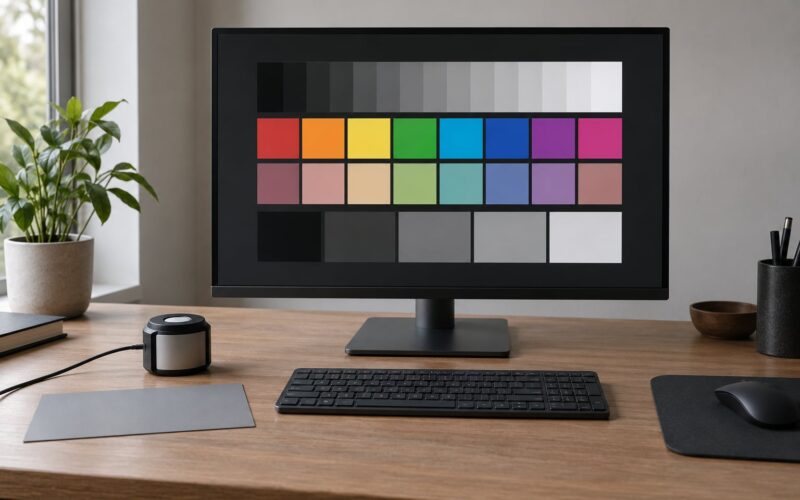
Color drift you can’t see is still drift, so set up color management first. In a calibrated display workflow, your monitor has a profile, your images sit in a defined working space, and the scanner output is translated through an input profile. Without that chain, every correction you make is a guess about what the software guessed first.
In VueScan 2.x, the route is Preferences or Options > Color Management, where available. Set the working space to sRGB or Display P3 to match how you deliver and view, then set the input source to the scanner manufacturer’s ICC profile. Some driver builds label this panel Source Profile or Input Profile rather than Color Management. SilverFast’s equivalent lives in the scan settings under input color space.
Using an IT8 target instead of the bundled profile buys you accuracy at a level the generic profile can’t reach, because the profile then describes your scanner, your light source and your holder glass rather than a category of machine. Scan the target with the film stock you actually shoot most, at the same exposure and with the same settings you use for negatives, then use that custom profile.
Judge the result on a calibrated display in controlled light. A cheap hardware calibrator and a proper color-managed monitor matter more here than an expensive scanner, because the device making the judgment is the monitor. Judge color in neutral daylight-balanced room light, not under a warm ceiling lamp or with the window over your shoulder.
How you know it worked: the same IT8 reference patch should produce the same Lab values and the same target white coordinates each session. If it drifts, your light source is unstable or your holder glass needs cleaning.
Step 3: Capture a Neutral RAW Scan Every Time
Scan in color negative mode and save as 16-bit TIFF or RAW, never JPEG. The orange mask is the least reliable part of the frame, so you want every scrap of data it carries before any transformation happens to it.
The key move here is treating the film’s own base as your neutral reference. Every roll has a clear unexposed edge between or beside the frames, and that patch of orange base is your built-in neutral anchor. Sample it, set it as the black point, and let the software rebalance the channels against it. This is the first setting I check when a roll refuses to sit right, because it asks the software to strip the known color of the film’s own backing rather than guess a neutral from the picture content.
Where your scan software exposes it, a film-specific input profile (Portra 400, Pro 400H, CineStill 800T, Kodak Gold 200) gets you closest to the intended rendering of a specific emulsion. Use it, then check the result on skin tones, sky and any neutral object in the frame. If a film profile makes a face go sallow or turns a blue sky cyan, set it aside for that stock and fall back to a neutral custom profile from your IT8 scan, or build one per stock.
Keep white balance manual through the whole negative session. Every click of the temperature and tint slider adds risk you would otherwise hand to the automatic calculation. Where your software offers a test-strip or multi-frame scan mode, use it on your reference roll so you can see several frames side by side at one exposure before committing to a batch.
How you know it worked: the film base patch reads as neutral (equal RGB) after inversion, and the histogram shows no clipping at either end. Clipped shadows mean you cannot recover detail, and clipped highlights on a negative scan mean you are overexposing the scan rather than the frame.
Step 4: Build a Reusable Look With Lightroom Classic 14.x
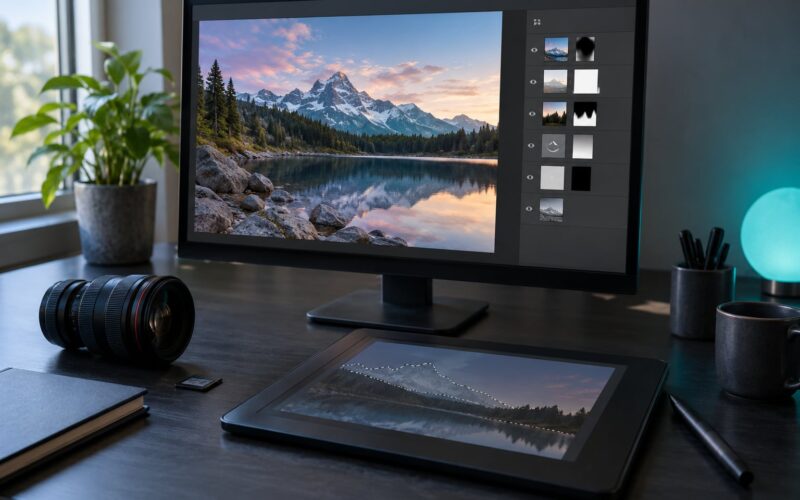
Pick one frame from your reference roll, ideally one with a neutral subject and a grey or white element, and build the correction there. In Lightroom Classic 14.x the working order matters more than the sliders:
- Profile. Set the profile to Adobe Color or Neutral rather than your camera default, so nothing is applied on top of your own work.
- Basic panel, exposure and white balance. Set temperature and tint with the tint slider first on color negatives, because the orange mask skews green-magenta more than it skews blue-yellow. Move the temperature slider against the cast you see.
- Color Mixer. Adjust hue and saturation per channel, mainly to bring a specific emulsion’s signature into line. Keep it small.
- Color Grading. Add any remaining cast correction here, then split-tone only if you actually want a look, not to fix a defect.
- Copy and paste settings. Select the frame, then Copy Settings (Ctrl+C / Cmd+C) and paste to the rest of the batch.
Save the result as a preset per stock. In Develop > Presets > Create Preset, name it with the emulsion, the camera, the development kit and the scanner, for example Portra 400-Nikon FM2-C41-HomeScanner-A. That naming scheme is what makes the library usable six months later when you have four near-identical entries.
Be conservative. A film scan that looks punchy on an uncalibrated laptop is usually over-corrected, and the correction that fails is the one where saturation and cast removal outrun the underlying data.
How you know it worked: open the same frame with your preset applied and with a second nearby frame without it, and the difference should be subtle. If a preset visibly transforms every image you touch, it is doing too much.
Step 5: Batch, Check, and Export From One Preset
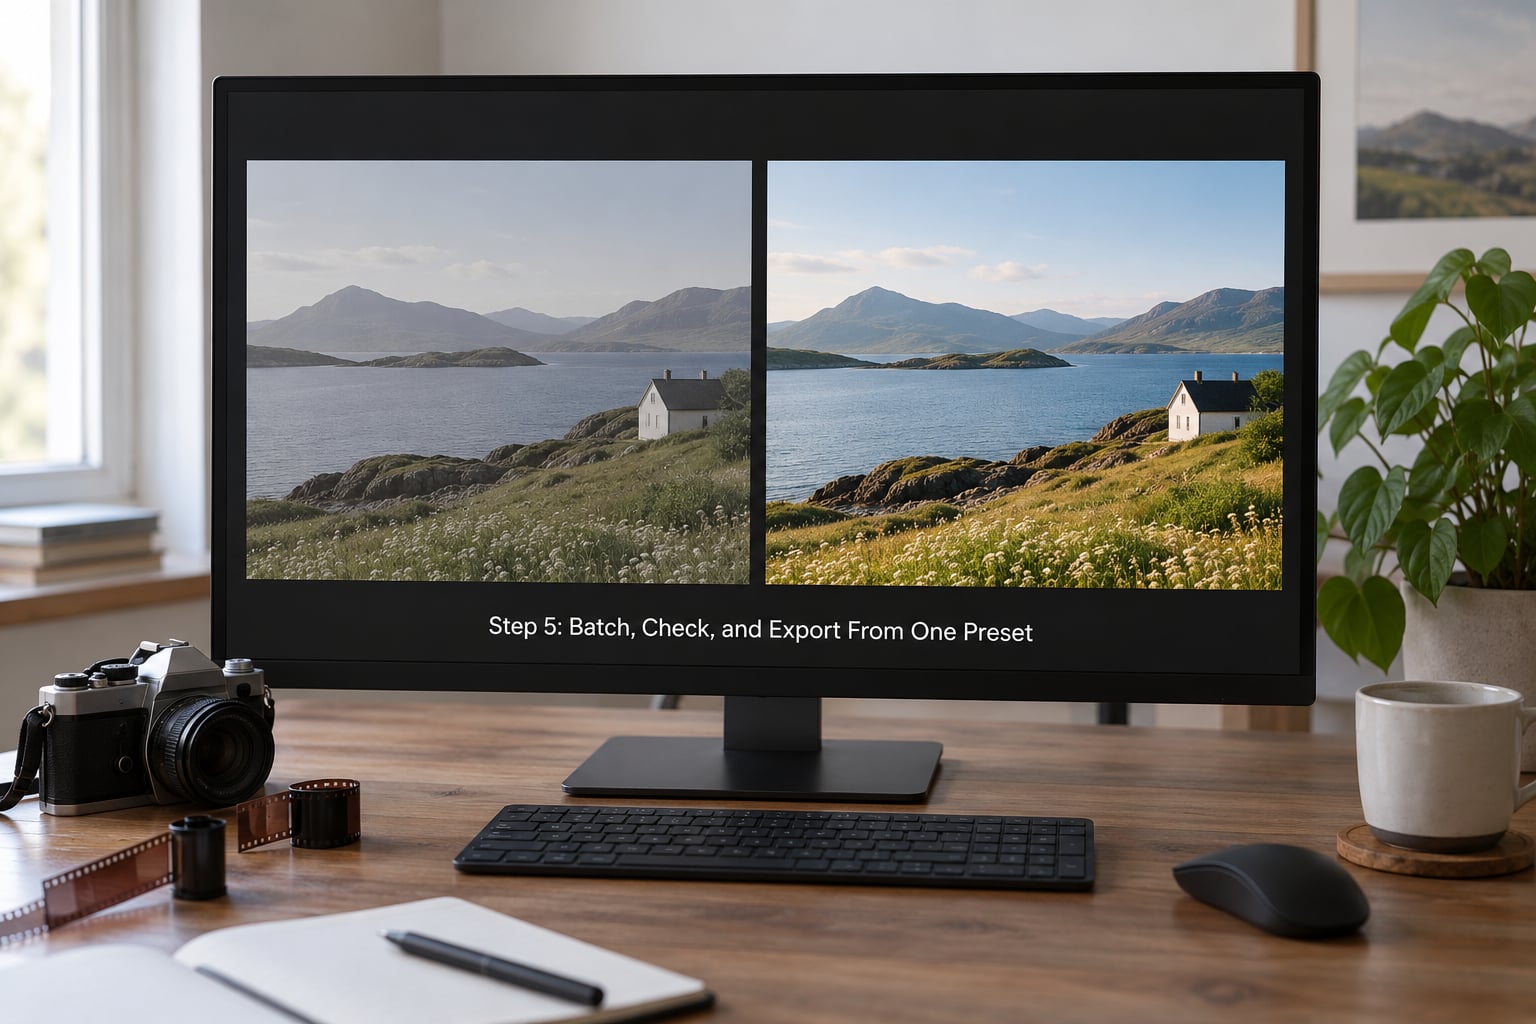
Applying the correction to a whole catalog is where consistency becomes visible. Select the roll in Lightroom Classic, apply the preset to all selected images, then sync it across the catalog with Metadata > Copy Settings to Selected Developing Photos, or use the Sync panel to push the exact same values to every image in the set.
Then verify rather than assume. Use one of three methods, in ascending order of usefulness:
- Histogram overlay. Switch to a scrolling histogram in the Develop module and compare frames. Similar content should produce similar curves.
- RGB parade scopes. In Capture One’s Color Panel, the RGB waveform shows a cast immediately as a channel sitting higher or lower than the others across the whole image.
- Numbers. Sample the same neutral point in each frame and read the RGB values. A consistent batch should hold within a few units per channel. This is the only method that tells you the truth, and it takes about ten seconds per roll.
Correct the outliers individually, and figure out why they drifted before you accept them. A frame that reads three units off is worth a small per-frame fix. A frame that reads thirty units off, or a whole roll with a green cast, points upstream to the processor or the chemistry rather than to your settings.
Export from one preset sequence, in 16-bit TIFF or ProPhoto RGB if you are delivering to another editor, and sRGB JPEG for the web. Turn off any per-image export settings that were set once and never revisited, because those are where a consistent batch quietly stops being consistent on export.
How you know it worked: build a before-and-after reference pair once per stock and keep it with your preset library. When a future roll drifts, compare against that pair and you’ll see in seconds whether the problem sits in the scan or in your correction.
Common Mistakes
Almost every inconsistent roll traces back to one of these. The pattern is the same each time: an automatic feature or an unmonitored variable doing something slightly different on frame 1 than on frame 36.
| Symptom | Root cause | Fix |
|---|---|---|
| Frame-to-frame drift across one roll | Auto white balance, auto exposure or auto color recalculating per frame against the orange mask | Lock white balance and exposure, then rescan the roll |
| Green cast | Warm or green-biased light source, or chemistry exhaustion in a home C-41 kit | Use a higher-CRI light source, check dev temperature, rescan an IT8 target |
| Magenta or cyan-magenta cast | Over-aggressive tint correction or a film profile fighting the emulsion | Reset the tint slider toward neutral, drop the film profile for a neutral custom profile |
| One roll a different color from the last | Different lab, different chemistry age, different development temperature | Reuse the same preset as a starting point, then correct from the film’s own base sample |
| Color shift inside a single roll | Real lighting differences between scenes, not a scanning error | Keep the shared preset for the base, then adjust per frame and note why |
| Washed out, milky scans | Unsharp mask or infrared dust removal applied to the negative | Disable both features and rescan |
| Everything looks better on another computer | Uncalibrated or unprofiled display, or an unmanaged working space | Calibrate the display, work in sRGB or Display P3, ship with a profile or embed one |
Two more worth naming. First, scanning in grayscale destroys the color data a color negative exists to hold, so always scan in color and desaturate in post if you want a monochrome result. Second, underexposed frames have a hard ceiling on how well they can be color-corrected, which is why a consistent exposure beats a heroic edit every time.
And judge color on a calibrated monitor in neutral light. Over-correction usually means an uncalibrated screen told you something was wrong with a correct scan, and the usual direction of that error is toward blue.
Frequently Asked Questions
Do I need a different color workflow for every film type?
One workflow, different settings per stock. The sequence stays identical: lock white balance, sample the film base, invert with a fixed profile, apply your preset. What changes is the preset, the film profile and the black point value. Portra 400, Pro 400H and Kodak Gold 200 each want their own entry in your library. CineStill 800T needs a more restrained saturation move because of its tungsten balance.
What is the best scanner software for consistent film colors?
VueScan 2.x is the most common choice for a reason: it lets you disable every automatic control, sample the film base directly, and save per-emulsion settings you can recall later. SilverFast is strong if your hardware is supported and you want an IT8-based custom profile. Negative Lab Pro is worth adding when your capture app is weak on inversion. The deciding factor is control, not brand.
Should I use a negative profile or a custom scan profile?
Use the film profile when it exists and renders the stock the way you want, because it encodes how that emulsion is meant to look. Drop it when it distorts skin tones, turns sky cyan or pushes neutral objects warm. In that case a neutral custom profile built from an IT8 target of your own scanner gives you a clean, repeatable baseline to correct from.
Why do my film scans look different on another computer?
Usually an unmanaged display or a working space mismatch on the receiving end. Calibrate your monitor, work in sRGB or Display P3, and export with an embedded profile so the file carries its own color definition. A small difference in brightness is normal between uncalibrated screens. A change in hue is not, and it points to missing or mismatched profiles rather than to your scan.
Does consistent color mean every frame should have identical settings?
No. Consistency means the shared baseline is identical, so every frame gets the same starting point and the same preset. Individual frames still need adjustment when the scene lighting genuinely differed. What you avoid is rebuilding that baseline frame by frame, which is what makes a roll read as a sequence instead of a pile of unrelated photographs.
Conclusion
Start with the display. Calibrate it, put the room light somewhere neutral, and judge everything in the same working space from here on. Then lock the scanner settings and never let automatic white balance near a negative again. Scan one reference strip, sample its base, build one restrained preset, save it with the emulsion name, and reuse it for every frame and every roll that follows. That is how to get consistent color from film scans, and the whole chain fits in an afternoon.