Learning how to shoot portraits in the woods comes down to three things: find even light, keep your subject far away from a busy background, and meter off the face. Do those and almost any camera will make pictures you’ll keep. The rest is patience, movement and a plan you can actually follow on the day.
Most beginner woodland portraits fail for the same reason, and it isn’t gear. A photographer walks into a beautiful trail with a decent camera, stands the subject in front of a wall of ferns and brambles, fires a frame at ISO 6400 and calls it moody. What they wanted was atmosphere. What they got was a busy, noisy frame with a dark face and half the background fighting for attention.
Woodland light is the real variable. A gap in the canopy can be three stops brighter than the shade two metres to one side, and a cloud crossing the sun can change the whole patch in under a minute. The workflow below is built around that reality rather than pretending it away.
Table of Contents
- What You Need
- Step-by-Step: How to Shoot Portraits in the Woods
- Common Mistakes
- Frequently Asked Questions
- What time of day is best for portraits in the woods?
- Do I need a flash or reflector for woodland portraits?
- How do I prevent bright patches from overexposing my subject?
- What should my subject wear in a forest setting?
- How do I keep the background from looking cluttered?
- What should I do if the weather changes during the shoot?
- Conclusion
What You Need
A full kit list is a trap here. Forest portrait photography rewards being light on your feet, so this is what actually earns its place in the bag.
- A camera with a reliable auto-focus system. Face or eye detection matters more than resolution. Subjects move between patches of light and shadow constantly, and a camera that loses the eye mid-sequence will cost you more frames than a missing feature does.
- One focal length between 50mm and 135mm on full frame. Around 85mm is the sweet spot: enough compression to pull the background together, wide enough to work without stepping back into a thicket. A 35mm f/1.4 is a classic environmental lens for shooting on a forest path when you want the person small in the frame.
- Something to stabilise the camera. In-shade shutter speeds drop, and at 1/60s with a still subject you need either a tripod or a lens with stabilisation.
- A lens cloth and a rain cover. Damp air under a canopy is normal, not exceptional.
- A five-in-one reflector or a small LED panel. Optional, but a reflector fills the shadows under the eyes for a few dollars of effort.
- A wide aperture. More on this in the step section, but a fast lens is what separates your subject from the background.
What to leave at home: heavy tripods on long hikes, multiple bodies, big reflectors, and any filter you do not understand. A circular polariser cuts glare and richens greens in bright open woodland, but it also costs you roughly two stops of light, which is the last thing you want under a dense canopy. Save it for a sunny day at the forest edge.
On the clothing side, have your subject bring layers. Woodland temperatures swing, and a subject who is cold starts hunching, and posture is half of a portrait. Add a small hand warmer and insect repellent to the same bag as the camera.
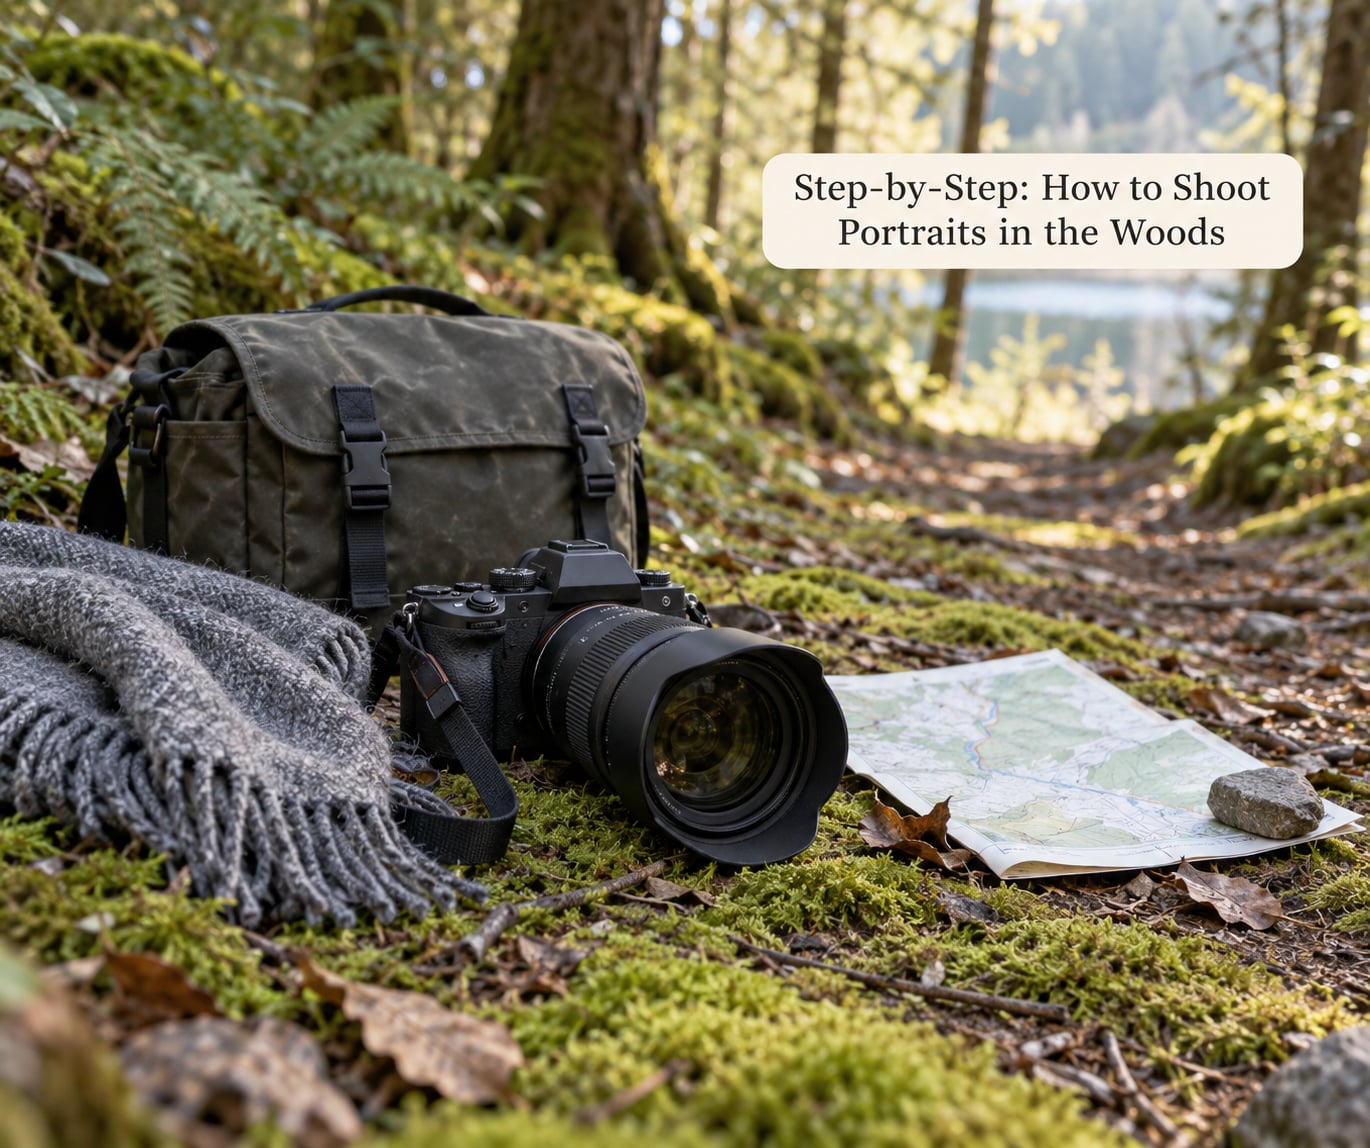
Step-by-Step: How to Shoot Portraits in the Woods
1. Scout the location and choose a time
Stand at the edge of the woods and look for a clearing with a short background behind it, not an endless tunnel of trunks. Experienced shooters keep saying the same thing about forest light: the interesting band is where the canopy breaks and the light goes dappled, so aim for the open-dappled boundary rather than standing deep under closed canopy. You get directional light, moving patches and an actual reason for the picture to exist there.
Walk your background in person. Squint at it, because squinting approximates how the camera sees contrast at a wide aperture. Bright distant sky gaps, pale trunks and cut stumps are the usual offenders, and they stay sharp no matter what you do unless they are far enough away to blur or small enough to hide.
Check access, ground conditions and how far you have to walk with a subject in good shoes. Early morning and the last hour before sunset give you the lowest, warmest, most directional light, and the woods are quiet enough to direct someone without an audience.
It worked when you can point at the frame before your subject arrives and describe the picture you want in one sentence.
2. Prepare the camera and exposure
Set the camera up before the subject gets cold and tired: RAW capture, aperture priority or manual with auto ISO, continuous autofocus with eye detection, and a raised ISO ceiling so the camera is allowed to work in shade instead of refusing and dropping your shutter speed into blur. On a bright day in dense canopy, an auto ISO ceiling of 3200 is a reasonable starting point; without a limit, reviewers on photography forums regularly report the camera climbing to 6400 and beyond in woodland they thought was well lit, which reads like a camera fault when it is really just a lighting fact.
These are the numbers I would start from, then adjust for the light in front of you:
| Light condition | Mode | Aperture | Shutter | ISO | Focus |
|---|---|---|---|---|---|
| Open shade | Manual with Auto ISO | f/2.0-f/2.8 | 1/250s minimum | Auto, ceiling 3200 | Continuous with eye AF |
| Bright sun patches | Aperture priority | f/2.0-f/2.8 | 1/500s or faster | Auto | Continuous with eye AF |
| Overcast daylight | Aperture priority | f/1.8-f/2.8 | 1/250s | Auto, ceiling 1600 | Continuous with eye AF |
| Golden hour edge | Manual | f/2.8 | 1/320s | 100-400 | Single or continuous |
Meter off the face, not the scene. In dappled light the background often carries bright patches that will drive the exposure down and leave your subject as a silhouette, so either switch to spot metering or centre-weighted metering aimed at skin, or meter the whole frame and pull exposure compensation back by one to two thirds of a stop. The trade-off is real either way: expose for the face and the sun patches clip slightly, exposing for the highlights and the face goes muddy. For portraits, protect the face and recover the rest in the edit, which is why shooting RAW matters so much in the woods.
It worked when the histogram shows no hard clipping on skin and your subject’s eyes are a clear catchlight rather than flat shadow.
3. Work with natural woodland light
Position your subject where the light falls on the face, not where the light falls. Backlight and rim light are the most cinematic option in a forest, because sun coming through leaves behind your subject draws a bright edge along hair and shoulders. Turn your subject slightly toward that light and the face fills in on its own, or bounce a reflector from the ground. The failure mode is the halfway version, where half the face is lit and half is in shade with a hard edge running down the nose.
Open shade, which is bright sky minus direct sun, is the most forgiving light you will get. Side light adds shape and texture. Avoid a small sun patch that lands on the eyes and leaves the rest of the face dark, because the contrast range is brutal and your subject will squint.
It worked when you turn your subject a few steps in each direction and the exposure barely moves. That means the light is even, and even light is what you want.
4. Create a portrait that belongs to the woods
Cluttered backgrounds are the most repeated complaint about woodland portraits, and the fix is mostly physical rather than technical. Ask your subject to walk three, four, five steps further from whatever is behind them. Distance plus a wide aperture collapses the background into soft green and lets your subject stand out, and this single change fixes more shots than any editing trick.
Then compose. Use a path or a gap between trunks as a leading line, place your subject off-centre with space in the direction they are looking, and put an out-of-focus fern frond or branch near the lens for a foreground layer. Rule of thirds works well for this: the subject sits on a third, the leading line carries the eye in, and the brightest patch of the frame goes where the face is. Overhanging branches can frame the top of the image, though watch that they do not creep into the subject’s hair.
Vary the shot list as you go: wide environmental, medium with strong background separation, and a tight head-and-shoulders where the background is reduced to colour. If you only shoot tight portraits, the session will not look like the woods at all.
It worked when you can show someone the frame and they describe the person, not the trees.
5. Direct your subject for better portraits in the woods
Posing outdoors is harder than posing indoors because there is nothing to lean on. Give your subject actions rather than positions. Ask them to walk slowly toward you along the path, then stop, look off into the trees and hold still while you shoot. That gives you a moving frame, a settling frame and a resting frame from one instruction.
Turn their body away from camera at about 45 degrees and bring the head back. That single adjustment removes the flat, square-on look that makes beginner portraits look like ID photos. Have them touch something real, a tree trunk, a fern, the strap of a bag, and give them something to do with their hands.
Keep talking through every frame. Ask about the walk, not the pose. When a subject looks stiff it is usually because they are waiting for the click, and a running conversation or a slow count-out fixes it faster than any direction you can give about posture.
6. Work safely and finish the session
Woodland ground is uneven, wet and full of roots that will send a person over sideways while they are looking at your camera rather than their feet. Ask your subject to walk the same route twice before you start shooting, and keep a walking pace rather than a photographic one. Check ticks before and after the session, watch for low branches in the direction your subject is walking, and stay on the trail to the edge of your shooting area.
Photograph RAW and set white balance in the edit, because the mixed green-and-white light bouncing off a canopy is not something you can dial in accurately on location. If light shifts mid-session, shoot a short burst of each setup rather than one hero frame, so you have options when you sort the images that evening. Copy everything to a second drive or a laptop before you pack down.
When selecting your final woodland portraits, look first for sharp eyes and clean skin, then for frames where the background supports the subject. Cut anything where the light on the face changed between frames, since it will read as inconsistent.
Common Mistakes
Nearly every disappointing woodland portrait comes from one of seven habits, and each has a quick fix.
Blown highlights in sun patches
The frame looks fine on the camera screen and falls apart in the edit. Meter for the face, pull exposure compensation back a third of a stop, and check the histogram rather than trusting the rear screen.
Muddy shadows and a dark face
Your subject is under a canopy while the background is in the sun. Move them toward the edge of the shade, or add fill with a reflector or an off-camera flash set two stops under the key. One stop under ambient is usually enough to open the eyes.
A cluttered background
Move your subject further from the background rather than opening the aperture wider, which will cost you shutter speed. If distance is impossible, change your shooting angle until a trunk or a slope blocks the brightest distractions.
Too much gear
Every extra kilogram slows you down and makes you less likely to move for a better frame. A camera, one lens, a cloth and a reflector cover almost every woodland session.
Stiff posing
Square-on bodies produce flat images. Turn the body 45 degrees, give your subject a task like walking or adjusting a jacket, and keep the conversation going between frames.
Missed focus
Continuous autofocus with eye detection, a shutter speed of 1/250s or faster, and a face-sized focus point. In dim woodland, shake is usually the cause, not the autofocus system.
No clear visual story
If the frame could be any woodland at any time of year, it will not hold attention. Pick a specific visual anchor, a shaft of light, an arch of branches, a colour in the foliage, and build the portrait around it.
One field tip carries more weight than the rest: shoot a test frame before you commit to a setup. Take one picture, look at it, adjust, and only then start directing. Photographers on photography forums almost all describe this habit, and it is the fastest way to stop wasting a session on settings that were never right for the patch of light you are standing in.
Frequently Asked Questions
What time of day is best for portraits in the woods?
Early morning and the last hour before sunset give you the lowest and most directional light, plus quiet trails that make directing easier. Midday under a canopy still works well because the canopy softens the sun, but you will get flatter contrast. Avoid heavy overcast if you want drama, and check the forecast so you are not there when the wind takes the light away.
Do I need a flash or reflector for woodland portraits?
Not to start. Open shade under a canopy is often soft enough that no fill is needed, and a reflector carried in one hand covers most cases where the eyes go too dark. A flash with a diffuser becomes useful once you are working at the forest edge in strong backlight, where you need to lift the face by a stop or two without losing the rim light.
How do I prevent bright patches from overexposing my subject?
Meter for the face, not the frame. Switch to spot metering on skin, or keep general metering and pull exposure compensation back by one to two thirds of a stop. Shooting RAW gives you room to recover the bright leaves later. Also move your subject out of the sun patch entirely, because no exposure fix makes a face with hard shadow lines across it look good.
What should my subject wear in a forest setting?
Earthy tones such as mustard, rust, cream, olive and deep brown sit naturally against green foliage and moss, while a bright colour can work as a deliberate focal point if you keep the rest of the frame muted. Avoid white and pale denim, which will pull every branch behind the subject into focus. Bring a second option so you can match the light if the sky is grey.
How do I keep the background from looking cluttered?
Distance first. Ask your subject to walk several steps further from whatever is behind them, then use a wide aperture around f/2.0 to blur what remains. Change your shooting angle so a trunk, a slope or a dark patch of undergrowth blocks the brightest distractions, and shoot wide enough to include a small amount of calm space rather than filling the frame edge to edge.
What should I do if the weather changes during the shoot?
Rain and moving light are usually an upgrade for woodland portraits, so keep shooting and protect your camera. Use the back of your jacket or a proper rain cover, keep a dry cloth in the top of your bag, and shoot short bursts so you have choices. If the light goes flat under heavy cloud, switch to a wider aperture and get your subject closer to the background for separation.
Conclusion
Woodland portraits come down to scouting an edge location with even, dappled light, pushing your subject back from a busy background, metering off the face in RAW, and giving your subject something to do instead of a pose to hold. Pick your spot, set the camera, take one test frame, check the histogram and start.