A double exposure portrait is one picture made of two images: a portrait base and a second texture or scene layered over it. To shoot double exposure portraits in camera, put the body in multiple exposure mode, frame your base portrait, then frame the second image against that locked frame with the camera on a tripod. Once the workflow clicks, most composites take two minutes of shooting and ten minutes of editing.
It comes down to one rule: the light from each exposure adds up, so every frame has to be darker than a normal one. On film you rewind the roll and expose the same frame again. On a digital body the multiple exposure mode stores the first frame and adds the second. If your camera has no such mode, shoot the two frames separately and blend them in software later.
This guide covers the camera workflow first, then the lighting, then what to do when your body has no multiple exposure mode at all.
Table of Contents
- What You Need
- Step-by-Step: How to Shoot Double Exposure Portraits in Camera
- Common Mistakes
- Frequently Asked Questions
- What is double exposure in film?
- What settings do I need for in-camera double exposure portraits?
- Should I underexpose for a double exposure portrait?
- What blend mode is best for double exposure portraits?
- Can my camera do multiple exposure, and what if it cannot?
- Why does my in-camera double exposure look blown out?
- Start With One Stable Setup
What You Need
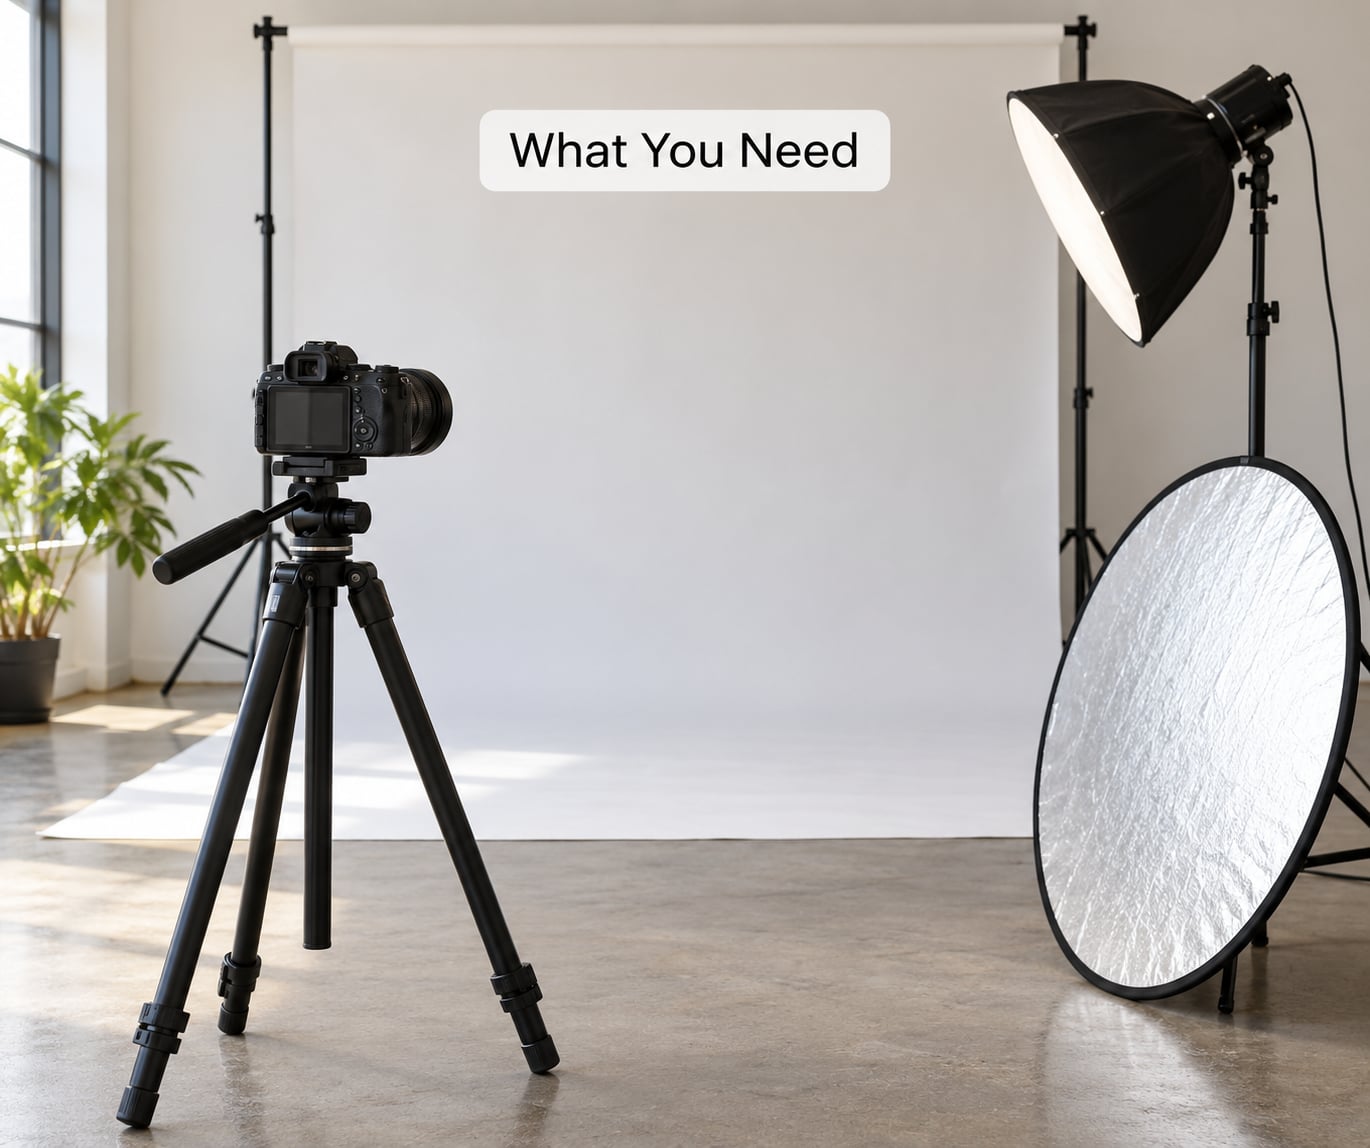
A camera with a multiple exposure mode. Nearly every DSLR and mirrorless body from the last decade has one buried in the shooting menu. The name changes between brands (Multiple Exposure, Exposure Bracketing, Multiple Exposure bracketing) but the function does not.
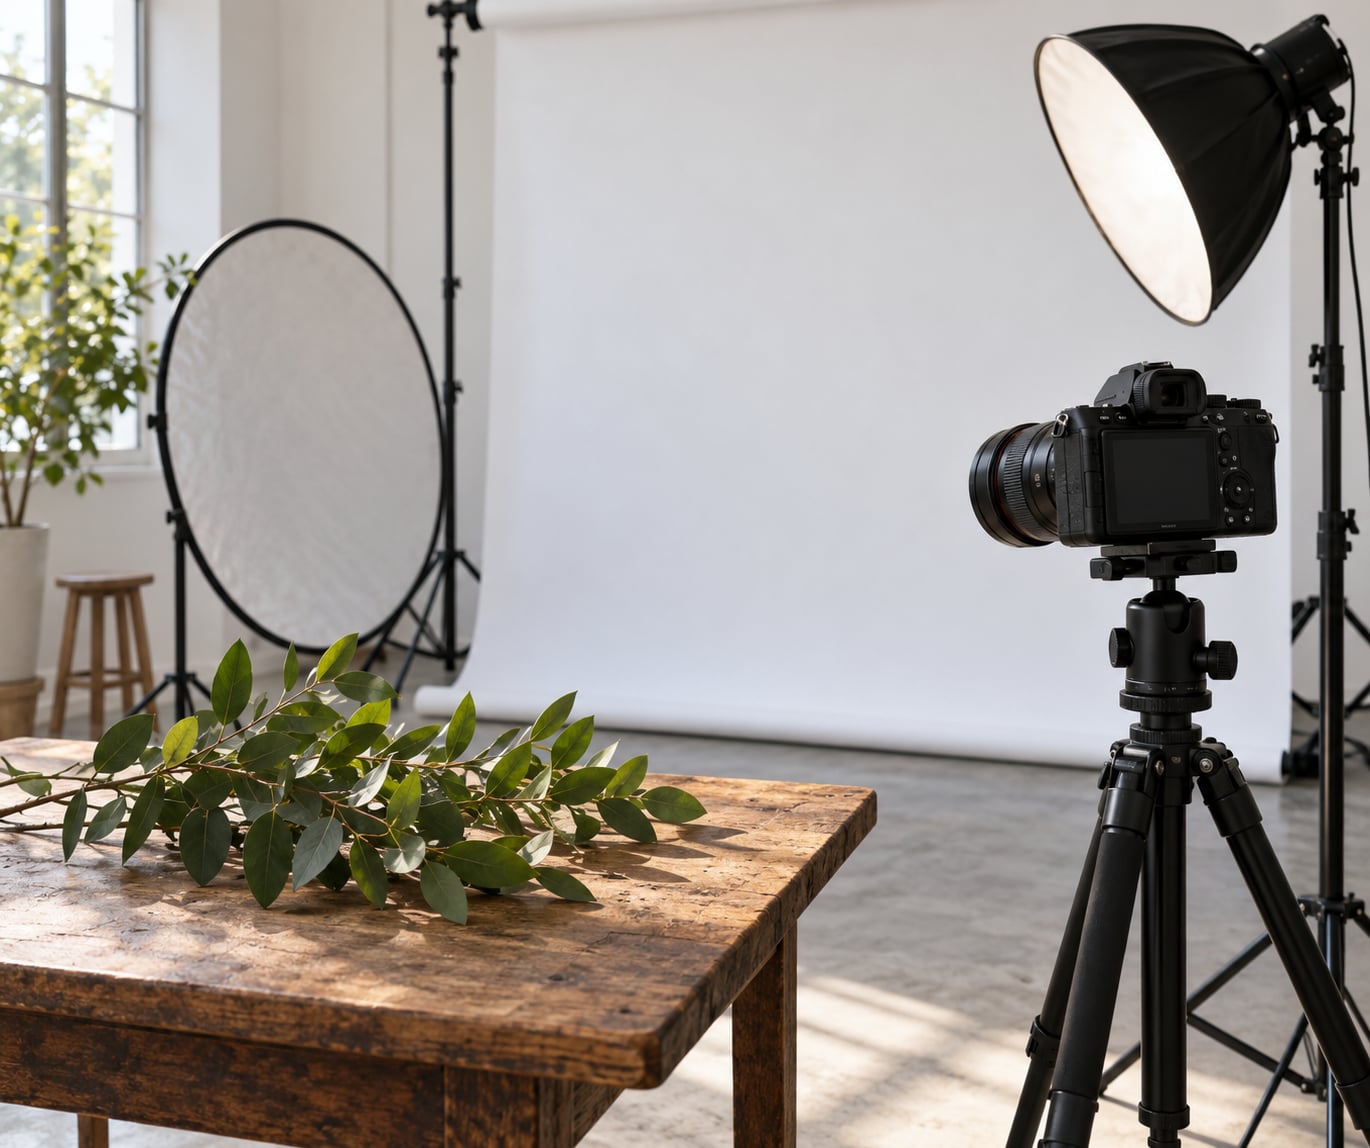
A tripod and a two-second timer or remote release. Both frames have to land on exactly the same pixels, and that is the whole job. A tripod with a level head keeps the frame locked while you move the subject for the second layer.
Manual exposure mode. Automatic mode will meter the second frame for a bright subject and blow the composite out. Shoot in manual with a fixed shutter speed, aperture and ISO from the first frame to the last.
A plain, bright background. A white wall, a bedsheet on a door, or a sheet of foam board taped up. The first image needs a clean outline with nothing else competing in the frame.
One light you can move. A window, a LED panel, or a flash with a diffuser. You do not need a strobe or a modifier to start.
A texture subject. Leaves, branches, hands, chain-link fence, curtains, smoke, water. Decide this before the subject arrives, because choosing the second image well matters more than any setting.
If your camera has no multiple exposure mode, you can still do this: shoot the two frames separately, put the texture over the portrait as a layer, set the blend mode to Screen or Lighten, and flatten. The same exposure rules apply, so the rest of this guide still works.
Step-by-Step: How to Shoot Double Exposure Portraits in Camera
1. Plan the Two Images
Pick both images before anyone stands in front of the camera. The base image is a portrait, usually a silhouette or a partial figure with a dark outline and a bright background. The second image is a texture, pattern or scene that means something to the person in the portrait.
Two portraits work as well as portrait plus texture. A face merged with a second face reads as intimacy, and a figure with a city street at twilight reads as a life in a place. What fails is a random second image that has nothing to do with the subject.
Look at the frame as a shape, not just a picture. Where does the outline sit? Where is the negative space? A portrait facing a window leaves an empty area on one side, and that is where the texture belongs. If you fill the whole frame with the second image, neither layer reads and the result turns to mud.
2. Set Up the Camera and Subject
Lock the camera on the tripod at eye level and switch to manual mode. Choose an aperture around f/8 to f/11 so you keep depth of field if the subject shifts position between frames, and set the ISO to the lowest value your camera still handles well in your light.
Now find the multiple exposure setting in your menu. Paths differ by brand, and they get moved in firmware updates, so check your body’s manual if the labels below do not match what you see.
| Brand | Typical menu path | Settings to look for |
|---|---|---|
| Canon | Menu, Multiple Exposure, then Enable | Additive blending, 2 exposures, save source images, continuous shooting |
| Nikon | Shooting Menu, Multiple Exposure | Add, number of exposures, gain compensation, save individual exposures |
| Sony | Exposure Bracketing or Multiple Exposure setting | Blending setting, number of shots, exposure compensation on the second frame |
| Fujifilm | Drive menu, Multiple Exposure | Add or Average blending, number of frames, brightness adjustment |
| Pentax | Drive menu, Multiple Exposure | Add, number of frames, exposure compensation, gain control |
One setting catches nearly everyone out. On Canon bodies in particular, if Highlight Tone Priority is switched on, the camera will refuse to process the multiple exposure and it looks like the mode is broken. Turn Highlight Tone Priority off, then re-enter the multiple exposure menu.
Set the number of exposures to two for portraits. Three or more is fun for a practice piece and unusable for a headshot, because each layer gets fainter and the subject stops being a person.
3. Light the First Exposure
A silhouette portrait is a lighting job, not a camera job. The goal is a dark, clean outline against a background that is much brighter than the subject.
Put your subject between the light and the backdrop, then aim the light past them at the wall. A window behind the subject works and costs nothing. A single flash fired at the wall from behind the shoulder also works, and one LED panel placed a foot behind the subject does the same thing indoors.
Watch the background, not the face. If the wall reads as light grey rather than white, the composite will end up flat because the texture will have nothing bright to sit against. Reposition until the background is clearly brighter than the subject’s outline.
Keep it simple. One light, one reflector if you want a hint of edge on the shadow side, and a subject who holds still for a few seconds.
4. Capture the First Layer
Check focus first. Use single-point autofocus on the eye, confirm it locks, then switch to manual focus so nothing refocuses halfway through the sequence. That single change removes the most common failure in this technique.
Then set the exposure for a frame that is roughly one stop darker than a normal shot of that scene. In manual mode, dial in the shutter speed at f/8 with ISO 100, take a test frame, and check the histogram. You want the subject’s outline sitting in the shadows and the background near the top of the range, with almost nothing clipped at the right edge.
Take the first frame without moving the tripod or changing any exposure setting. Confirm the camera keeps the frame on screen or in Live View so you can compose the second image against it.
5. Position the Subject for the Second Exposure
Now bring in the texture, or reposition the subject. A common choice is to keep the base portrait and add a second frame of branches, fabric, or hands, moving the subject out of the way for that frame.
Leave open areas in the frame on purpose. A texture that covers the subject’s face kills the portrait; a texture that sits in the negative space around the outline gives the picture depth. Move the texture so it fills roughly a third of the frame and stops before the face.
If you keep both frames static, the camera stays exactly where it is. Some shooters deliberately move the camera a few millimetres between frames for a looser, more painterly result. Both work, but decide which one you want before the first frame, because changing it mid-sequence is how you lose the base image.
6. Capture the Second Layer
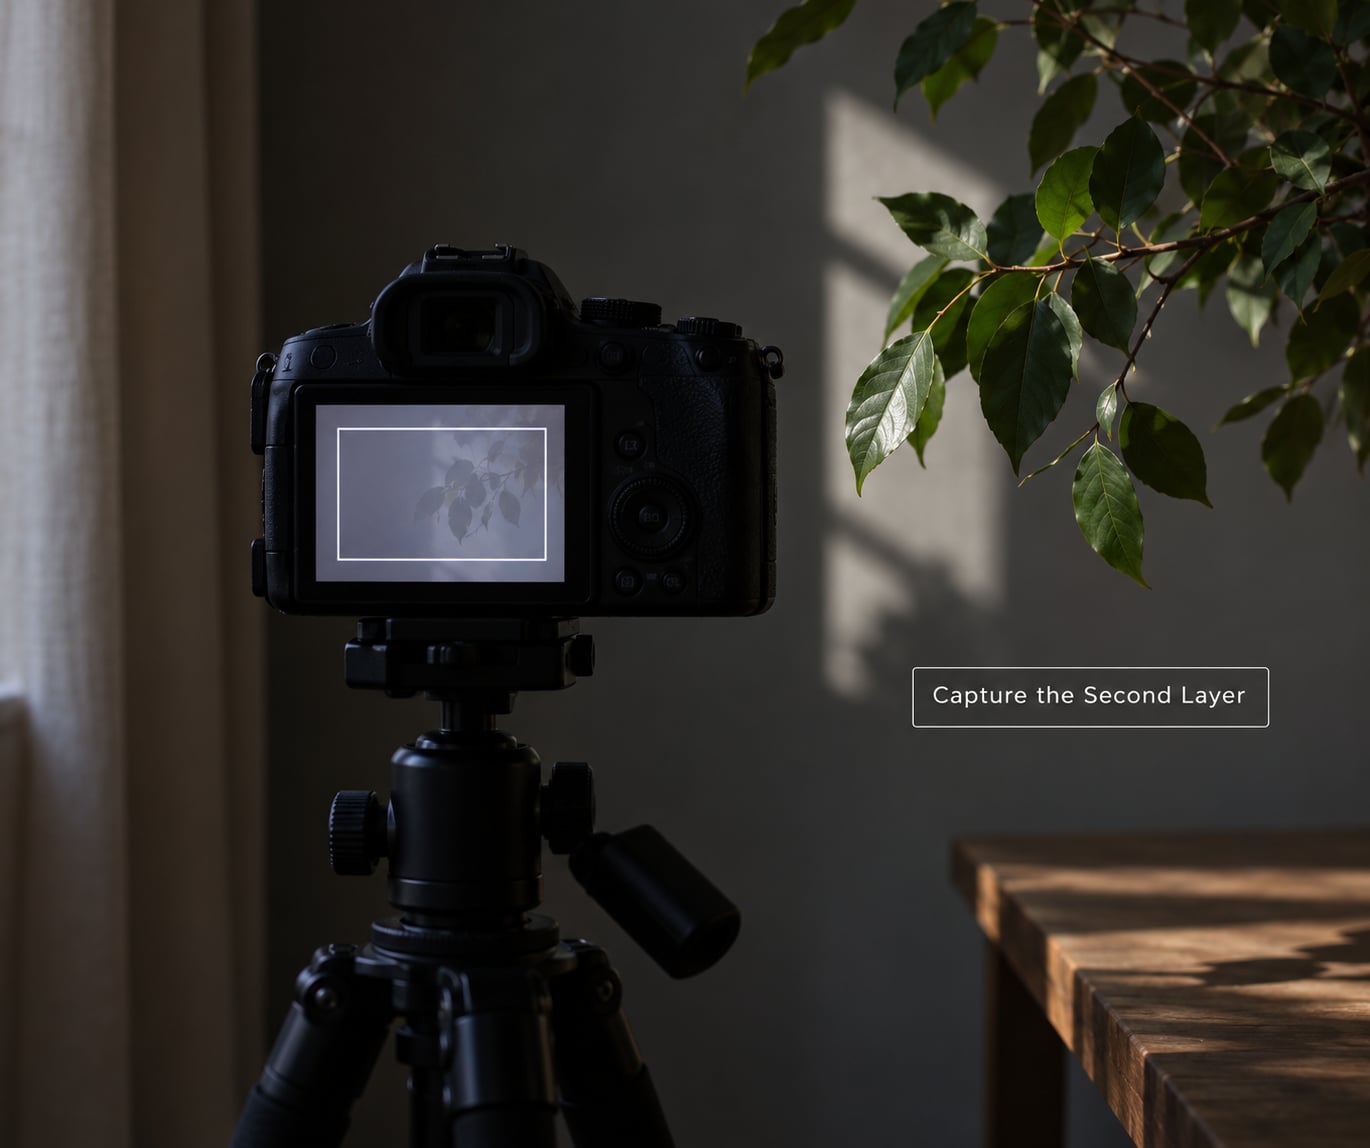
Keep the camera fixed, check that the framing still matches the locked base, and make sure the body is still in multiple exposure mode with two exposures remaining. Some cameras exit the mode automatically after one frame, so a quick glance at the top plate saves you a wasted setup.
Expose the second frame so it adds contrast without destroying the first portrait. If the texture is bright, dial in a slower shutter or use negative exposure compensation so the second frame sits below full brightness. Light adds to light, which is why two normally exposed frames produce a white rectangle with a ghost in the middle.
Take the frame. The camera merges the two images into a single file on the card, and with save source images turned on it also writes both originals so you can re-blend them later if the composite needs work.
7. Review and Repeat
Look at the composite on the camera display at full size, not on the thumbnail. You are checking four things: whether the outline is still sharp, whether the subject’s face is still readable, whether the background has gone white, and whether the texture is fighting the subject for attention.
If the background is dull, the base frame was too dark or the second frame too dark. If the whole thing is washed out, both frames were too bright and you need to underexpose the second one. If the layers clash, move the texture further from the face and shoot again.
Then change one thing and repeat. Professionals report three to five minutes per usable setup once the workflow is familiar, and the honest truth is that the first ten composites of any session are practice. Turning on the source image save means every attempt is still usable later, so do not stop at five frames.
How to do a double exposure in Photoshop
If your camera cannot do it natively, the recipe is short. Open both files as layers with the portrait on the bottom. Set the texture layer to Screen blend mode, which multiplies the tones together the way a real double exposure does, or Lighten if you want only the brighter areas of the texture to show. Adjust the opacity of the top layer until the portrait reads clearly. Mask the texture away from the face with a soft brush. Flatten, then export.
Work on RAW files if you shot them. The composite gives you much more latitude to recover a blown background than a JPEG does, and the same dodge-and-curve work applies to both.
Common Mistakes
The camera moved between frames. A nudged tripod shifts the two images by a few pixels and you get a doubled edge instead of a merge. Lock the legs, weigh the centre column, and use the two-second timer or a remote instead of the shutter button.
The mode seems to be disabled. On Canon bodies, Highlight Tone Priority blocks the multiple exposure entirely. Switch it off and reopen the menu.
The composite is blown out. Two frames at normal exposure add up to roughly two stops of extra light. Underexpose the base by about a stop and pull the second frame down with exposure compensation.
Focus shifted on the second frame. If the camera is still on autofocus, it hunts when the texture enters the frame. Switch to manual focus once the base is sharp.
Both layers fill the frame. When the texture covers the subject, the portrait disappears. Keep a third of the frame as open space and save the face area for the base image only.
The background is fighting the subject. Clutter behind the silhouette prints through the blend. Use a plain wall, and if you must shoot in a busy place, move far enough that the background falls out of focus at f/8.
Neither layer reads. Mud comes from a texture shot too dark or too light. Expose the texture for its midtones, not its highlights, and shoot the darker image first so the lighter one lands on top.
A few artistic notes once the mechanics are boring. Pick a texture that means something to the person in the portrait, shoot a lot of frames, and keep the outline of the face completely clean. The strongest double exposures I have seen all do the same thing: one clear figure, one idea layered behind it, and nothing else competing.
Frequently Asked Questions
What is double exposure in film?
A double exposure is one photograph made by exposing the same frame twice, so two images overlap in a single picture. On a film camera you finish the shot, rewind the film without advancing it, and expose the same frame again. On a digital camera the body stores the first frame and adds a second one in multiple exposure mode. The effect was used in early cinema for ghosts and dream sequences, and photographers still use it for that look.
What settings do I need for in-camera double exposure portraits?
Shoot in manual mode so nothing changes between frames, with a fixed shutter speed, aperture and ISO. Apertures around f/8 to f/11 keep enough depth of field if the subject shifts slightly. Enable the multiple exposure mode, set the frame count to two, turn on save source images, and use a tripod with a two-second timer. Expect to underexpose each frame by about a stop because the two exposures add together.
Should I underexpose for a double exposure portrait?
Yes, both frames. Light accumulates across exposures, so two correctly exposed frames add roughly two stops of brightness and the composite turns into a white frame with a faint ghost in it. Underexpose the base portrait by about one stop, then dial the second frame down further with exposure compensation or a slower shutter if the texture is bright. Check the histogram on the base frame before you shoot it.
What blend mode is best for double exposure portraits?
Additive blending, which adds the brightness of the two frames together, is the closest match to how film behaves and works well for portraits when both frames are underexposed. Average blending is safer, because it divides the light between frames and resists blowouts, but the result looks flatter. Subtractive blending produces a dark negative-style image. In Photoshop, Screen is the equivalent of additive, and Lighten gives you control over which layer wins in each area.
Can my camera do multiple exposure, and what if it cannot?
Most DSLRs and mirrorless cameras can, under a name that changes by brand: Canon calls it Multiple Exposure, Nikon puts it in the Shooting Menu, Sony files it under bracketing options, and Fujifilm and Pentax put it in the drive menu. If your body has no such mode, shoot both frames separately and blend them in software: put the texture over the portrait as a layer, set Screen or Lighten blend mode, mask it away from the face, and flatten.
Why does my in-camera double exposure look blown out?
Two frames at normal exposure add about two stops of light, so a correctly exposed double exposure comes out white. Underexpose the base frame by roughly a stop and use exposure compensation or a slower shutter on the second frame. Turn off Highlight Tone Priority on Canon bodies, since it can also block the multiple exposure from processing at all. A dim background makes it worse, so light the backdrop brighter than the subject.
Start With One Stable Setup
Start with the least complicated version that can work: a tripod, manual exposure, one light aimed past your subject at a white wall, and a silhouette as the base frame. Add a simple texture such as leaves for the second exposure, and underexpose both frames by about a stop until the blend stops looking washed out.
Once that setup produces a frame you like, change one variable at a time. Try a wider texture, a second silhouette, a different aperture, a brighter backdrop. As of 2026, every major camera body in this workflow still hides the feature in a different menu, so check yours before the session and turn off Highlight Tone Priority if you shoot Canon.