To white balance using a gray card, put an 18% neutral gray card in the same light as your subject, fill the frame with it, take the reference shot, then load that shot into your camera’s custom white balance setting. Back in the edit, most people find it faster to do the same job in software with a white balance eyedropper. Either way takes about two minutes once you know where the menu is.
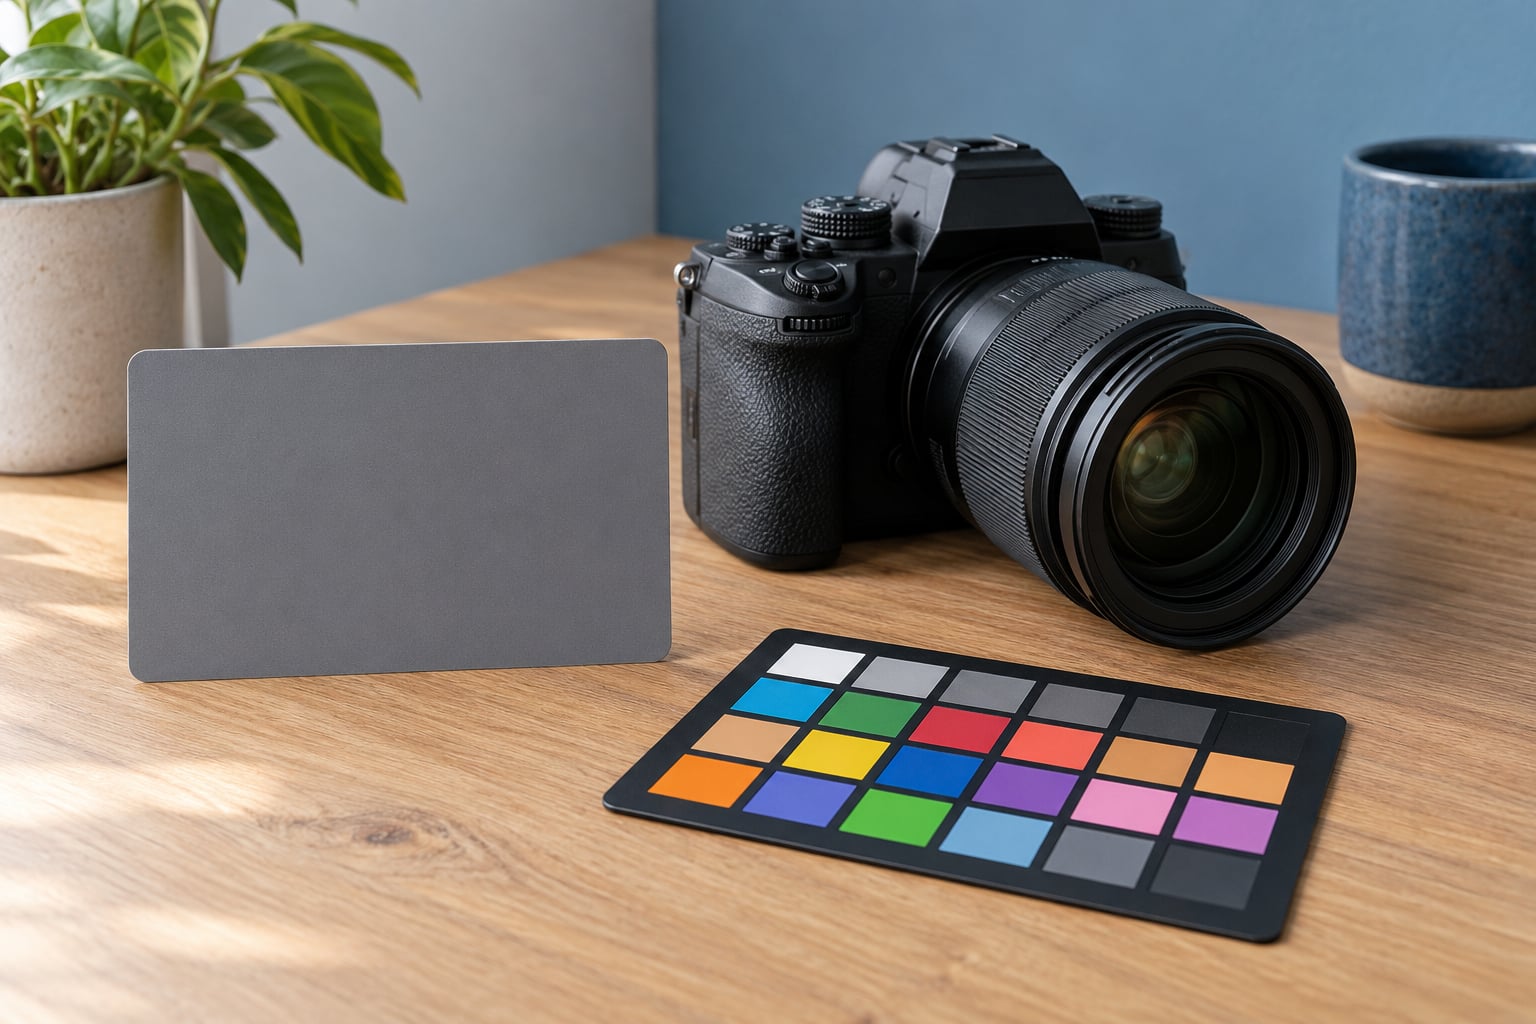
A gray card is a flat card, disc, or ball with a surface of known reflectance, usually 18% grey, that gives your camera a colour reference it can measure. Light bouncing off a neutral surface carries no colour bias, so whatever tint the current light source adds can be read off the card and cancelled out.
That sounds simple, and mostly it is. The frustrating part is rarely the card. It is not knowing which button to press after the photo, or not realising the light changed halfway through the session. So this guide covers the full path, including the click-by-click menu for the brands readers search for most, plus the software route if you would rather not use the camera menu at all.
Table of Contents
- What You Need
- Step-by-Step: Set a Reliable Custom White Balance
- How to White Balance Using a Gray Card in Mixed Light
- Common Mistakes and Fixes
- Frequently Asked Questions
- Do I need a gray card if I shoot RAW?
- Can I use a white card or a piece of white paper instead?
- What is the difference between a gray card and a ColorChecker?
- How do I use a gray card for white balance in video?
- How far away should the gray card be from my subject?
- What does setting white balance to 8000K do to a photo?
- Conclusion
What You Need
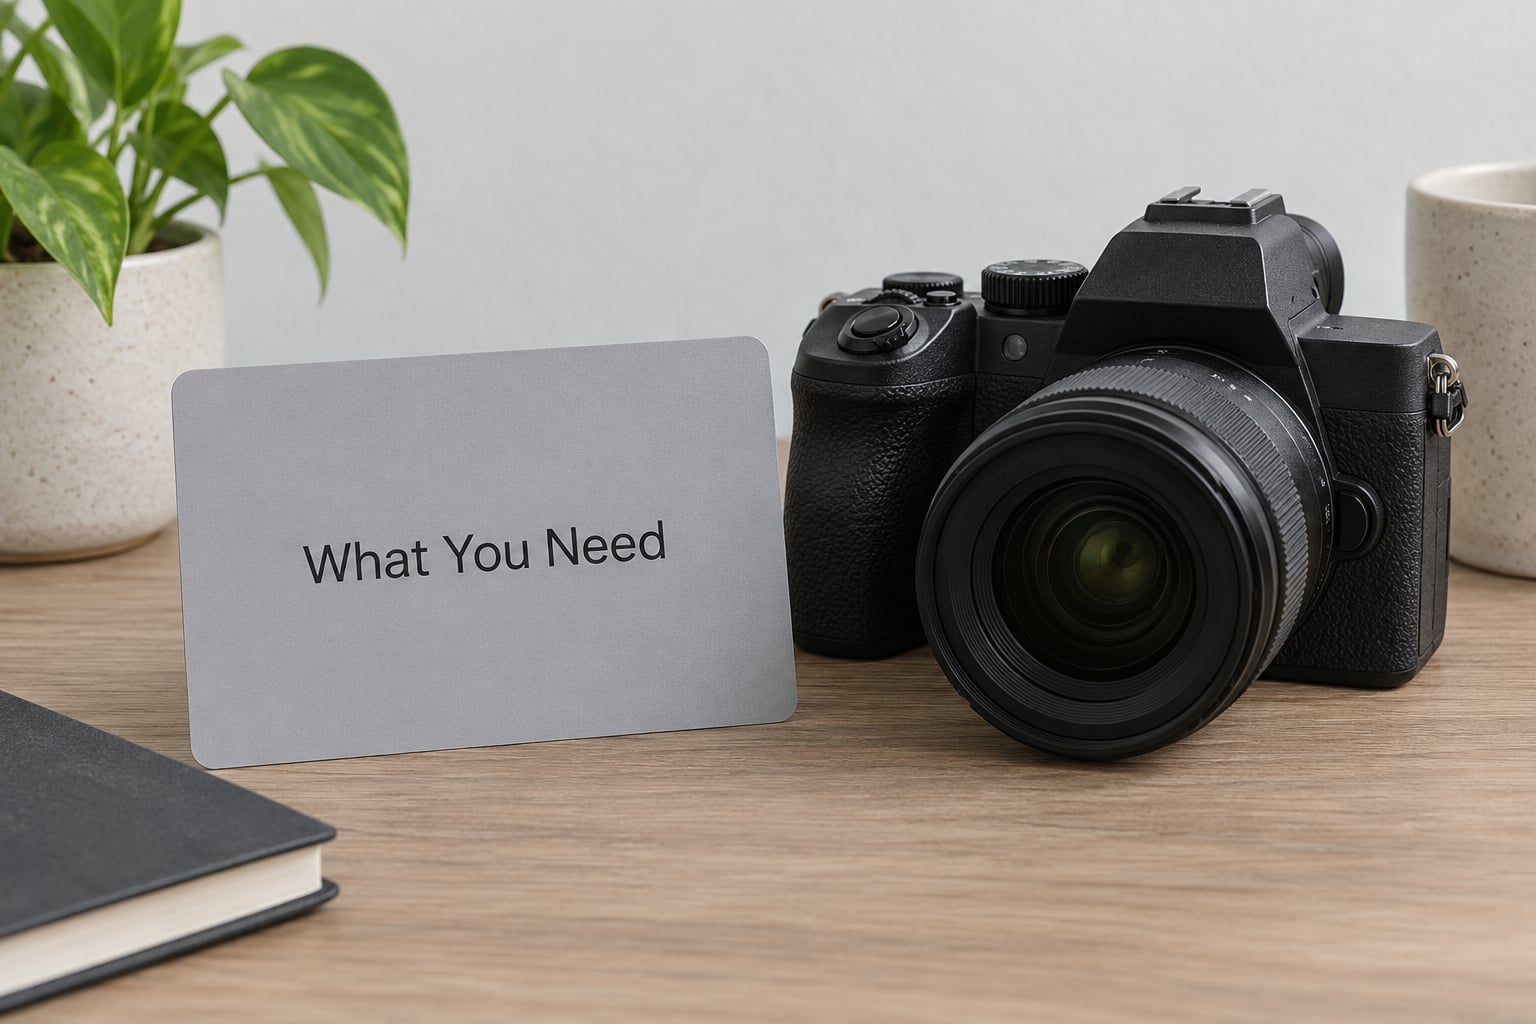
You need three things. A gray card with a known reflectance, either 12% or 18%. A camera with a custom white balance option, which nearly every DSLR and mirrorless body has. And light you can keep the same for a while.
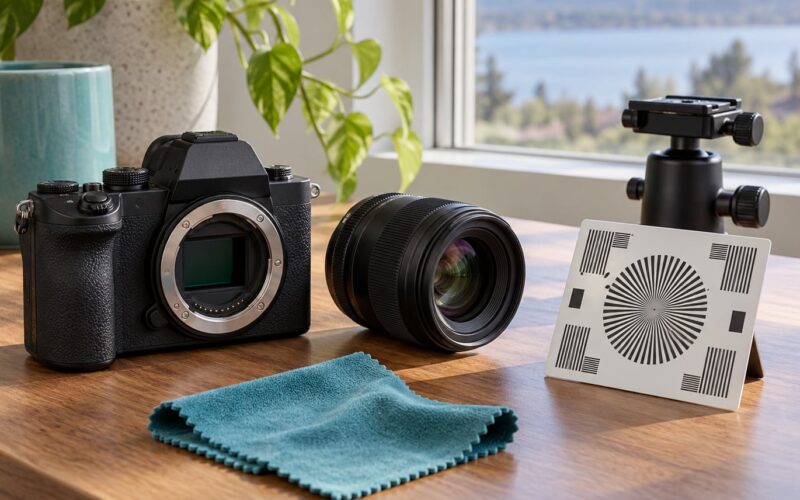
A lens cloth is worth having nearby, because a smudged or dusty card reads slightly off. A colour checker is optional, and it does more than white balance: it gives you a target for skin tones and a second reference when you grade.
Now the part that trips people up. An ordinary grey object is not a gray card. A computer mouse, a concrete floor, a grey t-shirt, or a shadowed wall all look grey and behave differently. They may be 40% reflective, 8%, or coated in whatever dye went into them. The card only works when its neutrality is guaranteed, which is why cheap cards that are merely grey-looking can leave a faint cast behind.
The brightness of the card barely matters for white balance. You can underexpose it by a stop and the reading still works. What matters is that it is genuinely neutral and lit by the light you are about to shoot in.
Step-by-Step: Set a Reliable Custom White Balance
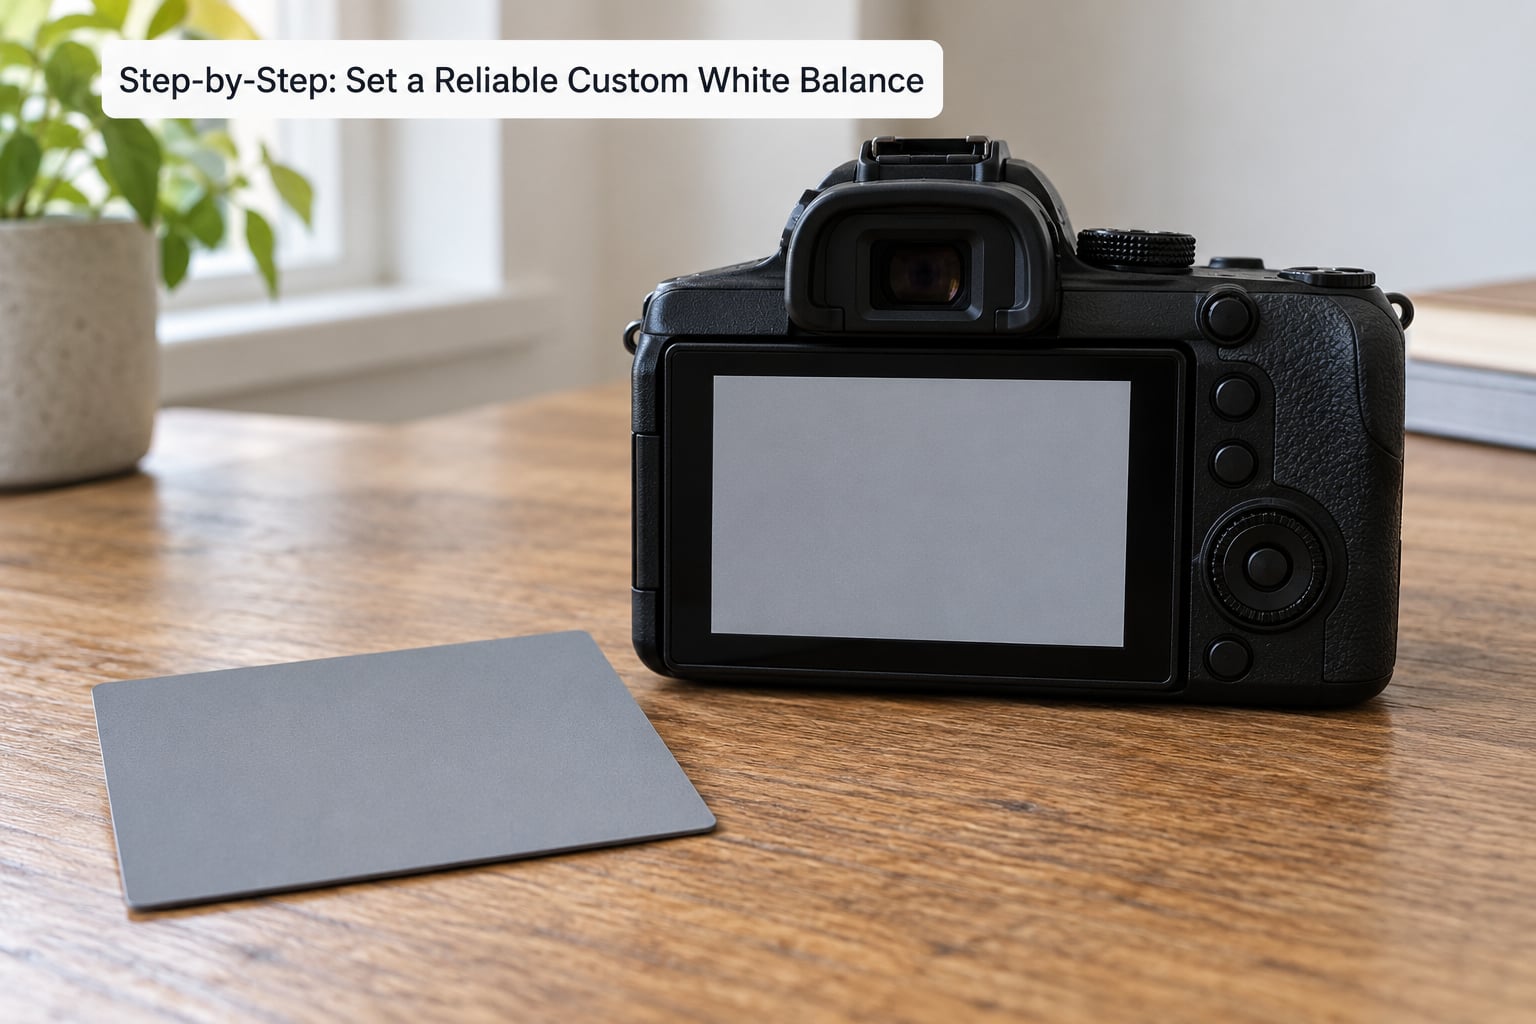
1. Prepare the card and lighting
Use the side of the card marked 18% or marked grey, not the white or black reference squares unless you are deliberately working with those. Hold it flat, face it toward the key light, and clean side toward the lens.
Keep the card in the same illumination as the subject. In practice that means holding it where your subject’s face will be, not next to the window. People on photography forums repeat this one tip more than any other: angle the card toward the strongest light source, because that is the light your subject is mostly lit by.
You know the setup is ready when the card shows no specular highlight, no shadow from your hand, and the light on it has not changed in the last thirty seconds. Step outside and the sun moves. That is the point at which you shoot a new reference.
2. Find your camera’s custom white balance option
How to white balance using a gray card inside a camera menu means finding one of four labels: Custom WB, Set Custom WB, White Balance under a Custom tab, or WB Shift. The wording is generic because each brand files it differently, and the path below is the shortest one I know for the five bodies readers ask about most.
- Canon — Shooting menu, then White Balance, then Set Custom WB. Canon wants the card already in the frame, because it measures from a reference image on the card rather than live view.
- Nikon — White Balance, then the WB button, then Set Custom WB. The camera will show you the last reference image when you open the option.
- Sony — White Balance, then the custom icon, then Set Custom WB. Mirrorless bodies will let you use live view instead of a saved frame.
- Fujifilm — White Balance, then WB, then Custom, then choose the numbered reference slot and select the image.
- Panasonic GH5 and GH7 — White Balance mode, then the custom slot, then either Capture or use a previously saved image.
Shoot the reference in RAW when your camera allows it. A RAW file gives the camera more data to sample and gives you a fallback if the reading is wrong. Exposure just needs to be correct enough that the card is neither blown out nor crushed into black, since a camera has nothing to measure on a clipped frame.
3. Photograph the gray card as a reference
The reference image should be sharp, evenly exposed, and almost entirely card. Fill the frame, or at minimum cover the large majority of it, so no bright wall or dark furniture skews the sample. One photographer shooting for a video blog put it simply: fill at least 70% of the frame and keep the card in the subject’s light.
Switch to manual focus first, because autofocus hunting on a flat featureless surface can leave you with a soft frame. If the card is glossy, tilt it a few degrees away from the lens until the glare moves off. Wedding photographers point out that most gray cards are somewhat shiny, and that specular reflection is the single most common reason a reading comes back odd.
Keep your own fingers out of the shot. Two fingertips on the bottom edge are enough to tip the sample.
4. Set and save the custom white balance
Open the custom white balance option, choose the image you just took, and confirm. The camera measures the patch, calculates the tint, and stores it in a slot you name. Give the slot after the light, not the date, so that a week later you know what it is: something like overcast shade, or window plus strobe.
Then switch your active white balance to that slot before you start the session. This is the step people miss. A custom setting that is stored but not selected does nothing at all, which is why readers report the whole technique not working.
On a two-battery-grip studio setup, some photographers keep one body permanently on a card reference for a fixed lighting setup, since the light does not change and re-shooting the card every morning is wasted effort.
5. Verify neutral color in the final image
Open the file in software and look at the card, or a known white surface, in the raw preview. Neutral means neutral: the RGB histogram channels should sit on top of each other in that patch rather than fanning apart.
The goal is neutral greys, not a JPEG that looks correctly grey on screen. Exposure, contrast, and tone curve moves downstream all shift how the card appears, so a correct white balance often looks slightly bright or slightly dark once you have graded the file. Judge neutrality, not brightness.
Your eye is a poor judge of this. A photo that looked warm on the back of the camera will look neutral everywhere else, and a monitor at the wrong brightness will lie to you in either direction. Trust the channels over your eyes.
How to White Balance Using a Gray Card in Mixed Light
A gray card can only correct one illumination. That is the whole limitation, and it is worth saying plainly because it is where most mixed-light setups go wrong.
When window light and a warm interior lamp hit the same frame, the card reads whichever one dominates where the card is standing. Set white balance from that and you have corrected one source, not both. You have three practical routes.
First, turn off what you can. Kill the practical lamp, close a curtain, or move the subject out of the window’s direct beam. Mixed light is much easier to solve by removing a source than by correcting two of them.
Second, use separate references and make the decision explicitly. Shoot one card frame under the window and one under the lamp, then choose which one the subject is dominated by. If the face is mostly window-lit, correct for window light and let the lamp go warm. If the face is mostly lamp-lit, do the reverse.
Third, correct from the most important subject illumination and fix the rest in software. This is the one I use for portraits next to a window with a bounce card. The card goes where the face will be, I set the custom slot, and any residual warmth on the background gets handled later with a local adjustment.
Video and live view work the same way, and on mirrorless bodies the custom white balance can be assigned directly from the live view image without saving a photo first. A GH5 operator covering that on r/GH5 points at the popular cheap route: a JJC GC-2 grey card disc, cover the lens with it, point at the key light, and set the custom slot.
Common Mistakes and Fixes
Using something grey instead of a gray card. A mouse, a floor, or a shirt is not calibrated. Symptom: the correction is close but a faint tint remains. Fix: use a card with a stated reflectance.
The card is lit differently from the subject. This is the big one. Symptom: the card reads correctly on its own, but the subject is still warm or green. Fix: put the card where the subject is, not beside the light.
You forgot to select the custom slot. Symptom: the setting saved fine and nothing changed at all. Fix: set the active white balance to the custom slot, and reset it to auto when the shoot ends so the next one is not quietly wrong.
The light changed after you set it. Cloud cover moving, a sun angle change, a strobe repositioned. Symptom: frames drift in colour across a sequence. Fix: re-shoot the reference whenever the light changes, which outdoors is often more than you expect.
Glare on the card. Symptom: a warm or cool bias that the card should not have. Fix: tilt the card a few degrees until the highlight moves off the surface, or use a matte or bead-blasted card.
Too little of the card in the frame. A card at arm’s length filling a corner lets the background colour into the sample. Fix: move closer and fill the frame.
Judging the result on a screen alone. Symptom: the file looks wrong every time you open it, or looks right on one monitor and wrong on another. Fix: check the RGB histogram in the card patch, and calibrate your display if you are going to do this for a living.
For repeatable portrait work, my routine is short. Set the card under the same light as the face, take one reference frame, assign it to a named slot, and shoot. For product work on a fixed table setup, I do it once and check a reference frame at the start of each session to confirm the lights have not drifted.
One honest limit. If you shoot RAW and the light is reasonable, a card is optional. Plenty of people never carry one. But RAW still bakes the light’s tint into the file, so the card is not about rescuing a bad image, it is about starting from a neutral baseline so your grading does not have to chase a cast that was never there.
Frequently Asked Questions
Do I need a gray card if I shoot RAW?
A RAW file still records the colour of the light, so the card still helps. Its value is that you start from a neutral baseline rather than correcting a cast later. For casual work in consistent light you can skip it. For mixed light, studio work, video, or any set you will grade, one reference frame saves a lot of slider work.
Can I use a white card or a piece of white paper instead?
You can, and photographers on r/fujifilm describe white printing paper as good enough for non-critical work. A white reference tells the camera the tint on the brightest neutral surface, which is often a little less forgiving than an 18% grey card. A printer rarely lays down a truly neutral 18% patch, so a printed card is a rough tool, not a calibrated one.
What is the difference between a gray card and a ColorChecker?
A gray card gives you one thing: a neutral reference for white balance and rough exposure. A ColorChecker gives you that plus a set of known colour patches, which lets you build a camera profile, match a product to a brand guideline, or grade with a repeatable target. If you only need correct colour, a card is enough. If you shoot products or do colour-critical work, the chart does more.
How do I use a gray card for white balance in video?
Set the camera to live view, fill the frame with the card, cover the lens if the card is a small disc, then assign the custom white balance from the live view image instead of a saved frame. On most mirrorless bodies the custom slot sits in the same white balance menu as the photo workflow. Re-check it if the light changes during a long take.
How far away should the gray card be from my subject?
Close enough that it fills the frame, in the same light as the subject, which usually means arm’s length rather than across the room. Distance itself is not the issue. Fill is. If the card covers most of the frame, the camera has almost nothing but neutral surface to measure and the reading holds up.
What does setting white balance to 8000K do to a photo?
A high Kelvin value makes the camera compensate for a bluish light source, so an image shot at 8000K will look cooler and more neutral if the scene was lit blue. Push it further and you get the blue-orange split people recognise as a deliberate look. That is why custom white balance beats guessing a Kelvin number.
Conclusion
Start with this. Put a real 18% gray card in the light your subject will be in, fill the frame, take one reference shot, and assign it to your camera’s custom white balance slot. Then select that slot before you shoot, and confirm neutrality from the RGB histogram rather than from how the JPEG looks.
Everything beyond that is discipline. A card cannot correct two lights at once, cannot rescue a setup you lit badly, and cannot save you from a cast that arrived halfway through a sequence because the cloud moved. What it does is give you one honest reference, and consistency from there matters far more than chasing a perfectly neutral-looking screen.