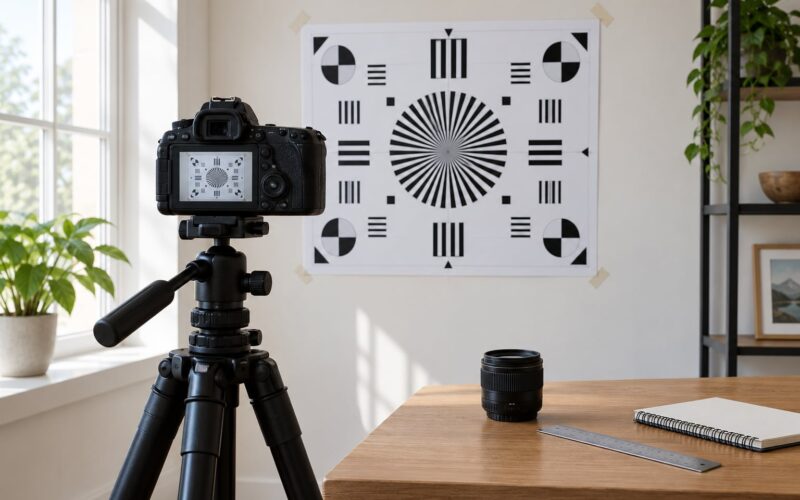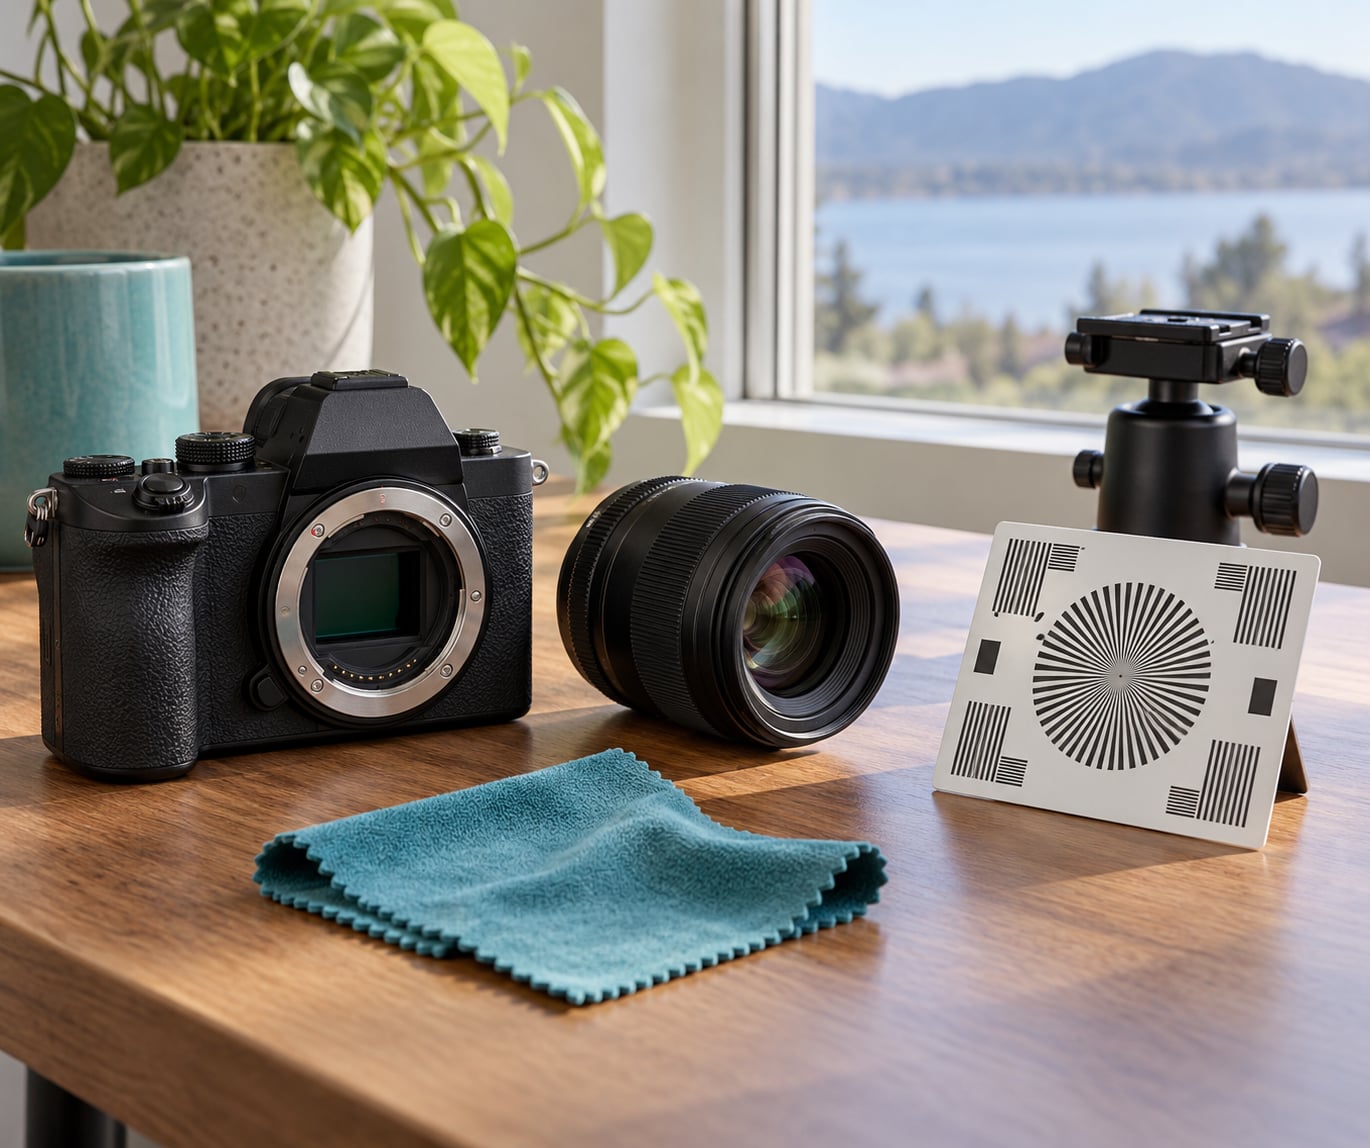
To check a lens for back focus, put a high-contrast test target at a slant, focus with single-point autofocus, and look for sharpness sitting in front of your subject instead of on it. Fifteen minutes, a tripod and magnified Live View are enough to call it, and none of it needs a calibration tool.
Back focus is when a lens or a camera autofocus places the plane of sharpest focus slightly behind the subject you aimed at, so the area just in front of your subject looks sharp while the subject itself is soft. Front focus is the mirror image, with sharpness landing in front of the subject.
The test matters most at wide apertures, where depth of field is a couple of centimetres deep and a small offset ruins the eyes in a portrait. It also matters before you buy a used lens, because a focus offset shows up on every frame and no amount of sharpening will fix it.
Table of Contents
- What You Need
- Step-by-Step: How to Check a Lens for Back Focus
- Step 1: Confirm the problem in single-point autofocus
- Step 2: Check focus visually at close range
- Step 3: Test the lens at its normal focusing distance
- Step 4: Verify the result at infinity
- Step 5: Compare autofocus with manual focus
- Step 6: Test multiple focus points and aperture settings
- Step 7: Decide whether calibration or repair is needed
- Common Mistakes
- Frequently Asked Questions
- Can I check a lens for back focus without a service chart?
- What does back focus look like on a camera?
- Is back focus a lens problem or a camera problem?
- How do I test whether a lens focuses correctly at infinity?
- Does using live view make back-focus testing more accurate?
- How much does it cost to fix a lens with back focus?
- Conclusion: Start with a Controlled Focus Test
What You Need
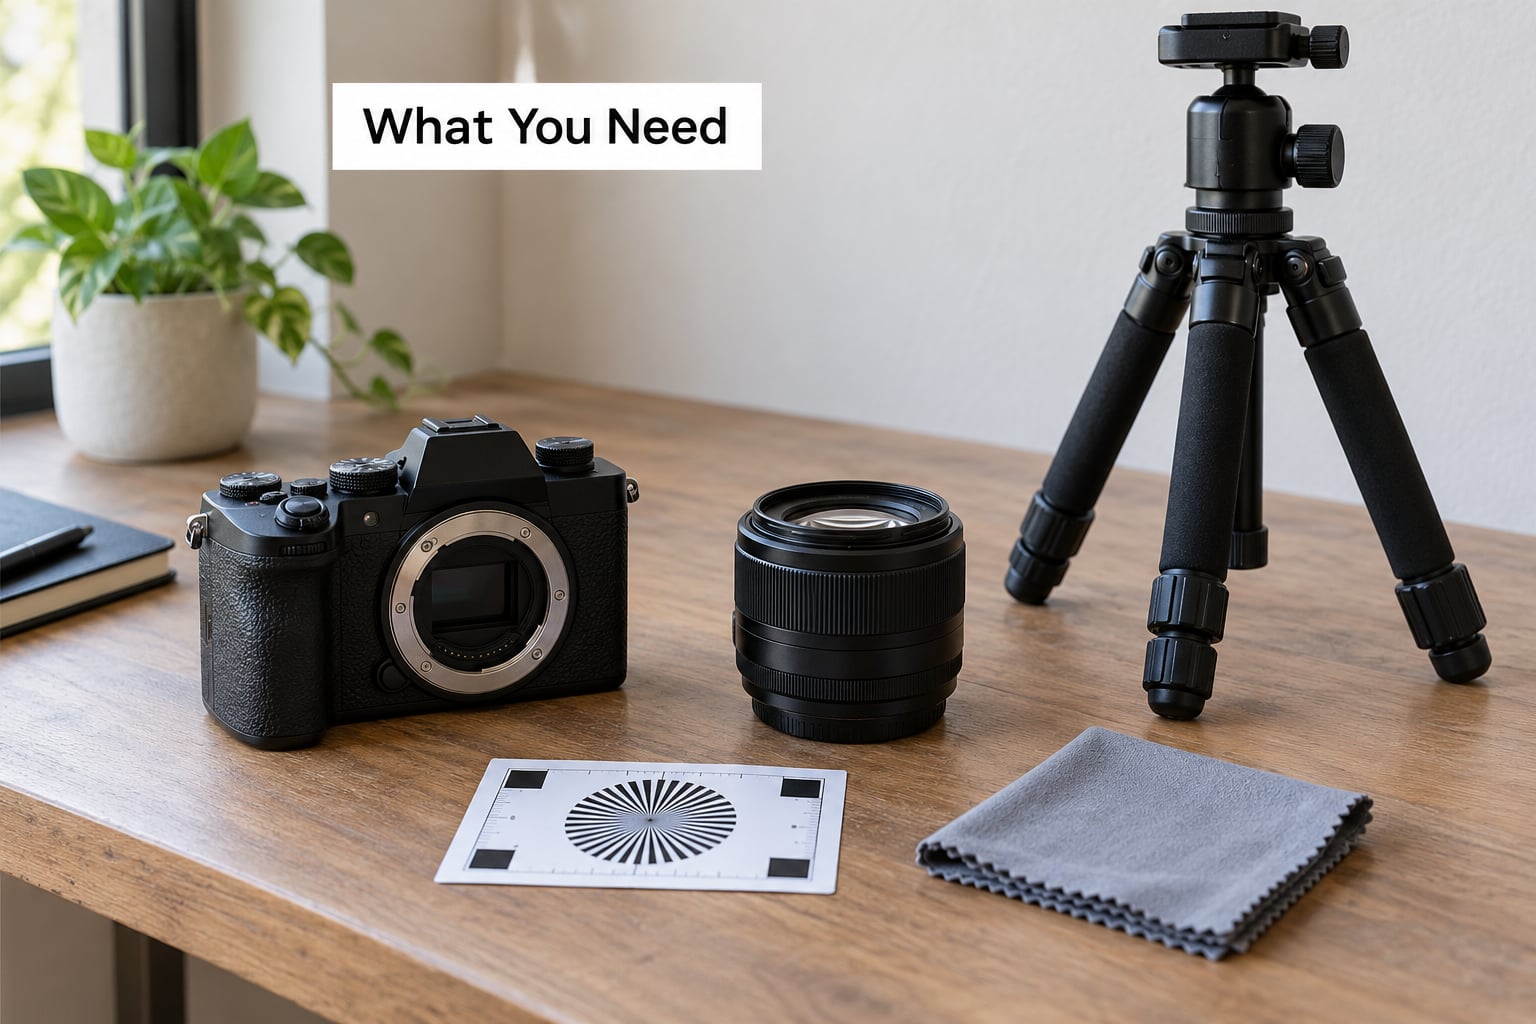
The short answer: you need a camera with manual focus, a lens to test, a target you control the angle of, a tripod, and a way to look at the result magnified. The rest is optional.
- A high-contrast test target. Two options work equally well. You can print a focus chart (a Siemens star and a fine resolution wedge on white paper), or you can build a free target from five AA batteries taped together, stood on a table at roughly 45 degrees with a ruler behind them. The slanted version is better, because it separates front focus from back focus instantly.
- A tripod and a 2-second self-timer or remote. Handheld shooting at wide apertures introduces exactly the kind of error you are trying to measure.
- Bright, even light. Daylight near a window is ideal. Extra lamps are fine, but avoid bare flash, which can fool the metering.
- A flat, square reference. A spirit level or, failing that, the mirror trick below.
- Viewing software with 100 percent pixel view on a decent screen, plus your camera’s own magnified Live View for the reference frame.
- Optional: a lens cloth, gaffer tape for holding the target angle, and a second lens on the same body for the cross-check in Step 7.
Set the test distance at 25 to 50 times the focal length measured from the sensor, not from the front element. That is about 40 feet for a 500mm, 8 feet for a 200mm, and under 2 feet for a 50mm. Stay well beyond the minimum focus distance; the forum answer to “do I test at MFD” is a clear no.
Step-by-Step: How to Check a Lens for Back Focus
Step 1: Confirm the problem in single-point autofocus
Reproduce the fault before you measure it. Mount the lens, switch to manual exposure, set the widest aperture, drop to base ISO, and keep the shutter at 1/125s or faster. Select a single small autofocus point and place it on the target, then let autofocus take the shot.
Look at the result at 100 percent. If the sharpest area sits on the near side of your subject, you have a real focus offset to characterise. If the whole frame is soft, you probably have a different problem and should read Common Mistakes first.
Step 2: Check focus visually at close range
Switch to Live View, magnify to the maximum the camera allows, and manually focus the lens until the target is sharp. Because the mirror is up or the sensor is exposed directly, contrast-detect focusing is doing the work and phase detect is out of the picture entirely.
That magnified Live View frame is your ground truth. Take it and keep it as the reference: it tells you where the lens actually puts focus when nothing interferes, so every phase-detect shot can be compared against it.
On a mirrorless or hybrid body there is no separate contrast-detect step, so this manual magnified Live View frame is the only true reference you have. Build the test around it rather than expecting an automatic reference shot.
Step 3: Test the lens at its normal focusing distance
Now move the target to the distance you actually shoot at, roughly a portrait or everyday working distance. Repeat the phase-detect shot with a single centre point on the target.
Compare the two frames side by side. If the autofocus frame is sharp in front of the Live View reference frame, that is front focus. If it is sharp behind, that is back focus. Consistent on both distances? Likely a small, in-spec offset. Different at each distance? Look at Step 6 before you blame the lens.
Step 4: Verify the result at infinity
Point the camera at a distant, high-contrast subject such as a roofline, a bare branch against the sky or a distant sign. Focus manually and zoom in to check the edge of the detail.
A lens that reaches infinity cleanly but misses in the near field points at a close-range flange or helicoid issue, or at a minimum-focus-distance mistake on your part. A lens that never gets sharp at any distance on distant detail is a different fault entirely, usually haze, fungus or a damaged rear element, not back focus.
Step 5: Compare autofocus with manual focus
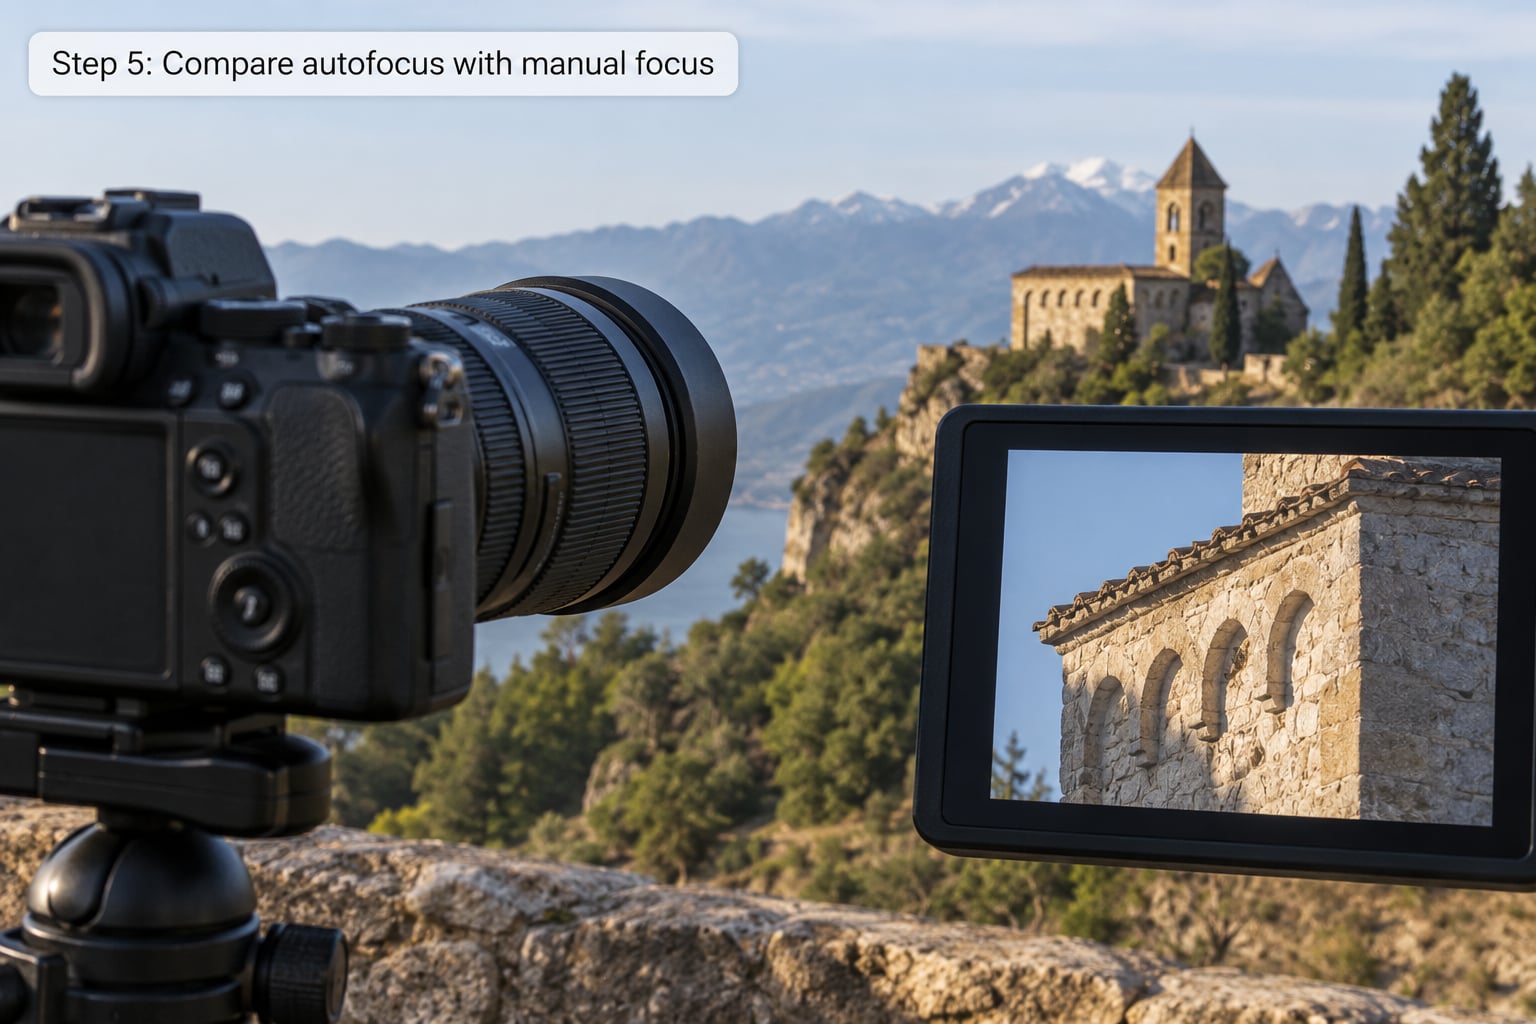
At the same target, shoot once with autofocus and once with manual focus at the magnification you just used. Manual focus being crisp while autofocus lands off by a visible margin is the cleanest single piece of evidence you can collect.
Record whether the autofocus error is always in the same direction or flips depending on whether the lens was focused from infinity down or racked up from close range. A direction that flips with rack direction is a symptom micro-adjustment cannot fix, and it is worth mentioning when you contact a service centre.
Step 6: Test multiple focus points and aperture settings
Repeat the test with the centre point, an off-centre point and an edge point. Also shoot at two or three apertures rather than only wide open, and note what changes.
Wide open is the revealing aperture: at f/2.8 or wider a real offset puts sharpness outside the frame of acceptable error, while stopping down to f/5.6 makes almost any lens look fine. If the error disappears the moment you stop down one or two stops, it is within the depth of field your body was ever guaranteed to hit.
If only one focus point misbehaves, or only one side of the frame is soft at every aperture, suspect decentering or a tilted sensor mount rather than a focus offset.
Step 7: Decide whether calibration or repair is needed
Take five shots from the near position and five from the far position, deliberately racking the focus away from the target before each one. Consistency matters as much as direction: five identical results point at a fixed optical offset, while five scattered results point at something loose, a loose mount screw or a lens with internal play.
Compare the result against the tolerance your manufacturer claims. Consumer bodies are generally specified only to land within the depth of field, while professional bodies are often specified to within a fraction of that at f/2.8 and faster. A measured error inside the depth of field is not a defect, however disappointing it feels at f/1.2.
| What you see | Most likely cause | Verdict |
|---|---|---|
| Sharpness consistently just behind the subject | Back focus, or a front-focusing body | Real fault if outside depth of field |
| Sharpness consistently just in front of the subject | Front focus, or a back-focusing body | Real fault if outside depth of field |
| Centre sharp, corners soft at every aperture | Decentered element or field curvature | Not back focus |
| Focus drifts when you change aperture after focusing | Focus shift | Not back focus |
| Correct when focused manually, wrong on autofocus | Camera body or mount alignment | Body, not lens |
| Same error on every lens on the body | Body PDAF misalignment | Body service |
| Different direction on different lenses | Per-lens offset | Lens service or adjustment |
| Error only when shooting close | Test inside the minimum focus distance | Test error |
| Sharpness landing ahead one way, behind the other | Rack-direction asymmetry | Return case |
Cross-check with a second lens on the same body before you decide. If three lenses on that body all show the same error in the same direction, the body is the culprit. If one lens shows it and another does not, the lens is the problem.
Watch out for the cancellation trap. A lens with front focus on a body with back focus can land perfectly on target and look healthy on your test, while being wrong in both halves. A result that looks too good deserves a second look on a different body, not celebration.
Common Mistakes
Most false readings come from a handful of repeated errors, and each one can send a how to check a lens for back focus session in the wrong direction. Here is the fix for each.
- Judging focus on a small screen. A laptop at arm’s length hides exactly the softness you are hunting. Zoom to 100 percent on a monitor, and confirm sharpness by the shape of the edge, not by how the thumbnail feels.
- Shooting closer than the minimum focus distance. A 50mm f/1.8 with a 0.35m MFD tested at 0.40m will read as back focus when nothing is wrong. Move past the marked distance before drawing any conclusion.
- Letting the target tilt. A target a few degrees off square makes one side of the frame soft and looks like a lens fault. Put a spirit level on it, or use the mirror trick: rest the camera’s rear against a mirror on the table with the lens pointing at the target. If the reflection sits centred, the sensor plane is parallel.
- Focusing on the background. Place the focus point on the near detail you are judging. If the AF point sits on anything behind the subject, the test tells you nothing.
- Changing five settings at once. Aperture, ISO, shutter speed and drive mode all moving together means you cannot tell which one caused the result. Fix everything except the one variable you are testing.
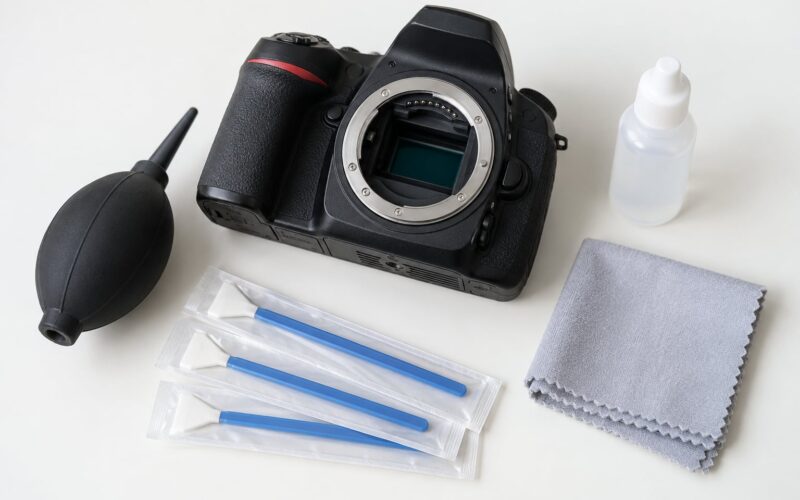
- A dirty cloth or a smudged front element. Clean the glass with a proper lens cloth and a single drop of fluid before blaming the optics. Smears produce uneven softness that mimics a decentered lens convincingly.
- Leaving stabilisation on. On a tripod, stabilisation hunting can soften one half of the frame. Turn it off.
- Trusting a single frame. One shot is noise. Five from each direction is a result.
- Leaving an existing adjustment in place. Zero out any AF micro-adjustment value before you test, or you are measuring the adjustment rather than the lens.
One more worth knowing: a zoom lens cannot be perfectly corrected at both ends. If your wide end and long end want opposite adjustments, that is a design compromise, not a defect.
Frequently Asked Questions
Can I check a lens for back focus without a service chart?
Yes. Stand five AA batteries on a table at roughly 45 degrees with a ruler behind them, tape the arrangement down, and you have a target that separates front from back focus because the slanted depth shows which plane wins. Tape the lens to the wall instead and you still get a valid result, just harder to read. The batteries give the cylinder edges, the ruler gives the scale.
What does back focus look like on a camera?
Sharpness lands in front of your subject. With a slanted target, the near portion of the batteries or ruler looks crisp while the part you placed the focus point on is slightly soft. With a flat target, the same thing appears as a halo of sharp detail on the near side of your subject and a soft centre.
Is back focus a lens problem or a camera problem?
It can be either, which is why the test has to use more than one lens. If the same body shows the same error on three different lenses, the body is the problem. If one lens is off on every body you try, the lens is. Because the two errors can cancel each other out, a lens that looks perfect on a faulty body is not proof that it is fine.
How do I test whether a lens focuses correctly at infinity?
Aim at a distant, high-contrast detail such as a roofline or a bare branch against the sky, focus manually, and magnify the result to check the edge. Then repeat with autofocus on a single point. Manual focus that stays crisp at infinity while autofocus settles short points at a close-range offset rather than a broken far limit.
Does using live view make back-focus testing more accurate?
It makes the reference far more accurate. Magnified Live View focuses by contrast, reading sharpness straight off the sensor, so it cannot inherit a phase-detect alignment error. On mirrorless and hybrid bodies that have no contrast-detect step, take the reference frame manually and treat it as the standard everything else is measured against.
How much does it cost to fix a lens with back focus?
Ask for a flat quote before you ship anything, because repair pricing varies widely and a quote in writing prevents a surprise invoice. Manufacturer warranty service is normally free, provided the lens is within its warranty period. Independent focus-adjustment specialists usually quote a fixed fee, and that work takes far longer than most other clean-and-service jobs, so the quote is worth reading carefully.
Conclusion: Start with a Controlled Focus Test
The fastest way to check a lens for back focus takes fifteen minutes and a controlled test, not a guess. Zero out any AF adjustment, put a slanted target at 25 to 50 times the focal length, well beyond the minimum focus distance, and take one magnified Live View reference frame plus one single-point autofocus frame at the widest aperture.
Five shots from each direction tells you whether the error is consistent and which direction it leans. If it is consistent, outside the depth of field your body is guaranteed, and reproduces across more than one lens, you have a fault worth having adjusted. If it changes with rack direction, or the sharpness lands in front on one lens and behind on another, step back and test before spending anything.