Eye autofocus puts the focus point on your subject’s eye and keeps it there, so portraits come out sharp while you concentrate on expression instead of hunting for focus. Learning how to use eye autofocus on mirrorless cameras takes about five minutes, and the idea works the same on Sony, Canon, Nikon, Fujifilm, Panasonic and OM System bodies, even though every brand names and files the setting differently. Almost every complaint I hear about eye AF comes down to three things: the autofocus mode, the focus area, and how much light is falling on the face.
I shoot a lot of portraits and event work, and the honest truth is that eye AF gets you 90% of the way there once you understand which three settings to change. This guide covers what you need, the setup sequence in order, and what to do when it misses.
Table of Contents
- What You Need
- Step-by-Step: How to Use Eye Autofocus on Mirrorless Cameras
- Common Mistakes
- Frequently Asked Questions
- Does eye autofocus work with glasses on a mirrorless camera?
- Which mirrorless cameras have reliable eye autofocus?
- Why does my mirrorless camera focus on the wrong eye or face?
- Can I use eye autofocus for moving portrait subjects?
- Is eye autofocus available in video mode?
- Should I use eye autofocus or single-point autofocus for portraits?
What You Need
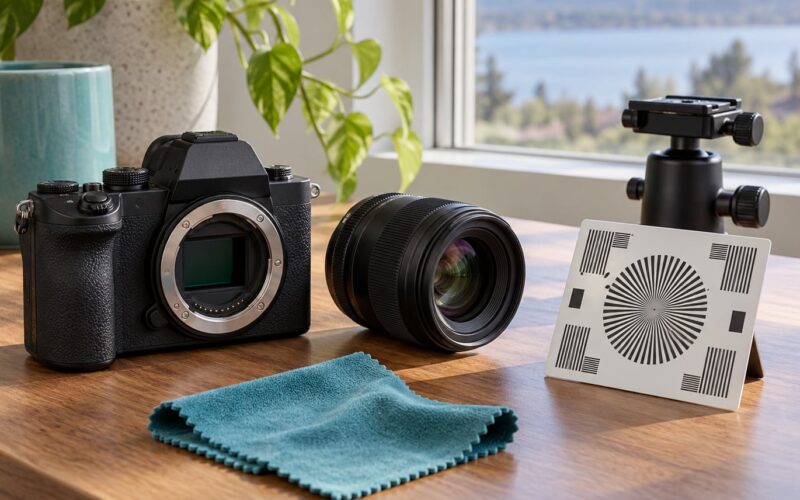
Before you touch a single menu, check that your camera and lens can actually do what you think they can. Most mirrorless bodies launched in the last six or so years have some form of face and eye detection, but the version matters more than people expect.
What to have on hand:
- A camera with subject detection enabled in firmware. Eye detection arrived in stages, and animal and bird detection came later. If your menu item is missing entirely, the body may predate it or the firmware may be too old. Check for updates before you start troubleshooting anything else.
- A lens with its own autofocus motor. Native lenses focus fastest and hold focus most reliably. Adaptable manual lenses can still focus, but the adapter often adds a step of lag, and eye tracking gets noticeably jumpier.
- A reasonably bright face. Detection is a visual search. In a dim room the camera spends longer looking for a face and grabs the wrong thing more often. This is not a settings problem and no menu will fix it.
- A subject who knows where the camera is. A person facing the lens square-on gives the system a much easier target than someone talking over their shoulder.
Most people’s first hour with a mirrorless body goes into hunting through menus, so it helps to learn the dials that actually change your results before you start.
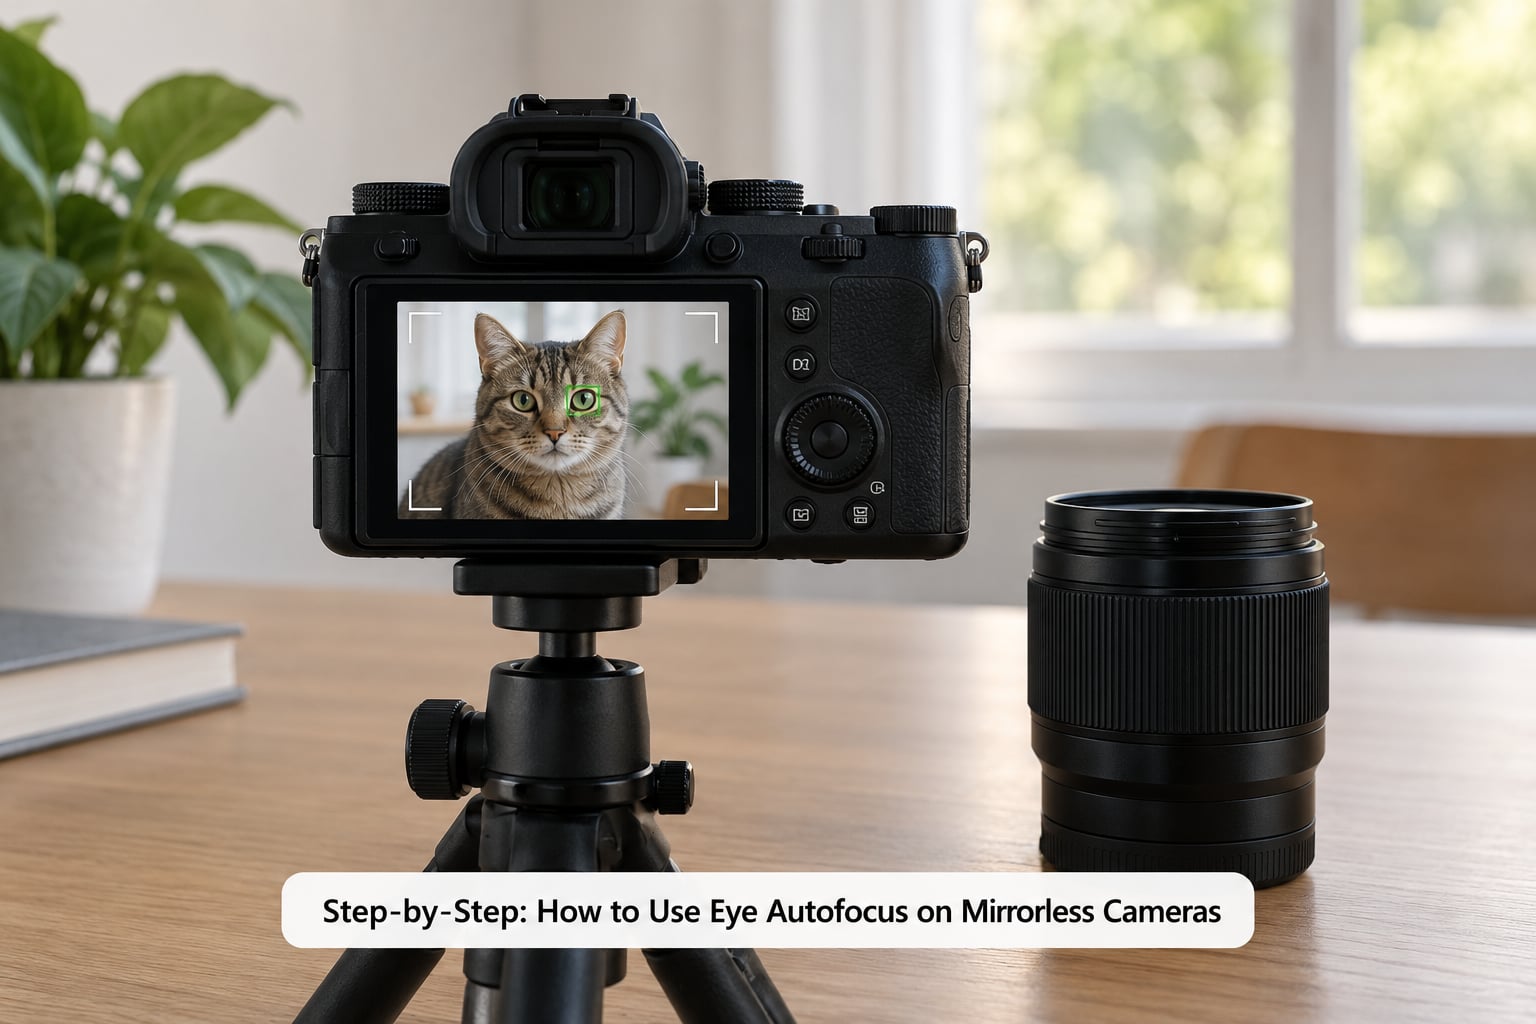
Step-by-Step: How to Use Eye Autofocus on Mirrorless Cameras
1. Check Camera and Lens Compatibility
Confirm your body recognises eyes, not just faces. Open the AF or shooting menu and look for something labelled Face/Eye AF, Subject Detection, or Face and Eye Detection. If you find a plain Face Detection option with no eye sub-menu, you have older generation detection that finds the head and focuses there. It works, and it is fine for casual snapshots, but it is a different feature from what this guide describes.
Next, make sure the lens is a supported autofocus lens. Manufacturer lens lists and adapter notes are published for every mount, and they are worth two minutes of reading before a paid session.
2. Select the Correct Autofocus Mode
Set continuous autofocus (AF-C, called Servo AF on Canon and Continuous AF on Fujifilm and OM System) for portraits. Single-shoot modes lock focus once and then stop looking, which is exactly wrong for a subject who is breathing, blinking and shifting weight. Continuous mode keeps measuring the distance to the eye and corrects for every one of those small changes.
Where the setting lives depends on the brand:
- Sony: MENU → Camera Settings1 → Face/Eye AF Set, then set Face/Eye Priority in AF to Human, Eye Priority to the eye you want. Sony also lets you assign Eye AF to a custom key so it only runs while you hold the button.
- Canon: shooting menu → AF functions, where you enable Face + Eye Detection and choose the subject to track. Canon’s AF point selection modes also decide how much freedom you have to move the frame.
- Nikon: choose an Auto-area AF mode, then enable Subject detection in the photo shooting menu. Nikon’s detection covers people and animals, and the wide-area coverage is the reason so many shooters like it for off-centre portraits.
- Fujifilm: AF/MF menu → Face/Eye Detection, with separate options for the eye and face you prioritise. Fuji users often pair this with a wide or custom AF-C layout rather than a single tiny point.
- Panasonic: focus menu → AF mode, where 1-Area AF and Wide mode both work with face and eye detection. Panasonic’s DFD-based system is quick but not the fastest with fast-moving subjects.
- OM System: the super control panel gives you direct access to subject detection and the AF target, which is faster than digging through menus mid-shoot.
Pick the widest focus area that still lets you control framing. Flexible Spot or a single tiny point sounds precise but fights the tracking; Wide or Zone modes hand the camera room to find the eye and follow it.
3. Position the Subject for Detection
Detection works best when the face is roughly toward the lens and evenly lit. Ask your subject to turn their face a few degrees toward the camera rather than straight down the lens axis, and keep the distance short enough that the face fills a decent share of the frame.
Three framing habits pay off immediately:
- Keep the eyes in the upper half of the frame. Detection searches a defined region on most bodies, and a low-positioned face can fall outside it.
- Watch for background faces. A bystander behind your subject is a target too, and this is the single most common reason portraits focus on the wrong person. Move or change your angle so nobody else is in frame.
- Avoid hair across the eyes. A curtain of hair defeats detection the same way sunglasses do, and the camera will fall back to the nearest visible part of the face.
4. Confirm the Focus Point and Shoot
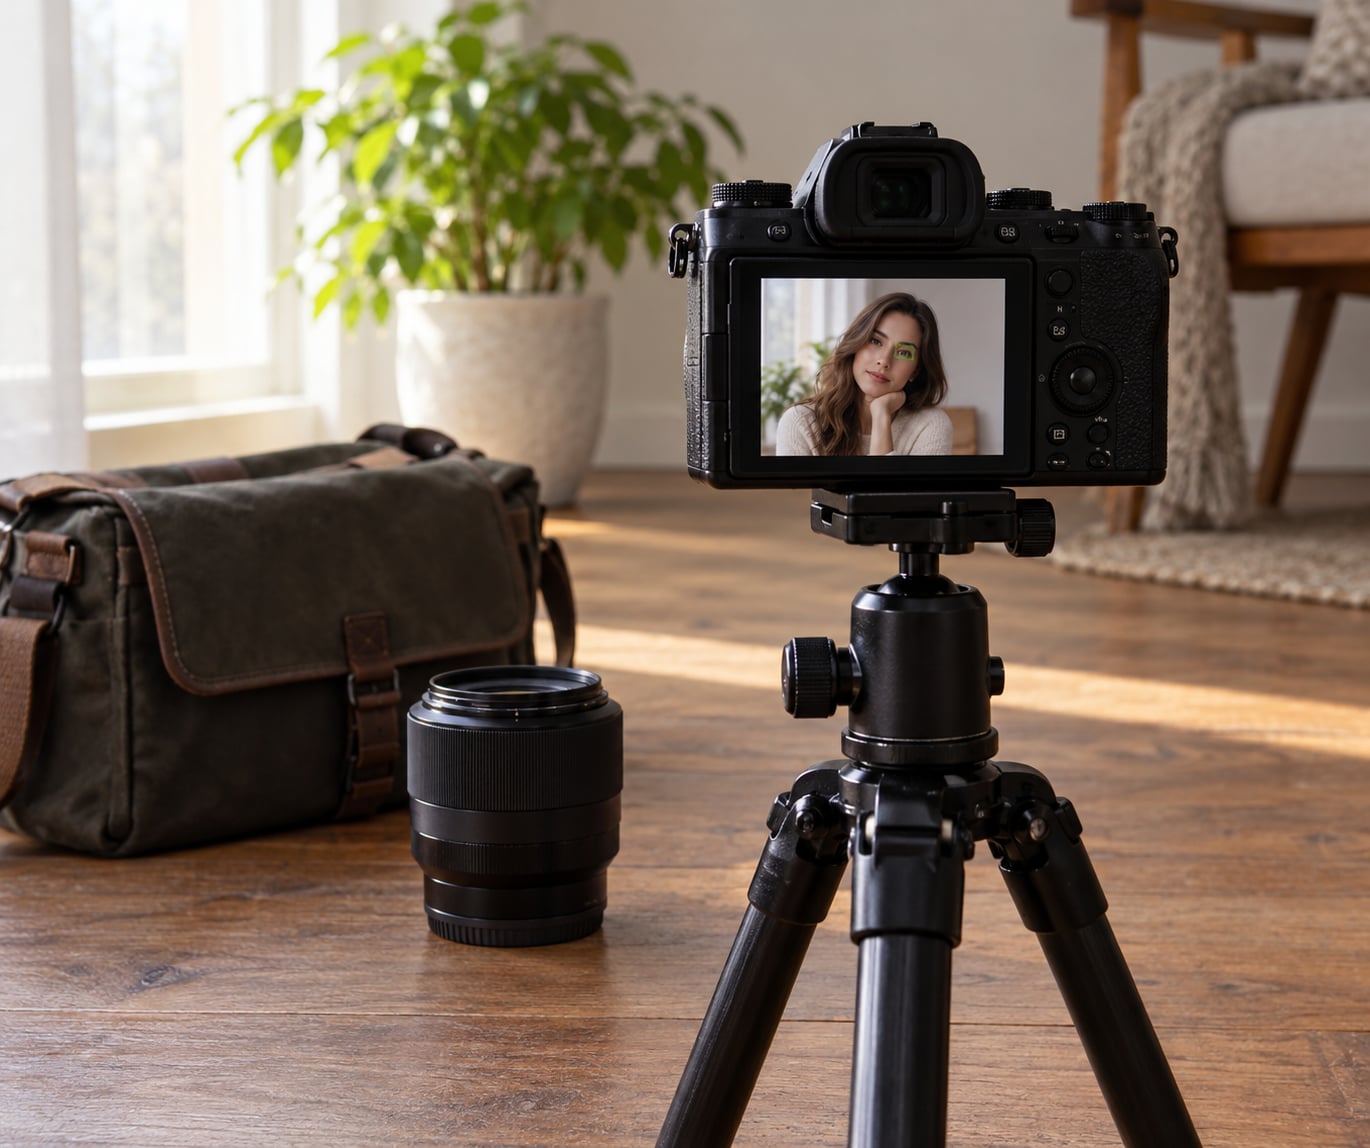
You should see a small box or frame snap onto an eye and change colour, usually from white or grey to green, once focus is confirmed. That colour change is your only real proof the camera has done what you wanted. Take a test frame and zoom in before you commit to a whole sequence.
With more than one face in frame, most bodies let you cycle through detected subjects. On Sony and Nikon you do this with the joystick or directional pad; on Canon the subject selection depends on your AF point selection mode; Fujifilm assigns this to a face or eye priority setting. Find that control before the session, not during it.
When to stop using eye AF: a deliberately still sitter in low light at a very wide aperture, where you want a specific eye and the camera keeps choosing between two. There, switch to a single point and focus manually. Same for back-button focus setups, where separating the button from the shutter gives you a deliberate start to tracking.
5. Adapt Eye Autofocus to the Portrait Situation
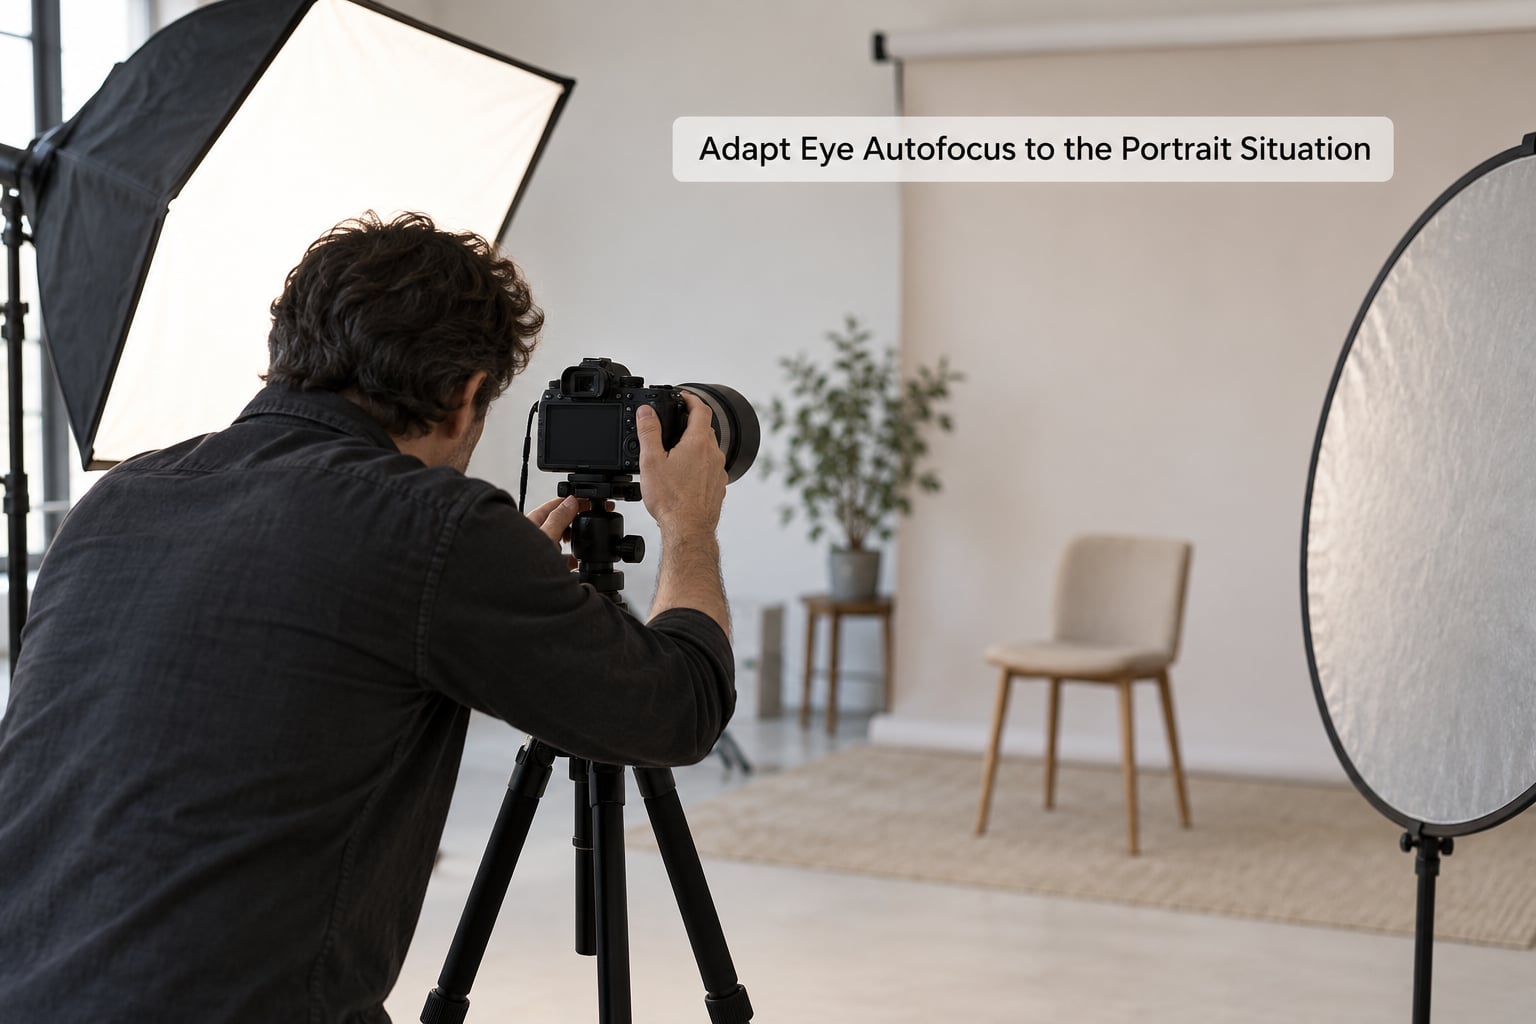
Situations change what you need to change, and most of them need one menu adjustment rather than a different camera:
- Glasses: fine face-on, unreliable at steep angles or with strong glare. Tilt the frame so you catch a reflection-free angle of the lenses, and give the face more light than you think it needs.
- Closed or blinking eyes: the camera cannot detect what is not visible. Turn detection off for that one frame if you are shooting a blink sequence, or switch the priority to the other eye.
- Movement: keep AF-C on, widen the focus area, and shorten your subject’s movement rather than the distance to them. A person walking slowly toward you tracks far more reliably than one pacing sideways.
- Backlighting: a bright window behind the subject creates a dark face that detection struggles to read. Bump exposure compensation, move them a step away from the window, or put a reflector in front of them.
- Multiple people: register or select the priority face where your brand allows it, and shoot in short bursts around the moment you want. Detection will happily hand focus to whoever moved last.
- Profile angles: detection weakens past roughly 45 degrees off-axis. Turn the subject back toward the light and lens rather than trusting the tracking.
For video, the setup is similar but the behaviour differs: continuous tracking is smoother and less aggressive in photo mode, so lock-on AF or Real-Time Tracking style modes are usually the better choice for a moving speaker.
Common Mistakes
Almost all eye AF failures fall into the same handful of patterns, and each has a specific fix:
- Confusing face detection with eye detection. You have the face option on but eye detection switched off inside it. Open the face and eye settings and confirm eye detection itself is enabled, not just the parent toggle.
- Single autofocus in a portrait session. AF-S locks on the first acquisition and stops correcting. Switch to AF-C and recheck your shutter behaviour, since some bodies also need the focus-hold release configured differently.
- A focus area too small to track. Flexible Spot and Pinpoint modes fight the tracking. Go wider.
- Too little light on the face. Detection slows, hunting becomes visible, and focus lands on the wrong surface. Add or bounce light rather than hunting through menus.
- A second face in the background. Reposition. No setting reliably distinguishes your subject from a guest standing behind them.
- Subject movement across the frame. Tracking a fast lateral move needs a wide area and continuous AF; it is not a menu bug.
- Features missing entirely. Old firmware is the usual cause. Update it before changing anything else, and expect the menu layout to shift slightly afterwards.
- Using an adapted manual lens. Expect lag and occasional dropped detection. It works for still portraits, but the tracking is not as smooth.
One more worth knowing: on several brands detection behaves differently in self-portrait shooting, since the camera is pointed at you and often held above or below your face. If it misses, extend the arms and give it a flatter, more front-on view.
Frequently Asked Questions
Does eye autofocus work with glasses on a mirrorless camera?
Usually yes, when the face is turned slightly toward the lens and lit from the front. Glasses cause trouble at steep angles, with strong reflections, or with very dark tinted lenses. Tilt the framing so no light bounces off the lenses toward the camera, and add or bounce light on the face. If detection keeps failing, fall back to face detection or a single focus point on the near eye.
Which mirrorless cameras have reliable eye autofocus?
Current-generation bodies from Canon, Sony, Nikon, Fujifilm, Panasonic and OM System all handle human eye detection well, and most can also detect animal and bird eyes after a firmware update. Reliability depends more on the lens and lighting than on the badge. A native autofocus lens and a reasonably bright face give far more consistent results than an adapted manual lens in a dim room.
Why does my mirrorless camera focus on the wrong eye or face?
Most often another face is in the background and the camera tracked it, or your focus area was too small to follow the movement. Check that eye detection is enabled rather than face detection alone, widen the focus area to a wide or zone mode, keep continuous autofocus active, and move so no second face is in the frame. Registering a priority face, where your brand allows it, also helps.
Can I use eye autofocus for moving portrait subjects?
Yes, within limits. Continuous autofocus plus a wide focus area tracks a subject walking slowly toward you or turning their head, and most recent bodies handle a standing person leaning and gesturing well. Fast lateral movement, quick turns and people walking toward strong backlight are harder, and the frame will often need repositioning. Short bursts improve your odds on the decisive frames.
Is eye autofocus available in video mode?
It is, and it behaves differently from photo mode. Video tracking is smoother and less aggressive about switching subjects, which is usually what you want for an interview or a walk-and-talk. Choose the lock-on or continuous tracking focus mode in your camera menu, keep the face evenly lit, and expect detection to weaken in profile or in very low light.
Should I use eye autofocus or single-point autofocus for portraits?
Use eye autofocus for moving or candid portraits, and any group of more than one person, because it handles small distance changes without you touching anything. Use a single point or manual focus for a very still sitter in dim light at a wide aperture, where you know exactly which eye you want and the camera would keep flip-flopping between both. Trying both on the same subject teaches you which to trust faster than reading about it.
If you only change three things today, make them these: turn continuous autofocus on, widen the focus area so the camera has room to track, and put more light on the face than you think the portrait needs. Everything else on this list is a variation on those three.