Learning how to pose seated subjects comes down to a short chain of adjustments: build a stable base through the pelvis and feet, angle the torso so it is not square to the lens, give the hands a job, arrange the legs so they create a line rather than a block, direct the face last, then fine-tune from the camera’s view. Get that chain right and seated portraits stop feeling like the hard part of the session.
This guide works the chain step by step, roughly ten minutes of setup and then a repeatable sequence you can run for every subject. It suits portrait, family, senior, and headshot work, and it holds up whether the seat is a kitchen chair, a deep sofa, or the floor. Updated for 2026.
Table of Contents
- What You Need
- Step-by-Step: How to Pose Seated Subjects
- 1. Choose a Seat That Supports Good Posture
- 2. Set the Base of the Pose — How to Pose Seated Subjects Comfortably
- 3. Shape the Torso and Shoulders
- 4. Create Natural-Looking Hands
- 5. Arrange the Legs and Feet
- 6. Direct the Face and Expression
- 7. Refine the Pose From the Camera View
- Tips for Comfortable Seated Portraits
- Common Mistakes
- Frequently Asked Questions
- How many seated poses should I photograph in one session?
- What if the subject does not know how to relax during a seated portrait?
- How do you pose seated subjects without making their legs look awkward?
- What is a comfortable hand position for seated portraits?
- How can I create variety when only one chair is available?
- How should I direct a seated subject who cannot cross their legs or sit comfortably?
- Conclusion
What You Need
Almost nothing. That is the good news about seated work: the equipment list is short, and most of what changes the frame comes from the seat and the direction you give.
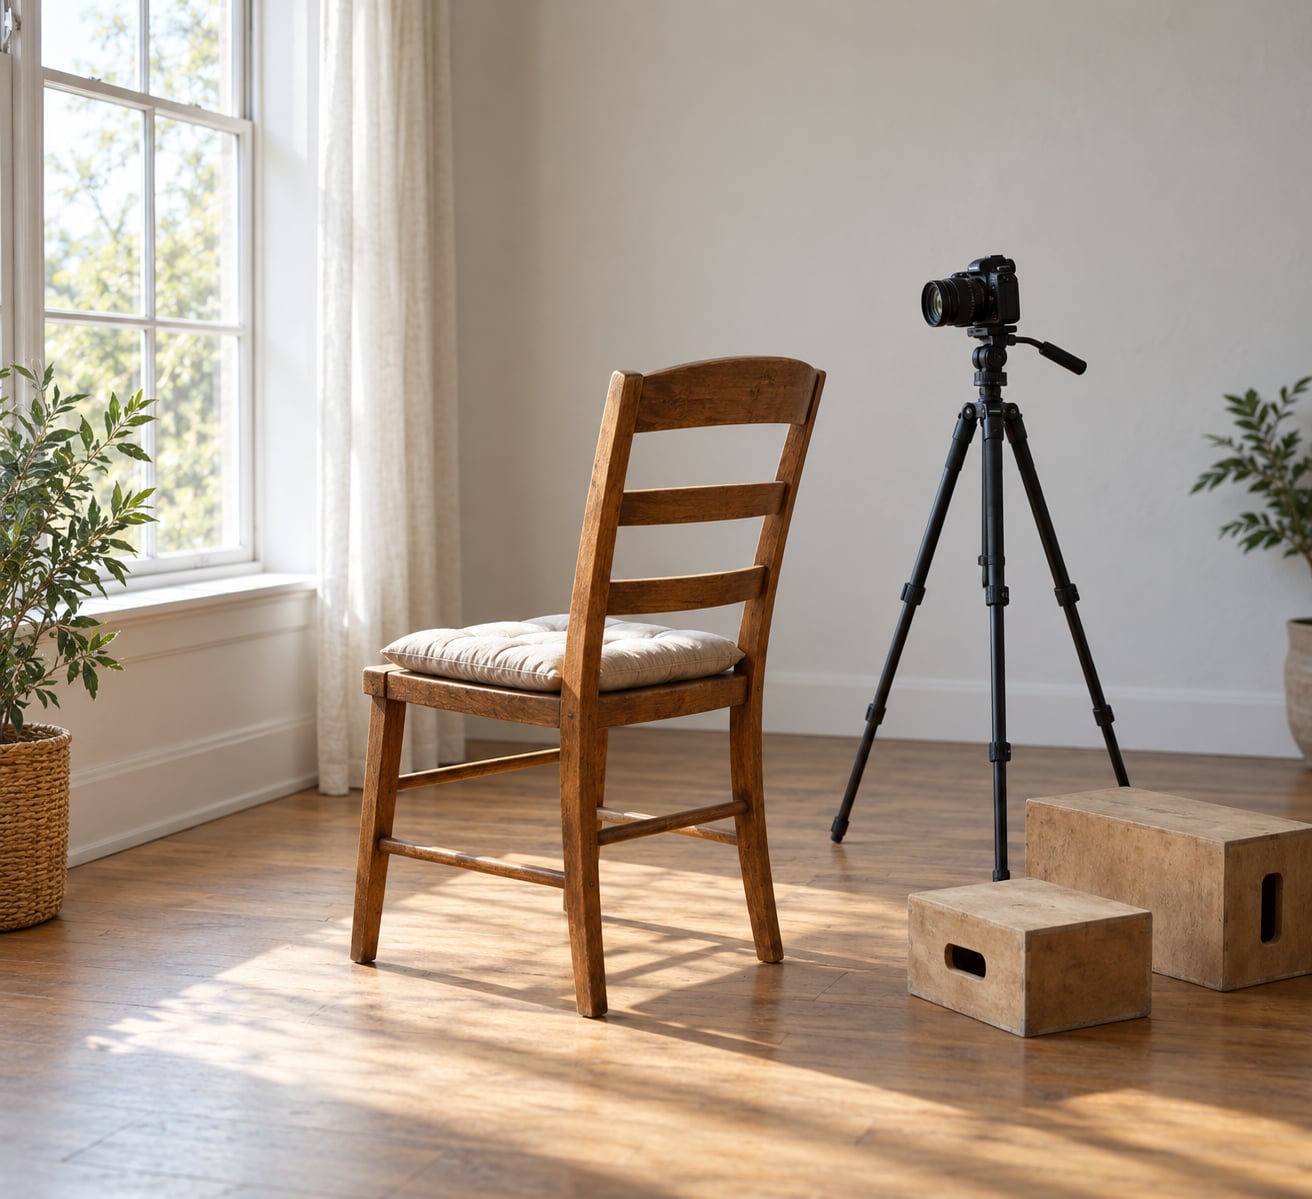
- A stable seat. A dining chair, a wooden stool, a bench, a step, or the floor. Anything that will not wobble when the subject leans forward.
- A cushion or folded towel. It raises a shallow seat so the subject’s knees sit roughly level with the hips, which removes the collapsed look.
- Two posing blocks or foam risers. Optional, but they let you build a seat where the feet reach the floor properly.
- A camera you can review from the back. Any mirrorless body or DSLR works. Tethering to a laptop or tablet is a bonus, not a requirement.
- A lens around 50mm to 85mm equivalent. This keeps the distance honest and avoids stretching limbs when you step close.
- Reference shots on your phone. A few images of seated poses you like saves you from describing angles in the abstract.
Camera settings matter less than people expect. Set a shutter speed fast enough to catch a hand gesture, around 1/250s or quicker, and open the aperture as far as the light allows so you can shoot from further back. Depth of field wide enough to keep both eyes sharp is the goal, not a creamy background.
Before the subject arrives, clear the space around the seat. Clutter behind a chair reads as clutter in the frame, and it gives the subject something to lean toward if they need an anchor.
Step-by-Step: How to Pose Seated Subjects
Work top to bottom. Each stage gives you something visible to check on the camera screen before you move to the next one, which keeps direction simple and avoids long conversations mid-session.
1. Choose a Seat That Supports Good Posture
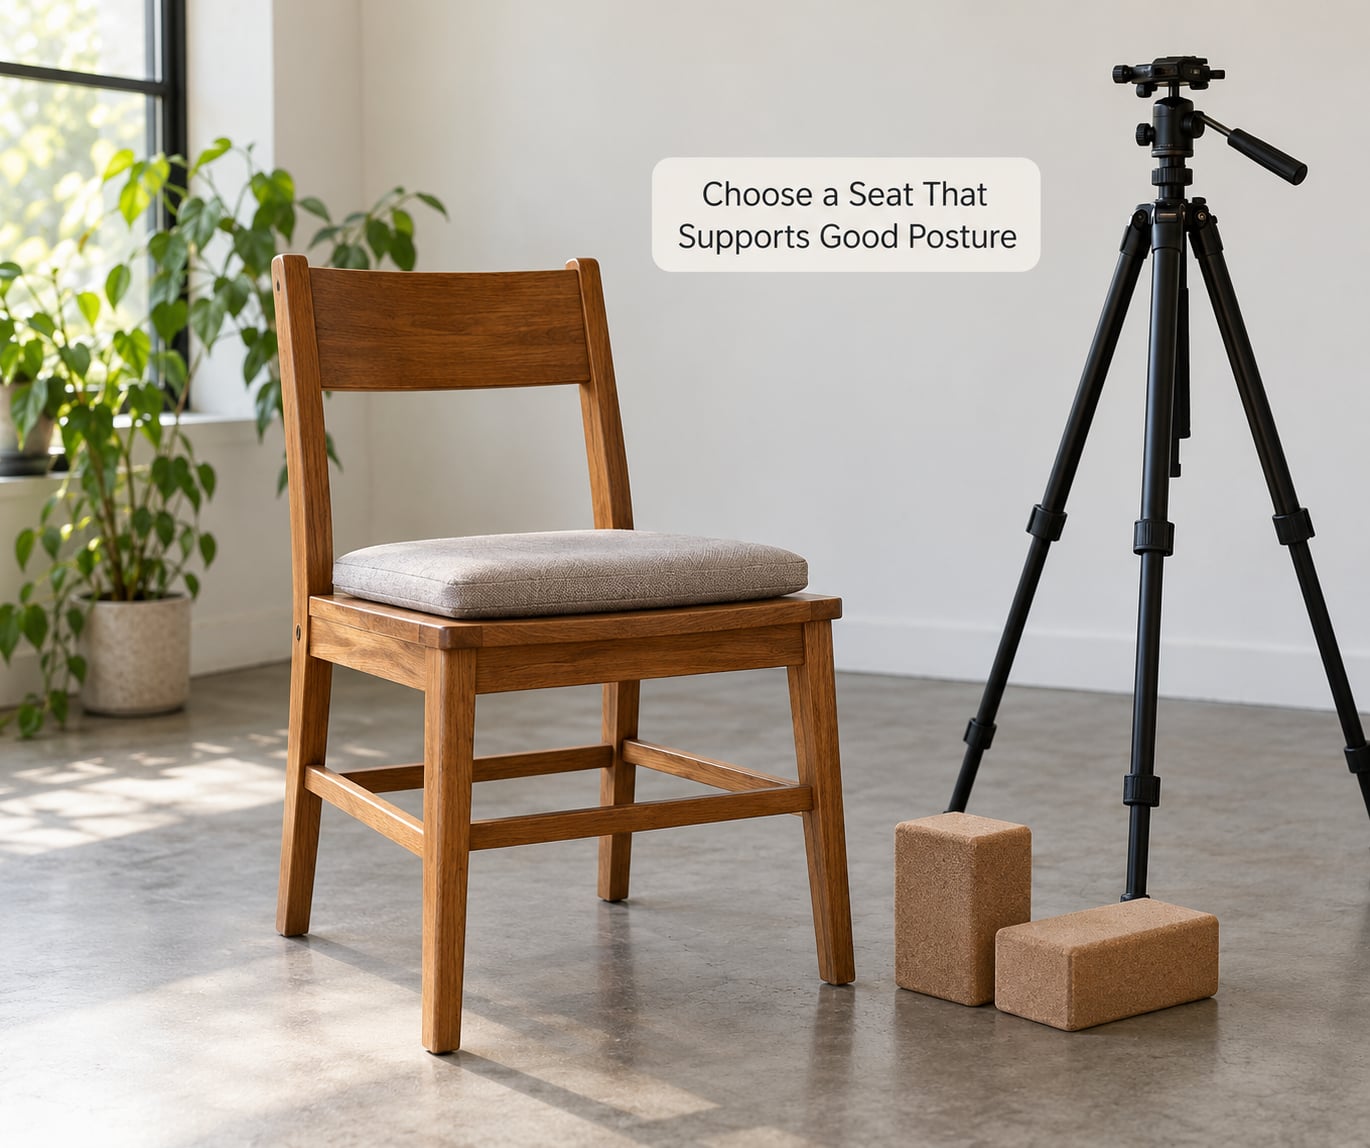
Start with the furniture, because a bad seat produces a bad pose no matter how well you direct the body. You are looking for four things: a seat surface that is wide enough that the subject does not perch on the edge out of nervousness, a height where flat feet or knees-up both reach a workable angle, a back that supports a lean without collapsing the spine, and legs that will not splay.
Height is the one people miss. If the seat is too tall, the feet dangle or plant flat with the knees above the hips, and the torso shortens. Too low, and the subject’s thighs disappear into the seat. As a rough check, the hip should sit slightly above or level with the knee.
Stools and benches work, but they need a second decision. A backless stool asks more of the subject’s core, so build in a lean from the hips and keep the subject’s hands connected to the seat edge or a prop. Steps and curbs give you a natural staggered-leg shape, but they also lock the height, so bring a riser if the level is wrong.
A soft sofa is the opposite problem. Deep cushions swallow a small subject and invite slouching. Sit on the edge, push the hips back into the corner of the seat, and add a firm cushion behind the lower back if you have one.
2. Set the Base of the Pose — How to Pose Seated Subjects Comfortably
The base is the pelvis, the seat, and the feet. Get this right and everything above it has somewhere to go.
Weight distribution is the lever. Instead of sitting flat and even, ask the subject to shift most of their weight onto the hip nearest the camera or the hip furthest from it, then let the opposite leg do something different. That single shift breaks the symmetrical, compressed look instantly.
For a chair, the perching position works more often than a flat sit. The subject sits near the front edge, spine long, heels light on the floor. Perching also solves the problem of a seat that is slightly too high, because the legs drop instead of bracing.
You will know the base works when the subject can hold the position for a full minute without shifting, and when the silhouette from your camera position has an opening in it rather than one solid column from shoulder to foot.
3. Shape the Torso and Shoulders
A torso pointed straight at the lens makes almost any seated portrait look stiff. Turn the chest 20 to 45 degrees away from the camera and let the head come back toward it. The gap between the face and the direction of the shoulders is what reads as relaxed and confident.
Then add a small bend. A gentle side bend through the ribs, or a slight forward lean from the hips, changes the line of the waist. The forward lean is the one I use most for close portraits: it brings the subject into the conversation, softens the jaw, and reduces the shadow under the chin.
Watch the shoulders. Lifting them toward the ears is the single most common error, and it happens because the subject is bracing. Tell them to let the shoulders drop, then check whether they do. If they cannot relax them, give them a job, such as holding a mug or resting a hand on the armrest.
Keep asymmetry. Two poses that differ only in a few degrees will read as the same photograph in a gallery. Change one thing at a time: the torso angle, the head tilt, or the leg position, then shoot again.
4. Create Natural-Looking Hands
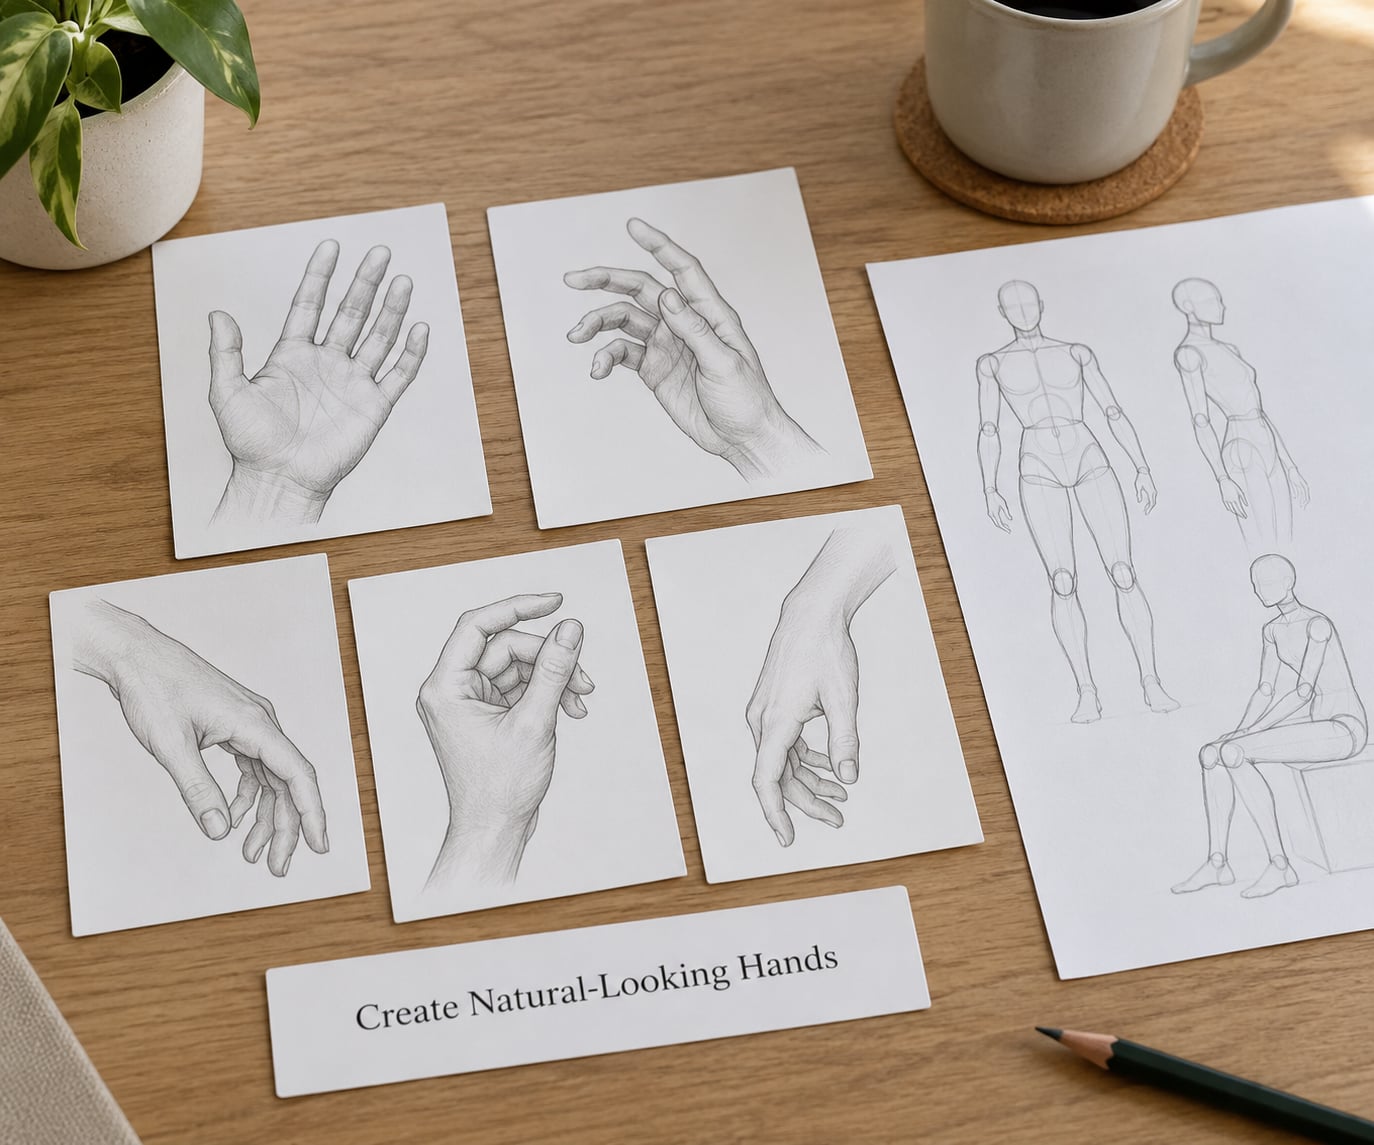
Hands cause more retouching than anything else in a seated frame, because sitting puts them in the shot whether you planned it or not. The fix is to give each hand a task that belongs to the body.
Reliable placements: one hand resting on the thigh just above the knee, one hand holding the edge of the seat or the armrest, hands loosely clasped around a mug or a book, one hand touching the collar or the necklace, one hand flat on the opposite knee. Any of these will do. What matters is that the hand touches something solid rather than floating in space.
For the fingers themselves, ask the subject to shake out both hands, then let them fall naturally onto whatever they are resting on. The relaxed curl that follows is usually the answer. Stiff, splayed fingers come from holding a position with effort, and they show up immediately in a close portrait.
Bent wrists are the second problem. A hand that bends sharply back at the wrist breaks the line from forearm to fingers. Straighten the wrist so the forearm and hand continue in one direction, then relax the fingers from there.
Some frames need no hands at all. A tight crop from the chest up, or a pose where the hands fall outside the frame, removes the problem entirely. Do not force hands into a shot when hiding them makes a better picture.
5. Arrange the Legs and Feet
Legs carry the longest lines in a seated portrait, so they decide whether the frame feels long or compressed. Four arrangements cover almost everything.
- Crossed legs. The classic. The top foot lands on the floor or on the lower thigh, and the ankle stacks under the knee rather than the knee dropping over the ankle.
- Parallel legs. Both feet on the floor, slightly apart, toes forward. Clean, formal, and good for headshots where the body should recede.
- Staggered. One foot flat, the other a step forward or back. This is the easiest option for steps, curbs, and any shot with limited floor space.
- Angled. Both feet together but rotated off the camera axis by 30 degrees or so. Useful when you want to suggest movement in a still frame.
Toe direction does more work than most photographers expect. Pointing the toes slightly outward, or toward the camera, lengthens the ankle and stops the foot from reading as a flat block at the end of the leg.
Foreshortening is the trap here. When the subject sits facing the camera with knees together, the legs point at the lens and appear short and thick. Turning the torso and hips even slightly away from the camera fixes most of it before you touch anything else.
6. Direct the Face and Expression
The face goes last because it changes every time the body does. Tilt the head slightly, push the chin forward and down a touch, and check the jawline on the screen. That small chin movement is what stops the double chin that shows up in almost every seated photo taken from slightly above.
Camera height matters here more than focal length. Shoot seated portraits from just above eye level and you get a flattering angle into the eyes. Drop to level and you get symmetry and seriousness. Shoot from well below and the chin, chest, and feet all compete for attention.
Eyeline needs a target. Pointing a subject at the lens with no reason produces a flat stare. Give the eyeline a job: look at the camera for the first frame, then toward the light, then at something just past the lens, then back to your face so you can see the change happen. Tired expressions come from holding one look for four hundred frames.
Keep talking. Photographers report that the usable expressions arrive in the seconds between directions, not during them. Say what the picture is for, name something the subject cares about, and shoot continuously while the conversation runs.
7. Refine the Pose From the Camera View
Pose from the camera’s position, not from where you are standing. Ten seconds of moving your feet to the shooting spot saves a lot of blind adjustments.
Now compare the live image with the mood you wanted. If the frame feels busy, look for overlaps: a hand crossing the line of the waist, a foot disappearing behind the chair leg, an elbow cutting through the face. Small shifts of five degrees usually break an overlap without changing the pose.
Check that the pose is still comfortable. If the subject has shifted, held their breath, or started fidgeting, the image is probably stale, and fixing it will take one adjustment. Make it, then shoot the sequence again.
Tips for Comfortable Seated Portraits
Photographers who shoot a lot of seated work build the same habits into the session.
Vary the height rather than the arrangement. Moving from a chair to a bench to the floor gives you visual variety without asking the subject to learn nine new shapes. Pose the same angle at two different heights and the pictures read as different setups.
Give direction in the subject’s language. Instead of rotate fifteen degrees to your left, say turn your whole body toward the window, then bring your face back to me. Concrete tasks beat geometric instructions, and subjects rarely argue with them.
Work around limitations instead of around them silently. Ask about knee, hip, and back problems before you start, then keep the options open: ankles stacked instead of legs crossed, feet flat instead of knees crossed, torso turned instead of leaning. Someone who cannot cross their legs will tell you if you ask, and they will happily hold a more demanding pose if they understand why it matters.
Mirror the posture when a subject is tense. Sit down, copy what you are asking for, hold it, and let them copy you back. Demonstration gets better results than description, and it gives nervous people something to watch instead of the camera.
Show the images. A subject who can see three good frames from the same session relaxes noticeably, because the pose is no longer an abstract instruction.
Give the subject ownership. Between directed poses, let them move, settle, and tell you when they are ready. You keep the structure, they keep the moments that look like them.
Common Mistakes
Most bad seated portraits fail in a handful of repeatable ways. Each has a quick fix you can apply on the spot.
Stiff, symmetrical posture. The subject sits bolt upright with both hands on both knees. Fix: ask for a weight shift onto one hip and let the shoulders follow a few degrees past the chest.
Hands hidden behind the back or under the thigh. The pose looks tidy and reads as avoidance. Fix: bring the hand forward to rest on the knee or the seat edge, and check the frame at the crop you plan to use.
Awkward wrists. The hand bends back sharply, breaking the forearm line. Fix: straighten the wrist first, then relax the fingers, and shoot from slightly further away if the shape still looks odd.
Cramped legs. Knees locked together, ankles crossed under the chair, feet folded back. Fix: move to parallel or staggered feet on the floor, which almost always looks better on a chair.
Flattened feet. Toes pointing straight at the camera read as stumps. Fix: rotate the feet outward and extend the toes along the floor.
Mismatched head and body angles. The head faces the lens while the chest points elsewhere, with too much separation between them. Fix: bring the head back toward the direction of the shoulders so the turn reads as about 30 degrees, not 80.
No connection. The subject looks like they are sitting next to the chair rather than in it, with no touch points. Fix: add one deliberate contact, a hand on the armrest, a shoulder against a wall, a foot hooked behind a leg, and let it carry the pose.
Frequently Asked Questions
How many seated poses should I photograph in one session?
Five to eight distinct seated setups is realistic in a one-hour session, and each one yields several usable frames once you adjust the head and hands within it. Shooting eight different poses shallowly usually produces eight mediocre pictures. Fewer setups, each refined through torso angle, hand position, and eyeline, gives you a usable set and a subject who does not tire out. Keep the first two minutes loose so the subject warms up before you start refining.
What if the subject does not know how to relax during a seated portrait?
You cannot talk most non-models into relaxing, so give the body a task instead of asking for an expression. Shifting weight onto one hip, resting both hands on a mug, or turning the torso toward the light all produce visible relaxation on their own. Then keep the direction short, one instruction at a time, and shoot between instructions rather than during them. Expressions tend to show up in the half-second after you finish speaking.
How do you pose seated subjects without making their legs look awkward?
Turn the hips 20 to 45 degrees away from the camera before you adjust anything else, since legs pointing at the lens foreshorten badly no matter how you arrange them. Then choose one of four arrangements: crossed with the ankle stacked under the knee, parallel with both feet flat, staggered for limited space, or angled outward. Finish by pointing the toes slightly out and away, which lengthens the ankle and removes the flat-footed look.
What is a comfortable hand position for seated portraits?
The best hand positions touch something solid: resting on the thigh above the knee, holding the armrest, wrapped loosely around a mug or book, or flat on the opposite knee. To fix stiff fingers, ask the subject to shake both hands out and let them fall onto the surface. To fix a bent wrist, straighten it so the forearm and hand form one line, then relax. If hands still fight the frame, crop tighter and let them fall outside it.
How can I create variety when only one chair is available?
Change the height and the camera position rather than the furniture. The same chair photographed from standing eye level, from seated eye level, from slightly above, and from a low angle gives four distinct pictures. Moving the chair itself, turning it 90 degrees to the light, or having the subject perch, sit sideways, or straddle it adds more. Rotating the chair so the subject faces across the light also reshapes the shadows and the whole mood of the frame.
How should I direct a seated subject who cannot cross their legs or sit comfortably?
Ask about limitations before the session starts, then plan around them rather than improvising during it. For legs that cannot cross, use parallel feet on the floor or a staggered stance, which give the same visual interest without strain. For hip or back pain, keep the seat high and firm, add a cushion for support, and avoid leaning into the subject to adjust them. Angled torsos and supported shoulders create shape without any load on the joints.
Conclusion
The sequence that works every time is simple: stable base through the pelvis and feet, torso turned off the camera axis, hands given a task, legs arranged into a line, face directed last, then refinement from the shooting position. Run it in that order and the corrections stay small, which is what keeps seated subjects comfortable and cooperative.
If you try one thing this week, pick a chair that sits at the right height and spend one full session changing nothing except the torso angle. It is the adjustment with the largest return, and it is the step most often skipped.