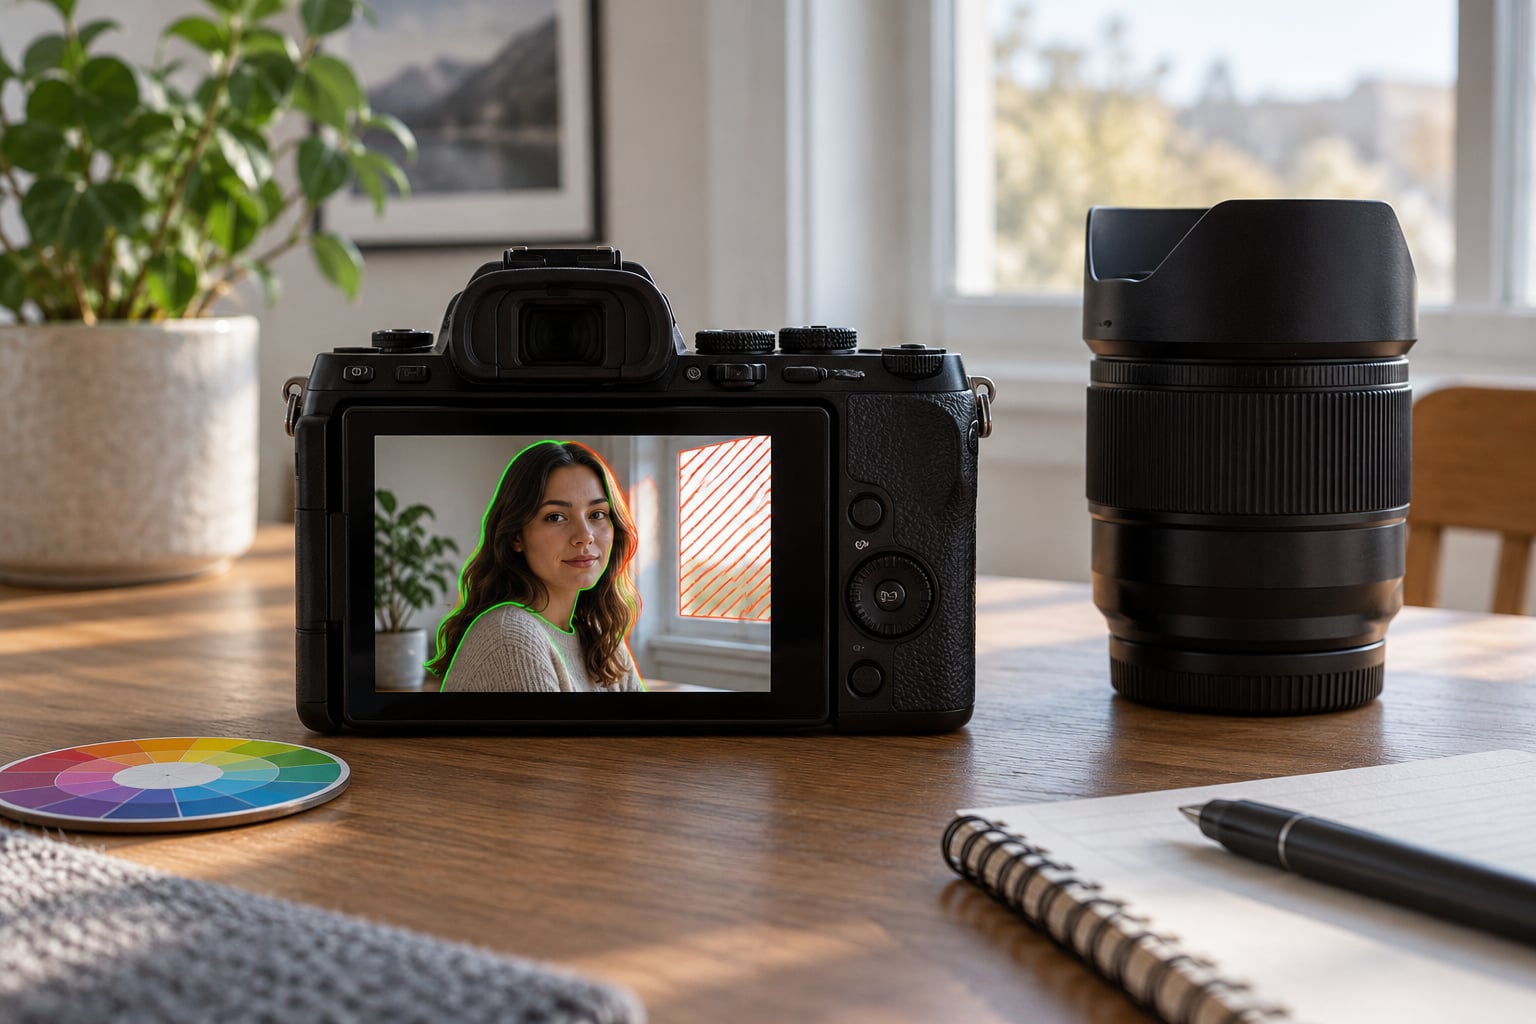
Zebras stripe any part of your frame that is reaching a brightness threshold you set, so you can see exactly where skin highlights are about to clip. Focus peaking draws coloured outlines on high-contrast edges so you can see where your lens is actually focused. Both are display-only aids: they change nothing, they just tell you what the camera is seeing. Here is the full workflow, from switching them on to the final check before the shutter.
Portrait shooting is where these two tools earn their keep, because it is the one genre where both halves of the problem are extreme at once. Skin is the brightest and most fragile surface in the frame, and the distance between a sharp eye and a soft one is a fraction of a millimetre.
What You Need
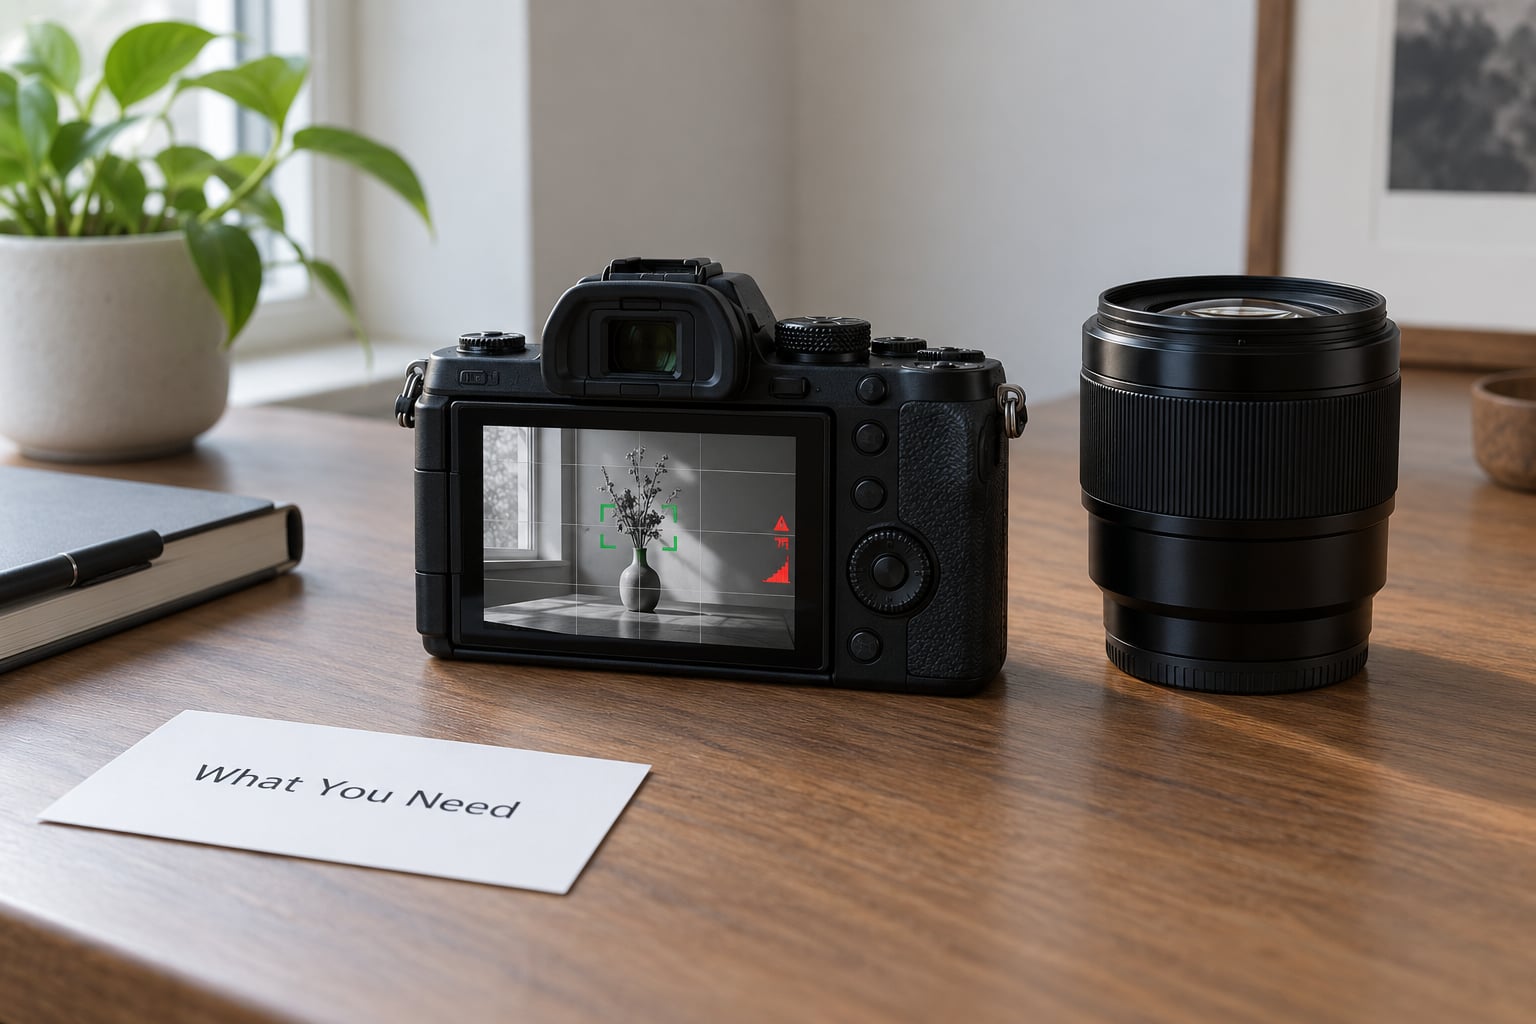
You need a camera with a live view or electronic viewfinder screen and manual exposure controls, plus a working familiarity with aperture, shutter speed, ISO and focus mode. Every current mirrorless body and most recent DSLRs ship with both overlays built in.
One honest clarification before we start: zebras and focus peaking are not focusing or metering systems. They are diagnostic layers drawn on top of what the camera already calculated. If your exposure is wrong, the stripes will not fix it. If your focus is off, the outlines will not rescue the frame.
Also expect the menu names to differ by brand. The overexposure warning is called zebras, highlight alert, overexposure indicator or clipping warning depending on the maker, and it lives under a different submenu on each. The names shift again when firmware updates land through 2026, so treat the paths below as a starting point and confirm in your own manual.
How to Use Zebras and Focus Peaking for Portraits Step by Step
1. Set Up Manual Focus and Live View
Switch the lens to manual focus, or set the body to AF/MF if you want the option to hand back to autofocus later. Then enter live view and magnify the image, typically to 5x or 10x, so you are judging real pixels rather than a small screen image.
Place the magnification on the nearest important facial feature, which for most headshots and half-body frames is the eye closest to the camera. Judge sharpness on that eye and nothing else. If the frame is sharp there, the shot works.
2. Choose the Right Zebra Warning Level
Zebra level is a brightness threshold, usually expressed as a percentage. Anything at or past it gets diagonal stripes. Lower levels catch problems earlier and protect more shadow-to-highlight detail; higher levels only flag areas that are genuinely near or past clipping.
For portraits, a useful starting point is around 90 percent for general work, and a lower setting near 85 percent when the face is lit hard and you want early warning on the forehead and cheek. Set a high level near 95 to 98 percent as a second layer for the things that should never blow out: a window behind the subject, a white shirt, a specular highlight in the eyes.
Watch the stripes move off the skin as you reduce exposure by a third of a stop at a time. When they clear the face, you have found your ceiling. Manufacturers interpret these percentages differently and some label them against an IRE scale rather than a percentage, so treat the number as a relationship rather than an absolute.
If your camera lets you run more than one level at a time, use that. The useful pairing is one level near 85 percent to watch skin and another near 95 percent to catch window and door highlights, which is exactly what a portrait session needs.
3. Set Focus Peaking for the Portrait Session
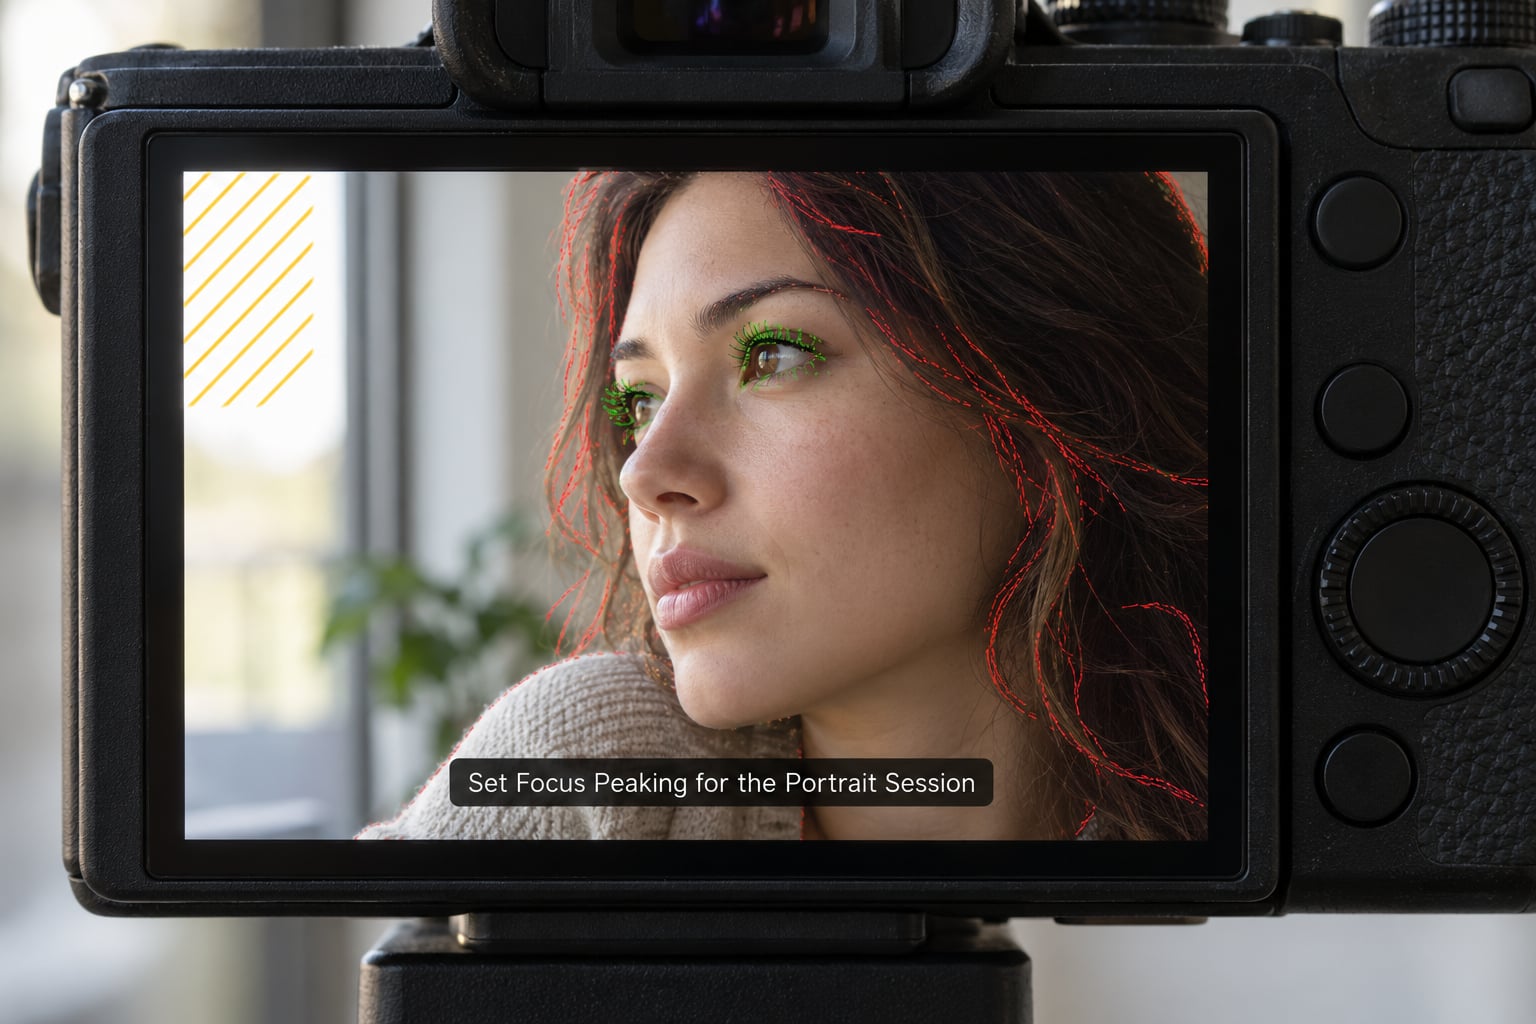
Switch peaking on, pick a colour that does not appear in your lighting, and set the sensitivity. Red is the default nearly everywhere, which is a poor choice for warm skin tones, so green, yellow or blue usually reads better in a portrait.
Peaking level is just edge-detection sensitivity. Low responds only to strong contrast, which is what you want when the subject has a clean separation from the background. High picks up faint edges too, and on a portrait that means every eyelash, every strand of hair against the sky and every bit of background texture lights up at once.
Test it before the subject arrives. Find something at roughly the distance you will be working at, put the focus point on the intended plane, and confirm the outline forms a single clean ring around the eye or a single line along an eyelash. If the whole face is glowing, drop the level one notch. If nothing lights up at true focus, raise it one notch.
4. Set Exposure and Protect Facial Highlights
Set the exposure first, then read the zebras. A workable portrait baseline is a wide aperture such as f/2.8 or f/4 for subject separation, the fastest shutter speed your handheld work allows, and ISO raised as needed to hold that shutter speed. Keep ISO as a last resort, because high ISO adds noise across exactly the skin tones zebras are trying to protect.
Now watch the skin. If stripes appear across the forehead, nose or cheek, the face is losing texture. Bring exposure down until they disappear from the face itself. Do not be shy about losing half a stop of brightness on the background; a well-exposed face with a darker backdrop beats a blown-out face against a glowing one.
Exposure compensation earns its place here because the camera’s meter is easily fooled by portraits. A bright window behind the subject pushes the meter down and underexposes the face, while a dark shirt fills the frame and pushes the meter up. Watch the face on the zebras rather than trusting the exposure indicator when the background and the subject disagree.
5. Focus on the Eye and Confirm Depth of Field
Magnify the nearer eye, turn the focus ring slowly, and watch the peaking outline build along the upper lash line and the edge of the iris. The instant the outline snaps into a crisp, unbroken line, stop. Over-rotate a few degrees past that point and the outline will soften and spread again, which tells you precisely how thin the plane is.
Then check depth of field rather than a single point. At f/1.4 an eye can be perfectly sharp with the ear completely gone, which is fine for a headshot and wrong for a portrait of a person wearing glasses. Keep peaking on and step back through the frame: the eye, the eyebrow and the frame edge of the glasses should all show a clear outline at your chosen aperture.
For groups, peaking earns its keep more than anything else. Line the focus plane on the nearest face, then verify the second and third faces also show a defined outline. If the back row does not, close the aperture by a stop and re-check before you start shooting.
6. Make a Final Check Before Shooting
Run the same four-point check every time, until it becomes automatic: confirm the focus plane on the nearest eye, scan for stripes on skin, confirm the background highlights you care about are clear, and return the camera to the viewfinder before you start the sequence.
Give yourself a second or two at high magnification once per setup rather than per frame. Portraits live or die on a small number of decisions, and the overlays are most valuable at the moment of setting up, not on every single frame after that.
What do you do when the aids say the shot is technically correct and it still looks wrong? Trust the aids, then fix the rest. A perfectly focused portrait under flat, boring light is still a bad portrait. The overlays answer questions about focus and clipping; they have nothing to say about expression, pose, separation or the quality of the light, and those are the things that make people want to look twice.
If the aids and the image disagree, trust the aids and question the sensor. Some older bodies, high-ISO frames and heavily backlit setups can produce a viewfinder image that differs slightly from the captured file. The overlays are only ever as accurate as the live feed feeding them.
Common Mistakes
Treating peaking as proof of focus. Peaking does not assure sharp focus. It detects high-contrast edges with a fairly simple formula and reports where contrast is highest, which is not the same question as whether the lens plane is right. Pair it with magnification: treat peaking as the fast way to find the plane and the loupe as the way to confirm it.
Running peaking sensitivity too high. High sensitivity outlines eyelashes, flyaway hair and background texture, and the display becomes noise. Start at the lowest or middle setting and raise it only if the outline fails to appear at true focus.
Reading stripes as an instruction to brighten. Zebras mean this region is at or past your threshold, so less light, not more. Plenty of beginners see stripes and assume the image is underexposed.
Focusing on the wrong eye. The far eye is the classic miss. Magnify the eye nearest the camera, because that is the eye the viewer will check first.
Clipping skin on purpose by accident. Bright skin on a pale subject can clip at an exposure that looks perfectly reasonable in the histogram. Use a lower zebra level than feels necessary and let the image sit a touch dark.
Judging sharpness at low magnification. A full-screen image at 1x on the rear display will make a soft frame look acceptable. Judge at 5x or 10x, every time.
Three situations worth planning for. With groups, verify every face in the row, not just the one you focused on. With moving subjects, raise the shutter speed and accept whatever ISO it takes, then re-check the zebras after each ISO jump because noise and highlight behaviour shift together.
In bright locations, set your high zebra level first so a window or a white wall announces itself before you start shooting into it.
Worth knowing: neither overlay is written into your file. Both are display layers, so they never appear in a JPEG or a RAW capture, and there is nothing to turn off in post.
Frequently Asked Questions
Can you explain how focus peaking works?
Focus peaking reads the live view image and detects high-contrast edges, then draws a coloured outline on each one in real time. As you turn the focus ring, the outline grows and sharpens along whatever the lens is focused on. Because it measures edge contrast rather than true optical sharpness, it can also light up eyelashes, hair and background texture that are not actually in focus.
How do I enable focus peaking and zebras on my camera?
Both usually live under a display, live view or shooting assist menu. On Canon, look under the display or shooting menu for AF assist functions and highlight alert. On Sony, check Custom Key or Display settings for Focus Peaking and the exposure warning setting. On Nikon, find Focus peaking and Zebra pattern under the custom shooting menu, where you also choose Highlights or Mid-tones. Fujifilm places them under Shooting Setup.
What zebra level should I use for portraits?
Start near 90 percent for general portrait work and drop to about 85 percent for hard light or pale skin, where you want an early warning. Set a second, higher level near 95 to 98 percent for windows, white clothing and eye catchlights that should never clip. Percentages are interpreted differently by each manufacturer, so treat them as a relationship and adjust by eye.
Should I turn focus peaking on high or low?
Low or medium is right for most portraits. High sensitivity responds to faint edges as well as strong ones, which in a portrait means every eyelash, wisp of hair and patch of background texture lights up at once and the display becomes unreadable. Raise the level only when the outline fails to appear at a focus position you know is correct.
What does peaking level mean on a Sony camera?
Peaking level on a Sony camera sets the sensitivity of the edge detection that drives focus peaking. A low value responds only to strong contrast in the frame, a high value responds to fainter edges too. It does not change your lens or the camera’s autofocus behaviour, and it has no effect on the image you record. It is purely a display threshold.
Do zebras and focus peaking appear in the final photo?
No. Zebras and focus peaking are display-only overlays drawn on the live view or viewfinder image. They are not recorded in a JPEG, a RAW file or video, so there is nothing to remove afterwards. The one exception is a separate screen recording or external recorder that captures the display output itself, which is a different thing from the camera saving the file.
A short version of the terminology, since the naming is genuinely confusing: zebras are user jargon, not an engineering term, and the same word gets used loosely for two different functions. The technical terms are overexposure indicator and focus peaking. Once you know that, the menus make a lot more sense.
Conclusion
Do this first: enter live view, turn focus peaking on at a low or medium level in a colour that does not match the lighting, set a zebra level near 90 percent, and test the whole thing on a stationary subject before you take it into a session. Once both overlays are tuned, they turn two of the hardest judgements in portrait work into a glance at the screen.
Just remember what they are. Zebras protect the highlights on a face that cannot be recovered from a RAW file. Peaking shows you the plane of focus on an eye that is thinner than most people assume. Neither one composes the shot, and neither one talks to your subject, which is where the photograph actually lives.