Cull photos in three passes: reject the technically broken frames first, collapse each burst of near-identical shots down to one keeper, then make a final pass for story and consistency. When two frames still feel equal, walk away for a day and pick the one that survives sleep.
Photo culling is simply the process of reviewing the frames from a shoot and reducing them to a smaller set of keepers you will edit, print, or deliver. It is a creative decision, not just a delete key.
So how to choose your best photos when you cannot decide? You are probably not short on technique. You are short on a system, and your brain is running out of comparisons. A wedding pro quoted in photography forums puts the cull at eight to ten hours per event, and gets it down to roughly thirty minutes by changing how they browse, not by getting better at judging frames.
This guide gives you that system. A five-point rubric, a three-pass workflow, and a tie-breaker for the moment two frames look identical.
What You Need Before You Start Choosing
Most culling failures start before a single frame is judged. You need four things in place, and each one removes a source of second-guessing.
1. A finished import. Every frame from the card, backed up, with previews built. Importing 4,000 files and culling whatever happens to have loaded is how people end up making a decision about a sequence they never saw.
2. The whole shoot, not your favourites. If you pick favourites into a folder first, you have already made 40 selections with no criteria. You will defend those 40 later because they are already sunk. Judge the set cold.
3. One rating system, used consistently. Stars, flags, or colour labels — pick one. Light shooters use stars and leave four stars to auto-flag or exclude. The system matters less than never mixing three of them in one afternoon.
4. A numeric reduction target. Decide how many keepers you need before you start. A client gallery usually lands between 300 and 500 images from a full wedding day. A portrait session might be 20 to 40. A trip photo book might need 80. Without a number, you have no stopping condition, and no stopping condition is why the edit runs to midnight and past.
Give yourself a stopping rule and you stop arguing with yourself about individual frames.
Step-by-Step: How to Choose Your Best Photos When You Cannot Decide
Start With a First-Pass Shortlist
Cull in rather than out. Instead of hunting for the flaws in every frame and rejecting it, mark the frames that hold your attention and let the rest fall by default.
Fast is the point here. Work at thumbnails, spend no more than a few seconds per frame, and do not zoom. You are looking for three signals: the frame holds your eye, it shows something clearly, and it contains a moment worth coming back to. Mark those with one keypress and move on.
You know pass one worked when the marked count is comfortably above your target. If you land at 120 keepers for a 40-image portrait session, the decision is made for you. If you land at 30, your criteria were too strict and you will spend pass two rescuing frames you should have caught.
Photographers on r/photography describe exactly this shape: focus and clutter first, expression next, then choosing among the survivors. Multiple passes beat one heroic effort every time.
Compare the Finalists at Similar Sizes
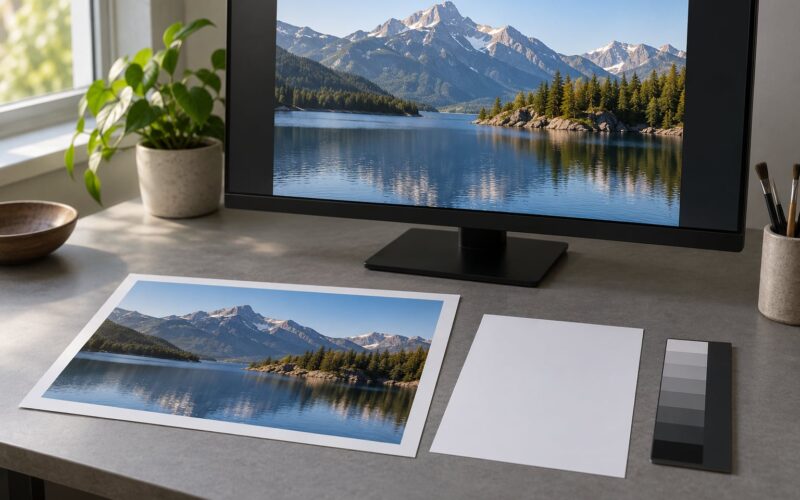
Two frames only look identical because you are not comparing them properly. Judge them side by side, at the same size, on the same screen, in the size and place you will actually deliver them.
Lightroom Classic gives you this mechanically. Open both frames, switch to Compare mode, then press the right arrow to swap between candidates and the up arrow to promote the better one. That pairing turns a vague feeling into a click.
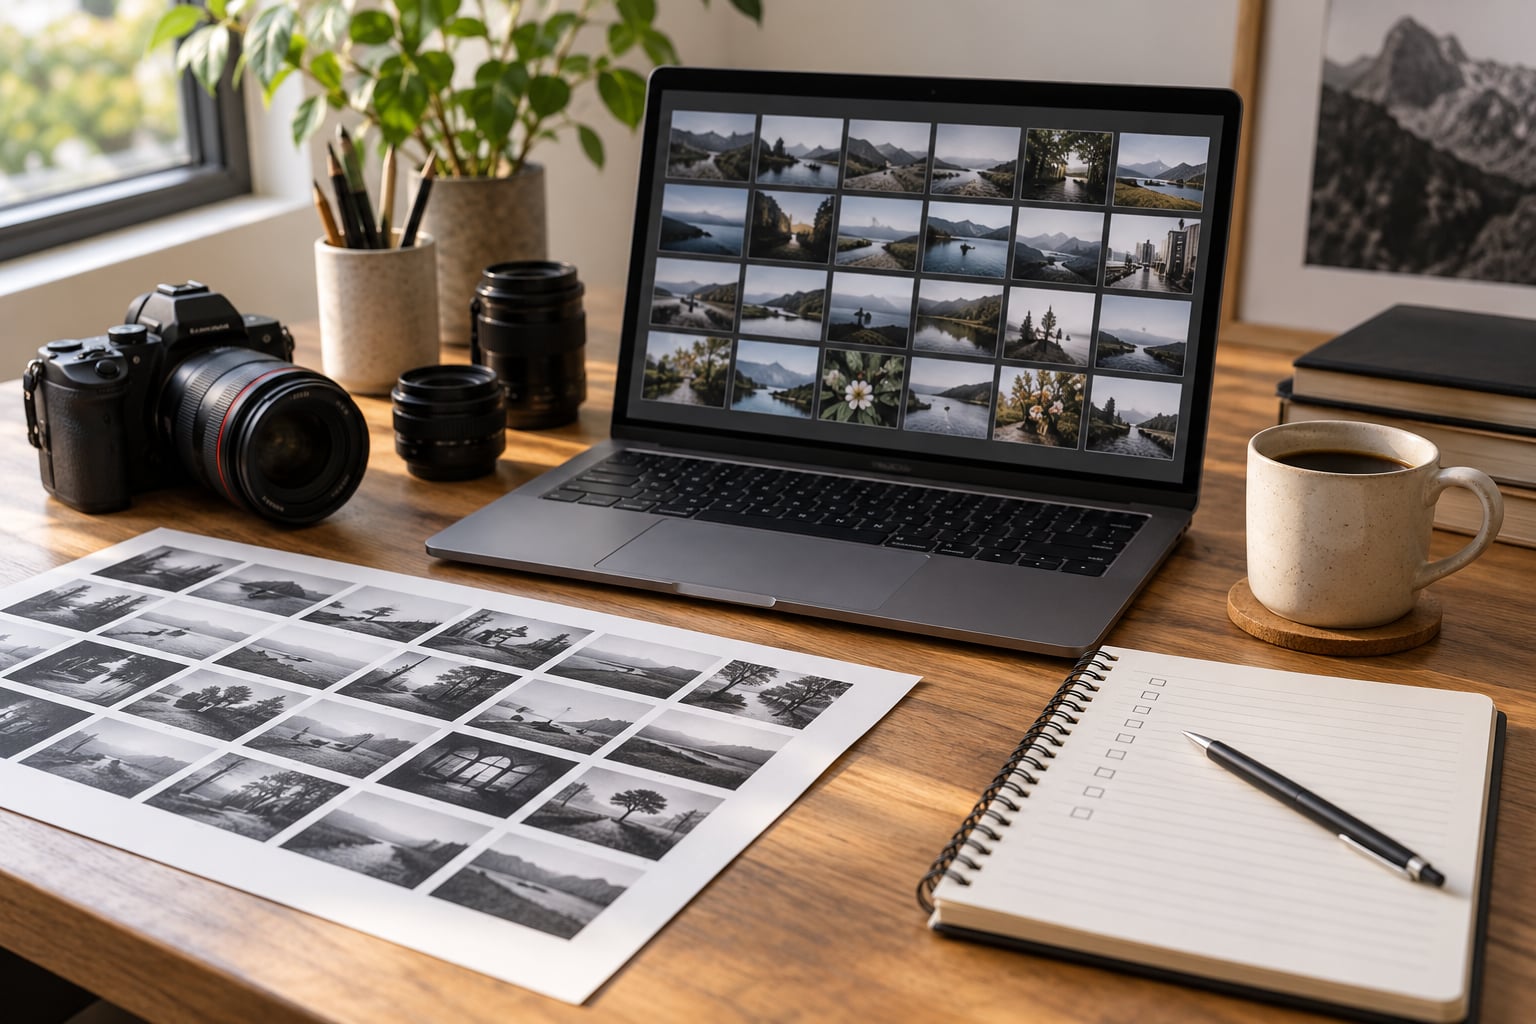
For a burst of twelve, a contact sheet works better. Zoom the grid out until the whole group fits on one screen, then turn the images upside down — a trick Henri Cartier-Bresson used, and one Eric Kim recommends for a reason. Composition, balance, and edge weight jump out at thumbnail scale in a way they never do at 100 percent. A frame with a stray leg or a heavy corner reads instantly at small size.
Check the pairing worked when you can name a specific difference between the two. “I like both” is not a comparison. “The second has cleaner hands and better separation” is.
Judge the Image, Not Just the Subject
Five criteria, applied in this order, cover almost every frame you will argue about.
- Focus where it matters. Eyes first for people, then the subject’s near edge. Background softness is not a flaw.
- Eyes and expression. Closed eyes, dead eye contact, or a face mid-blink usually end the frame. A genuine expression, even an imperfect one, usually carries it.
- Background and frame edges. Work the edges before the centre. Poles, wires, streetlights, passersby, cars, fences, half-cut trees, and a chair nobody noticed sitting at the edge of the frame.
- Moment and gesture. A gesture the subject was mid-way through beats a settled pose. Peak action reads as energy; the flat moment between two actions reads as nothing.
- Story fit. Does this frame move the shoot forward, or repeat what the previous five frames already said?
That last criterion is the one people skip and the one that matters most when you build a set. Ask what the frame does for the story, not what it does for you.
Client galleries and personal photo books pull in opposite directions here. A gallery needs coverage: every guest, every part of the day, nobody left out. A photo book needs rhythm and repetition, and it gains nothing from a second frame that looks like the first. Decide which job the set is doing before you judge anything.
Check Technical Quality Only After the Story
Do the technical pass last, on the survivors only. If you judge exposure and noise while browsing the raw shoot, every frame becomes a technical puzzle and the alive ones get lost.
On the finalists, check four things: focus on the eyes, clipping in the highlights, colour that has gone strange, and visible noise in shadow areas. Most frames fail here outright and the question is closed.
Then look for hidden gems, which is where this article’s rubric earns its keep. A frame with a soft edge, a blown highlight, or a slightly crooked horizon often beats a technically clean frame with a flat expression. Soft focus on a laughing face is usually worth more than tack-sharp eyes on a posed smile.
Ask yourself one question: would I remember this frame a year from now if it were gone? If yes, fix what is fixable and keep it. If no, the technical problem is not the reason to drop it.
Use a Tie-Breaking System When Two Frames Feel Equal
This is the moment that eats your evenings. Two frames, both sharp, both well exposed, both with decent expressions, and no basis for choosing. Here are eight procedures that break the tie. Use the first one that gives you an answer.
- Sleep on it. Pick the frame you prefer now, screenshot it, and look again tomorrow morning. The one you still reach for is the keeper. Fresh eyes kill paralysis better than any technique, and this is the most reliable rule in the list.
- Name the difference out loud. If you cannot state what one frame does that the other does not, they are the same photograph. Keep the one with the cleaner execution and move on.
- Put them side by side at delivery size. Build a temporary collection with only the two frames, view it at the aspect ratio and zoom your client or book will see, and pick the one that holds up. Most ties resolve instantly at small size and look equal at 100 percent.
- Run the crop test. Both frames need the same crop? If one loses a hand or lands the horizon badly when you frame it, that is your answer. You are deciding with your hands instead of your head.
- Compare against the project goal, not against each other. Ask which one serves the set. One of them is almost always the redundant frame, and redundancy is a solid reason to drop it.
- Use the inner-3 rule. Pick the three you would show someone you respect, and drop the other one. Koudelka’s rule is useful precisely because it ends the debate by limiting the field.
- Ask what it costs to keep both. A duplicate in a client gallery is not neutral — it makes people scroll. In a personal archive it costs only storage. Let the cost decide.
- Cull backwards. For bursts, start from the last frame and work backwards. The final frame of a pose or a test sequence is usually the one where the subject settled in, and photographers who cull backwards report cutting a full wedding cull from eight to ten hours down to about thirty minutes.
Step eight is worth remembering beyond the tie-breaker. Direction changes your results. Browsing forwards, you see improvement; browsing backwards, you see which frame actually finished the moment.
Make the Final Set Consistent
The last pass is about the set, not the images. Lay the keepers out in order and check four things.
Pacing. A gallery of forty near-identical portraits is not a gallery. Vary wide shots, mid shots, and close details.
Repetition. Keep two frames only if they differ in a way you can name. If you cannot name it, keep one.
Tonal consistency. Skim the whole set twice: once in colour, once in black and white. Frames that look wrong in one of those passes usually look wrong on someone else’s screen too.
Redundancy across the story. Does one frame make another unnecessary? If the earlier frame is stronger, the later one goes.
Do the whole set twice, two days apart. What survives both times is done.
Common Mistakes That Keep You From Deciding
Judging every frame individually. You cannot rank 4,000 photographs in your head, so you end up liking all of them. Fix: collapse duplicates before you judge anything. Turn a group into one representative, then rank the representatives.
Letting technical quality decide first. Sharp, correctly exposed, well-composed, and completely dead. The frame survives because it is clean. Fix: apply the five-point rubric in order, so expression and moment get a vote before sharpness does.
Choosing images that please other people. Plenty of photographers deliver a Venn diagram of what they like and what the client likes, and it is smaller than they expect. Fix: pick your three strongest frames first, then check what the client wants. If they conflict, you have a conversation to have, not a cull to redo.
Revisiting the same edit for weeks. Every revisit reopens a decision you already made. Fix: close the project. Rename the folder with the delivery date, export the gallery, and start the next one. You will get a better result in two hours on the first pass than in four sessions of second-guessing.
Deleting during the shoot. Do not delete on a card reader in the field, and do not skip culling entirely, however tempting the “save everything” instinct feels. Fix: cull the moment you are back, while memory is fresh, but never before the files are backed up twice.
Going back to the full shoot later. This is the upstream fix. If a session produced thousands of frames, most of them will be near-identical, and every one of them is a decision you owe yourself. Shoot fewer frames on purpose, choose one lens position, take a breath, and then shoot. A 30-frame set is easier to select than a 900-frame one, and it is usually better.
Letting an AI tool make the final call. Automated culling is genuinely good at the first pass now. It finds closed eyes, blur, exposure outliers, and clusters similar faces, and on a large volume shoot it does in minutes what takes you hours. What it cannot do is judge whether a frame has a story, or whether the two best frames of a burst are genuinely equivalent. Treat the output as a shortlist, never as a decision.
Frequently Asked Questions
How do I pick the best photos from a shoot?
Cull in three passes. First reject the technically broken frames: blur, closed eyes, bad exposure. Then collapse each burst of similar shots down to one keeper using the five-point rubric of focus, expression, background, moment, and story fit. Finally check the survivors as a set for pacing, repetition, and tone. Set a numeric target for keepers before you start so you know when to stop.
Should I cull photos before or after editing?
Cull before you edit. Selecting on RAW files takes seconds per frame, while judging finished edits means finishing every frame first, which multiplies the work by the size of your whole shoot. The exception is a large volume shoot where AI culling runs against edited previews, which can give you a more accurate shortlist. Even then, a human still picks the final set.
Can AI cull photos for me?
AI can do the first pass well. Tools such as Aftershoot, FilterPixel, Narrative Select, and Imagen detect blur, closed eyes, exposure outliers, and group similar faces from bursts, which saves hours on a big shoot. They cannot judge story, expression quality, or whether two frames in a burst are genuinely equivalent, and they still miss intentional moments like a kiss. Always review the shortlist yourself.
What is the difference between culling in and culling out?
Culling out means starting with everything and rejecting bad frames one by one, which is slower and heavier because you are actively searching for flaws. Culling in means marking only the frames that hold your attention and letting the rest fall away. Culling in is usually faster because you are confirming keepers rather than hunting rejects, and it leaves a larger pool to refine in the next pass.
How many photos should I deliver from a shoot?
It depends on the job. A full wedding day usually lands between 300 and 500 delivered images. A portrait session runs 20 to 40. An event is often 100 to 200. Pick your number before you start and treat it as a stopping rule, because most of the extra hours people lose to indecision come from having no target in the first place.
Why do I struggle to choose between two similar photos?
Because near-identical frames ask for a comparison you cannot actually make. At small differences in sharpness or expression, your judgement is noise, so both frames feel equally right. Fix it with a system instead of more looking: pick one now, look again tomorrow, and keep the survivor. Or use one of the mechanical tie-breakers, like a Compare-mode side by side or a crop test.
Pick One and Move On
The rule that holds all of this together: keep the frame that makes you want to come back to it, not the frame that wins the argument.
Start with the smallest thing. Back up everything, open the whole shoot, set your keeper target, and run the first pass at thumbnail speed marking only what holds your eye. Everything after that is refinement, and refinement only works once the field has shrunk.
When two frames tie, pick one, put it away, and look again tomorrow. That one rule alone will end more of your long evenings than any other habit.