A portrait photography portfolio is a curated, sequenced set of your strongest portrait images, arranged so a potential client can judge your style in a few seconds. If you want to know how to build a portrait photography portfolio from scratch, the work is less about collecting photographs and far more about cutting them down, sequencing them, and publishing them somewhere that loads fast on a phone.
Most beginners already have more images than they think. What they do not have is a selection. The photographer who gets callbacks is the one whose first screen shows a clear point of view, a clean layout, and an obvious way to make contact.
Here is the whole process in eight steps:
- Define the kind of portrait photographer you want to be known for.
- Choose one focused collection or photo project to build the portfolio around.
- Select a shortlist of images for quality and variety.
- Edit every photograph to one consistent standard.
- Write a short caption for each image.
- Sequence the portfolio so it holds attention from opener to closer.
- Present the work on a simple, mobile-friendly portfolio site.
- Publish, share it with real people, and keep replacing weak images.
Most of the effort sits in steps two and three, because that is where you decide what the work is actually about.
Table of Contents
- What You Need to Build a Portrait Photography Portfolio
- Step-by-Step: Build a Strong Portrait Photography Portfolio
- Step 1: Define the Kind of Photographer You Want to Be Known For
- Step 2: Choose a Focused Collection or Photo Project
- Step 3: Select Images for Quality and Variety
- Step 4: Edit Every Photograph to One Consistent Standard
- Step 5: Write a Caption for Each Image
- Step 6: Sequence the Portfolio to Keep Attention
- Step 7: Present the Work on a Simple, Mobile-Friendly Portfolio
- Step 8: Publish, Share, and Improve the Portfolio
- Common Mistakes
- Publishing everything you have
- Sequencing chronologically or by filename
- One lighting setup for the whole portfolio
- A narrow range of subjects
- Templates that fight the photographs
- Watermarks and giant headlines
- Slow pages and oversized images
- No captions, or captions that repeat the title
- Waiting until it feels perfect
- Frequently Asked Questions
- How many photos should a photography portfolio have?
- What is the best platform to create a photography portfolio?
- Do I need a model release to use portraits in my portfolio?
- How do I build a photography portfolio with no paid clients?
- Should a portfolio be a website, a PDF, or printed prints?
- How often should I update my photography portfolio?
- Conclusion
What You Need to Build a Portrait Photography Portfolio
You need fewer tools than most people assume. The list below is what a working setup actually looks like for someone building a first portfolio.
A camera and a card you can back up from
Any camera that produces a file you like will do for portfolio purposes. What matters more is storage: at least two cards so you can copy a shoot onto a second card before you format the first.
A backup routine matters because culling is irreversible once the card is formatted. Back up before you delete anything, every time.
A culling and editing tool
Lightroom, Capture One, Affinity Photo or free tools like darktable and RawTherapee all handle star ratings and contact sheets. Pick one and learn its flag, star and compare views properly rather than jumping between three applications.
A body of work with a shared look
Ten to twenty images that agree with each other on lighting, colour and mood will outperform fifty photographs from unrelated shoots. You need this before you need a website.
A domain name and hosting
Your own domain, spelled the way you say your name, costs less per year than a single portfolio print. Buying it early means nobody else takes it while your site is still half built.
A written about page
Draft it before you design anything. Two short paragraphs, a real name, your city, and what you shoot. Readers who cannot tell whether you are a working photographer will assume you are still practising.
Also useful, though not essential: a PDF export routine, a contact form, and one portfolio review from someone who books photographers.
Step-by-Step: Build a Strong Portrait Photography Portfolio
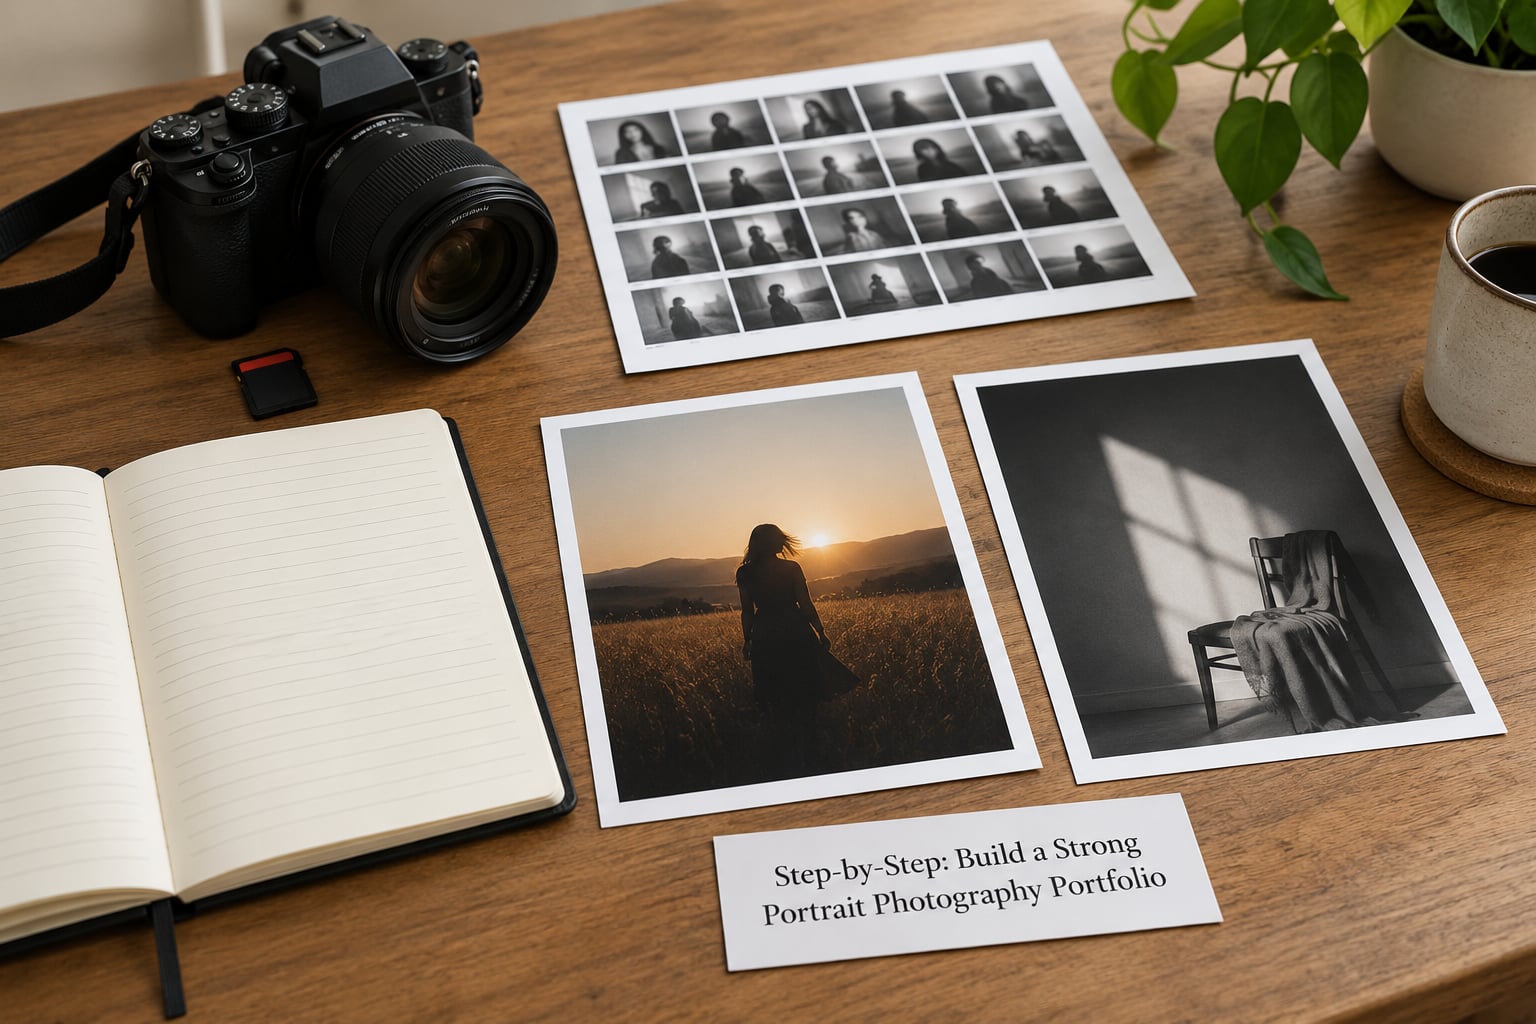
The order below matters. Deciding who you are before you sequence anything prevents the most common failure, which is a portfolio full of technically fine photographs that collectively say nothing.
Step 1: Define the Kind of Photographer You Want to Be Known For
Write one sentence in the form: I photograph who in what situation, and it feels how. Noticing the gap is enough.
Useful directions include intimate documentary portraits made in people’s homes, environmental portraits where the location carries the story, clean studio studies built around a single lighting idea, or candid work shot at events. Pick the one closest to what you already enjoy shooting, because a portfolio is a promise to keep making that work.
It also tells you what to leave out. If you are aiming at family and newborn sessions, a single experimental black and white study of a rusted gate is not helping, however good it is.
How do you know this step worked? A stranger who sees ten of your photographs could guess the kind of work you want to be hired for.
Step 2: Choose a Focused Collection or Photo Project
A collection is a set of photographs that answers one question. Environmental portraits in three different cities, or a study of how people use their hands at work, are collections. Your entire archive going back years is not.
If you have no paid clients yet, you build that collection on purpose. Trade shoots, often called TFP, are the normal entry route: you exchange a finished set of images for the time and effort of a session. Put the scope in writing before the shoot, including how long it runs, how many looks you need, and what the model receives.
Friends and family are the easiest start, and the easiest to mishandle. Agree a time limit, stick to it, and send the finished set. Unpaid work is not a favour that can be stretched indefinitely.
When you need a model release
A model release is a signed permission to use someone’s likeness. Photographers regularly ask whether they need one for friends, clients or their own children, and the honest answer is that it depends on what you intend to do with the photographs.
Taking portraits of people in a studio for your own portfolio, where the model understands the session is being photographed, is a different situation from publishing those images commercially or using them to advertise a product. Commercial use, paid work, minors, and any image where the person is recognisable and could be read as endorsing something all call for a signed release.
Model releases are a long-standing item on beginner photography advice forums, where the consensus is simple: ask, and get it in writing, even with people you know. It costs you one form and removes a category of problem entirely.
Label unpaid work honestly. A self-initiated project is fine. Passing a trade shoot off as a paid commission is not, and it is the fastest way to lose a client who notices.
Build variety into the collection
The most common beginner problem is not weak images, it is identical ones. Every shoot used the same setup, the same white background, the same lighting pattern.
The advice that comes up most often on r/photography is to shoot a wider range of people: different genders, a mix of skin tones, different ages and body types. Readers notice when a portfolio shows one narrow kind of subject, because it tells them who the photographer thinks is worth photographing.
Aim for variety within a single style rather than variety across styles. Two lighting setups and six different people still reads as one coherent project.
How do you know this step worked? You can describe the collection in one sentence, and nobody asks a question the answer does not cover.
Step 3: Select Images for Quality and Variety
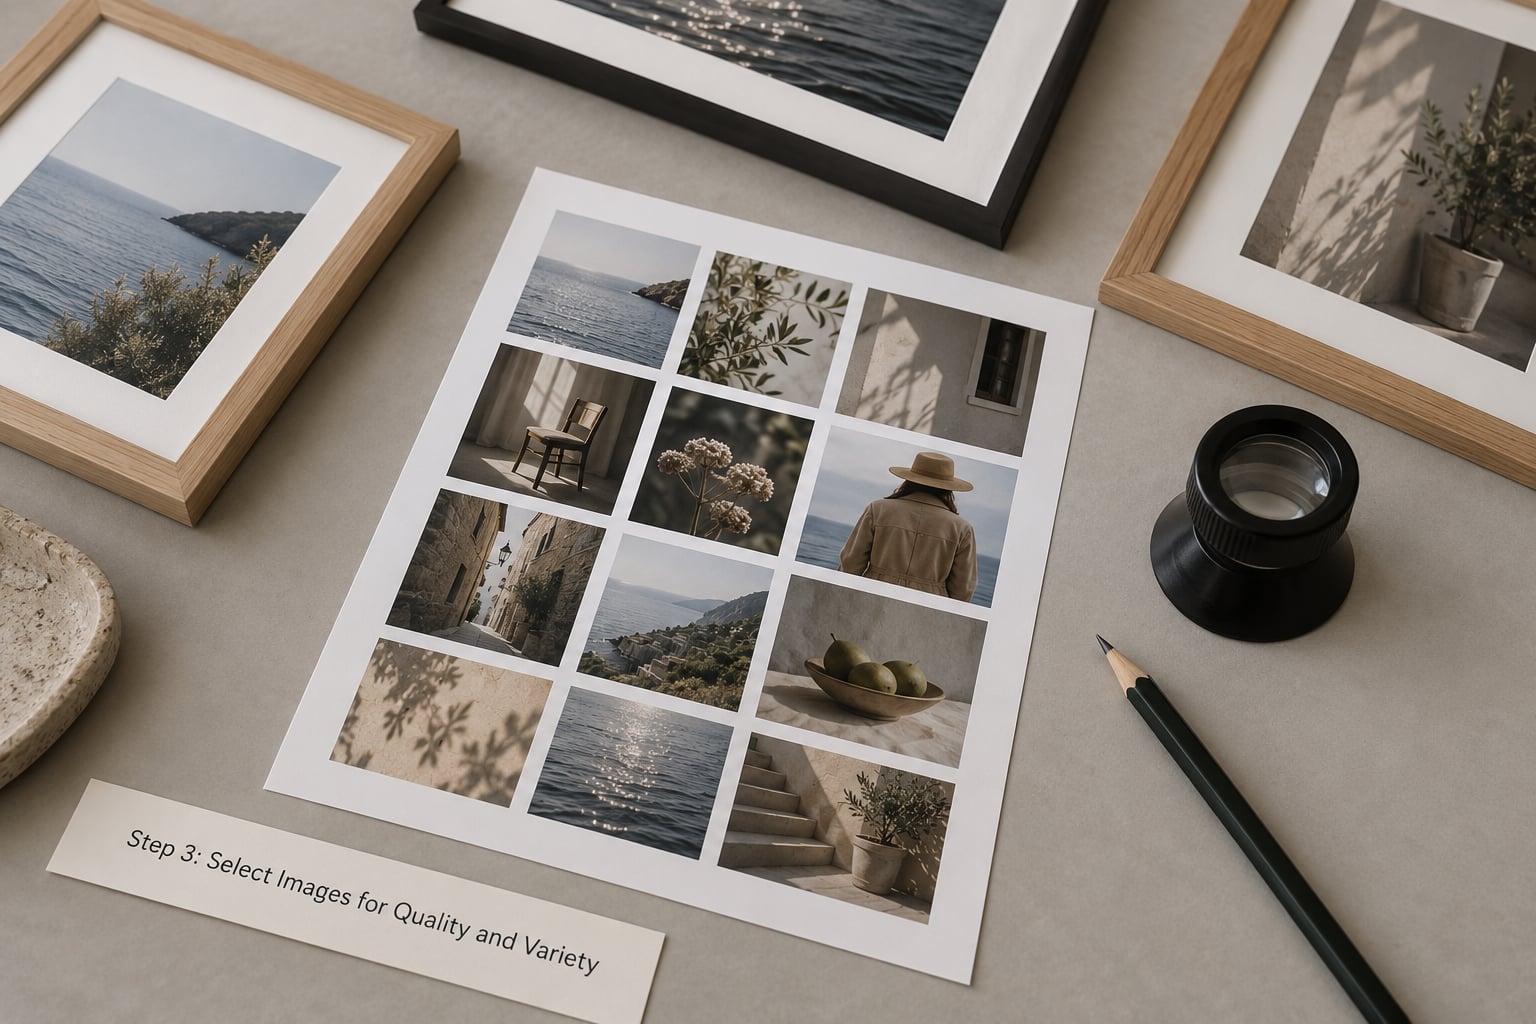
Copy the shoot to your drive, verify the files open, and only then start deleting. Everything after this point is reversible. Everything after formatting is not.
Open the shoot as a contact sheet and flag frames on first impression, without zooming. Then flag again at full size. The first pass catches honest reactions, the second catches focus and blink problems you could not see small.
What survives that second pass still needs an editor. Give yourself a fixed number and stop when you reach it.
How many photos should a photography portfolio have?
For a photographer who works in one niche, aim for 10 to 20 images. For a single story or personal project, 7 to 15 is usually enough. Those numbers exist because a viewer loses track of your point of view somewhere past twenty, and because anything larger stops being a selection and starts being an archive.
The exceptions are worth knowing. Headshot portfolios are usually judged by how many distinct people you can show, so 15 to 20 subjects is common there. Photography schools and MFA programmes set their own requirements and often ask for 20 to 30 images or a specific print size, so read the brief before you edit.
Keep the edit balanced
Within your final list, mix framings. A head-and-shoulders portrait next to a wide environmental shot next to a detail of hands gives the eye somewhere to move, and it demonstrates range within your style.
Near-duplicates are the fastest way to waste slots. If two frames show the same expression at the same angle, keep one. How do you know this step worked? You can defend every image in the list in one sentence, and none of them feels replaceable.
Step 4: Edit Every Photograph to One Consistent Standard
Consistency is what makes an edit look intentional. Apply the same base treatment to every frame, then make small corrections to individual images.
Start with exposure and white balance, since a mismatched white balance is the first thing that reads as amateur. Match skin tones next, adjusting the color of skin without turning it orange or grey. Then apply the same contrast and tone curve you use on every project.
Crop to one ratio per collection, either landscape or portrait, and resist the urge to reframe for variety. Mixed ratios read as indecision. Save the look as a preset or a copy-paste setting so the tenth image matches the first.
On retouching, keep it restrained. Remove temporary blemishes, stray hairs and sensor dust. Leave freckles, wrinkles and skin texture alone. When the edges of a face look smoothed and plastic, the portrait stops feeling like a person.
Export settings for a website
Export in sRGB, because it is what browsers and most clients’ screens assume, and convert from your working space at export time. A width of about 2000 pixels on the long edge suits a full-width gallery image and keeps file sizes manageable; your hero image can go larger if you need it sharp on a high-density screen.
Save as JPEG at quality 80 to 85 for broad compatibility, or WebP if your platform supports it and you check the result on a phone. Save masters in 16-bit TIFF or PSD separately, because a compressed JPEG is not something you want to re-edit from.
How do you know this step worked? Open six images from different shoots in a row and nothing about the colour jumps out.
Step 5: Write a Caption for Each Image
A caption tells the viewer why this photograph is here. Two sentences is plenty: what the situation is, and what you were trying to do technically or emotionally.
Example: Photographed at a ceramics studio in the early morning. Single window, no fill, letting the shadows fall across the workbench.
Ask before printing a real name in a caption. A first name with a surname is different from publishing someone’s workplace and role, and some people will be comfortable with one and not the other.
Alt text is a separate job. It exists for screen readers and for search engines, so describe what is in the frame in plain words rather than repeating the caption. An image showing a potter shaping clay on a wheel needs an alt text that says that, not a keyword list about portrait photography.
How do you know this step worked? Each caption adds information you could not get from looking at the image alone.
Step 6: Sequence the Portfolio to Keep Attention
Sequence is the step beginners skip, and it is the one that changes how the work is received. A stack of good photographs in random order reads as a list. In the right order it reads as a body of work.
- Open strong. Lead with the most confident image in the set, not your most recent. This is the hero image that decides whether the visitor scrolls.
- Set up the world. Follow the opener with a wider frame that establishes the place or situation.
- Move between scales. Alternate close portraits with medium and wide shots so the pace changes. Two near-identical tight portraits in a row flatten everything.
- Place the strongest image late. The second or third best image goes two-thirds through, where attention is often lowest.
- Close on purpose. End with something quieter than the opener, not the loudest image you have. A still frame is a good final note.
Never order images chronologically or by filename. The only sequence with a logic behind it is the one you built deliberately.
How do you know this step worked? Lay the images out full size in order, then show the sequence to someone who has not seen the project. Ask them which one they remember last.
Step 7: Present the Work on a Simple, Mobile-Friendly Portfolio
Most of your future viewers will arrive on a phone, from a search result, with three seconds and no patience for an auto-playing slideshow.
Start from your actual workflow. Photographers arriving from Lightroom often prefer a platform that pulls collections straight from their catalogue; photographers who want to art-direct a layout want to arrange images by hand.
Choosing a portfolio platform
A few general directions, since plans and features change often and every builder offers some kind of free trial or free tier:
| Platform | Best for | Watch out for |
|---|---|---|
| Adobe Portfolio | Photographers already inside the Creative Cloud who want a site in an afternoon | Limited layout control; harder to make a site that feels like yours |
| Squarespace | A polished, mobile-first site with good typography and image handling | Template look is recognisable if you do not customise it |
| SmugMug | Large image libraries and password-protected client galleries | Less design freedom than the general site builders |
| Pixpa | A single site that also handles proofing, selling and bookings | Feature-heavy, so set aside time for the setup |
| Format | Simple presentation when you want a site without a storefront | Fewer customisation options than a full builder |
| Webflow or Framer | Design control and a site that does not look like a template | A steeper learning curve and more upkeep |
Whichever you choose, check four things. Does it have a custom domain? Does it resize images for phone screens? Does it compress and serve them quickly? Can you control page titles and alt text?
Design for the three-second scan
Put your strongest photograph at the top, full width, with nothing overlapping it. Let it breathe with generous whitespace. Keep navigation to a handful of labels, because most visitors want Work, About and Contact.
Set consistent image sizes in the grid so nothing jumps while loading, and make sure the first screen has not finished loading before the whole site has. Large files are the most common reason a photography site feels slow. Export smaller, enable the platform’s compression, and test on a phone before you publish.
How do you know this step worked? Someone who has never seen your site can tell who you are and how to contact you without scrolling.
Step 8: Publish, Share, and Improve the Portfolio
Publishing is the moment of maximum exposure and almost no feedback, so treat it as a draft with a public URL.
Write the about page before you launch. Real name, city, what you photograph, and one or two lines on how you work. Add a contact form, a direct email address, and your location. Clients checking a photographer’s site list a dead contact link as an instant disqualifier, alongside autoplay slideshows and watermarks on the hero image.
Then get it in front of people. Monthly portfolio critique threads on r/photography and r/photocritique are where photographers get honest, specific feedback without paying for it. Bring a specific question, such as whether the sequence holds together, rather than asking whether the work is good.
Build a second, tailored version for each pitch. A commercial or editorial caller wants a different fifteen images from a family session caller, and sending the same PDF to both wastes the meeting.
Review the collection every three to four months. Replace the weakest image each time. Keep the site current; stale portfolios read as inactive work.
How do you know this step worked? Inquiry forms start arriving without you chasing anyone.
Common Mistakes
These are the errors that come up most often in critique threads and beginner forums. Each one has a straightforward correction.
Publishing everything you have
A large gallery reads as indecision, because it pushes the decision back onto the viewer. Cut to 10 to 20 images for a niche and 7 to 15 for a single story.
Sequencing chronologically or by filename
Order has no meaning to anyone but you. Build the sequence around an opener, a rhythm of wide and tight frames, and a quieter closer.
One lighting setup for the whole portfolio
Portraits made with the same setup every time look interchangeable. Change the light direction, go on location, or shoot in available light for part of a collection.
A narrow range of subjects
Showing one kind of person limits who thinks they can book you. Shoot a wider mix of ages, genders, skin tones and body types within your style.
Templates that fight the photographs
Heavy animation, carousels that autoplay, and layouts that crop your images oddly all pull attention away from the work. Pick a restrained template and turn the motion off.
Watermarks and giant headlines
A visible watermark on the hero image looks defensive and makes the photograph harder to read. Let the image be clean and large, with your name in type beside it.
Slow pages and oversized images
Exporting full-resolution files straight from your camera is the usual cause. Export in sRGB at about 2000 pixels on the long edge, compress them, and test the load on a phone.
No captions, or captions that repeat the title
A caption should add context or explain a decision. If it just says Portrait, undated, delete it.
Waiting until it feels perfect
The last ten percent of polish can take months and changes little. Publish at a reasonable standard, let real feedback decide what needs work.
Frequently Asked Questions
How many photos should a photography portfolio have?
For a photographer working in one niche, 10 to 20 images is the usual target. A single story or personal project works well with 7 to 15. Headshot portfolios often need more because they are judged on the number of distinct people, so 15 to 20 subjects is common there. Photography schools and MFA programmes set their own numbers, sometimes 20 to 30 images, so check the brief before you start editing.
What is the best platform to create a photography portfolio?
It depends on your workflow. Adobe Portfolio suits photographers already inside the Creative Cloud who want a site quickly. Squarespace gives a polished, mobile-first result with strong typography. SmugMug handles large libraries and password-protected client galleries. Pixpa suits someone who also wants proofing, sales and booking. Webflow or Framer suit you if design control matters more than a quick start. Pick on gallery features, custom domain support and mobile speed rather than template looks.
Do I need a model release to use portraits in my portfolio?
It depends on how the images will be used. Straightforward studio portraits taken with the model’s understanding that the session is being photographed for your portfolio are a different case from commercial use, paid client work, or any image where someone is recognisable and linked to a product or service. Minors always need a guardian’s permission. The safe habit is to ask, and to get the answer in writing, even with friends.
How do I build a photography portfolio with no paid clients?
Shoot one focused project rather than several loose sets. Trade shoots, often called TFP, are the usual route: agree the length, the look count and what the model receives before the shoot starts. Add models from communities built for exactly this, plus friends and family who fit the subject range you need. Label self-initiated work as a personal project rather than a paid commission, and shoot a wide mix of people so the collection does not read as narrow.
Should a portfolio be a website, a PDF, or printed prints?
Most working photographers need two versions. The website is always current, loads on a phone and does the work of getting you found and contacted. The PDF or printed lookbook is for pitches, where an art director or client wants a curated view of one project in their hands. A self-published photobook is a third option when you want a physical object that shows sequencing. Build the web version first; a PDF export follows once the sequence is settled.
How often should I update my photography portfolio?
Review it every three to four months, and swap out the weakest image each time. Update sooner when your subject matter changes, when clients ask for something you do not show, or when your best work is more than a year old. Keep the about page and contact details current as well. A portfolio that has not moved in two years reads as an inactive practice, and regular replacement is cheaper than rebuilding the site.
Conclusion
A working portrait photography portfolio comes down to four decisions: who you photograph, which images survive the cut, what order they appear in, and how quickly the page loads when someone opens it on their phone.
Start with the smallest possible version. Choose one audience and one theme, edit a single collection down to fifteen images, sequence it, and publish it on a simple mobile-friendly site. Put it in front of a critique thread or two people who book photographers, and replace the weakest image on their advice. That loop, repeated every few months, is how a portfolio gets better than any template.