How to frame photos for an exhibition is mostly a consistency problem: the same frame profile, the same mat border, the same glazing, hung at one centre line, so a set of separate prints reads as one body of work. The technique itself is simple — print, mat, glaze, back, hang — but the decisions have to be made once for the whole series rather than print by print, and that planning is what separates a considered wall from a pile of nice pictures.
This guide walks through the full chain in eight stages, from choosing an exhibition format to reviewing the finished installation. Budget roughly a day for inspecting and framing a small series of ten to twenty prints, plus install day. If you work mostly in digital, the sizing and mat maths here will map directly onto what your lab asks for.
Table of Contents
- What You Need
- Step-by-Step: How to Frame Photos for an Exhibition
- 1. Choose the Exhibition Format and Display Rhythm
- 2. Inspect and Prepare Every Print
- 3. Choose Frames and Mats for Visual Consistency
- 4. Measure, Cut, and Assemble the Frame
- 5. How to Frame Photos for an Exhibition as a Visual Story
- 6. Protect the Work from Light, Moisture, and Handling
- 7. Install the Framed Photographs as a Preview
- 8. Review the Complete Exhibition
- Common Mistakes
- Frequently Asked Questions
- Should all photographs in an exhibition use the same frame?
- Is it better to frame fine-art prints behind glass or use frameless prints?
- What mat width looks professional for exhibition photographs?
- How far apart should framed photographs be on an exhibition wall?
- How do I transport framed photographs without damaging them?
- Conclusion: Start with a Full-Size Layout
What You Need
Before ordering anything, write down the finished dimensions of every print. Exhibition framing maths starts with the print, not the frame, and everything else is derived from it. Gather these first and the cutting stage becomes a straightforward afternoon.
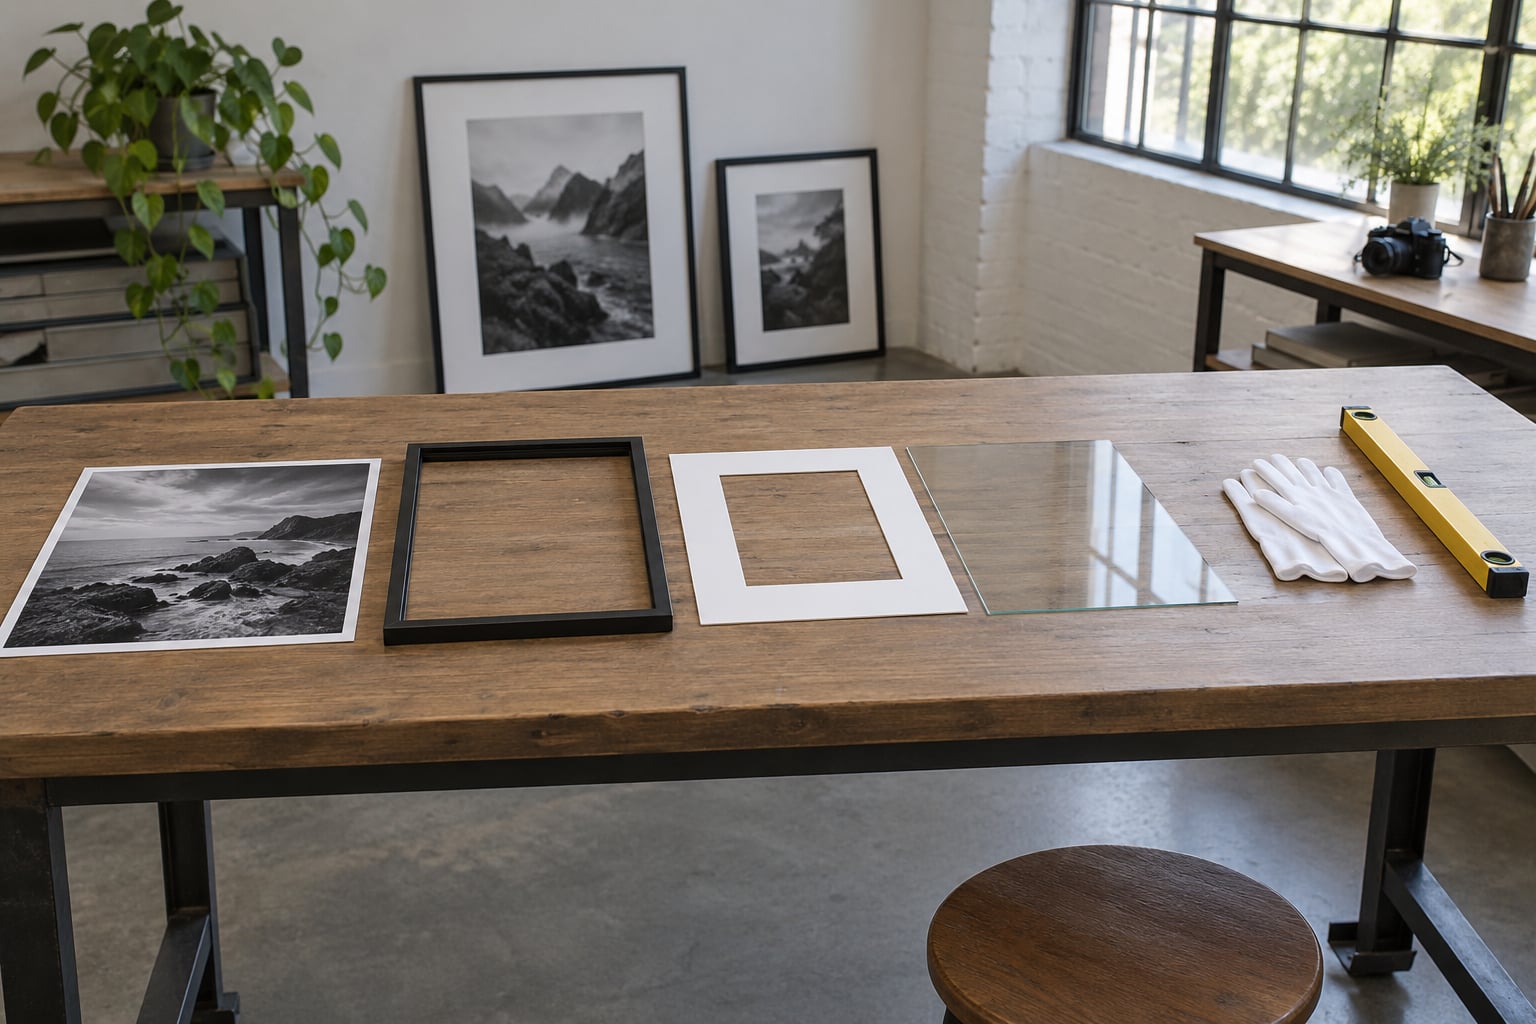
- Your prints — the final editions, not test prints. Keep the full set in one place so colour and paper finish stay consistent.
- A tape measure and a steel rule — a tape is too loose for mat openings; measure twice with a rigid rule.
- Frame mouldings in one profile — buy or commission them in a single finish, ideally neutral black, white, or a thin metal profile.
- Acid-free conservation mat board — 4-ply cotton rag or museum board, plus a second board for a double mat if you want a reveal.
- Glazing — UV-filtering glass, conservation acrylic, or anti-reflective museum glass.
- Backing board, tape and hardware — acid-free backing, archival tape, D-rings and hanging wire, or the venue’s hooks.
- Cutting and assembly tools — mat cutter with a straight edge, corner cutter, mitre saw or hand mitre tool, screwdriver, and a spirit level.
- Protection gear — clean cotton gloves, interleaving tissue, a clean flat surface, and a foam or rubber mat for leaning prints against a wall during layout.
Match frame sizes to print formats using standard step-down pairs rather than custom cuts wherever you can. A 16×20 frame usually takes an 11×14 or an 8×10 print behind a mat, and an 18×24 frame takes a 16×20. Standard sizes mean cheaper frames, readymade mats and faster turnaround.
Step-by-Step: How to Frame Photos for an Exhibition
Here is the workflow in eight stages. Ask the venue the hard questions before stage one, because a gallery’s hanging system and wall colour constrain every decision that follows.
1. Choose the Exhibition Format and Display Rhythm
Decide what kind of installation this is before choosing a single frame. A salon-style hang — same-size frames, even gaps, a long wall — suits landscape and street series. A grid suits work with related panels. Individual statements suit portraits printed large. A chronological narrative wants the viewer to read left to right.
Preview the rhythm cheaply: tape the print rectangles at actual size on the wall, using masking tape outlines and pencil marks, before any frame is committed. Stand at viewing distance and note which print your eye lands on first. That print may need a larger mat border or a different position.
2. Inspect and Prepare Every Print
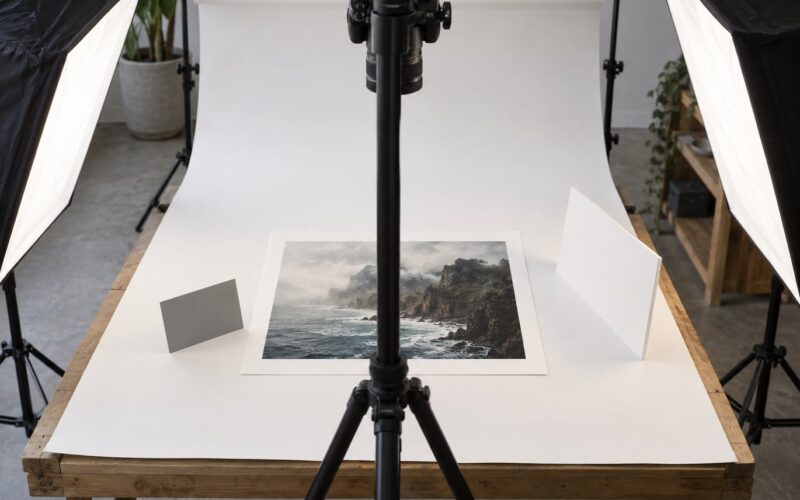
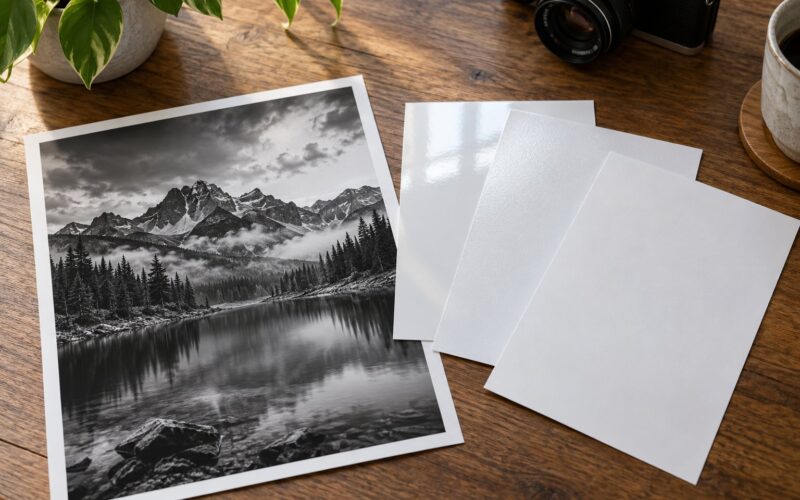
Go through the edition one print at a time under even light. Check corners for handling marks, surfaces for gloss or matte finish, and the whole set for colour drift between prints shot on different days or from different files.
Clean prints only with the method the paper manufacturer approves — a soft blower for dry dust, or an approved dry-cleaning sponge for surface marks. Handle every print by its edges with clean gloves; fingerprints on a gloss surface show under raking gallery light and cannot be undone. Do this before materials are cut, because you may replace a print and change the size plan.
3. Choose Frames and Mats for Visual Consistency
Identical frames in every photograph is the professional default, and it is worth the cost. A uniform series is the strongest framing strategy available to you because it removes the frame from the conversation and puts attention on the images.
Varied frames can work, but only when the variation is deliberate and the mat does the unifying: hold the same mat border and same mat colour across mixed mouldings, and the eye reads one set. Frameless prints face-mounted to Dibond or acrylic give a clean, modern wall but demand flawless print quality, because every fibre and flaw is visible at close range.
On mat width, the working rule is that the mat should look wider than the frame moulding is deep. Use these visible border widths as the size guide:
- 4×6 to 8×10 prints — 2 to 2.5 inch visible border
- 11×14 to 16×20 prints — 2.5 to 3 inch visible border
- 18×24 prints — 2.5 to 3.5 inch visible border
- 24×36 and larger — 3 to 4 inch visible border
Border colour is another unifier: white for a bright white wall, off-white or warm grey for a coloured one, black or charcoal to match dark mouldings. A bevelled window is standard; the bevel should never overlap the image area.
4. Measure, Cut, and Assemble the Frame
Calculate the mat opening before the frame, then work outward. The opening should be about a quarter inch smaller than the print on each side, so the mat overlaps the image edge and the print is held rather than exposed.
Cut the mat with a sharp blade and a fresh replacement, pressing the straight edge firmly rather than sawing. Mitre the mouldings with a proper saw, check each corner for a flush fit, apply archival tape to the mitres, and allow the frame to square up under its own weight. Drop the matted print in, add spacers so the image never rests against the glazing, fit the acid-free backing, and tape the back in a cross pattern.
To check your work: the print should sit centred with equal reveal on all four sides, flat with no bow, and rotate freely in the frame without lifting at any corner.
5. How to Frame Photos for an Exhibition as a Visual Story
Framing is part of sequencing. Scale, spacing, alignment and occasional variation all tell the viewer how to read the wall. A single image left larger than its neighbours reads as a pause or a key moment; uniform scale across a narrative reads as flow.
Plan pauses where the work changes pace, and let a slightly wider mat mark that transition instead of changing the frame. Align to a shared edge and a shared centre line rather than centring each frame independently — a wall of individually centred frames drifts apart visually. If one photograph deserves a break from the rhythm, give it a whole empty band of wall around it.
6. Protect the Work from Light, Moisture, and Handling
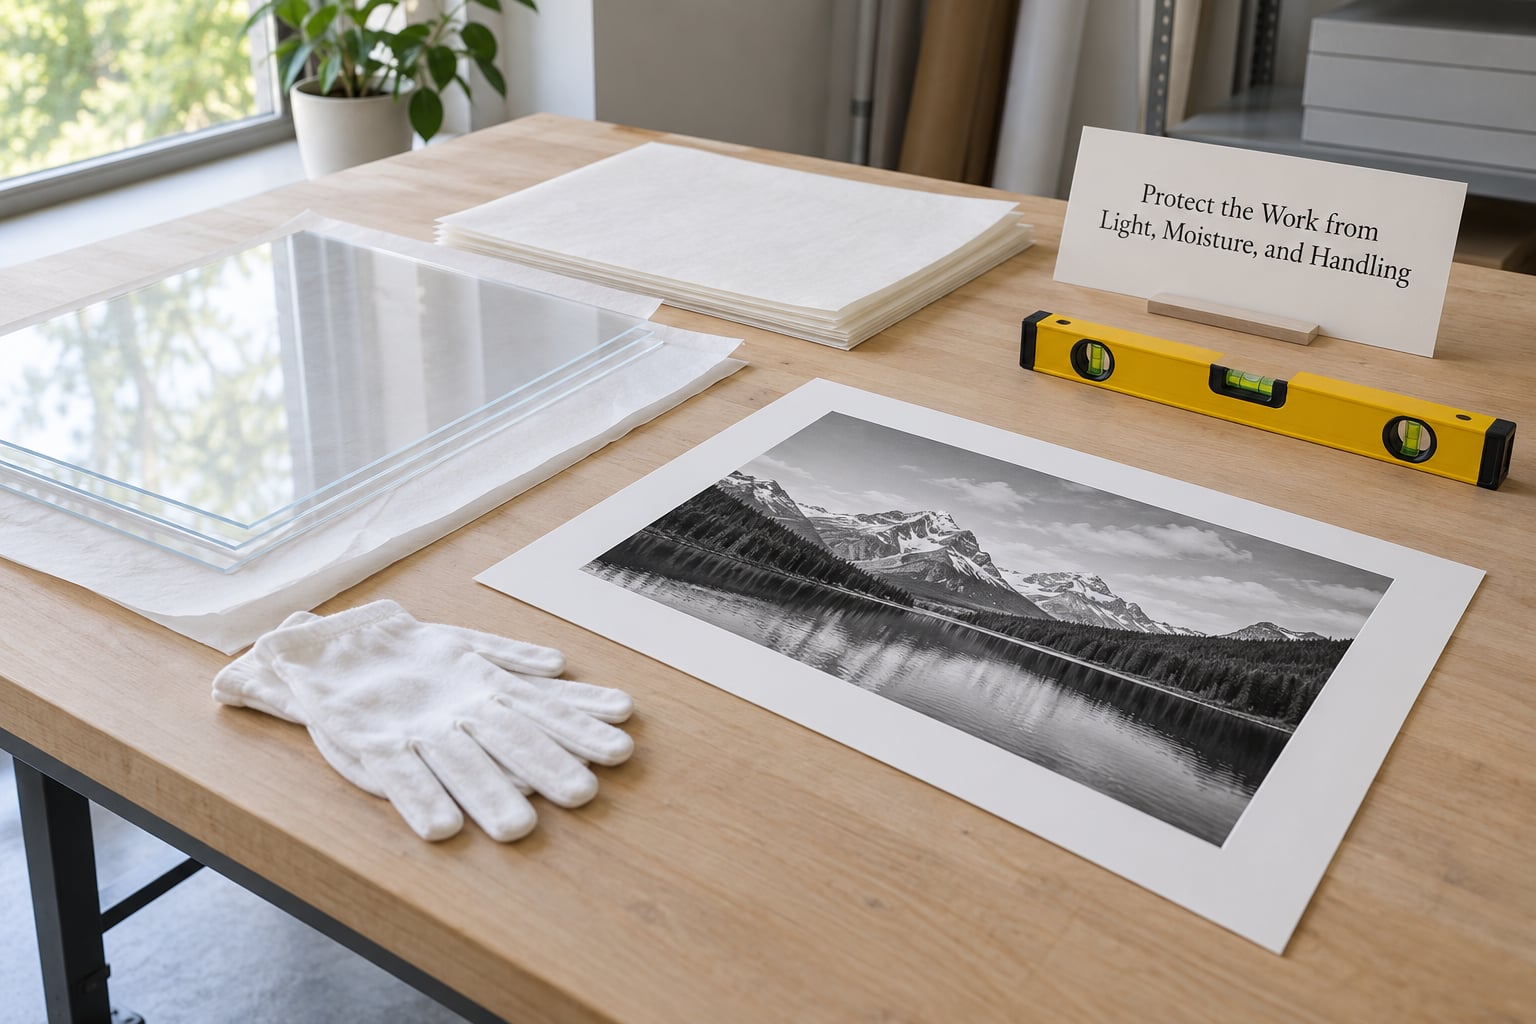
Glazing protects from dust, handling and some light damage. Conservation glass or acrylic filters a meaningful share of ultraviolet and is the standard choice for paper prints. Anti-reflective museum glass cuts glare hardest and is worth it on a wall lit by steep spotlights, though it costs more and shows fingerprints, so handle it by the edges only.
Acrylic is roughly half the weight of glass and will not shatter, which makes it the safer choice for large works, high-traffic walls and travelling shows. The common professional compromise is conservation glass in front for clarity and UV acrylic behind to keep the package light.
Between prints, interleave with acid-free tissue and keep them flat. Measure the wall for damp or direct sun, and avoid exterior walls and unheated corridors where humidity swings. If you decline glazing entirely — reasonable for large Dibond-mounted pieces on a controlled wall — protect the corners during handling instead, because an unmounted corner is the first thing to tear.
7. Install the Framed Photographs as a Preview
Lay the full sequence out on the floor or lean it against the wall before fixing anything. Walk the route a visitor takes and view the wall from several distances — three metres, two metres, and arm’s length — since flaws that read at arm’s length disappear across a room and vice versa.
Adjust spacing, height, alignment and order before the first hole is drilled. Hang to a single centre line, 57 inches (145 cm) from the floor to the centre of each work, which is the standard gallery height. Use the 2/3 rule of thumb for salon rows: centre each row on a piece roughly two-thirds up the wall. For spacing between frames, leave 2 to 3 inches (5 to 8 cm) between same-size frames and 4 to 6 inches (10 to 15 cm) when sizes or formats differ.
8. Review the Complete Exhibition
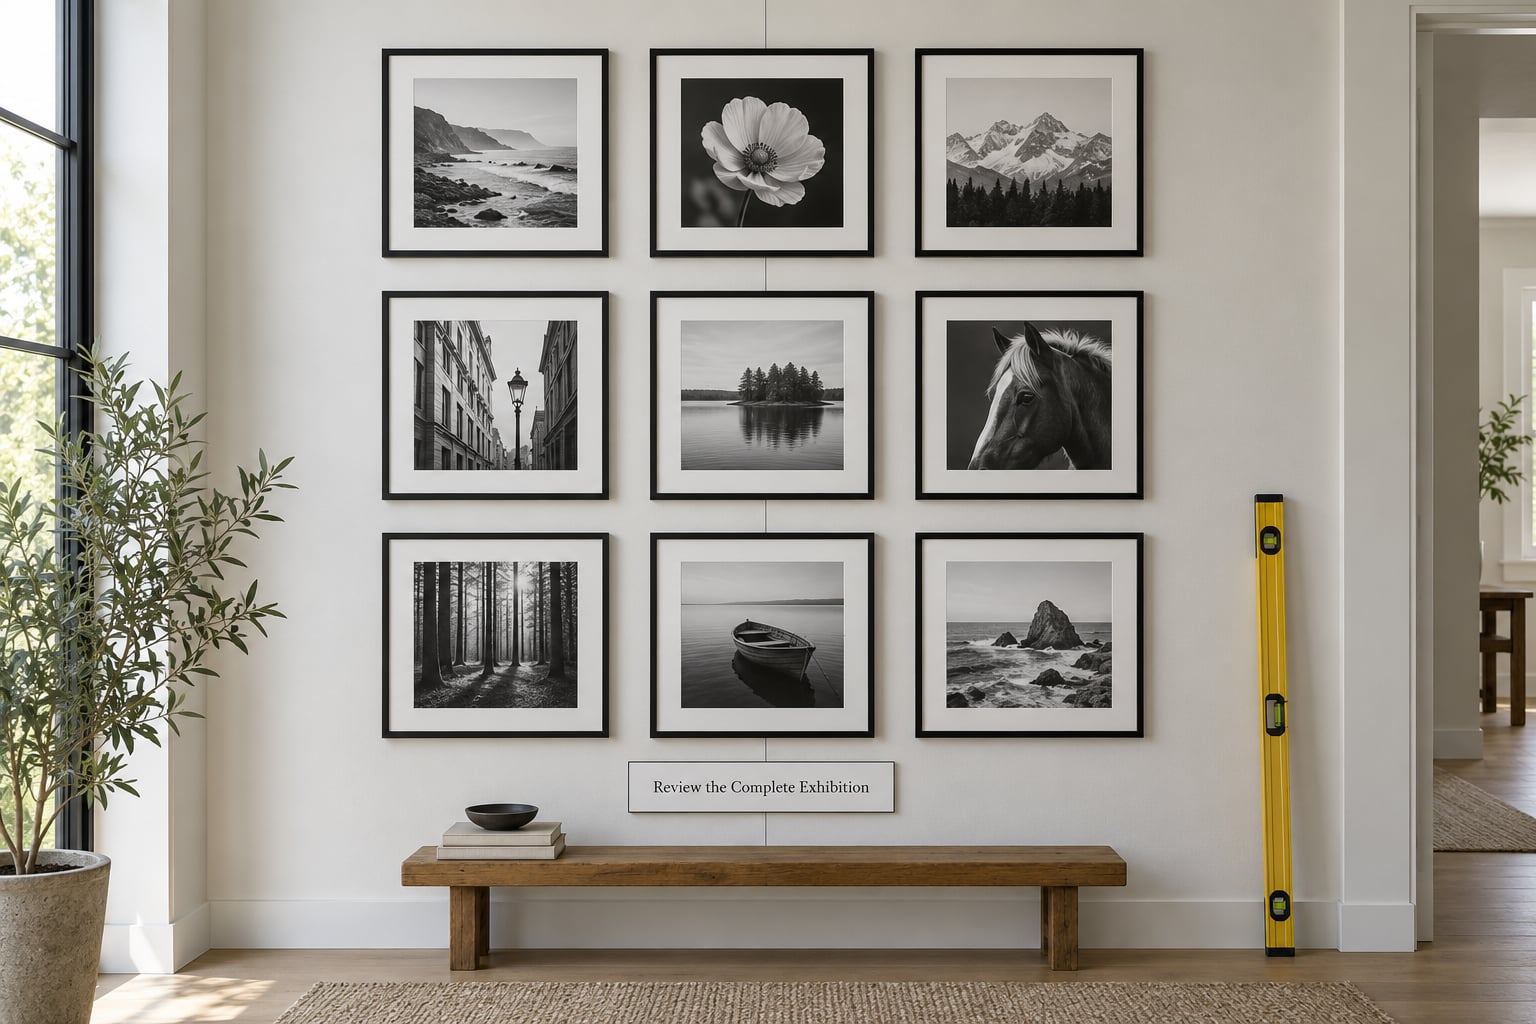
Run a final checklist before the opening: image order matches the printed sequence; frame and mat are consistent across the series; every print is clean and undamaged; hardware is rated for the weight; nothing catches a spotlight reflection; labels sit at a consistent height and distance from the frame; and the sightline from the entrance reads as a single composition.
Retouch or reframe anything that fails. Re-hanging one crooked frame takes ten minutes; leaving it costs you the whole wall’s credibility. Photograph the finished installation and note each work’s position, so the show can be reinstalled identically at the next venue.
Common Mistakes
These are the framing errors that show up again and again in exhibition prep. Each has a simple fix.
- Mixing frame styles on a coherent series. Different mouldings compete with the images. Fix: one moulding, one finish, across the whole series.
- Mats that are too narrow. A thin mat leaves the frame moulding looking heavy and crowds the image. Fix: follow the border widths above, and keep the mat visibly wider than the moulding depth.
- Non-acid-free board. Standard board yellows and can burn a permanent brown line into the bevel. Fix: conservation board throughout, backing included.
- The print touching the glazing. Without spacers, glazing and emulsion can bond over time and any ripple shows as a wave. Fix: build a spacer layer around the mat.
- Glare from spotlights. Fix: angle the work away from steep light, or specify anti-reflective glazing before ordering.
- Crooked or individually centred hangs. Fix: mark one centre line with a level, then align every frame to it.
- Changing materials mid-sequence. A swap after three shows have been hung breaks the wall’s rhythm. Fix: preview the whole layout, then commit to one frame and mat set.
A few tips from people who install regularly: ask the venue about its hanging system weeks ahead, since hooks often engage a D-ring directly and no wire is needed; bring a toolbox with wire, string, tape, a spirit level and a marker; get a second pair of hands for large frames; and if you show more than once, build one neutral frame set in standard sizes and reuse it, swapping mats and prints rather than buying new mouldings each show.
Frequently Asked Questions
Should all photographs in an exhibition use the same frame?
Yes, in almost every case. One moulding and one finish across the whole series is what makes a wall read as a considered body of work rather than separate objects. Variety works only when it is deliberate and a consistent mat and mat colour carry the unity. If you plan more than one show, a neutral frame set in standard sizes can be reused, swapping prints and mats each time.
Is it better to frame fine-art prints behind glass or use frameless prints?
Framed prints behind glazing suit paper prints, small works and anything that needs dust and handling protection. Frameless face-mounted work on Dibond or acrylic suits large prints and modern, minimalist walls, and looks sharper because there is no reflection. For a travelling or high-traffic show, conservation acrylic in a frame is often the safest compromise between protection and weight.
What mat width looks professional for exhibition photographs?
A mat that looks visibly wider than the frame moulding is deep. As a guide, allow 2 to 2.5 inches around prints up to 8×10, 2.5 to 3 inches up to 16×20, 2.5 to 3.5 inches around 18×24, and 3 to 4 inches at 24×36. Cut the opening about a quarter inch smaller than the print so the mat overlaps the image edge.
How far apart should framed photographs be on an exhibition wall?
Leave 2 to 3 inches (5 to 8 cm) between frames of the same size, and 4 to 6 inches (10 to 15 cm) when sizes, formats or mouldings differ. Whatever the gap, align every frame to one shared centre line set 57 inches (145 cm) from the floor, then check the whole wall from across the room before fixing anything permanently.
How do I transport framed photographs without damaging them?
Wrap each frame separately in glassine or acid-free tissue, then bubble wrap with the glazing side facing inward and a rigid board on both faces to stop bending. Carry one frame per hand where possible, keep them upright rather than flat in a vehicle, and never stack loose frames on glazing. Glazed works travel best in a rigid travel case; acrylic packages are lighter and safer to move.
Conclusion: Start with a Full-Size Layout
The first practical action is not buying a frame. Choose your image sequence, then mock up the entire wall at full scale with taped paper or the unframed prints themselves, view it from viewing distance, and only then commit to frame profile, mat border, glazing and hardware. Every decision after that layout is a small adjustment instead of a costly restart — and it is the difference between a wall of photographs and an exhibition.