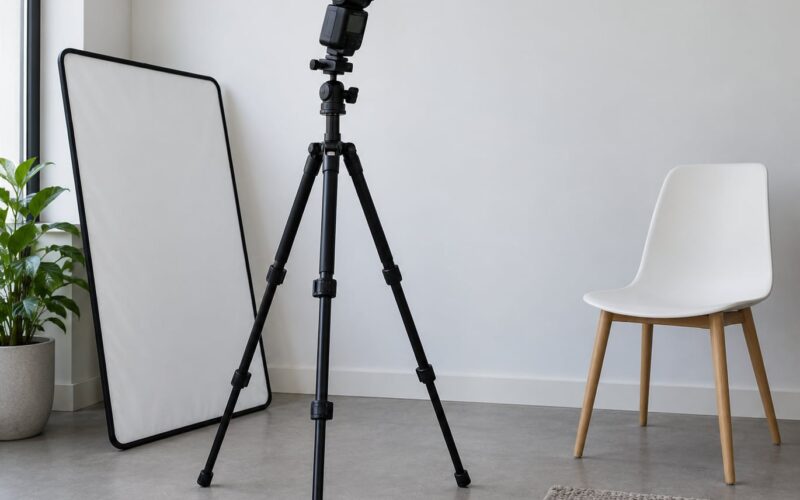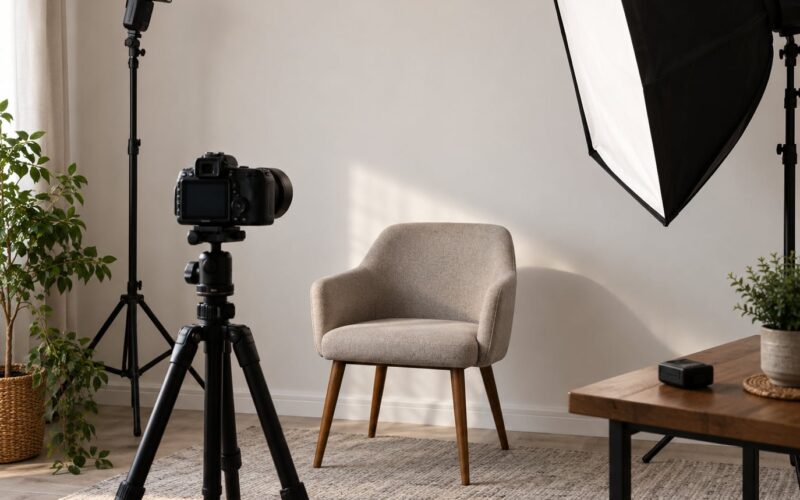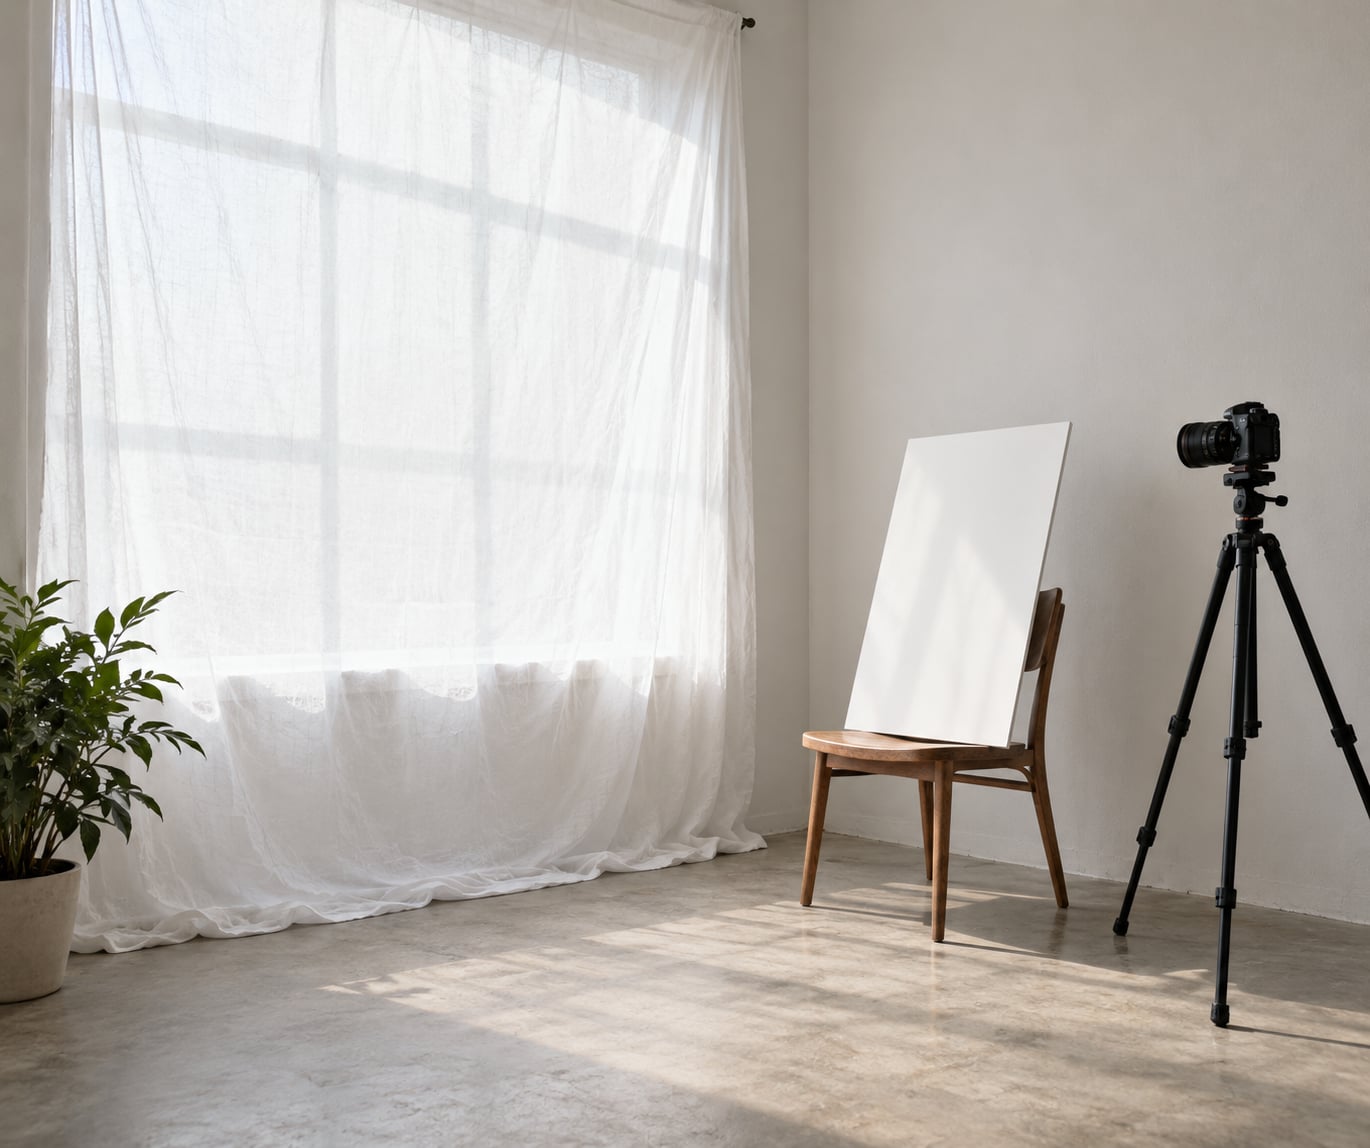
To diffuse window light for portraits, hang a translucent white material over the window — a sheer curtain, a muslin sheet or a plain shower curtain — keep it close to the glass, and set your subject one to two metres into the room facing it. The whole rig takes about ten minutes to build, and the only gear beyond that is something white to bounce light back and something solid to stand on.
Diffusing does not add light. It scatters the light already coming through the glass across a wider area, so your subject stops seeing one bright rectangle and starts seeing a broad, even source. Hard shadow edges under the nose and jawline relax into a gradient, skin tone evens out, and you gain room to expose the face without clipping it.
The one real cost is brightness. Beginners regularly hang a sheet, lose several stops, wonder why the frame came out dark and noisy, and blame the window. Plan for that trade-off before you start.
What You Need
You can do this with things already in the house. The list below is what makes the setup repeatable rather than a one-off fluke.
- A camera and a normal-to-short tele lens. An 85mm-equivalent keeps you far enough back to frame a head and shoulders without the wide-angle stare. If the room feels cramped, step back and zoom rather than moving in.
- A tripod or a stable stack. Window light means slow shutter speeds, and slow shutter speeds mean camera shake. A tabletop tripod, a chair back or a stack of books all do the job.
- A diffusion material wide enough to cover the glass. One white muslin sheet, a plain white shower curtain, or a net/sheer curtain you can pull closed.
- A white reflector. A 5-in-1 reflector, a sheet of white foam board, a white bed sheet thrown over a chair, or aluminium foil taped flat onto cardboard.
- A dark card for negative fill. Black cardboard or a dark towel. This is optional but it is what separates a shaped portrait from a flat one.
- Clips or gaffer tape. For holding the diffuser to the frame without puncturing anything.
- Optional extras: a mirror to redirect light to a second subject, a cloth for cleaning the glass first, and black fabric to block a second window or a lamp you would rather not have in frame.
Clean the glass before you start. Streaks and dust on a pane become ugly haze the moment you hang translucent fabric against it and the sun catches them.
Step-by-Step
1. Position the Subject Near the Window
Put your subject about one to two metres from the window and turn their body roughly 45 degrees toward it, with the face angled back toward the camera. Closer than a metre and the falloff gets steep, with hot patches and squinting; much further and you need a longer lens than the room allows.
Work out which side of the face the light is coming from before you shoot. The cheek nearest the window is your brightest area, the far cheek is your shadow side, and everything you do next — diffusion, fill, negative fill — is judged against that split.
Window direction matters more than people expect. A north-facing window gives steady, cool, even light for most of the day. East- and west-facing windows give strong low sun for an hour or two either side of midday and go flat afterwards. An overcast day is the best light you will get: the cloud deck is a softbox two storeys tall, and you need far less diffusion for it.
2. Choose the Right Diffuser
White translucent material is the whole requirement. Thickness decides how much light you lose and how much the edge softens, so match it to how hard the daylight is and how much brightness you can afford to give up.
| Material | Relative light loss | Colour shift | Best for |
|---|---|---|---|
| Net or sheer curtain | Lowest — well under a stop | Neutral, warms slightly | Overcast days, north light, bright rooms |
| Single layer white muslin or cotton sheet | Moderate — around a stop | Neutral to a touch warm | General portraits, direct sun through glass |
| Double layer muslin | Noticeable — closer to two stops | Neutral | Harsh midday sun, maximum softness |
| Plain white shower curtain | Moderate to high, depends on weight | Neutral if unprinted | Cheap and stiff; clips easily to the frame |
| Tracing or greaseproof paper | Moderate | Neutral, slightly cool | Small windows, or behind a single pane |
| Frosted window film | Low to moderate | Neutral | Permanent, tidy fix you cannot trip over |
Avoid anything printed, patterned or dark-tinted. A striped curtain stripes the face, and beige or grey fabric drags warmth into skin that you then spend the edit undoing. Skip cling film for a window you will shoot into: it wrinkles, and the wrinkles catch specular highlights that read as hotspots.
3. Set the Diffuser Between the Subject and Window
Cover the window evenly and clip or tape the material to the frame. Keep it taut, and leave a small gap between the fabric and the glass so reflections from the pane cannot bounce back into your lens.
Size it to the subject. The rule repeated on the DPReview photography forums is that a diffuse source for portraiture should be as large as, or larger than, your subject, which is why a single window struggles with a full-length frame and handles a head and shoulders shot comfortably. The same forum thread adds the useful counterpoint: a slightly harder source can be better for a full-length portrait because it holds small detail.
You do not always want the whole window covered. Diffusing only part of it leaves the frame and the uncovered pane working as flags, and that hard-to-soft transition is what gives a portrait shape instead of a flat, evenly lit look. Just move the frame line off the face rather than letting the mullion cut across the eyes.
4. Add Reflective or Negative Fill
Diffusion softens the light but does not open the shadows. A white reflector on the shadow side bounces some of that soft light back and brings the ratio down. Move it close to the face for a flatter, friendlier result and pull it back when you want more shape.
| Reflector | Diffuser | |
|---|---|---|
| What it does | Puts light back into shadows | Spreads light out and softens edges |
| Effect on brightness | Raises it | Lowers it |
| Effect on contrast | Reduces it | Reduces it at the source |
| Best used | After diffusion, on the shadow side | Before everything else, at the window |
| DIY swap | Foam board, foil on cardboard, a mirror | Muslin, sheer curtain, window film |
When a reflector is not the answer, try negative fill. Hold a black card just out of frame on the shadow side and the shadows deepen without any extra light — useful for a moodier portrait or when the room is so bright that nothing you add will create contrast.
Distance still governs how much bounce you get. Double the distance between reflector and face and you receive roughly a quarter of the light, which is a fast way to dial the ratio up and down rather than hunting through ISO values.
5. Meter and Refine the Exposure
Shoot RAW and meter for the skin, not the window. Spot or centre-weighted metering on the lit cheek gives you a consistent starting point even when the light is changing by the minute. Set the histogram so the brightest skin sits just below clipping.
Change exposure in this order: raise ISO first, then aperture, then shutter. Slowing the shutter last keeps the frame sharp, and diffusion already pushed you toward a slow shutter before you touched anything. If the shadows start breaking up, ISO is the correct sacrifice, not a narrower aperture.
On white balance, direct sun through glass usually lands around 5000K to 5500K while overcast and north-window light sits much cooler, in the 6500K to 7500K range. Set a custom white balance from a grey card or a shot of the plain material and leave auto alone. Turn off interior lamps while you are there; mixing tungsten and window light is the single most common source of a colour cast nobody can explain.
6. Test and Fine-Tune the Portrait
Take one throwaway frame and zoom in on the shadow beside the nose. A genuinely soft source produces a shadow edge that fades across a visible distance; a hard source gives you a crisp line you can trace with a pen. If the line is still sharp, the diffusion did not reach the light or the subject is too far from it.
Then check the rest. Catchlights should be a broad soft rectangle, not a hot pinpoint. The background should sit at least a stop or so below skin, and if it is competing, move the subject closer to the wall or change the angle rather than reaching for the reflector. Look at the fabric for hot patches and creases, and watch for flare from the pane.
Make small changes between frames: nudge the subject 20cm, rotate the diffuser slightly, add a second layer, or move the reflector a hand’s width. That is almost always faster than rebuilding the setup.
Common Mistakes
| Mistake | What goes wrong | Fix |
|---|---|---|
| Diffusing from across the room | Holding fabric near the subject changes nothing; the light has already collapsed into a small source | Cover the glass itself, not the space beside it |
| Fabric flat against the glass | The pane reflects, producing a hotspot or flare | Leave a few centimetres of air between pane and material |
| Underexposing after hanging the sheet | Dark, noisy frame blamed on the window | Raise ISO, then step the subject closer to the glass |
| Subject too close to the window | Steep falloff, hot edge on the near side | Move out to one to two metres |
| Half-drawn sheer | A hard frame shadow cuts straight across the face | Cover the window, or place the frame line deliberately off the face |
| Filling every shadow | Reflector pressed to the face flattens the portrait | Pull the reflector back, or use black card for shaping |
| Mixed lighting | Tungsten bulbs and window light fight over the white balance | Kill the interior lights for the session |
Two more worth remembering: the light changes as the sun tracks across the glass, so check the ratio on every setup change rather than trusting the first frame all afternoon. And with children, keep the wrap soft and stay close, because the pose you composed is gone within the second.
Frequently Asked Questions
What is the best material for diffusing window light?
White muslin or cotton sheeting is the best all-round choice, because it softens well without tinting skin. Use a net or sheer curtain for overcast or north-window light, where you cannot afford to lose much brightness, and two layers of muslin for harsh direct sun. Avoid printed, tinted or cling film materials, which add colour casts and hotspots.
How far should the subject be from the window?
About one to two metres, turned roughly 45 degrees toward the glass. Closer than a metre gives steep falloff and hot patches across the face; much further and the light is too weak for a comfortable shutter speed in most rooms. At that distance the window still reads as a large source, which is what keeps the shadows soft.
Do I need a reflector when using window light?
You need something on the shadow side, but it does not have to be a reflector. A white foam board, a white sheet over a chair, foil taped to cardboard or even a pale wall will all open shadows. If you want shape rather than flat light, skip the white bounce and hold a black card just out of frame instead.
How do I stop the background from overexposing?
Meter for the skin, not the window, and let the background clip if you have to. Shooting RAW keeps those clipped areas recoverable. If the background is competing rather than clipping, move the subject closer to the wall, change the camera angle so less window falls behind them, or lower the ISO to pull the exposure down.
Can a sheer curtain replace a window-light diffuser?
Yes, and on an overcast day it is all you need, since the sky is already doing the softening. A thin net curtain loses well under a stop, so you keep your shutter speed workable. In direct sun through the glass, swap up to a single layer of muslin or a plain shower curtain for a noticeably softer edge.
Conclusion
Start with one action: put your subject a metre or two from a window, turn them 45 degrees toward it, and hang a single white muslin sheet across the glass. Meter for the face, add a white board on the shadow side, and check the shadow beside the nose for softness before anything else. That is the whole setup, and it works in any room with a window.