To use a wide angle lens for portraits without distortion, keep the subject near the middle of the frame, hold the camera level with their eyes, and give yourself room by stepping back before you frame. The bulging nose everyone dreads is not a fault in the lens. It comes from standing too close, and no amount of editing takes it away.
That one idea changes how you shoot. A 16mm lens and an 85mm lens can produce identical proportions of a face, because both were held in the same spot. Move closer and everything near the lens grows in the frame; move the subject to the corner and the same stretching doubles. Distance and frame position decide the result, and both are free.
The wide lens still earns its place. It shows the room the person lives in, it fits a full body into a small apartment, and it puts foreground and background on either side of the subject. Below is how I keep that look while keeping the face honest.
Table of Contents
- What You Need
- Step-by-Step
- Common Mistakes
- Frequently Asked Questions
- What focal length is safest for wide-angle portraits without distortion?
- Can perspective correction in editing remove distortion from a wide-angle portrait?
- Should the camera be above or below the subject’s eyes for natural-looking results?
- How can I keep a full body in frame with a wide-angle lens?
- Why does a subject’s nose look larger with a wide-angle lens?
- Is a wider lens better than stepping back with a normal lens for environmental portraits?
- Conclusion
What You Need
Not much, and most of it you probably already own.
- A camera body. Full frame gives you more room at a given distance, which is the single biggest advantage for this technique. A crop sensor works fine, it just asks you to treat the lens like a normal lens a stop and a half longer.
- A wide or ultra-wide lens. The zoom that came with the kit is usually fine. Anything from 14mm to 24mm on full frame covers the range where the technique is forgiving.
- A spirit level. A tiny bubble level on the hot shoe, or the grid lines in your viewfinder, is what stops the tilted-up full-body shot.
- A subject who can turn. Body angle does more for proportions than any lens choice. If they can rotate their shoulders, you have room to work.
- Room behind you. Not optional. Half the trick is backing up until you can no longer back up.
- Editing software with lens profiles. Lightroom Classic and Capture One both ship corrections for common wide lenses. One of them cannot fix perspective, which is the next section.
Step-by-Step
1. Choose a Wide-Angle Focal Length Carefully
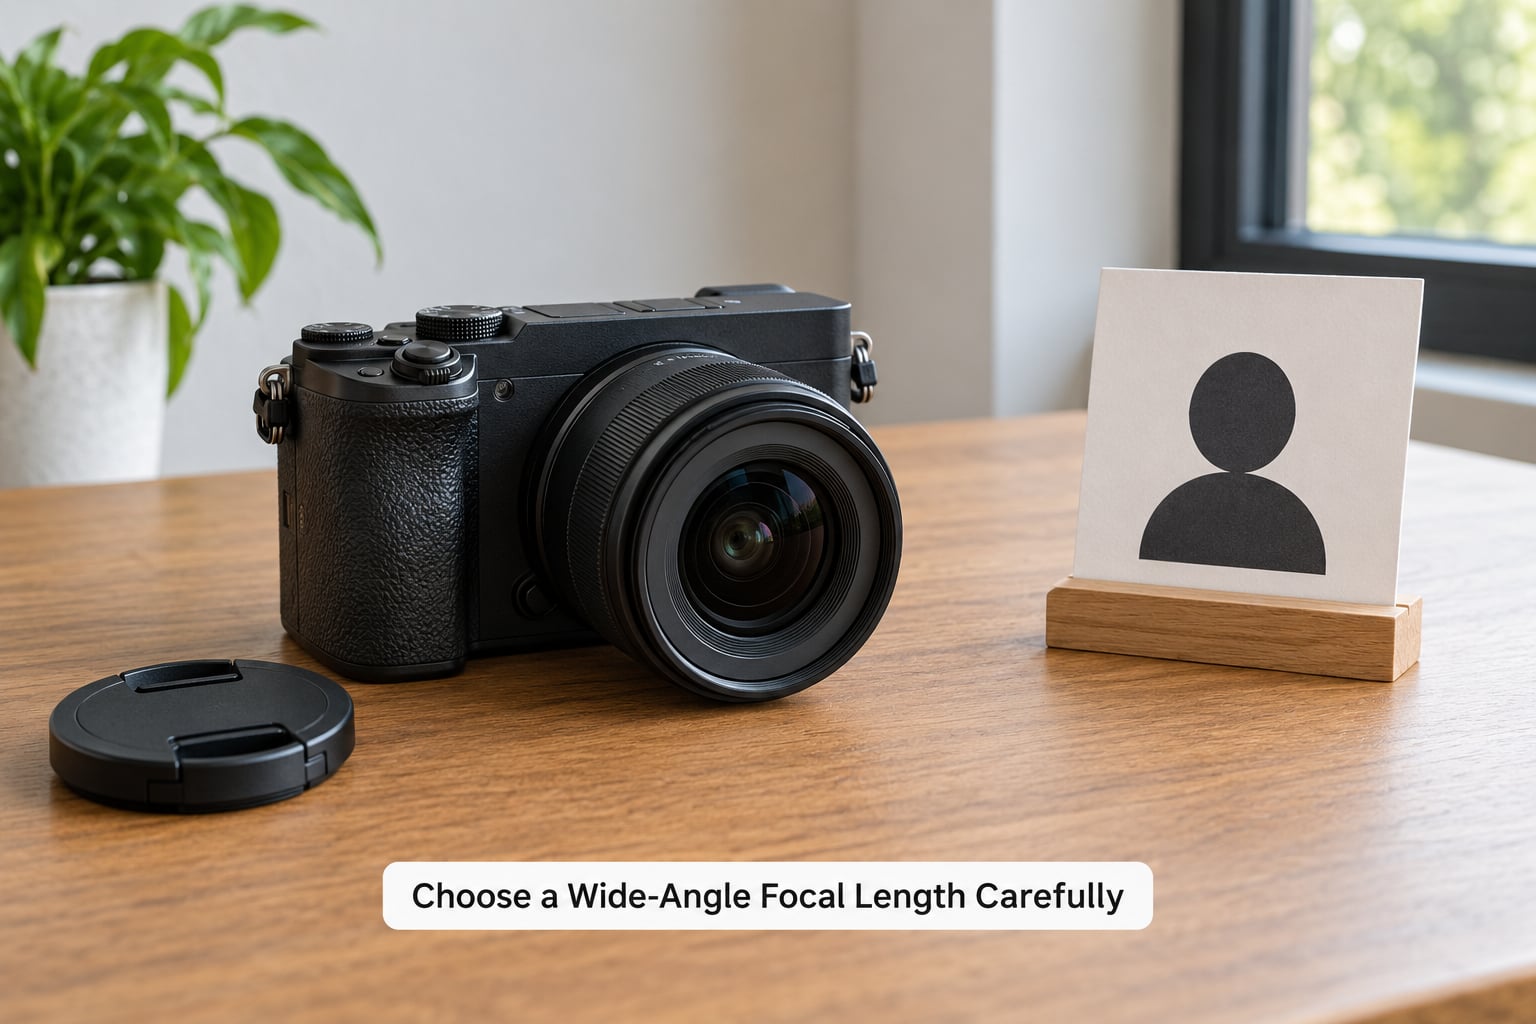
Focal length is not the cause of the distortion, but it sets how much room you have to work with. The wider the lens, the closer you must stand to fill the frame, and the smaller your margin for error. Pick the longest lens that still gets the framing you need, and treat 24mm as the practical floor for close portraits on full frame.
The table below assumes a head-and-shoulders frame on a full-frame body. Distances are measured from the sensor to the subject’s face.
| Focal length | Closest distance for head and shoulders | Verdict |
|---|---|---|
| 14mm | About 25 cm | Cinematic only. Deliberate deformation, or a building. |
| 16mm | About 30 cm | Extreme. Keep the subject centred and vertical. |
| 20mm | About 40 cm | Workable for groups and full bodies. |
| 24mm | About 50 cm | Widest most portrait shooters use for close work. |
| 28mm | About 65 cm | Comfortable. Environmental portraits sit here. |
| 35mm | About 90 cm | Forgiving. Little visible stretch. |
Two things shift on a crop sensor. At the same framing, a 16mm lens on APS-C gives you the field of view of a 24mm on full frame, so you stand closer than the table says. The relationship is simple: your effective full-frame-equivalent focal length is your focal length multiplied by 1.5 or 2, and that is the number to look up before you shoot.
2. Keep the Camera at Face Level
Camera height decides how a face reads. Put the sensor above someone’s eyes and you shorten the lower half of the face, which gives a pinched, sunken look. Drop below and you exaggerate the jaw and nostrils. Match the sensor to the eye line and the face returns to its natural proportions.
The rule has a corollary for full bodies: stay level. Tilt up from the waist and the feet, being nearest the lens, balloon while the head shrinks. Tilt down and the head swells. On a 16mm frame a 10-degree tilt is obvious; on a 24mm it is still visible on a straight-on wall behind the subject.
Use the bubble level, check the horizon line, and keep verticals parallel. A slightly empty frame is a smaller sin than converging doorframes.
3. Step Back Before You Frame the Portrait
Back up until the framing no longer works, then walk forward slowly until it just fits. That gap between the last workable step and the first unworkable one is your safe working distance for that focal length, and it is worth finding rather than guessing.
You can also step back and crop. Frame with a 50mm or 85mm from far enough away that the face sits well back, then crop in to a wider-looking composition. You get the environmental context a wide lens gives you, at the proportions a longer lens preserves. Several photographers on photography forums treat this as the default answer for anything that is not a deliberate effect.
One thing to understand before you try it: cropping never removes the distortion that is already in the frame. If the nose was recorded too large, cropping to a slice of that frame keeps the too-large nose, larger. Cropping only hides distortion near the corners, because those parts leave the frame.
4. Turn the Subject and Place Them Off-Center
Body angle does two jobs at once. Turning the shoulders 30 to 45 degrees toward the lens means the nose is no longer the closest feature in a straight line to the sensor, which softens the classic pointed-nose look. It also gives the body a silhouette, so the frame has shape rather than a flat slab of torso.
Off-centre placement is fine as long as you stay aware of what it does. A subject in the left third with a metre of empty wall beside them has less face detail per pixel and more stretching than the same person centred. Use the off-centre position when the setting is doing real work, such as a doorway behind them or a railing running across the back.
| Lens | Working distance | Face proportions | Background | Best for |
|---|---|---|---|---|
| 14 to 20mm | Very close | Dramatic, exaggerated | Large, immersive | Cinematic frames and rooms |
| 24 to 28mm | Moderate | Near natural | Good context | Environmental portraits |
| 35 to 50mm | Comfortable | Natural | Moderate | Small indoor spaces |
| 85mm and up | Far | Compressed, flattering | Blurred out | Headshots with separation |
5. Use Leading Lines and Depth Instead of Empty Space
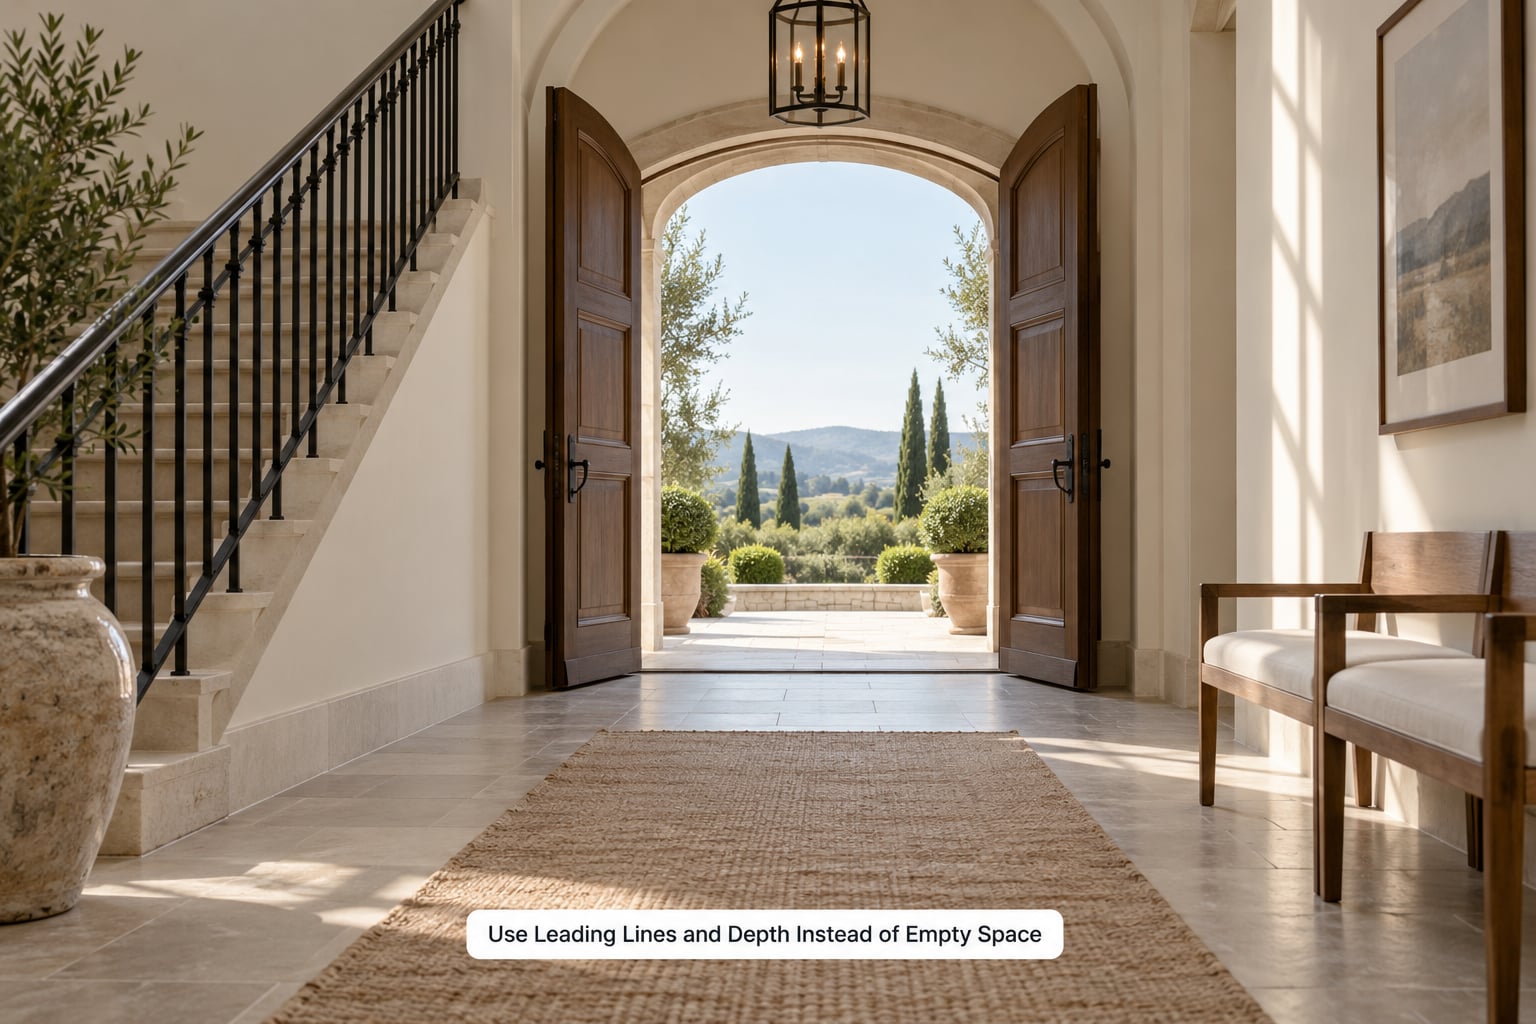
A wide frame fails when the outer thirds have nothing in them. A railing that runs diagonally from the bottom corner toward the subject’s shoulder, a doorway that frames them, a table edge or cable that traces a path into the shot: these do two things at once, they fill the space and they point at the person.
Depth does the same work in a different direction. Put something near the lens and out of focus in the bottom corner, then the subject at mid-depth and the room behind. Three planes make the frame feel wide rather than empty, and the near element gives the wide lens the reason it was mounted.
Watch the extreme corners either way. They stretch the most, and a chair leg or a hand near the corner is where it shows.
6. Focus on the Nearest Important Feature
Focus where the viewer lands first, which on a close wide frame is usually the near eye. Place that single point on the sensor, then check whether the far ear or the hand nearest the lens falls outside the depth of field. If it does, close the aperture by a stop or two, or move back a step.
Wide lenses give you more depth of field than a portrait lens at the same framing distance, which is a genuine advantage. You can hold f/4 and get the face and the near hand sharp, then stop down further and keep the room readable behind. Pushing to f/1.8 usually costs more than it gains here.
Keep the shutter speed at or above 1/125s for a static subject. Exposure is less of a problem than people fear: wide lenses are bright by design, so if the highlights blow out, turn the dial rather than opening up and losing the stop you need for depth of field.
7. Correct Only What Is Unavoidable
Two different problems get called lens distortion, and separating them saves a lot of frustration.
Barrel distortion is an optical flaw. Straight lines bow outward, usually toward the frame edges. Lightroom and Capture One correct it automatically when you enable a lens profile under the Profile tab, and the result is usually invisible.
Perspective distortion is geometry, not an optical flaw. No profile touches it, and nothing in the edit does. A software correction can scale the outer parts of the frame back toward their natural size, but the near and far relationships inside the frame have already been recorded that way.
So editing should be the last step and should stay gentle. Enable the profile, nudge the distortion amount only if the corners still bow, and stop. Vertical corrections help when a wall in the background has converged, but pulling the whole frame upright also pulls the subject sideways, so check the body before you commit.
Before editing, do the honest check: was the perspective right in the room? If the nose was recorded too large, that has to be fixed by shooting again from further back. No slider exists for it.
Common Mistakes
Almost every wide-angle portrait problem is one of six things. Each has a fix you can apply before you press the shutter.
| Mistake | What it looks like | The fix |
|---|---|---|
| Tilting the camera up or down | Enormous feet, tiny head, or a head that swells | Level the sensor and keep the subject off the ground line |
| Subject placed near a corner | Face stretched and pulled sideways | Move them toward the centre; use the corner for background, not the face |
| Filling the frame from 25 cm | Bulging nose and forehead | Step back until the same frame needs twice the distance |
| Cropping a distorted frame | Still distorted, just smaller | Reframe at distance, then crop a clean centre section |
| Empty outer thirds | Subject swimming in blank space | Fill with leading lines, foreground, or a tighter crop |
| Believing post fixes it | Face still wrong after heavy editing | Fix distance and height in the room, not in the slider |
Two more come up often. Shooting straight on with the body square to the lens gives you a flat, wide-looking torso, so angle the shoulders. And posing someone far from the lens with their hand closest to it produces the exaggerated-hand effect that makes wide-angle portraits look like a cartoon, so relax the near hand or move it back.
When to use the distortion on purpose
Some frames work because of the stretching rather than in spite of it. A person leaning into the lens, a foreground edge sweeping across the bottom corner, a hallway receding behind someone: the exaggeration tells the viewer how close you were. Just be clear with yourself about which kind of image you are making.
Frequently Asked Questions
What focal length is safest for wide-angle portraits without distortion?
On a full-frame camera, 35mm and above is forgiving for close portraits, and 24mm is the practical floor most portrait shooters use. Anything at 16mm or wider needs a deliberate approach: keep the subject centred, hold the camera level, and accept that features closest to the lens will be larger. Since perspective comes from camera position, a 35mm lens used from a short distance can distort more than a 24mm used from across the room.
Can perspective correction in editing remove distortion from a wide-angle portrait?
Partly, and only for the stretch at the edges. Lens profiles in Lightroom and Capture One correct barrel distortion, which is an optical flaw, and that correction is usually hard to spot. Perspective distortion is geometry: the near nose and far ears were recorded at those relative sizes, so scaling the frame edges cannot restore them. A stretched subject in the centre of the frame has to be fixed by moving the camera and shooting again.
Should the camera be above or below the subject’s eyes for natural-looking results?
At eye level. Raising the camera above the eyes compresses the lower half of the face and can make the jaw look small, while dropping below exaggerates the nostrils and chin. For full bodies the same principle applies to the horizon: tilt up and the feet nearest the lens grow while the head shrinks, so keep the sensor level and check a bubble level if your camera has one.
How can I keep a full body in frame with a wide-angle lens?
Stand further back than feels natural and raise the camera to the subject’s waist or chest rather than crouching low. At 24mm you can usually frame a full body from about three metres on a full-frame body, which is far enough that the face stays close to natural. Point the lens at the subject’s midsection, not their feet, and let the frame extend past the head and below the shoes.
Why does a subject’s nose look larger with a wide-angle lens?
Because the nose is the closest part of the face to the lens, and a short focal length makes anything near the sensor project much larger than anything further away. Standing closer increases that difference, and placing the subject near a frame corner increases it again. The face is not deformed by the lens; it is deformed by the position of the camera, which is why the same lens used from further back looks natural.
Is a wider lens better than stepping back with a normal lens for environmental portraits?
They produce different pictures. Stepping back with a 50mm or 85mm keeps facial proportions natural and compresses the background, which reads as a formal portrait. A wide lens from close in gives a more immersive frame where the room wraps around the subject and foreground elements press in. If the goal is context without any distortion, stepping back wins; if the goal is a sense of place, a wide lens at a controlled distance does it.
Conclusion
Start with distance. Frame a head and shoulders at 24mm, then step back one metre at a time until the frame no longer fits, and note where it starts to fit again. That number is your working distance, and it applies to every wide lens you own.
From there you control three variables and nothing else: how far away you stand, how level the camera is, and where the subject sits in the frame. Get those right and the rest is composition. Check the level, turn the shoulders, fill the edges with something worth looking at, and save the sliders for the barrel distortion that is genuinely a lens fault.