How to pose someone standing against a wall comes down to four things: leave a foot of space between the subject and the wall, rest one shoulder or shoulder blade against it, drop the weight onto one leg so the hips angle, then step off the camera axis about 45 degrees. That combination breaks the flat, stiff look almost every beginner gets.
A wall is the most useful posing tool most photographers will ever use. It is free, it is almost always already there, and it solves two problems at once: it gives the subject something to lean into so their shoulders drop, and it holds them in one fixed spot so you can control the angle and the distance to the background.
This guide is for photographers directing someone else, which is the harder half of the problem. Most posing guides are written to the person in front of the camera. Here you get the physical instruction, the camera placement, and the actual words to say out loud, so a subject who has never been photographed can follow you without freezing up.
What You Need
Keep the kit list short. Everything here is either free or something you already own.
- A plain wall with space around it. Matte paint is easier than gloss, because gloss throws reflections back at you. Three to four feet of clear wall gives you room for full-body, three-quarter and head-and-shoulders crops from one position.
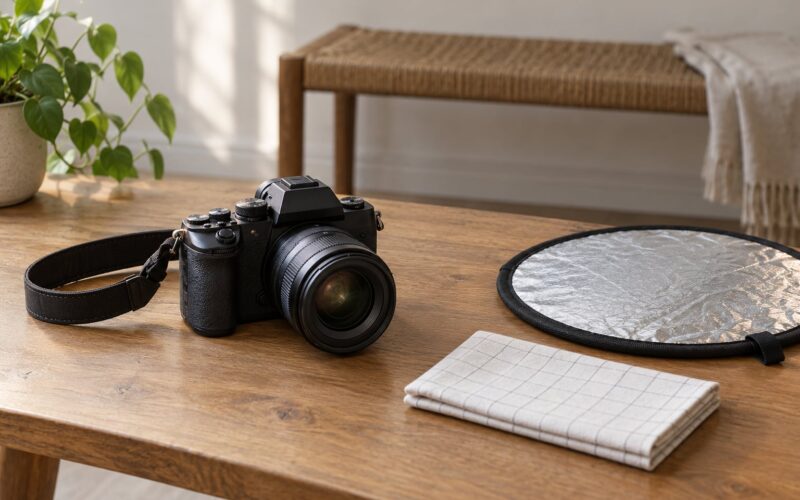
- A camera and any lens you have. A 50mm or 85mm equivalent is comfortable; anything wider needs more distance or the legs will stretch.
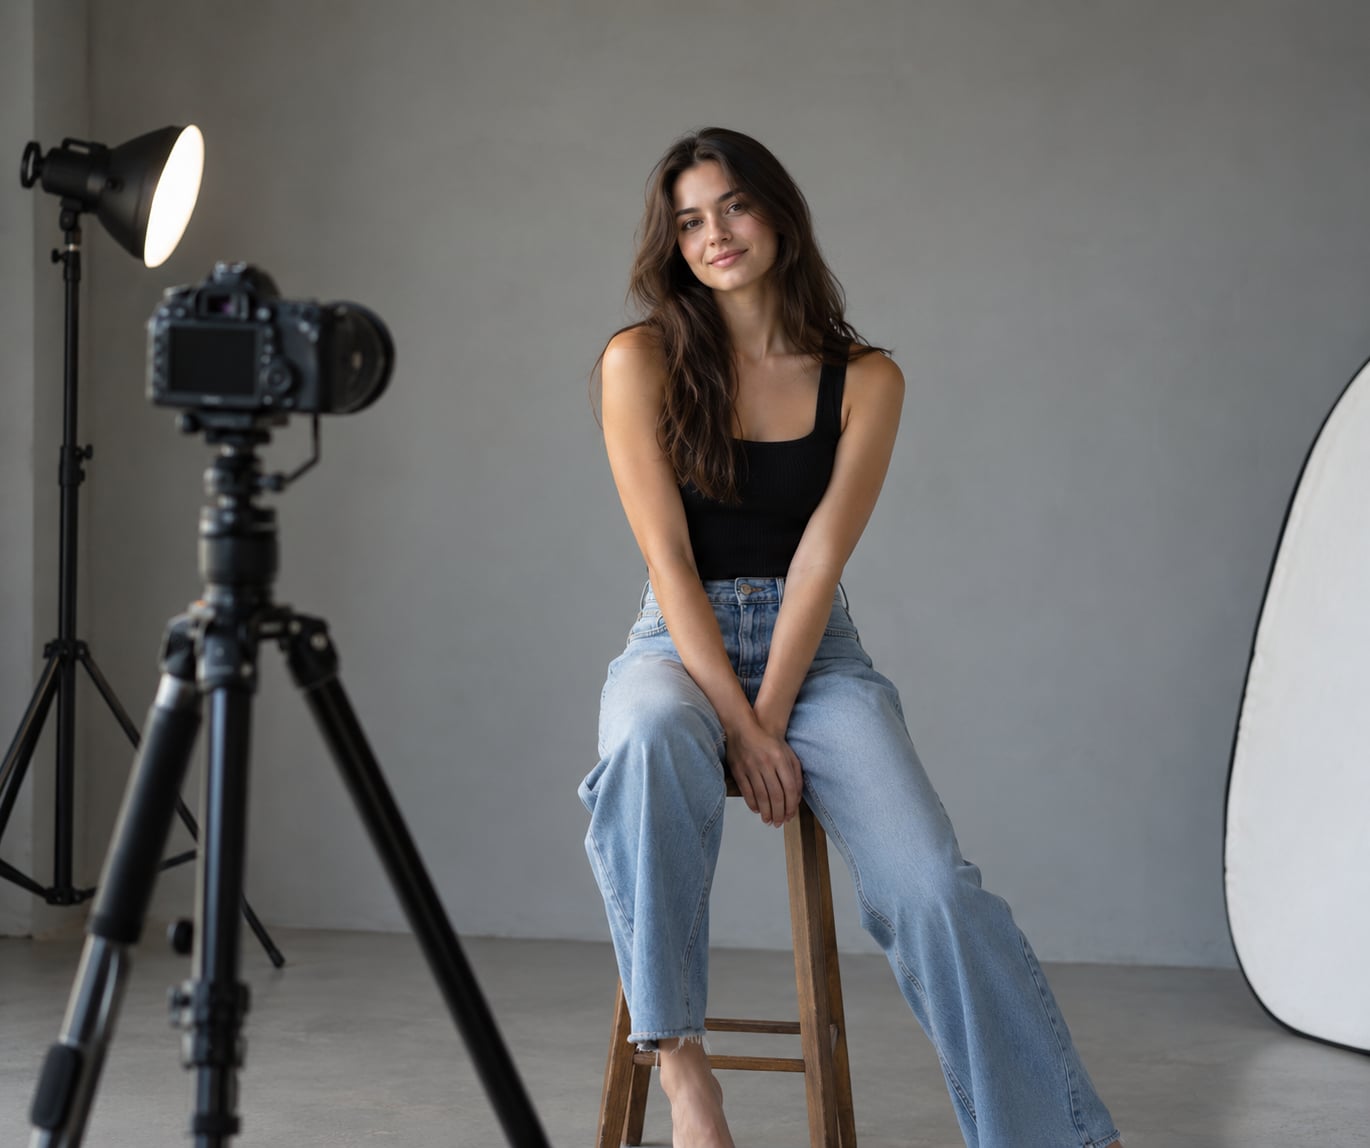
- One light source, or open shade. Shade under a roof overhang or a tree is often better than a flash, and it is free. If you use a light, put it 45 degrees to one side and slightly above eye level.
- A reflector or a piece of white card. If the wall is dark, bounce light onto the subject’s shadow side. A sheet of foam board works.
- A plan for what the subject does with their hands. Decide this before you shoot, because it is the single biggest source of stiffness.
One more piece of preparation matters more than gear: agree on two or three short phrases that mean “start again, that felt stiff.” Telling a subject mid-pose that something looked wrong resets them. Two thumbs up and a reset does not.
Step-by-Step
Work through these in order every time. Six stages, about fifteen minutes from unpacking to a finished frame, and the order matters because each stage builds on the one before it.
Step 1: Prepare the Wall and Background
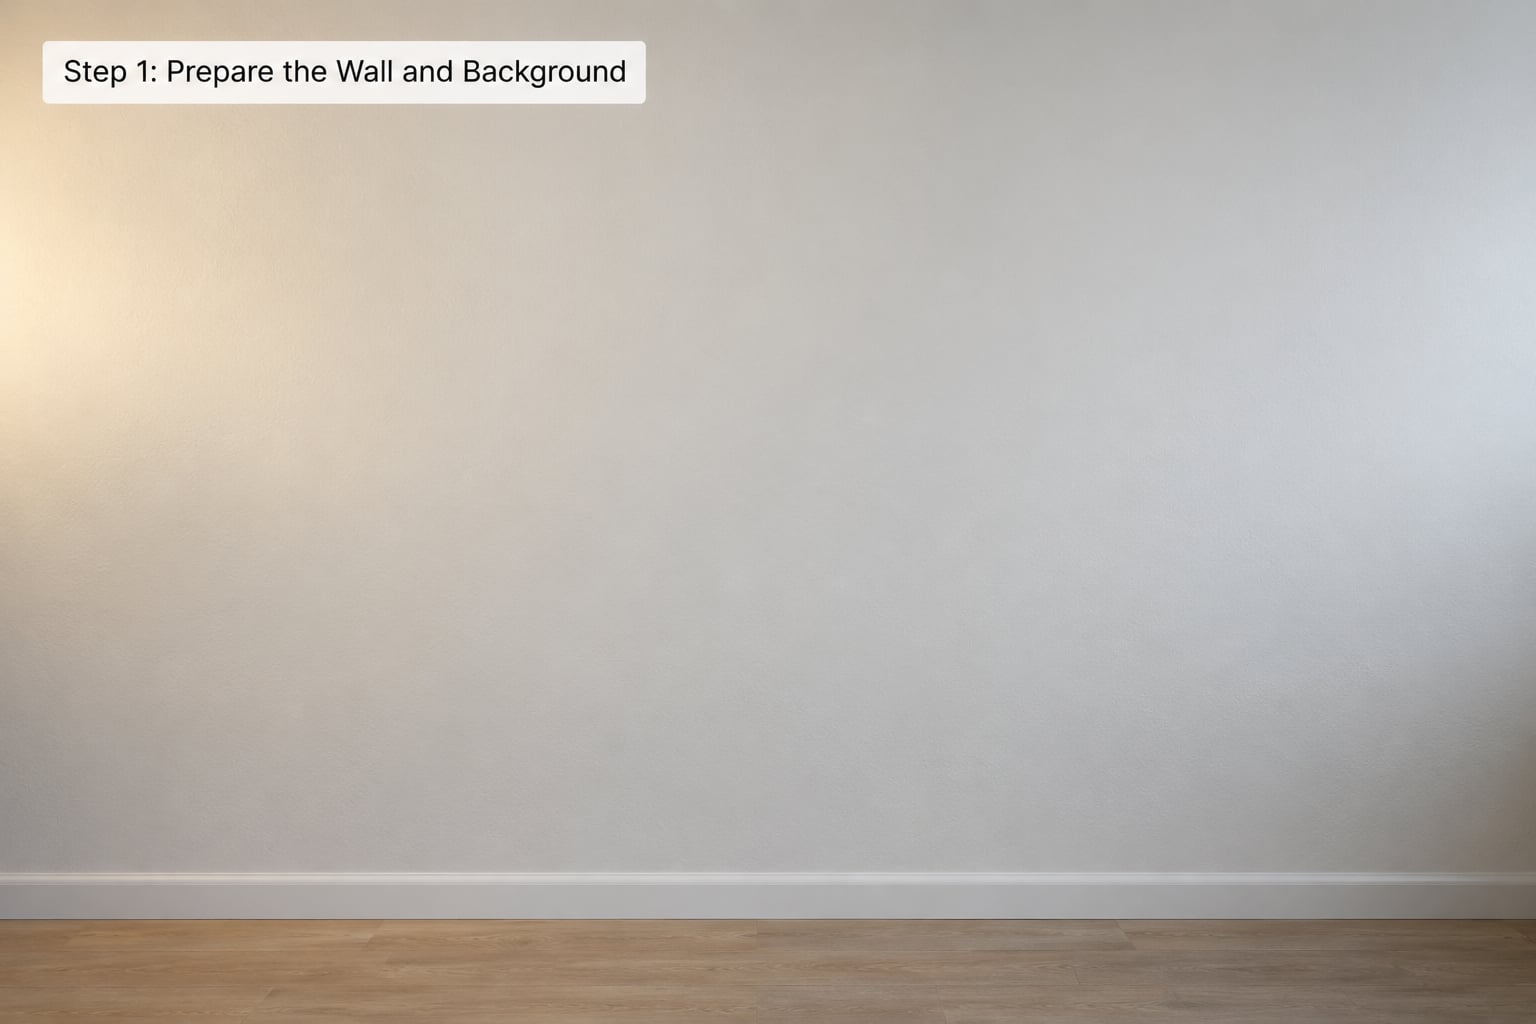
Stand the subject a foot or two in front of the wall, not against it. That gap gives you room to work, and it lets a cast shadow land beside them rather than directly behind their head.
Sweep the frame for the things that pull the eye: light switches, picture hooks, a scuff, a bright reflection, a power outlet. Remove what you can. Nothing is more distracting than a rectangle of tape behind someone’s shoulder.
Check the brightness before you pose anyone. If the subject’s clothing and skin sit at roughly the same light value as the wall, they will visually disappear, and no amount of posing will fix it. Two easy fixes: move the subject so the wall behind them falls a step darker, or change clothes and shoot against a wall at least two values away from whatever the subject is wearing.
How it worked: the wall reads as a clean shape behind them, nothing competes for attention, and the outline of the shoulder and hair stays visible.
Step 2: Establish a Relaxed Stance, Not a Stiff Pose
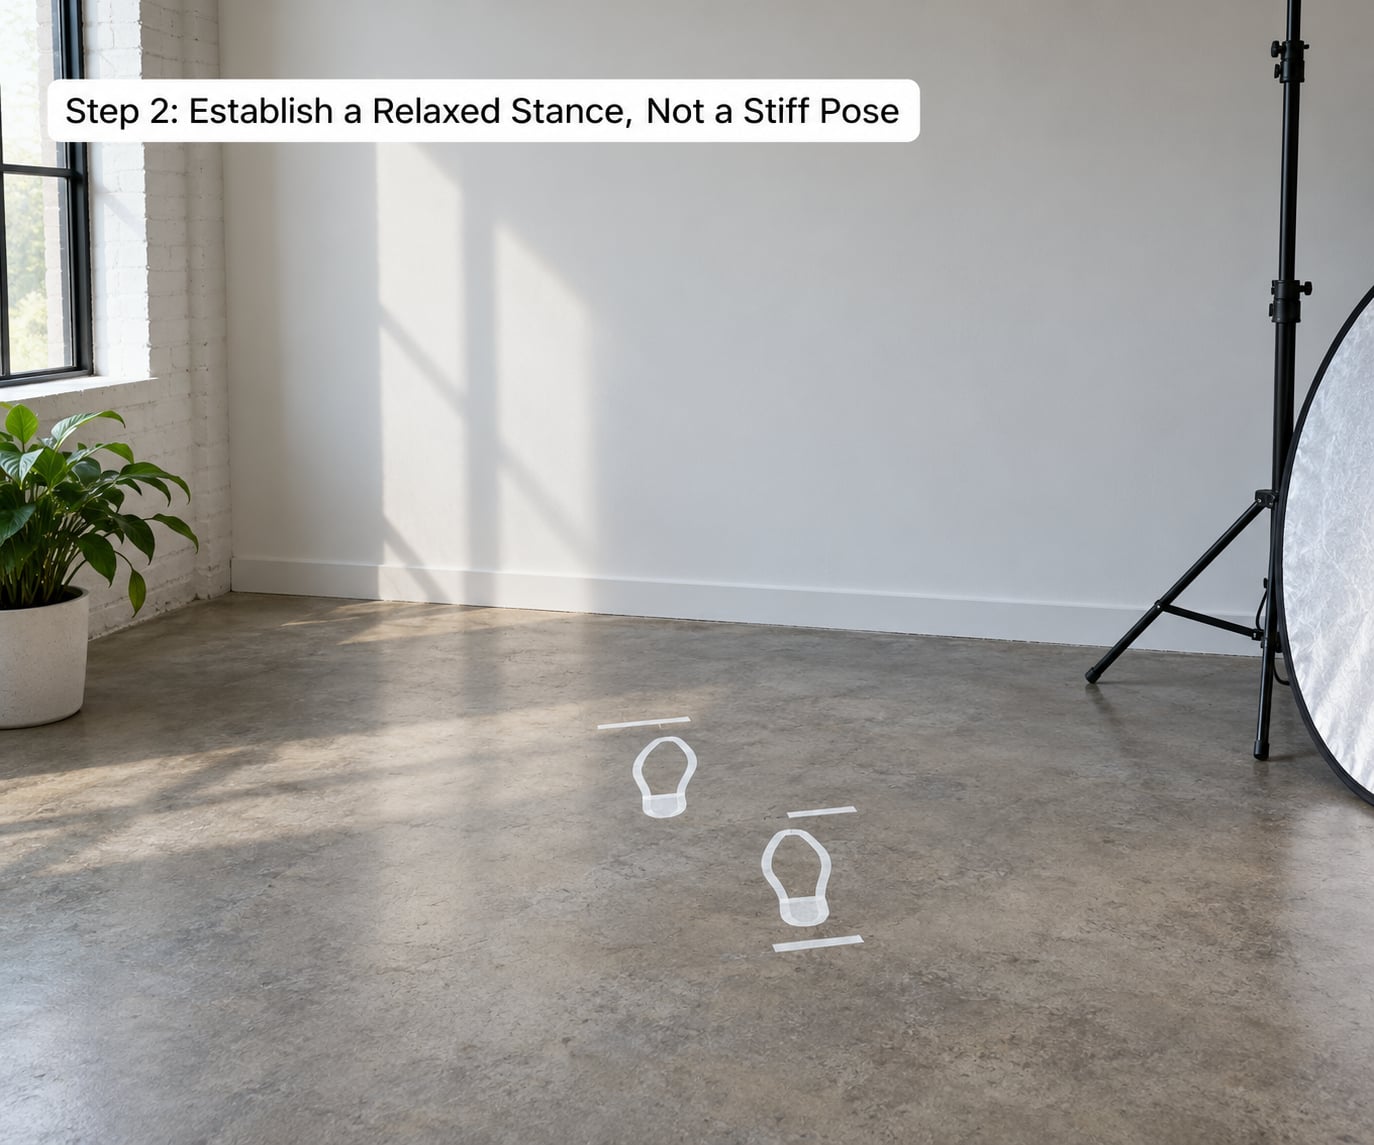
Ask the subject to stand with their feet about hip-width apart and shake out their hands. Then have them put all their weight onto one leg. The other knee softens, that hip lifts slightly, and the line of the body tilts.
Say it this way: “Put almost all your weight on your back foot. Let the front foot just touch.” Beginners need to be told twice, because the instinct is to stand evenly, which is what makes a body look like a plank.
Now lengthen. Hands on the front of the thighs, press down gently, lift the chest, roll the shoulders back and down, and let the head float up rather than jutting forward. If you see knees locked straight, that is the classic military stance; unlock them.
Say that: “Long neck, soft shoulders, loose knees.” Then have them breathe out and hold that.
How it worked: the shoulders are visibly lower than they were a minute ago, the weight is on one leg, and the subject is not holding their breath.
Step 3: Create Shape With the Hips and Torso
Now decide what touches the wall. Shoulder, upper back, shoulder blade, lower back, head, or one foot, and each one gives a different silhouette. Have them put the back of one shoulder against the wall, then turn their torso about 30 to 45 degrees so the front of the body faces the camera more than the wall does.
That turn is the whole trick. A body facing a wall straight on has no depth and reads as a flat cutout; rotate it and the waist, hips and shoulders sit at three slightly different angles, which is where shape comes from.
Check the hips. If the subject is facing you fully, ask them to turn the hip toward the wall a little further than the shoulders. If they are turning too far, pull the shoulders back toward the wall. A small difference here changes how narrow or wide the body looks.
Say that: “Shoulder to the wall. Now turn your chest toward me, like you are looking over your shoulder at a friend.”
How it worked: you can draw a clear curve from shoulder through waist to hip, and there is a visible shadow or tonal shift separating the body from the background.
Step 4: Place the Arms and Hands
Arms hanging straight down at the sides is the most common failure in wall portraits. It reads as a mannequin. Pick one of these instead, and pick it before the subject arrives so you can direct it in one clean sentence.
- Hand in a pocket. Casual, works for almost every body type, hides the hand entirely. Great default.
- Thumb hooked in a pocket, fingers out. Same idea, but keeps the wrist line visible so the arm does not look amputated.
- Both hands on a belt or waistband. Gives the arms a shape to close around and suits most men’s portraits.
- One hand on the opposite shoulder or upper arm. Works on a wall and creates a closed triangle with the elbow, a standard posing tool.
- Holding something. A book, coffee cup, jacket over one arm, a bag, a phone. Props fix stiff hands because the hands have a job. Users on photography forums consistently reach for a prop the moment a subject runs out of ideas.
- Arms crossed loosely. Keep one elbow lower than the other, or it reads as guarded.
Whatever you choose, keep the elbows close to the body rather than swinging them out, and check that the fingers are separated. Sticky fingers and visible tension in the forearm ruin an otherwise good frame.
For a relaxed variant, have the subject rest one hand lightly on the wall at about hip height. It adds a second contact point and closes the shape.
How it worked: the hands have a purpose, the elbows are not sticking out, and the fingers look loose.
Step 5: Direct the Head, Gaze, and Expression
The head does more work than the rest of the body in a portrait, and it is where a stiff frame usually starts. Ask the subject to bring the chin forward and down a touch while keeping the neck long. That small move defines the jawline and stops the neck from disappearing.
Then give them a target for the eyes. Options: straight down the lens, off past your shoulder, down at the floor, or closed. Looking away from the camera instantly kills the “ID photo” feel and gives a wall shot some depth. A subject who is not sure where to look will look somewhere between your shoulder and the ceiling, so be specific.
A small head tilt toward the shoulder that sits higher adds warmth. About 10 degrees is plenty.
For expression, stop asking people to smile. Ask for something instead: “Think about someone you like,” or “Look at me like you just heard a joke.” Then shoot through the second after it lands, because the natural version arrives after the performed one.
How it worked: the jaw has an edge, the eyes have a direction, and the face looks like it belongs to the same person as the body.
Step 6: Change the Camera Angle and Capture Variations
Once the pose holds, stop moving the subject and start moving yourself. Same pose, different camera position, completely different photograph.
- Step left and raise the camera to chest height. Flattering, safe default. Good for dating profiles and Instagram.
- Drop to waist or knee height and shoot up slightly. Makes legs read longer and gives the frame energy. Avoid a steep upward angle; it distorts.
- Raise the camera above eye level. Slimmer, and it turns the wall into a soft background plane.
- Close in to three-quarter crop, then head and shoulders. One setup, three deliverables.
- Frame vertically for Reels or TikTok. Leave headroom above and crop to 9:16 in edit.
Keep an 85mm-equivalent or longer for anything full body, and step back rather than zooming in if you are on a wide lens. Shooting a subject pressed against a wall from two feet away with a 24mm stretches the legs and the face in opposite directions, and no posing fix hides it.
Shoot in short bursts around each small adjustment, and stop after five or six frames. The best frame in a burst is rarely the first one.
How it worked: you have a full set of crops from one pose, and the subject was never asked to hold still while you repositioned.
Common Mistakes
The subject vanishes into the wall. Cause: same light value on both. Fix: put the subject in clothing that differs from the wall by at least two steps of brightness, or shoot against a wall that is clearly lighter or darker than what they are wearing. This is the failure that makes a technically correct pose look like a mistake.
A hard shadow of the head lands on the wall. Cause: light nearly behind the subject, at a low angle. Fix: move the light to the side until the shadow clears their head, or put the subject far enough off the wall that the shadow falls behind them at a distance. A deliberate shadow on the wall is a style choice; an accidental one behind the shoulder is not.
Arms pinned to the sides like seams. Cause: nobody gave the hands a job. Fix: assign one now, before the next frame. Pocket, belt, opposite shoulder, or a prop.
The lean turns into a slump. Cause: the subject supports more weight than the pose needs, or drops the shoulder. Fix: let only the shoulder blade or upper back touch, keep the head up, and put the weight into the legs. Half the “leaning on a wall” look is a shoulder touch with straight legs.
Legs look short or stretched. Cause: low camera and wide lens in the same frame. Fix: camera at chest height, and move three or four metres back with an 85mm-equivalent.
Every frame looks identical. Cause: shooting the pose once and then shooting forty near-identical variations. Fix: keep the pose, change the camera height, then the crop, then the crop again. Ten variations across three camera heights beats forty from one spot.
Midday sun ruins the wall. Community photographers generally advise shooting a wall session when the sun is lower, or moving into open shade, and skipping the 1 pm slot for portraits. Hard overhead light flattens the face, throws the subject’s shadow up onto the wall, and puts hard lines under the eyes.
Frequently Asked Questions
What is a wall pose and why does it work so well?
A wall pose is any standing portrait position where the subject uses the wall as physical support, resting a shoulder, back, head or one foot against it. It works because leaning gives the body somewhere to put its weight, which relaxes the shoulders and hips and lets the torso hold a curve instead of standing rigid. The wall also anchors the subject in one spot, so you can control angle and distance and vary the shot by changing which body part touches it.
How do I stop my subject blending into the wall?
Check the light values before you pose. If the subject’s skin and clothing are roughly as bright as the wall behind them, the outline disappears no matter how good the pose is. Move them so the wall falls a step darker, change clothing, or pick a wall at least two brightness steps away from what they are wearing. Side light also helps because it puts a rim of brightness along the shoulder and hair.
How do I direct someone who has never posed before?
Give one instruction at a time in physical terms, never emotional ones. Say put your back foot down and let the front one rest, then shoulder to the wall, then turn your chest toward me. Keep the pace slow and reset often, because people stiffen the moment they hear the word pose. Ask for an expression instead of a smile, then shoot through the frame after it arrives.
What camera angle and lens work best against a wall?
Chest height and off the camera axis is the safe default for most portraits. A slightly lower camera lengthens legs, and a higher one slims, but avoid steep upward angles because they distort the face and legs. For full body frames use an 85mm equivalent and step three or four metres back. Shooting wide from close range stretches the legs when a subject is pressed near a wall.
How do I keep hands and arms from looking stiff?
Never let the subject discover hand placement on their own. Assign it before you shoot: hand in a pocket, thumb hooked with fingers out, both hands on a belt, one hand on the opposite shoulder, or holding a book, cup or jacket. Keep elbows close to the body instead of swung out, and separate the fingers. Props work especially well because the hands get a task and stop hanging.
Which poses suit different body types?
For a fuller figure, avoid square-on stances: turn the torso 45 degrees, shift weight onto one leg to open the hip, and keep the camera at chest height or slightly above. To make legs read longer, cross the front foot over the back ankle, lengthen the back leg and shoot from a low chest position. For a taller subject, soften the knees and angle the shoulder to the wall rather than standing tall and flat.
Conclusion
Start with the weight on one leg, the back of one shoulder on the wall, and the torso turned 45 degrees toward you. Fix the hands before anything else, because stiff hands are what make a wall pose look wrong.
Then hold the pose still and change the camera height, the distance and the crop. The same stance at three camera heights gives you more usable variation than a dozen poses shot from one spot, and the setup takes about fifteen minutes once you stop treating it as a new problem each time.