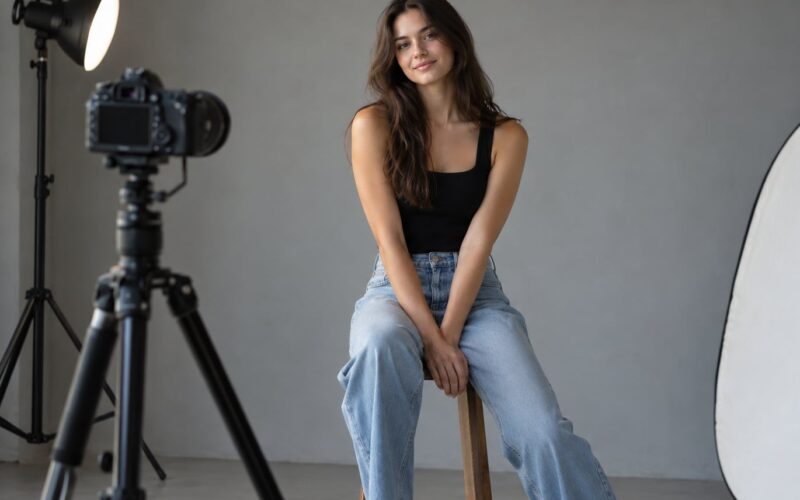
How to photograph a proposal discreetly comes down to removing yourself from the moment: scout a position where both partners are visible and neither can see you, stand far enough back that a telephoto lens frames them tightly, set the camera before anything happens, then hold still and keep shooting through the reaction. A proposal happens once, with no second take, so every decision about light, focus and timing has to be made before the ring comes out.
What you are really doing is planning a shoot that has no shoot. The couple must never see the camera, hear the shutter, or sense a stranger watching them, and they must not be asked to perform. That takes roughly two to three hours of preparation for a moment that lasts about forty seconds. It is the most nerve-wracking job in event photography, and the technique is learnable if you treat the surprise as a fixed set of problems and solve each one in advance.
Table of Contents
- What You Need
- Step-by-Step: How to Photograph a Proposal Discreetly
- How to Photograph a Proposal Discreetly Before the Moment
- Choose a Position That Does Not Obstruct the Couple
- Use Natural Light and a Small Reflector
- Set the Camera for Silent, Reliable Shooting
- Pre-Focus on the Exact Proposal Spot
- Capture the Reaction Without Interrupting It
- Make the Follow-Up Shots Feel Natural
- Going Solo With a Phone, a Tripod and a Shutter Button
- Common Mistakes
- Frequently Asked Questions
- Do I need the other partner’s permission before photographing a surprise proposal?
- Should I use a hidden camera or let the couple know I will be there?
- What is the best camera or phone setup for discreet proposal photography?
- How many photos should I take during the proposal itself?
- Should I photograph the ring being presented or placed on a finger?
- What should I do if the couple changes locations before proposing?
- Conclusion
What You Need
The gear list is short, and most of it is about avoiding attention rather than collecting resolution. Bring more than you think you need, because the item you forget is always the one that matters.
Essential
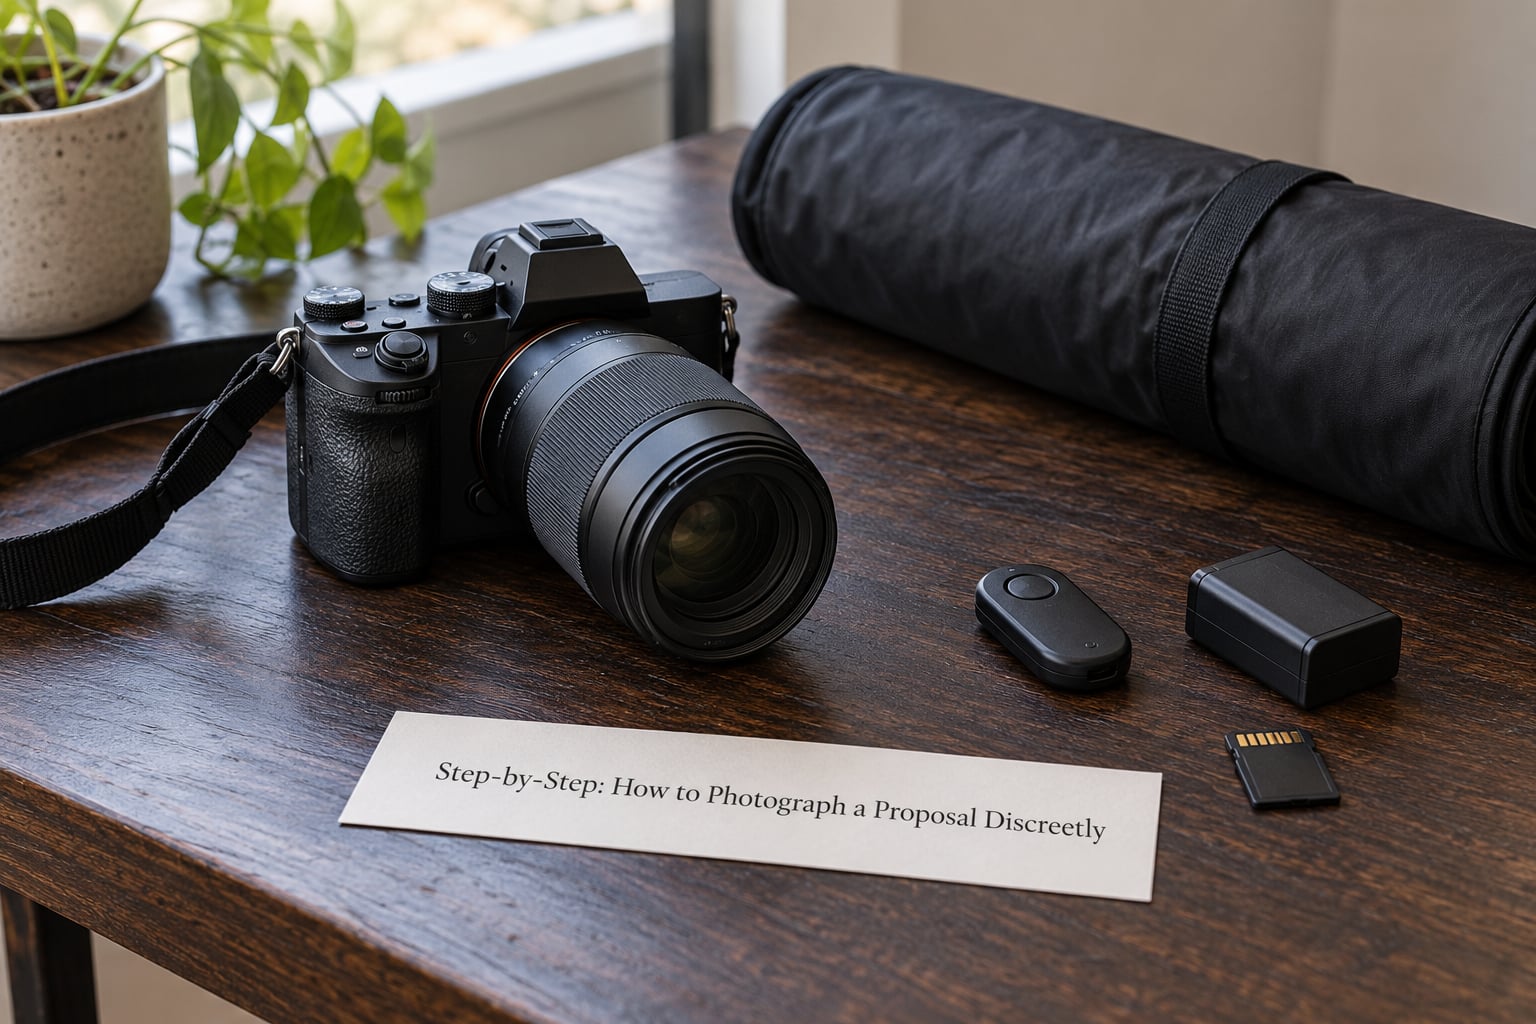
- A compact or mirrorless body. A full-size pro body with a big grip announces itself. A small body with a short lens is easier to hold low, easier to keep still, and much harder for a bystander to read as a camera.
- A telephoto zoom, ideally 70-200mm on full frame. Distance is your disguise. A long lens lets you sit or stand where you look like a tourist with a camera, while still filling the frame with the couple. Shooters on photography forums consistently recommend 85mm or longer for exactly this reason.
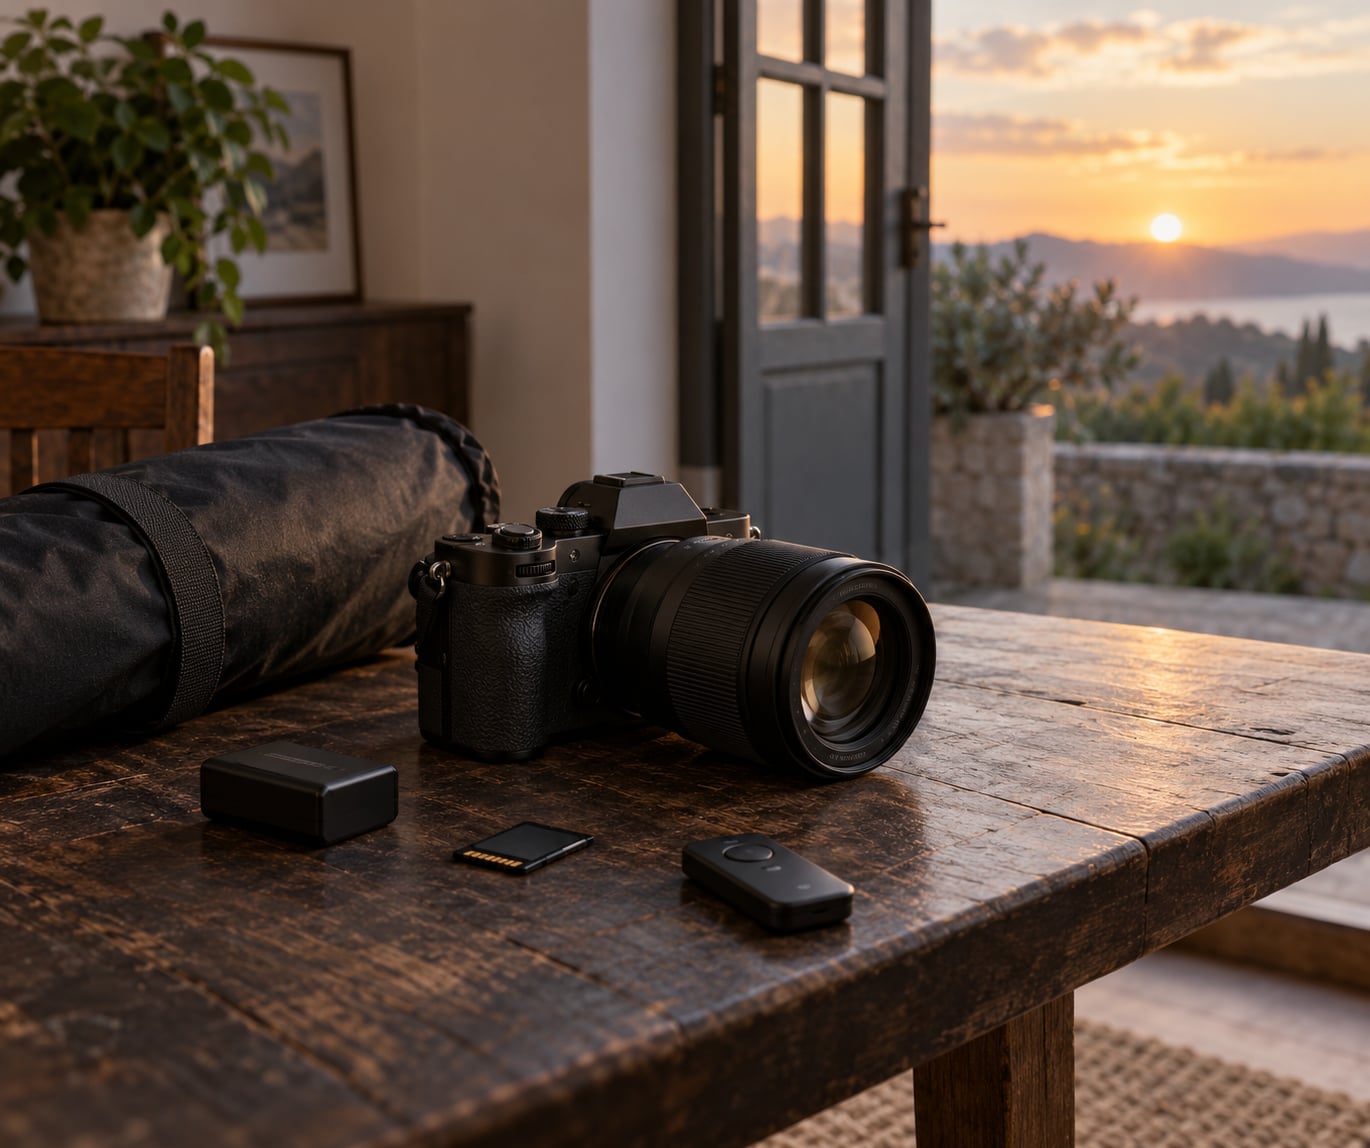
- A spare battery or a small USB power bank, plus a large, fast memory card. You are not changing lenses, so you are not getting a second chance. A compact power bank and a 128 GB card cost little compared to a missed moment.
- A silent shutter or a second body with a silent mode. Most mirrorless bodies offer an electronic shutter that disables the mechanical noise entirely. This is the single cheapest way to make the camera inaudible.
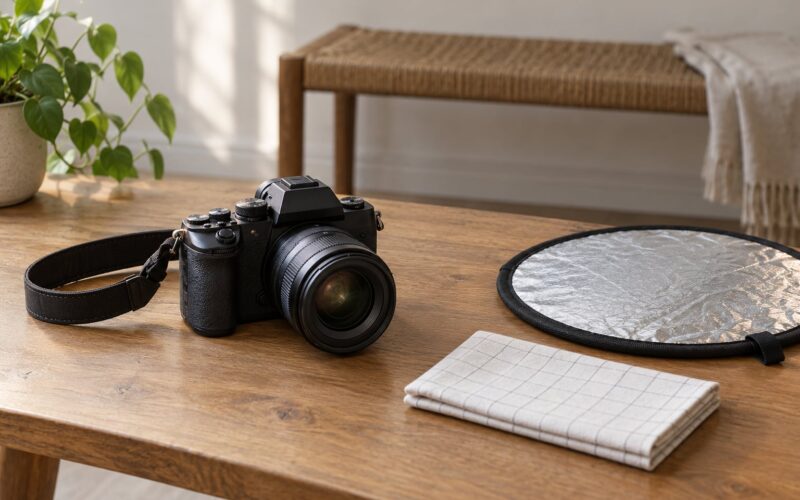
- A small reflector. A collapsible silver or gold card, the size of a paperback, fixes the shadow side of a face without needing a second person or a flash, both of which get noticed.
- A cable release or two-second self-timer. If you are shooting from a table rather than from your shoulder, you need to trigger the shutter without walking over to the camera.
Nice to have
- A second body. Two cards, two batteries, two chances. If one body dies mid-moment, the other keeps recording the reaction.
- An assistant. A second person who also knows the plan can cover one side while you cover the other, and gives you a reason to be standing in an odd spot.
- A wide zoom or a small tripod. Useful for the establishing frame and for the styled portraits after the yes.
- Lens cloths and a lens hood. Salt spray and restaurant steam will fog a front element at the worst possible time.
What you do not need matters too. Skip speedlights, light stands, backdrops and anything that requires assembly on site. Discreet setup means arriving with your hands full and setting up in under two minutes.
Step-by-Step: How to Photograph a Proposal Discreetly
How to Photograph a Proposal Discreetly Before the Moment
Start with the partner who arranged the proposal, not with the camera. They are the only person who can authorize the surprise, and until they do, you are just a stranger with a long lens pointed at a couple having dinner.
Get three things agreed in writing, even if that means a text thread a week ahead. First, explicit permission to be there, from the person who knows about it. Second, the exact boundary of the surprise, including whether the partner’s family or friends know and whether any of them will be in frame. Third, what happens to the images, and when the couple sees them.
Then set up two practical arrangements. Agree a signal that fires a second or two before the proposal, and a recognition method so everyone can identify the right people, since exchanging selfies is faster and less awkward than describing a coat.
Success check: you can recite the plan back in one sentence, including the fallback if the couple arrives early or changes location. If you cannot, you are not ready.
Choose a Position That Does Not Obstruct the Couple
Scout three viable positions during a walkthrough of the location, at roughly the time of day you will shoot. Different light, different crowds, so keep a spare.
For each position, work out three things. The working distance: far enough that a 200mm end fills the frame with both partners, close enough that their faces still hold detail. The axis: you want both profiles visible, which means standing off to one side of the line between them rather than in front of either one. And the background: check what is directly behind them, because a bright window or a busy doorway will blow out the edges of every frame you take.
Never stand where they can see you. That rules out the obvious spot directly in front of the partner receiving the proposal, and it rules out anywhere inside their cone of vision as they turn. Outdoors, a low wall, a parked car or a row of shrubs works. Indoors, a neighbouring table angled away from them, or the back of a booth, works better.
Arrive 10 to 15 minutes early and expect the couple to run anywhere from ten minutes early to ten minutes late. Couples wait, they order dessert, they talk in the car first. Treat the timing as a window, not a schedule.
Success check: from your position, you can see both faces at f/2.8 or f/4 with the lens at its long end, and their bodies block nothing. If you have to guess about the background from where you stand, walk it once more.
Use Natural Light and a Small Reflector
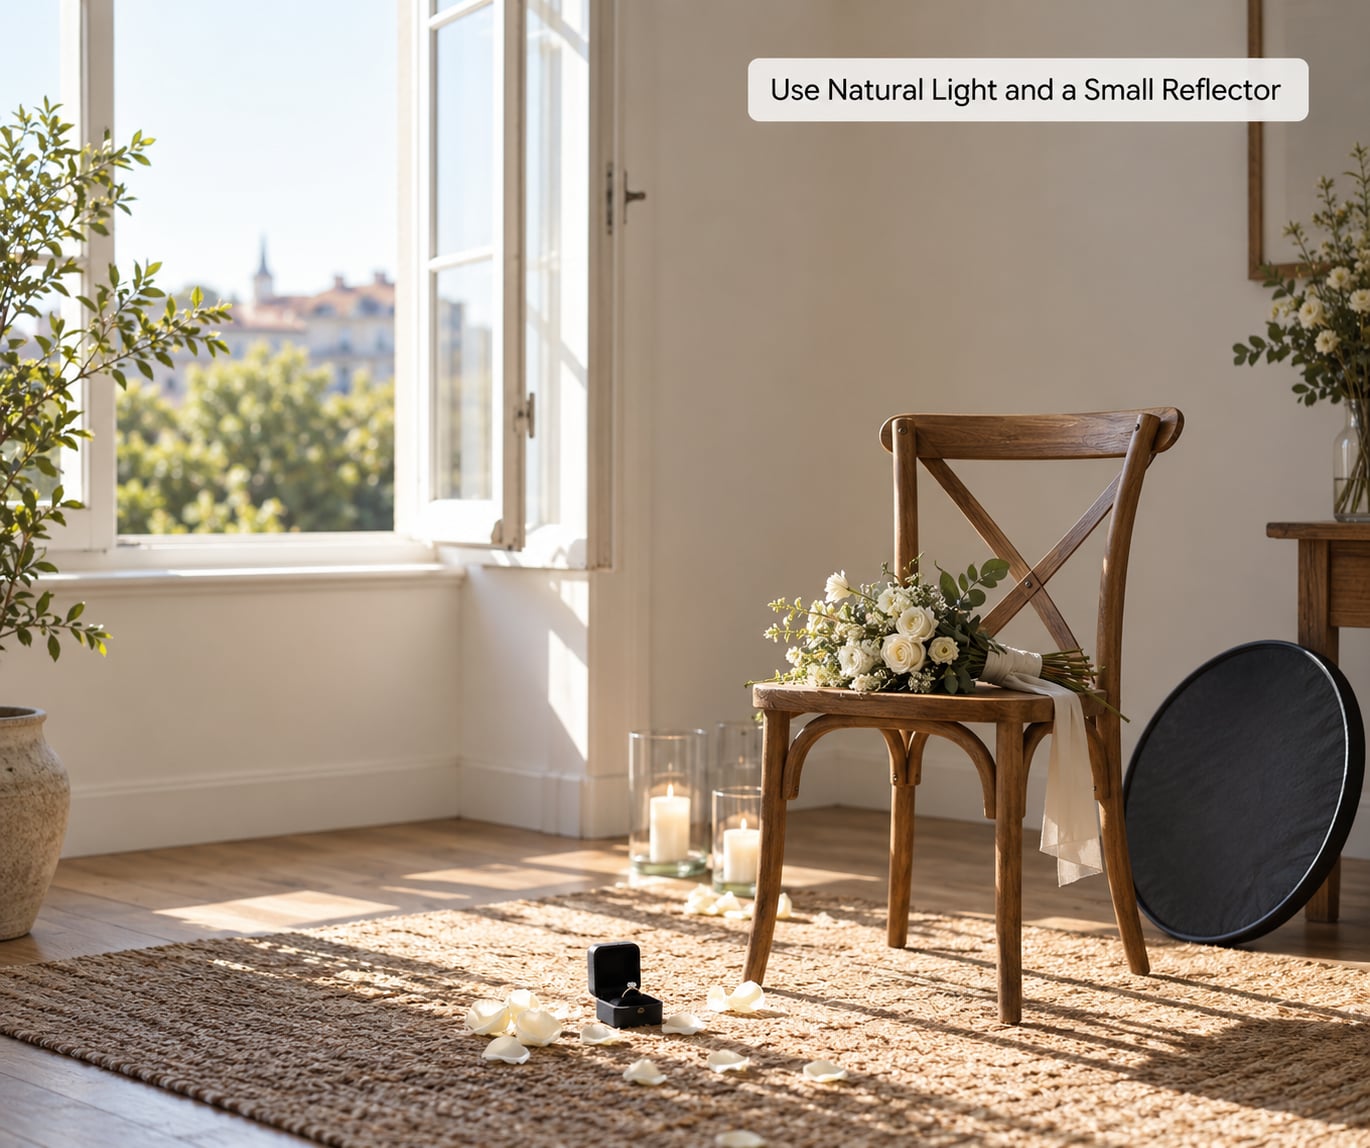
Natural light keeps you mobile and keeps the scene quiet. Position the couple near an open doorway, a large window, or out in the open with the sun behind you rather than behind them, which turns faces into flat silhouettes.
Work out the direction of the light before you commit to a position. When the light comes from the side, one face is always darker than the other, and that is where a reflector earns its place. Hold a white card low and to the shadow side for a soft lift, or a black card to deepen a face that is too flat and bright. A hand held just out of frame does the same job when you have nothing else.
Prefer the last 60 to 90 minutes before sunset. The light is low, warm and directional, faces take it well, and both partners are usually happy to stay a few minutes longer. Midday sun cuts hard shadows across the eyes, and there is no reflector fix for that.
Keep the setup invisible. A reflector held flat against your body looks like a bag. A light stand with a flash gets a waiter, a manager or an entire table staring at you within seconds.
Success check: expose for the shadow side of the face and check the highlight side on the back of the camera. If the faces are blowing out, the couple are too close to a window and you need to move them or wait.
Set the Camera for Silent, Reliable Shooting
Set everything before the couple arrive and never touch the camera again. A settings dial turn in the ten seconds before a proposal is a settings dial turn you will regret.
Raw capture gives you the exposure latitude to rescue a mixed-light frame later. Shutter speed is the setting that matters most, because focus is the one thing you cannot repair in post: a sharp image of a blurry moment is a blurry moment. Handheld shooting with a long lens needs a floor of roughly 1/500 second, and 1/250 second is a reasonable minimum in good light if you are braced.
| Setting | Starting value | Why it matters |
|---|---|---|
| File format | RAW | Recovers highlight and shadow detail from a high-contrast scene |
| Mode | Manual | Nothing changes between the wide frame and the reaction |
| Shutter speed | 1/500 second or faster | Freezes hands, movement and the ring |
| Aperture | Widest the lens allows, around f/2.8 to f/4 | Isolates the couple from a busy background |
| ISO | Raise to whatever reaches a correct exposure, ceiling around 3200 | Indoor and evening light force the trade; accept grain over blur |
| Autofocus | Continuous AF with a subject-tracking zone | Keeps tracking as the two of them turn toward each other |
| Burst | 3 to 4 frames per second | Enough to catch the peak without a card full of duplicates |
| Shutter sound | Silent or electronic | Removes the mechanical click from the audio of the moment |
| Focus assist | Back-button focus, or focus locked on a stand-in | Prevents hunting at the exact second it matters |
| Stabilization | On, unless the body is tripod-mounted | Cancels shake from a long lens at slow speeds |
Use the electronic shutter with care. It is silent, but some sensors band badly under artificial light and some rolling shutters distort fast motion, so test it in the actual venue before you commit to it. If banding shows up, fall back to a mechanical body in silent mode or accept a quieter but non-silent camera.
Success check: take a test frame of a passerby, check it on the back of the camera at full size, and confirm the faces are sharp and the noise level is acceptable. Then leave the settings alone.
Pre-Focus on the Exact Proposal Spot
Focus hunting is the most common way a proposal photograph is lost. Pre-focusing solves it before anyone is under pressure.
Ask a friend to stand on the exact spot where the partner will drop to one knee, and stand them where the other partner will be. Note the distance to the closest face, and pre-focus on the near subject. On bodies with reliable subject tracking, a tracking zone placed over the face area is more forgiving than a single locked point, because the two of them will move during the moment.
Place the camera on the correct axis, not just the correct spot. Turn the rear screen or use the viewfinder, compose the wide frame that shows context and both bodies, and take a test or two at the exposure you have set. Check that the partner who kneels does not disappear behind the other one at that angle.
Do all of this during the walkthrough or in the ten minutes before the couple arrive, and move like you are checking a message on your phone. A photographer crouching behind a planter is a photographer, regardless of how quiet the camera is.
Success check: on the test frames, both faces are sharp at final viewing size, and you can see what is behind them. If a passerby walked through your test frame, that passerby tells you the location is busier than you planned for.
Capture the Reaction Without Interrupting It
The reaction is the photograph. The moment of the question is a formality, and the seconds after the answer are the ones the couple will want framed on their wall.
Fire on the signal, or a beat after it if the proposal is early. Shoot the question, the answer, and then keep going at a slow 3 to 4 frames per second. Pausing between frames is better than firing flat out, because a burst of forty near-identical frames does not give you more of the moment, it only fills the card. Most photographers working these jobs report that the single best frame lands two to five seconds after the yes, when the surprise actually registers.
Stay still through all of it. Do not step closer, do not straighten up, do not shift your weight onto the other foot. Every movement pulls the eye. If you cannot see a good frame, hold the position and trust the settings you set, then reassess when the moment has passed.
Forgive yourself for missing the exact words. Nobody photographs a proposal and also catches clean audio of the question across a restaurant. The frames are the deliverable.
Success check: you can describe what you shot without looking at the back of the camera, and you never moved before the couple separated.
Make the Follow-Up Shots Feel Natural
Stay in the lens through the reaction and the first hug, then lower the camera. Introduce yourself in the first thirty seconds, while the emotion is still high, and be specific about who you are and who asked you to be there.
Offer a wide establishing frame with the location in it, then a closer emotional portrait. Two or three frames get the couple what they came for. Resist building a full engagement session on the spot unless they ask for it; a styled session the following week is a better experience, and it is the standard shape of this kind of work.
Ask before photographing anything private. Rings on a table at close range, a note, a phone screen, an unexpected detail like an uneven manicure that morning, all of it needs permission. Be equally clear about image usage: nothing goes on social media before the couple posts, and nothing goes out at all if they say no.
Stop when the limits you agreed are reached. The moment was theirs, and the best exit is a calm one.
Going Solo With a Phone, a Tripod and a Shutter Button
Not every proposal needs a professional, and plenty of couples self-shoot successfully. The setup is simple: a phone on a small tripod, positioned and framed before the partner arrives, plus a Bluetooth shutter button with its own battery. A stranger with a phone is an acceptable backup, and plenty of couples take only a few photos immediately after the yes rather than trying to capture the moment itself.
The limitation is worth being honest about. A fixed tripod cannot track a couple who walk, and a phone at arm’s length is visible. If you want the moment itself, a second person holding a phone behind a menu or a jacket, steady, silent and set to burst, gets you closer than the tripod does.
Lock the phone in portrait or landscape, disable notifications, set it to capture a burst, and test the Bluetooth button from both sides of the table before the moment. Then put the phone down and watch, because the photographs after the yes are the ones worth having.
Common Mistakes
Most failed proposal shots trace back to one of seven errors, and all of them are avoidable at the planning stage.
Shooting without consent. A surprise does not override someone’s privacy, and in a public space a stranger photographing a couple unasked is genuinely unsettling. Get permission from the partner who arranged it and set the boundaries in advance.
Holding a phone or a camera in your hand. Hands move, arms get tired, and a raised phone is visible from across a room. Support the camera on something, or brace it against a solid edge at chest height.
Running a shutter speed that is too slow. A 1/60 second setting will produce a soft frame for a body that drops to one knee. Buy sharpness with ISO if you have to.
Standing in the sightline. The moment the partner receiving the proposal glances up, the surprise is gone and the photograph is of two people being polite. Move, even if it costs you the angle.
Choosing flattering settings over reliable ones. Underexposing by a third of a stop is easy to fix. Out-of-focus or motion-blurred is not. Set for the moment, style it afterwards.
Over-shooting. Firing continuously through the whole celebration produces hundreds of near-duplicates and locks your buffer for seconds at a time. Slow bursts give you cleaner files and a card you can actually sort.
Forgetting to agree on image usage. The couple owns the photographs, and posting before they do is a common source of real complaints. Agree on the embargo, or simply do not post until they send something first.
Two more that catch people out: changing lenses mid-moment, which guarantees a missed frame and an obvious noise, and walking away from the lens the instant after the yes, which is usually where the second-best frame lives.
Frequently Asked Questions
Do I need the other partner’s permission before photographing a surprise proposal?
You need permission from the partner who arranged the proposal, and you need to agree on the surprise boundaries with them in advance. The partner being proposed to is not given the chance to say no, which is exactly why the arrangement has to be made thoughtfully beforehand: what stays secret, who else knows, whether the images get shared, and when they are shown. If anyone in the group objects once they understand what is happening, respect that and step back.
Should I use a hidden camera or let the couple know I will be there?
Let the couple know, as far as the surprise allows. The person proposing knows and has authorised you; the other partner does not, which is the whole point. There is no need for a concealed camera, and a hidden one is harder to aim, worse for the photographs and far more likely to make somebody uncomfortable. Hide yourself in plain sight with a long lens and a plausible reason for being there, rather than hiding behind scenery.
What is the best camera or phone setup for discreet proposal photography?
A compact or mirrorless body with a 70-200mm class telephoto, silent shutter enabled, RAW capture, continuous autofocus and a burst rate around 3 to 4 frames per second. Distance plus a long lens is what makes you invisible; the settings are what make the frame usable. A phone works as a backup or for a tripod-based wide shot, but a fixed phone cannot track a couple who move, so its value is the frames after the yes.
How many photos should I take during the proposal itself?
Shoot the question, the answer, and about ten to fifteen seconds of the reaction, at a slow burst. That usually means 40 to 80 frames, far fewer than firing flat out, which mostly produces duplicates and fills your buffer. Stay in the lens until the couple separate, then stop. The frame you want most often arrives two to five seconds after the yes, so the tail of the reaction matters more than the first second.
Should I photograph the ring being presented or placed on a finger?
Both, if you can, but the moment of the question matters more than a close-up of metal. Ask permission before shooting any close detail like a ring on a table, inside a box, or on a hand, and get it before the ring comes out, not in the middle of the moment. Detail shots are easy to add in the two minutes after the yes, and you can control the background for them in a way you cannot during the reaction.
What should I do if the couple changes locations before proposing?
That is why you scouted more than one position. Move early, not during, since crossing a space with a camera in hand is what gets you noticed. Send a short message to the partner who arranged it, keep the same settings, and re-establish focus and framing from wherever you now stand. If there is genuinely no workable position, stay with the pair at a longer distance rather than closing in, because an out-of-focus frame is recoverable and a blown surprise is not.
Conclusion
Secure informed consent first. Talk to the partner who arranged it, agree exactly what stays secret, what you may photograph, and when the images are shown, then set a signal and a recognition method. Everything after that is preparation: scout two or three positions, set the camera in manual with a fast shutter and continuous autofocus, pre-focus on the exact spot, and test the silent shutter in the real light.
When the moment comes, stay still, fire slowly, and keep the lens up through the reaction. How to photograph a proposal discreetly comes down to the paperwork you did beforehand, not anything clever you do in the moment.