Learning how to shoot portraits on a crop sensor camera is mostly about framing, working distance and light, not about chasing a bigger sensor. Put the camera in Aperture Priority, open the aperture to f/1.8 or f/2.8, hold the shutter at 1/250s or faster, let Auto ISO handle the rest, and focus on the nearest eye. The 1.5x or 1.6x crop factor narrows your angle of view, and that is the only thing it changes. Below is a full workflow you can follow start to finish.
Table of Contents
- What You Need to Shoot Portraits on a Crop Sensor Camera
- Step-by-Step
- 1. Plan the portrait around the crop-sensor format
- 2. Choose a lens that suits the distance to your subject
- 3. Set the exposure for reliable skin tones
- 4. Focus precisely on the important feature
- 5. Use simple, directional light
- 6. Direct the pose, expression, and background
- 7. Review, refine, and export the portrait
- Common Mistakes
- Frequently Asked Questions
- What aperture should I use for portraits on a crop sensor camera?
- Are crop sensor cameras good enough for professional portrait photography?
- Is an 85mm lens too tight on a crop sensor camera?
- Should I use eye autofocus for every portrait?
- How can I get more background blur with an APS-C camera?
- What are the best settings for portraits indoors?
- Conclusion
What You Need to Shoot Portraits on a Crop Sensor Camera
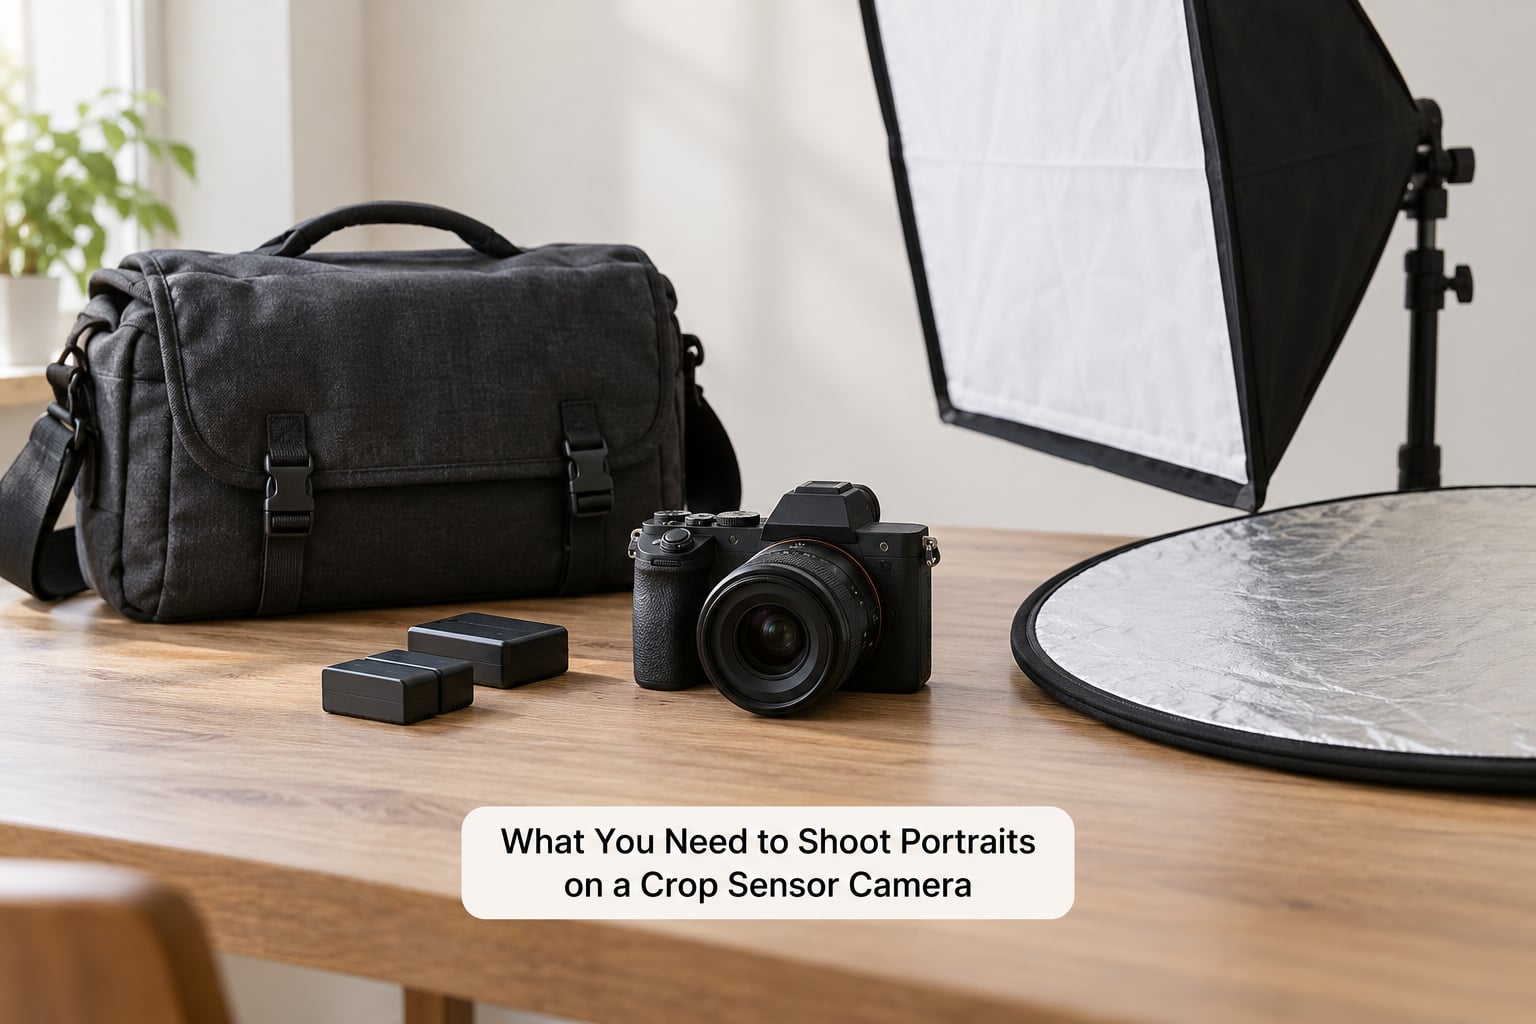
Five things decide whether a portrait session works: a body, a lens that can get you close enough, light you can control, a subject who knows what you want, and an editing routine you actually follow. Any one of them missing shows up in the file.
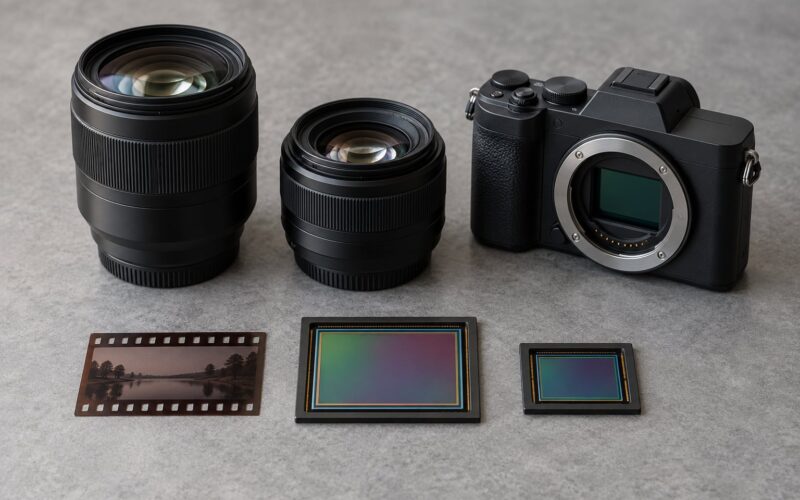
A crop sensor body is any APS-C or Canon EOS-R camera. Nikon DX, Sony E APS-C, Fujifilm X and Pentax K bodies use a 1.5x multiplier, Canon uses 1.6x. Everything else in your kit works normally once the framing is right.
Gear
- A body with a usable autofocus system. Recent APS-C bodies have reliable eye detection, which removes most of the guesswork from a portrait shoot.
- A fast prime. A 35mm f/1.8 or 50mm f/1.8 covers most situations. A short telephoto such as an 85mm f/1.8 gives you working distance, which is the real reason portrait photographers reach for longer glass.
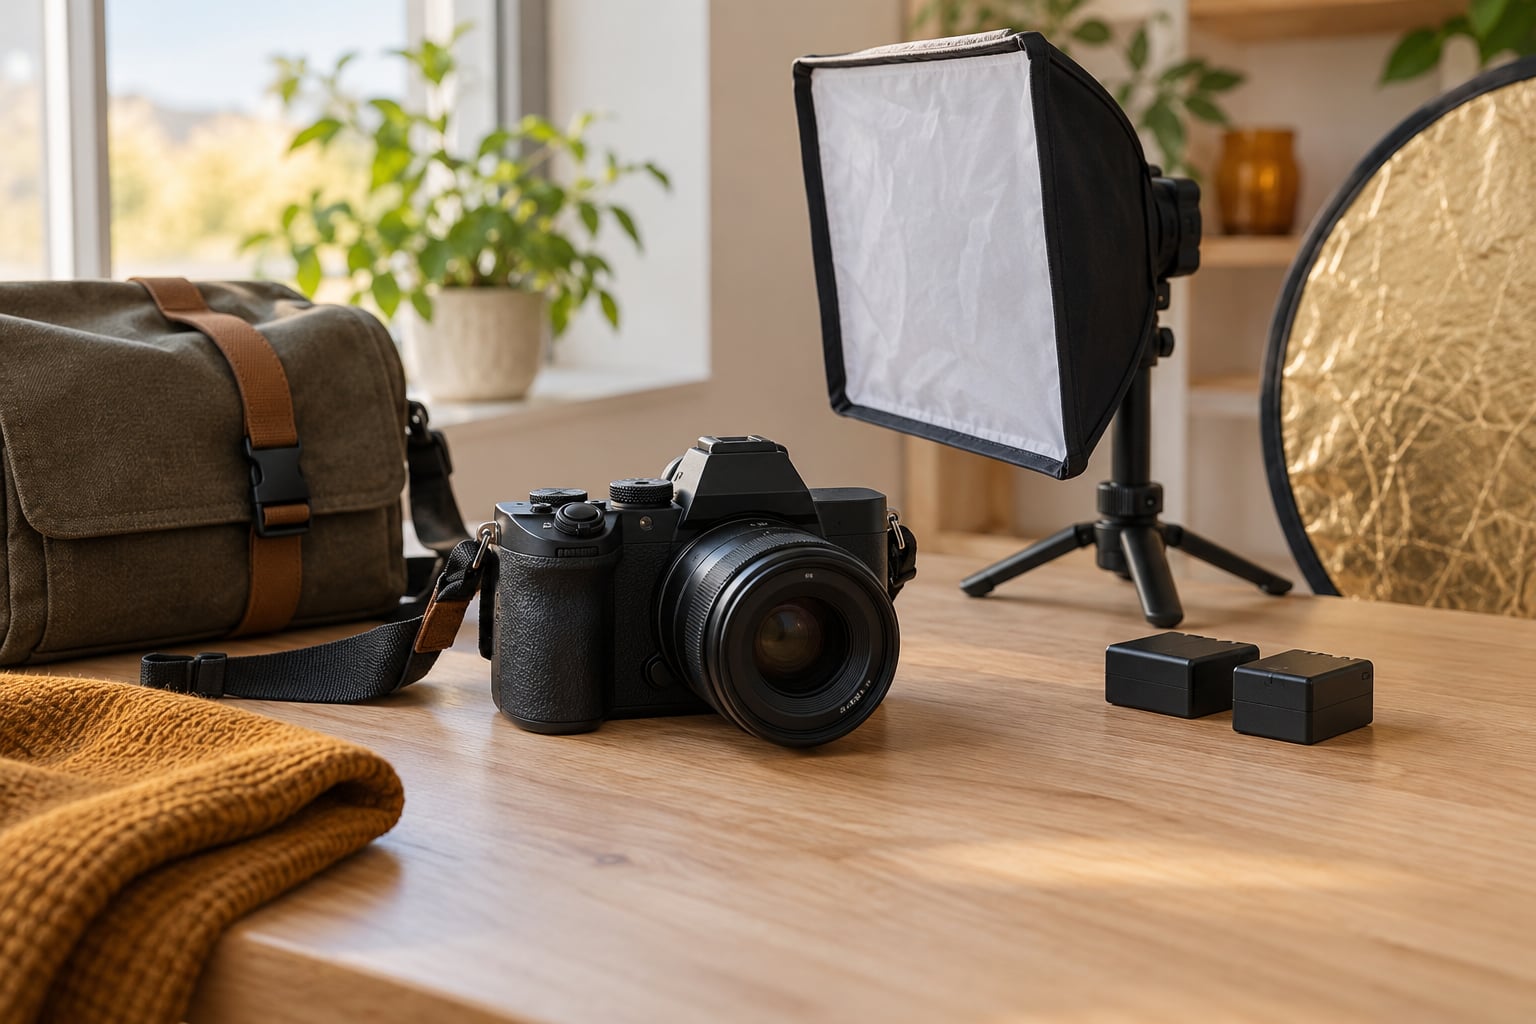
- Spare batteries and a card you trust. Nothing derails a session faster than a dead battery mid-roll.
Light
You do not need strobes to start. A window, an open doorway, a white wall opposite a shaded face, or a bed sheet diffusing sunlight will carry you a long way. A reflector or a cheap white foam board fills the shadow side so the face is not split by contrast.
Subject preparation
Tell your subject what you are shooting before you lift the camera. Tell them the lens, roughly how close you will be, and what kind of pictures you want back. Ten seconds of that conversation removes most of the stiffness you would otherwise spend twenty minutes directing away.
Editing
Shoot RAW. A RAW file from a crop sensor holds the same highlight and shadow information as a RAW file from a full-frame body at the same exposure, and it gives you far more room to fix a mixed lighting situation later. Any general photo editor will do.
Step-by-Step
1. Plan the portrait around the crop-sensor format
Start by deciding the angle of view you want, not the focal length you think you need. Because the sensor records only the centre of the image circle your lens projects, a 50mm on a 1.5x body frames a head and shoulders tighter than the same lens on full frame, roughly like an 85mm would.
What has not changed is perspective. Perspective is set entirely by where the camera stands relative to the face. Stand in the same spot with the same framing and you get the same perspective on any sensor.
Place the subject’s eyes on a third of the frame, not dead centre, and leave room in front of the direction they are looking. A successful frame has the eyes sharp, the head not jammed against an edge, and background detail that does not fight the face.
2. Choose a lens that suits the distance to your subject
Working distance is what matters. A longer lens lets you stand further back, which flatters the face and keeps a conversational distance, but it also tightens your framing and shrinks your depth of field.
On a 1.5x body (Nikon, Sony, Fujifilm, Pentax), a 1.6x body (Canon), here is what the common primes actually frame:
- 35mm frames like a 53mm equivalent at 1.5x or 56mm at 1.6x. Best for environmental portraits and tight indoor spaces.
- 50mm frames like a 75mm equivalent at 1.5x or 80mm at 1.6x. This is the classic head-and-shoulders look on a crop body.
- 85mm frames like a 128mm equivalent at 1.5x or 136mm at 1.6x. Maximum working distance and the shallowest focus of the three.
An 85mm on a crop body is not too tight. It is the equivalent of a 135mm on full frame, which is a working portrait lens. If it feels too tight, you have two options: step back and accept a wider frame, or shoot the same way and crop a wider lens to match. Experienced photographers on photography forums make exactly that point: a 35mm cropped to the angle of view of a 50mm gives you a very similar image, minus the resolution and edge quality you throw away by cropping.
Full-frame lenses mount on most crop bodies and work fine. You will lose some corner resolution and see mild vignetting on fast wide-angle primes, because the sensor is only using the middle of the image circle. Budget for that, or use a lens designed for the smaller sensor.
3. Set the exposure for reliable skin tones
Switch to Aperture Priority (A or Av) and pick the widest aperture your lens offers without the edges falling apart. f/1.8 to f/2.8 is the usual working range. Then check the shutter speed the camera chooses and set a floor of 1/250s, or 1/125s for a still subject.
If the camera is picking a slow shutter, open the aperture further or raise the ISO. Skin tolerates a moderately bright ISO far better than a blurry frame.
Watch the histogram and the highlight warning on the face, not the background. A backlit subject can leave the background clipped white and still give you a perfect portrait if you expose for the skin and recover the background in post. Protect facial highlights: they are the one thing you cannot rebuild from a clipped file.
Use exposure compensation whenever the meter disagrees with the look you want. Negative compensation of about minus one third to two thirds of a stop keeps a white shirt or a pale face from going flat and lifeless.
4. Focus precisely on the important feature
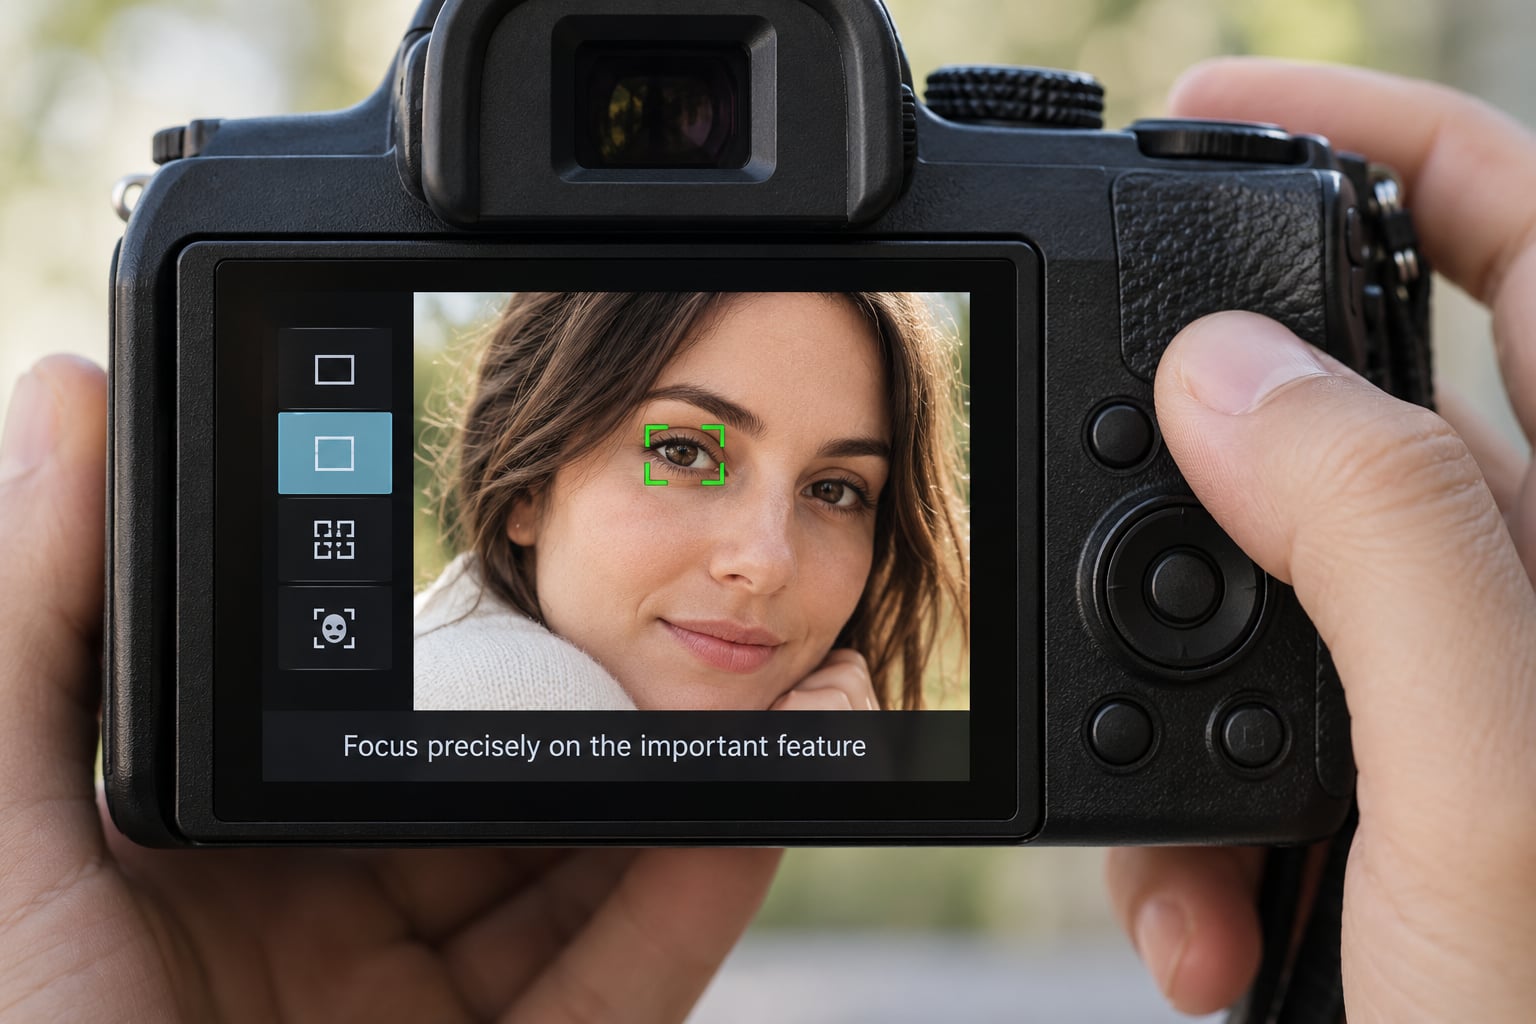
For portraits, the near eye is the feature that has to be sharp. Everything else can fall away slightly, but a soft iris ruins the frame.
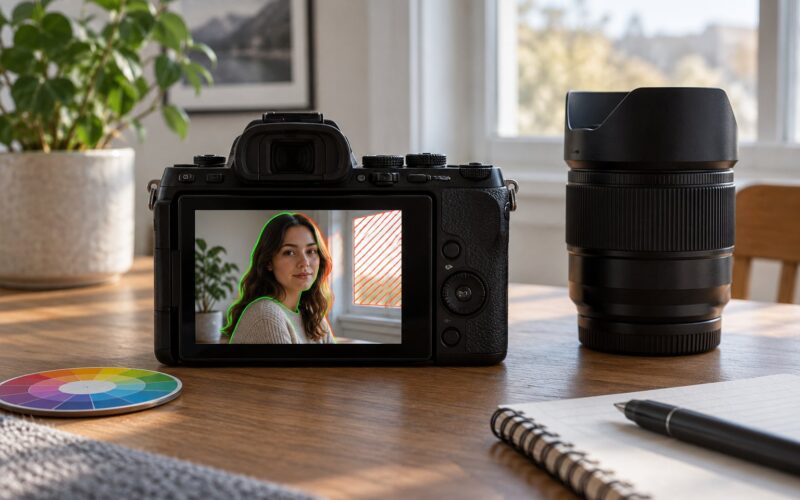
Turn on face or eye detection and make sure it is set to detect the nearer eye, not the one further from the camera. Let the camera track the subject through a small movement, then confirm sharpness by zooming into the iris on the rear screen before you commit to a burst.
Single-point AF works too. Pick the point that sits on the near eye, place it there yourself, and shoot. Manual focus is a good fallback for a subject who holds very still in low light, where autofocus hunting is more likely than it is in daylight.
I judge focus by looking at the rear screen at full size, every time, before the camera comes down. Ten seconds of checking saves a session.
You know focus is right when the eyelashes nearest the iris show a clean edge at 100 percent. If the whole eye is soft while the rest of the frame looks fine, you focused on the eyebrow or the bridge of the nose.
5. Use simple, directional light
One light source at a 45-degree angle to the face gives you shape. Put it slightly above eye level and the shadows under the cheekbones and nose add structure instead of flattening the face.
Avoid direct midday sun on the face. It drops the subject into harsh contrast, makes them squint, and puts every skin blemish in relief. Open shade under a building overhang or a tree line is usually the most flattering outdoor light there is, and it lasts much longer than golden hour.
For window light indoors, put your subject a metre or two back from the glass and turn them about 45 degrees toward it. The window becomes a giant softbox, and a white card on the shadow side keeps the dark half of the face from going muddy.
Finally, check the background brightness before you shoot. A face lit correctly against a background two stops brighter will always look pasted on, so either expose for the background slightly or move your subject until the tones sit closer together.
6. Direct the pose, expression, and background
Direction works better than silence. Give the subject something to do: turn the head a few degrees off the lens, angle the shoulders away, bring the hands into the frame, or ask them to look at a person just behind the camera.
Hands are where poses fail. Ask for one hand on a hip or in a pocket, or both hands visible and relaxed. Then push the shoulders down and back, because tension travels straight into the jaw and the expression reads as nervous.
For expression, give the subject a small task between frames. Shifting weight onto the back foot, or repeating a phrase that makes them laugh, will produce something you could not have directed into place.
Simplify the background by moving, not by zooming. Change the angle so a doorway, a wall or a hedge sits behind the head rather than a road sign or a tangle of branches. A step forward or sideways is usually enough.
7. Review, refine, and export the portrait
Work through the edit in a fixed order so results stay consistent. Crop first, because cropping changes how the image reads. Then set white balance, then exposure, then the local adjustments on the face, and sharpen last.
On crop-sensor files shot at high ISO, colour noise reduction applied lightly to the blue and green channels keeps skin from looking blotchy, and it costs very little detail if you keep the luminance noise reduction low.
Keep the sharpening mask on the eyes, hair and clothing texture rather than the skin. Export a full-size file for print or delivery, and a smaller sRGB JPEG for anything posted on the web.
One habit worth building: write down the settings that produced your favourite frame from a session. Focal length, aperture, shutter, ISO and distance are five minutes of note-taking, and they make the next session faster.
Common Mistakes
Treating a 50mm as a 75mm. The lens is still 50mm and the perspective is unchanged; only the field of view is narrower. The fix is to stop worrying about the number and check the framing in the viewfinder. What you see there is what matters, which is exactly what working photographers say when the equivalence argument comes up.
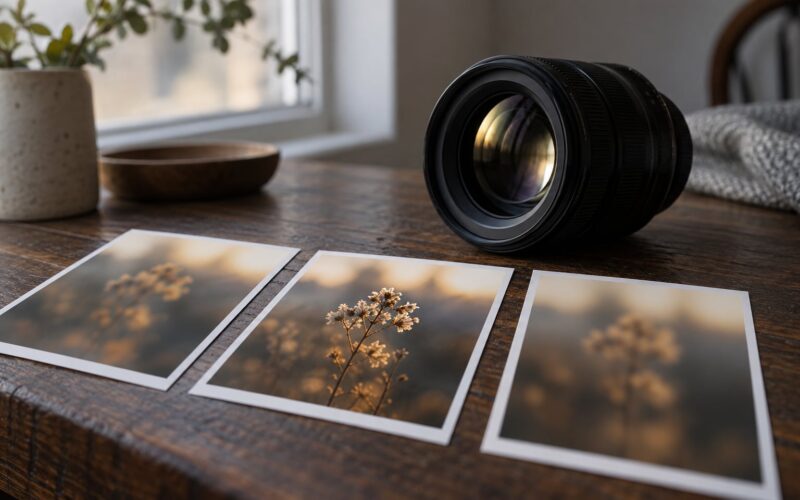
Stopping down to f/5.6 or f/8 for a “professional” look. You gain depth of field and lose subject separation, which was the whole point of the shot. The fix: open up and move closer instead, which keeps the blur and adds back the depth of field at the same framing.
Choosing a narrow field of view at random. An 85mm on a 1.6x Canon body frames about like a 136mm lens, which leaves very little room for an environmental portrait. The fix: decide head and shoulders or full length first, then pick the focal length to match.
Focusing on the forehead or the chest. The fix: turn on eye detection, set it to the near eye, and zoom in to verify before shooting. Face detection set to auto-switching can jump to the far eye, so check the indicator.
Mixing light sources. A subject lit by window light and shaded by street lighting ends up with colour that splits across the face. The fix: switch to one light, or set a manual white balance and accept the colour shift rather than fighting it.
Editing skin into plastic. Heavy texture removal, over-smoothed noise reduction and a heavy clarity slider will flatten a face faster than a bad lens will. The fix: reduce texture to about 40, apply colour noise reduction lightly, and leave the pores alone.
A few tips that pay off on every shoot: shoot more frames than you think you need, review the focus at full size before you lower the camera, and move your subject rather than your lens whenever the background fights the portrait.
Frequently Asked Questions
What aperture should I use for portraits on a crop sensor camera?
Start at the widest aperture your lens holds sharp, usually f/1.8 or f/2.8, and only stop down when you need more of the face and shoulders in focus. A crop sensor has less absolute depth of field than full frame at the same framing, so wide apertures matter more, not less. If the edges of the frame look soft at full aperture, try one stop less wide.
Are crop sensor cameras good enough for professional portrait photography?
Yes. A modern APS-C or Canon EOS-R body produces files that print large and hold up to heavy cropping, and the difference from full frame is mostly visible in high-ISO noise and absolute background blur at wide apertures. For client headshots, events and travel portraits, lighting, direction and focus matter far more than sensor size. Upgrade only if low-light work is most of your week.
Is an 85mm lens too tight on a crop sensor camera?
It is tight but entirely usable. An 85mm on a 1.5x body frames about like a 128mm lens on full frame, and on a 1.6x Canon body like a 136mm. That is a normal working portrait distance and flattering for head and shoulders. It becomes awkward for environmental portraits, so pick a wider frame deliberately rather than backing up and hoping.
Should I use eye autofocus for every portrait?
Most of the time, yes, particularly when your subject is moving or talking. Set detection to the nearer eye so focus does not jump across the face, and verify sharpness on the rear screen at full magnification before you shoot. Manual focus is worth it for a very still subject in dim light, where autofocus hunting is more likely.
How can I get more background blur with an APS-C camera?
Get closer, open the aperture, and shoot a longer lens from further back. All three reduce the background blur on any sensor. A practical trick on a crop body: frame with a wider lens and crop the shot afterwards to the framing you wanted, which restores roughly the same depth of field as the longer lens would have given you.
What are the best settings for portraits indoors?
Use Aperture Priority at f/1.8 or f/2.8, a minimum shutter of 1/250s, and Auto ISO with a ceiling you are comfortable reviewing. Near a window you can often stay at ISO 400 or below. In a dim room you will climb, and that is where stabilisation, a fast lens and careful denoising in post earn their place.
Conclusion
Three things to do first. Pick a lens that suits the distance you want to stand from your subject, and check the framing in the viewfinder rather than a focal length calculation. Set a safe exposure baseline in Aperture Priority: f/1.8 to f/2.8, 1/250s or faster, Auto ISO, exposure compensation as needed to protect the skin.
Then commit to one autofocus approach for the whole session, set to the near eye, and check sharpness at full size before you lower the camera. Everything after that is direction and light. Once those three habits are automatic, learning how to shoot portraits on a crop sensor camera stops being a technical problem and becomes the photography itself.