Learning how to photograph a single parent family session comes down to one thing: the session runs on one adult’s energy, not two. So your plan has to account for who holds the baby, who gets the next snack, and what the parent actually wants to remember about this stage of the family. Here is the workflow I use, from the first pre-session message through delivery, with the posing and lighting detail included.
The biggest shift from a two-parent session is logistical. With a second adult you can hand off a child. Without one, you are asking one person to be parent, wrangler, and model at the same time, and if you forget that, the session collapses into chaos by minute twenty.
Give yourself about three to five weeks of planning before the session date, and expect 45 to 60 minutes on the day. Longer sessions wear a single parent down rather than helping them.
Table of Contents
- What You Need
- How to Photograph a Single Parent Family Session Step by Step
- 1. Learn What Each Family Member Enjoys
- 2. Choose a Low-Stress Location and Schedule
- 3. Build a Flexible Shot List
- 4. Start with Play, Not Poses
- 5. How to Photograph a Single Parent Family Session with Natural Poses
- One child
- Two or more children
- Teens and adult children
- Poses that need no smiles
- 6. Direct Without Taking Over
- 7. Work with Changing Light and Energy
- 8. Create Calmer Images and Follow Up
- Common Mistakes
- Frequently Asked Questions
- How do you pose a single parent with young children?
- How long should a single parent family photo session be?
- What if the children do not want to cooperate with the photographer?
- Should a single parent family session be photographed at home or outdoors?
- How do you photograph a family with one child?
- How many finished photos should a family session include?
What You Need
A single parent session needs less gear than you might think, because the priority is being mobile and unobtrusive rather than fast.
Camera and lens
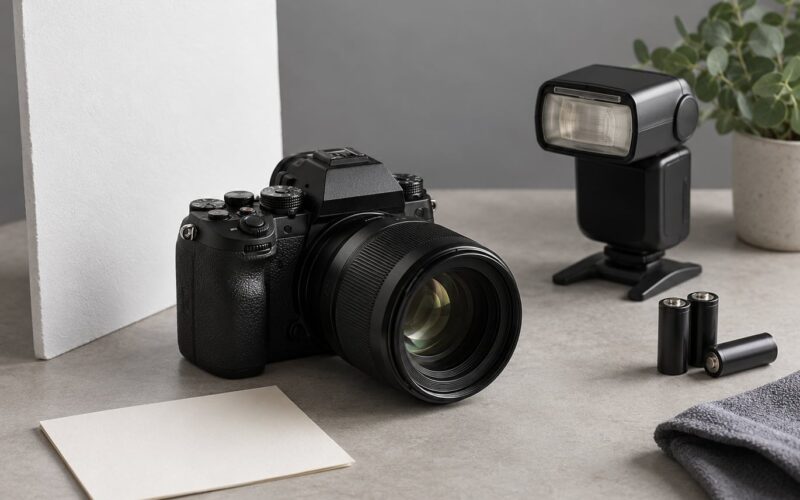
A camera with reliable autofocus and a lens in the 35mm to 85mm range covers almost everything. A 35 or 50mm keeps you close and unfussy; an 85mm gives you breathing room in a small home, which matters more than the flattering compression. I shoot most of these at f/2.8 to f/4 so two children can be sharp even when they drift apart.
Bring a second body or a backup battery. A single parent has no way to pause and reset the session if your camera dies mid-frame.
Light
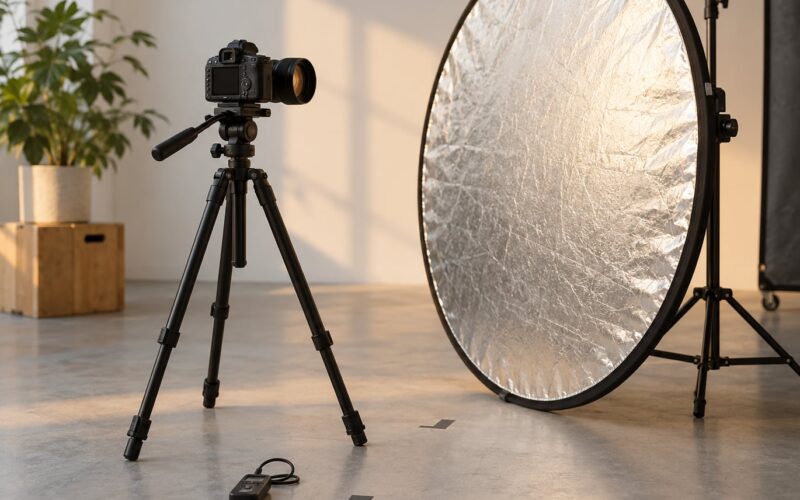
Bring a small on-camera or off-camera flash with a diffuser, and a reflector. Flash is not a backup plan, it is how you make a dim living room work. Diffused flash bounced off a ceiling gives you an even wash that looks nothing like the harsh on-camera look families fear.
Window light is your other option. Ask the parent to stand near the largest window but not directly in front of it, and turn their body about 45 degrees so the light falls across the face instead of flattening it.
Activity kit
Pack a small bag with two non-mess snacks, water, a favourite toy, a board book for younger children, and a backup outfit. Snacks solve more problems than any camera setting. A hungry four-year-old will not pose for anything.
That kit is what saves a solo-parent session more often than any camera setting does: food, a toy, and a planned break point.
Timing and communication
You need the school timetable, nap times, meal times, work shifts, and any custody or co-parenting constraints on dates. Single parents are often juggling childcare and employment on their own, so a session at 4:15pm on a Tuesday may be the only realistic slot.
A short pre-session questionnaire sent at least a week ahead does more work than anything you say on the day. It also gives you a written record of what was agreed.
Planning tools
Keep three things written down before you arrive: the shot list, the location light map, and the fallback plan. Memory is unreliable when a toddler is having a meltdown at minute fifteen.
How to Photograph a Single Parent Family Session Step by Step
1. Learn What Each Family Member Enjoys
Before you talk about light, talk about people. Ask the parent what each child does when they are relaxed: the song they dance to, the toy they cannot put down, the person they hide behind. Those details become your prompts later, when you need something to say.
Ask directly about sensitivities. A child may be uneasy after a separation, or the parent may not want images of a particular room, or a teenager may have opinions they have not shared yet. It costs you one message to ask and a lot of goodwill to guess wrong.
Note ages and attention spans honestly. A two-year-old gives you roughly ten minutes of cooperation, a seven-year-old maybe thirty, and a teenager responds to being treated as an adult rather than a subject. Write the answers down in the order they matter.
Finish by asking what they want the images to feel like. Calm and connected, or laughing and messy? That answer sets your whole shot list, and it also tells you when to stop.
2. Choose a Low-Stress Location and Schedule
Where you shoot changes how long the family lasts. In-home sessions win on comfort, cost, and logistics because nobody has to travel with three kids and a gear bag. The trade is light and clutter.
Outdoors gives you better light and more room to move, but it adds weather risk and travel fatigue. Studio is predictable and controlled, though many single parents find a formal studio environment puts their guard up.
Whichever you pick, ask the parent to send you photos of the space or visit it beforehand. For an in-home session, ask them to watch where the light falls through the day and note the brightest room and time. That single exercise saves you an hour of setup. Nailing down space, light and daily rhythm beforehand is most of how to photograph a single parent family session without the day slipping.
Schedule around the family’s real rhythm, not your availability. After a nap for toddlers, after a snack rather than before one, and never right after a long travel or an early wake-up. Plan a finish time and tell the parent what it is, because a session with a known end is easier to get through.
Have a backup plan: an indoor corner of the same home, a nearby covered area, or a reschedule clause in your contract for weather. Write the co-parenting side down too, if the other parent needs to approve a location or date.
3. Build a Flexible Shot List
A shot list for a single parent session should be short enough to memorise and flexible enough to abandon. I aim for six to nine core frames plus a candid thread, and I order them so the easiest, highest-success frames come first.
Start with the combinations that always work: parent and youngest child close, parent and each older child separately, then the full group. Once you have those, you can experiment.
Include a few frames that only work when everyone is already relaxed, such as walking toward camera or reading together. Put those second, not first.
Add detail shots: a hand in a hand, small shoes on the floor, the parent straightening a collar. These give you an edit with texture and they cost the family nothing in energy.
Finally, decide your showstopper. Every list needs one ambitious frame, and you make it last so a tired child never has to do it. The rest of the list has to survive without it.
4. Start with Play, Not Poses
The first ten minutes decide the session. Walk in, keep the camera low or holstered, and let the children show you what they do. Most good frames come from this observation period, before anyone is told to stand anywhere.
Ask the parent about a toy, a song, or a silly question and let them play while you shoot from the edge of the group. Movement-based prompting works better than static direction here, because nothing has to hold still.
Once the children are absorbed, you can start giving direction without breaking the spell. Keep your voice conversational and your instructions to one idea at a time. A photographer who narrates four things at once gets none of them.
Watch for the moment they start to lose interest. That is your signal to shoot the rest of the list quickly and deliberately rather than pushing on.
5. How to Photograph a Single Parent Family Session with Natural Poses
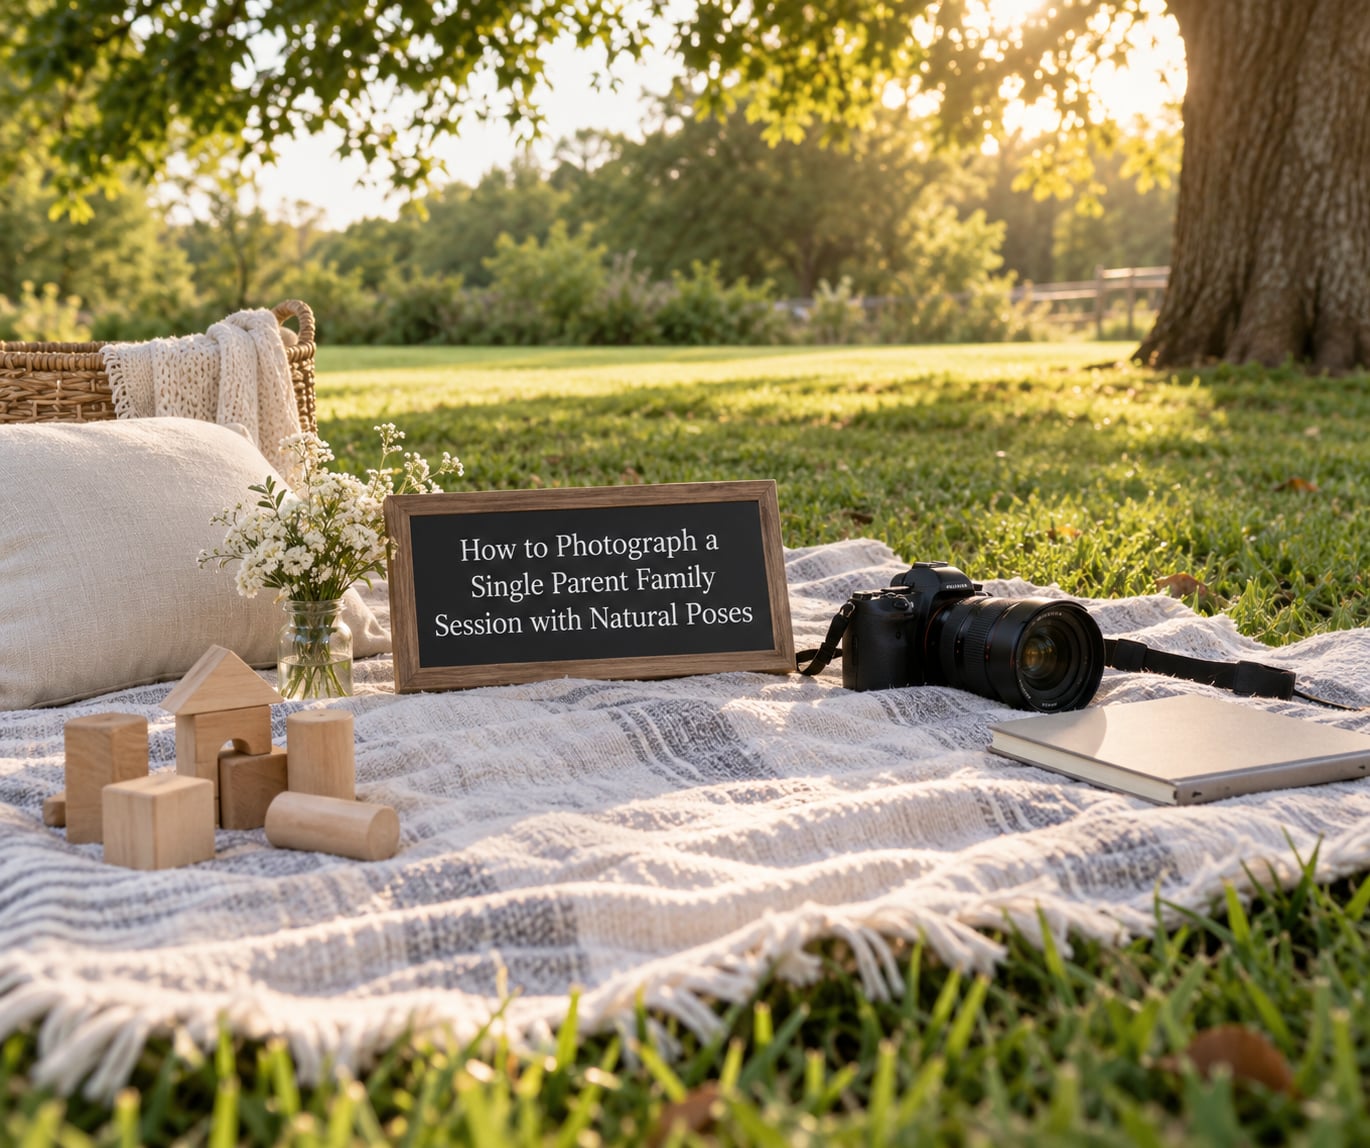
The point of natural posing is that the body is doing something, not holding a shape. Movement gives you mid-blink, real hands, and a face that is actually attending to something.
One child
The easiest configuration, so spend less time on it. Use the shoulder ride, the cheek press, the shared book, the nose-to-nose stand, and the walk-and-talk. With a newborn, you are not posing anyone: you are composing around the parent’s arms, the baby’s shape, and the light. Shoot from low and slightly behind the parent’s shoulder so the baby reads clearly.
Two or more children
Grouping gets harder, so anchor the youngest child to the parent and add children one at a time. Walk toward camera with the parent leading and the others trailing, stacked shoulders, the lift-and-spin with an older child, and the shared-blanket cluster all survive more energy than a formal line-up.
If two children will not cooperate together, do not fight it. Shoot them separately, then build the together images later in the edit with crops from a wider frame.
Teens and adult children
Teens respond to editorial direction, not cheerful instructions. Give them a specific brief, such as hands in pockets, and let them drift into the frame. Adult children work well with a walk, a coffee, or a seated conversation you stage but do not over-control.
Poses that need no smiles
Some of my most-used frames never involve a smile: the parent looking down at a child who is mid-laugh, two children in a whispered conversation, a hand squeezing a smaller hand, and the back-to-camera walk into open space. These work when a child is done performing.
Single dads in particular often find cheerfulness on demand uncomfortable. Movement prompts sidestep that entirely, which is another reason to keep them moving.
6. Direct Without Taking Over
Direction should be short, specific, and warm, then repeated once with the same words. Say it, let them do it, photograph it, say it again with a smile. Repeating the identical instruction makes it predictable, and predictable children comply faster.
Use small challenges instead of commands: a race to the fence, a tallest-first lineup, a slow-motion run, a puzzle on the floor, or a two-second tongue-out freeze frame. These turn direction into play without you appearing to be in charge of the fun.
Preserve imperfect moments. The stumble, the pushed sibling, the child who refuses to smile on cue but is laughing at something else entirely, those frames usually become the ones printed on canvas. Do not stop the session to correct a child; keep shooting and let the reset happen on its own.
When energy dips, shorten your ask rather than raising it. Thirty seconds of a simple pose beats five minutes of negotiation, and a session that stays short stays warm.
7. Work with Changing Light and Energy
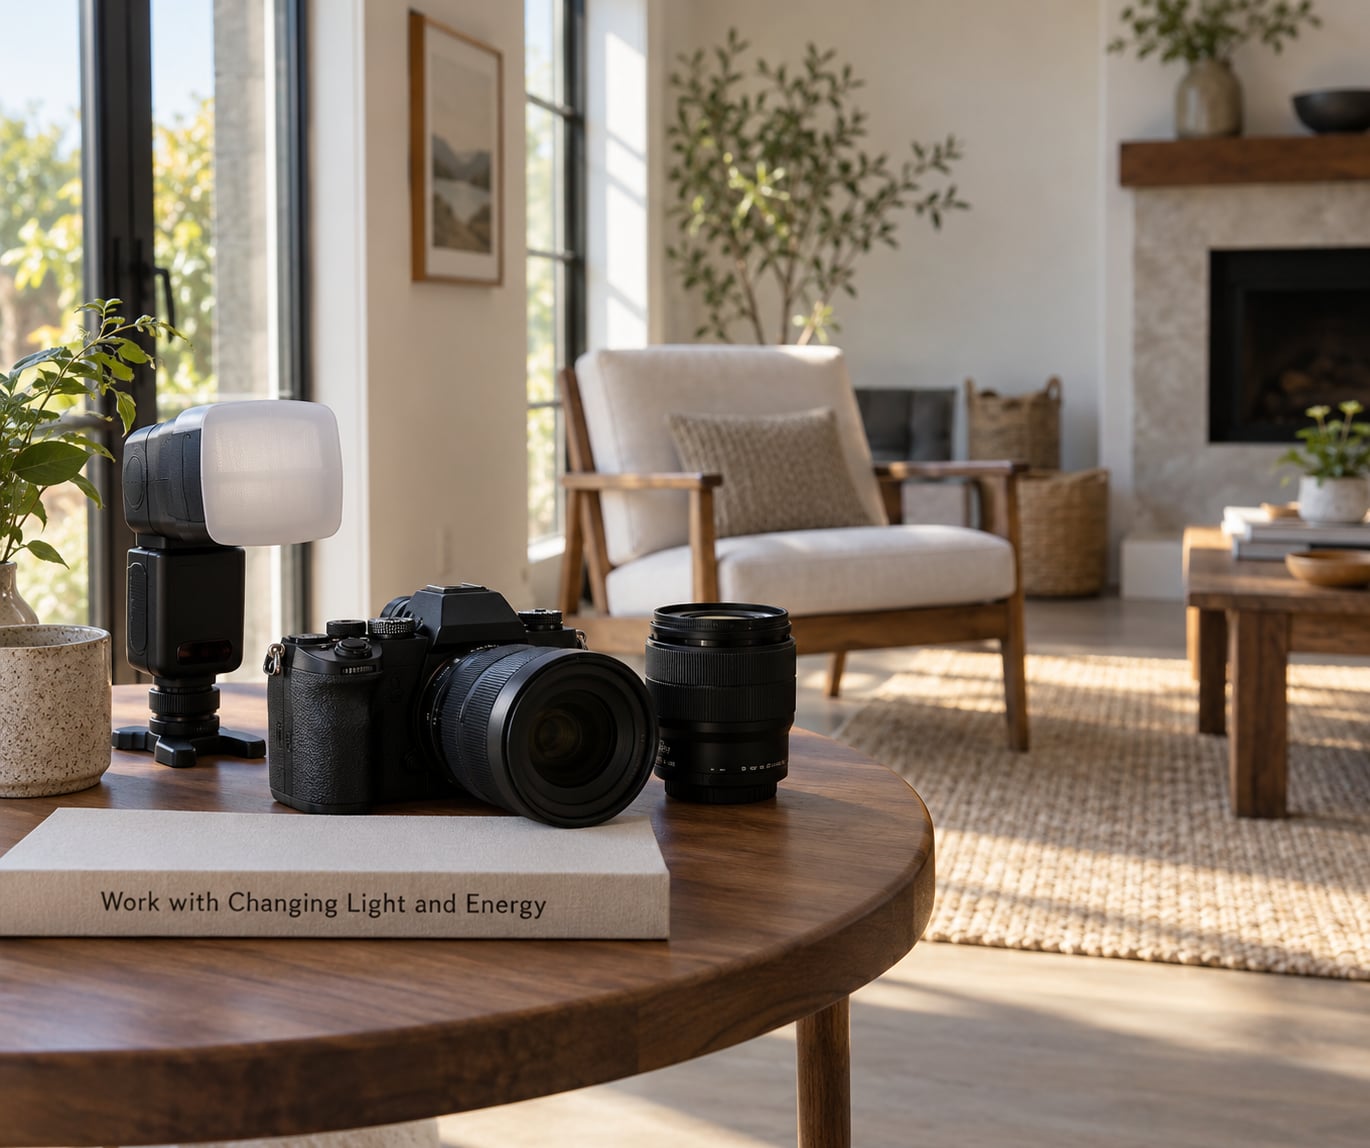
A single parent session will move between a bright kitchen and a dim living room in ten minutes, often without warning. Plan settings you can shift in one movement.
For an outdoor golden-hour session, start at f/2.8 to f/4, 1/500s or faster, and ISO 100, then raise the ISO as the light fades. Keep the shutter fast enough that a running child stays sharp. Meter for the faces and let the background fall where it falls.
For window-lit interiors, use a similar aperture, keep ISO low while you can, and set white balance to roughly 5000K for a neutral indoor look rather than fighting the warmth. Position the family so the window is behind and to one side of you, not behind the subject.
For a dim living room, diffused flash is your fastest route to a clean result. Bounce it off the ceiling or a pale wall, drop the ambient by a stop or two, and drop your continuous shooting speed so you are not firing into a gap in a burst.
A practical rule: if you cannot get the background at least a stop darker than the faces, add light. Watch focus closely with more than one child, since they will not hold still for a single frame, and shoot at a wider aperture only when the children stay close together.
8. Create Calmer Images and Follow Up
Slower editing makes calmer images. Cull the bursts that blur, then spend your time choosing one frame per moment rather than averaging twenty shots into an expression nobody had.
Build the final gallery in the order the session unfolded, with the strongest group frames early. Include some motion frames and some quiet ones; a gallery that is entirely posed looks like a stock shoot.
Check the essential images before delivery: faces sharp, eyes open, no hands cut off, no distracting background objects. Then deliver within the timeline you promised, roughly two to three weeks for most galleries.
In your follow-up message, tell the family what you noticed, not just what you delivered. Mention the moment you kept waiting for. That note matters more to a solo parent than the retouching notes.
Common Mistakes
Over-directing the parent. A single parent often feels responsible for the session’s success and starts trying harder to perform. Give them one job per block and let them see the frames. It releases the pressure quickly.
Posing children past their limit. You will get roughly ten cooperative minutes from a toddler and thirty from a school-age child. Front-load the harder combinations and keep the easy connection frames for when attention is gone.
Shooting in one location only. Moving through two rooms, or stepping outside for ten minutes, resets attention and gives you completely different light. Plan at least one move.
Ignoring the parent’s stated preferences. If someone asks for fewer formal images, give them fewer formal images. Confirm the brief in writing so you both remember it on a tired day.
Chasing constant smiles. A forced smile held for forty frames looks forced in every one of them. Photograph attention instead: looking at each other, mid-conversation, laughing at something off-camera.
Relying on technical perfection at the expense of connection. Focus and exposure matter, but a slightly soft frame of genuine laughter beats a tack-sharp frame of a child performing. Do not bury the session under chasing the histogram.
Forgetting the solo-parent logistics. Decide before you arrive who handles snacks and who carries the gear bag. Many photographers end up holding a baby in one arm and the camera in the other, which is how a session gets rushed.
Scheduling too long. Ninety-minute sessions feel generous on paper and exhausting in practice. Book 45 to 60 minutes, tell the family the finish time, and finish on time.
Not preparing a weather fallback. For outdoor sessions, agree the backup location or reschedule policy before the date. Changing plans at the last minute is much harder for a parent who arranged childcare alone.
Frequently Asked Questions
How do you pose a single parent with young children?
Anchor the youngest child to the parent and add older children one at a time, so no one has to manage a full group at once. Use movement rather than fixed positions: a walk toward camera, a shoulder ride, a shared book, or a cheek press. Keep instructions to one idea at a time, repeat the exact same wording, and shoot between the directions so you catch the moment before the posing starts.
How long should a single parent family photo session be?
Most single parent family sessions work best at 45 to 60 minutes. One adult is managing children, snacks, and emotional load at the same time, so a longer session usually ends in a tired, cranky family rather than more photographs. Tell the family the finish time when you book, front-load the difficult combinations, and finish on time so the session stays something they look forward to again.
What if the children do not want to cooperate with the photographer?
Stop asking and start giving them something to do. Hand over a toy, start a race, whisper a question to one child so the other leans in, or hand your attention to the parent for a few frames so the children relax. Cooperation returns fastest when they forget you are there, and you will often get the best frames immediately after you stop directing.
Should a single parent family session be photographed at home or outdoors?
At home wins on comfort, cost, and logistics because nobody travels with several children and a gear bag, but you must manage limited light and clutter. Outdoors gives you better light and room to move, at the cost of travel fatigue and weather risk. Ask for photos of the home or visit it first, then choose based on the children’s ages and how easily the parent can relax.
How do you photograph a family with one child?
With one child you have more freedom than most photographers use. Spend the time on connection frames, close detail shots, and slow walks instead of rushing through a list. Build trust in the first ten minutes by shooting without directing, then move into movement-based prompts. Ask the parent what the child enjoys and turn that into the spine of the session.
How many finished photos should a family session include?
When you plan how to photograph a single parent family session, plan to deliver roughly 40 to 70 finished images. Group parents typically want more, but a curated set from a 45 to 60 minute session covers every moment without padding it with near-duplicates. Include at least a third candid or motion frames, and order the gallery so the strongest group images appear early.
Start by sending a real pre-session questionnaire and asking the parent what each child enjoys, what they are sensitive about, and what they want the images to feel like. That conversation is where how to photograph a single parent family session is actually decided: the answers set your shot list, your location, and your pace for everything after it.