To photograph a blended family group, you map who is close to whom before you lift the camera, then build layered arrangements around those real bonds. Shoot the full group early while everyone is fresh, break it into every smaller combination afterward, and keep head heights staggered so no face hides. A calm 60 to 90 minute session covers eight people comfortably; two hours if a toddler is involved.
A blended family group shoot is a portrait session that brings together children, biological parents, stepparents and sometimes grandparents from two households, so every relationship can be photographed in the same set of images.
That last detail is what makes it different from a standard family portrait. A group that has recently merged has people who are genuinely close and people who are still polite to each other, and a stiff arrangement makes the second group look like an afterthought. The fix is not better lighting, though light helps. The fix is planning the groupings first and shooting more of them than you think you need.
Table of Contents
- What You Need
- How to Photograph a Blended Family Group Step by Step
- Why the Seven Steps Work in That Order
- 1. Plan the composition and learn the relationships
- 2. Pick a location with space and soft light
- 3. Build trust before the formal frames
- 4. Start with simple group arrangements
- 5. Prompt interaction instead of forcing smiles
- 6. Photograph the whole group and the smaller combinations
- 7. Review the frames and finish warm
- Common Mistakes
- Tips
- Frequently Asked Questions
- How do you pose a blended family for a group photo?
- Should a blended family portrait be formal or candid?
- What is the best lens for photographing a large family group?
- How can I get natural smiles from children and adults?
- Where should a blended family photo session take place?
- How do I include everyone equally in a family portrait?
- Conclusion
What You Need
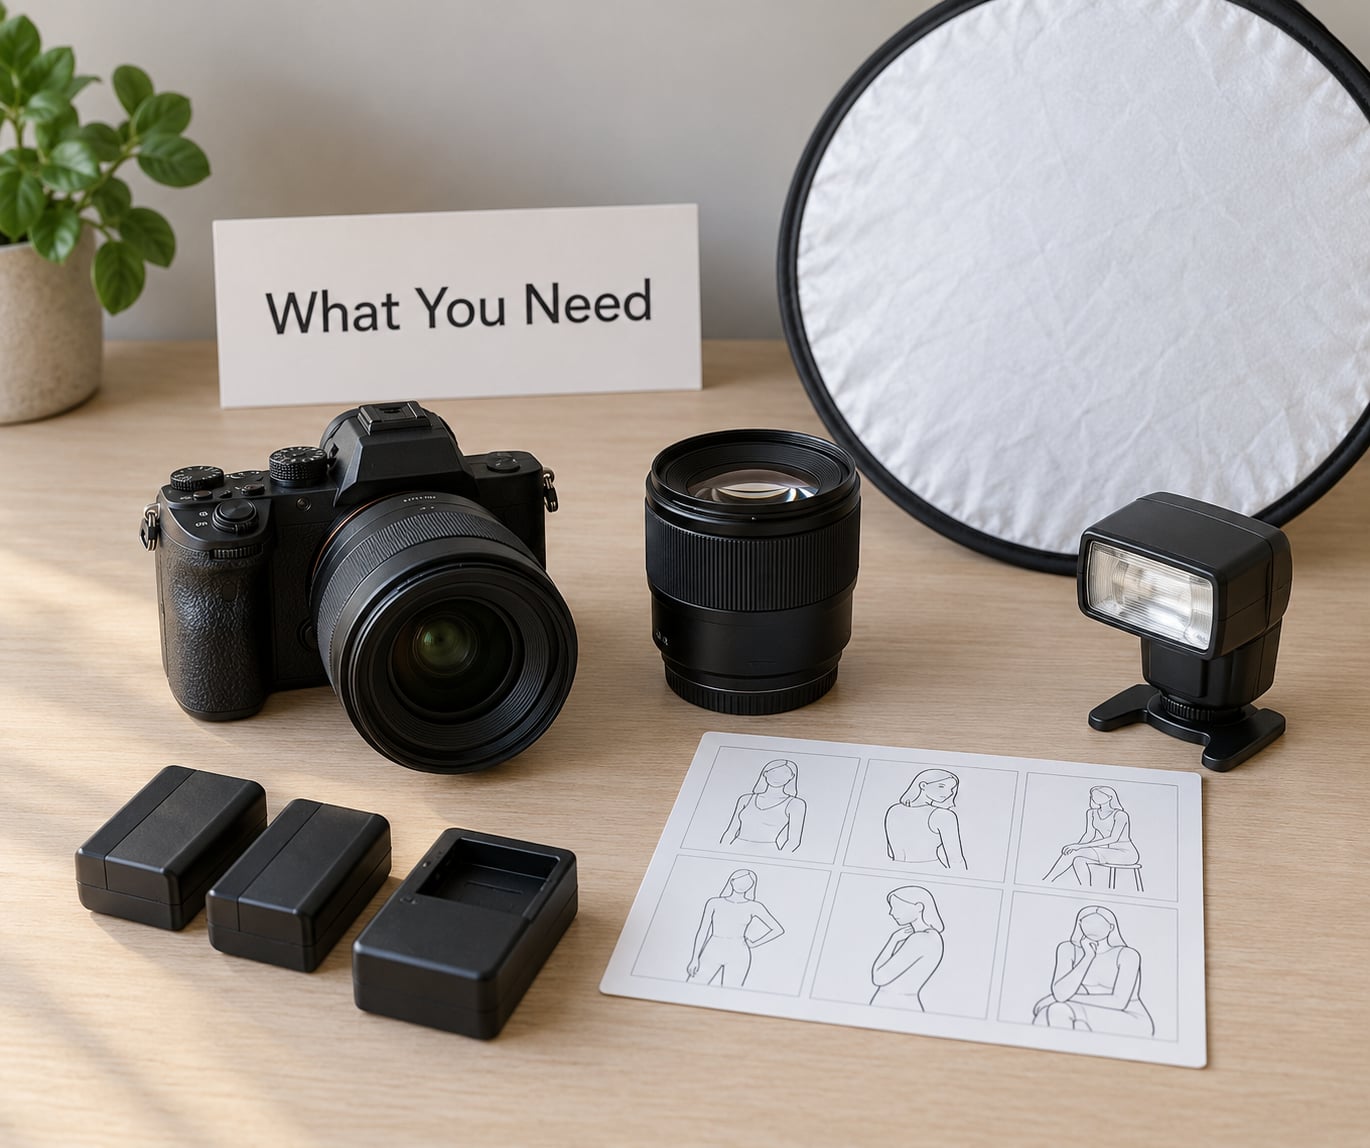
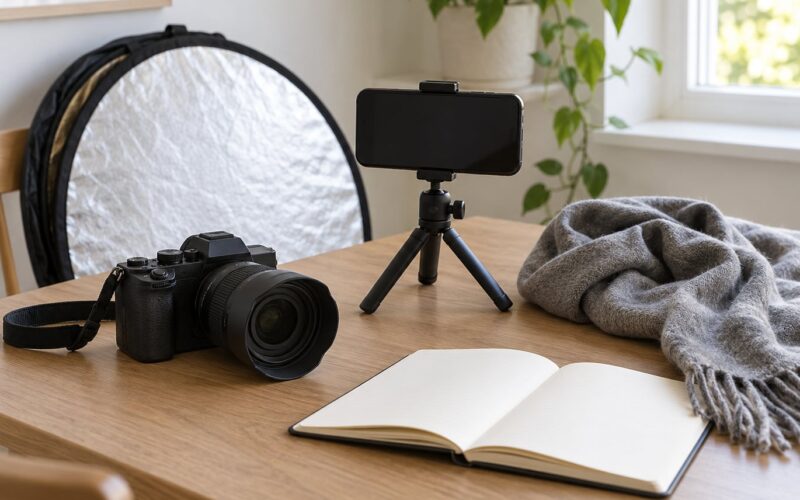
A full-frame or APS-C body with dependable autofocus will carry you. You do not need a second camera, though a phone set on a tripod is handy for the frames you take of the whole group while you watch the light instead of the viewfinder.
- A 50mm to 135mm lens. Longer focal lengths compress a group so nobody looks stretched at the edges, and they let you stand back far enough that nobody crowds you. Wide angles make the nearest person look enormous and the rest of the group recede.
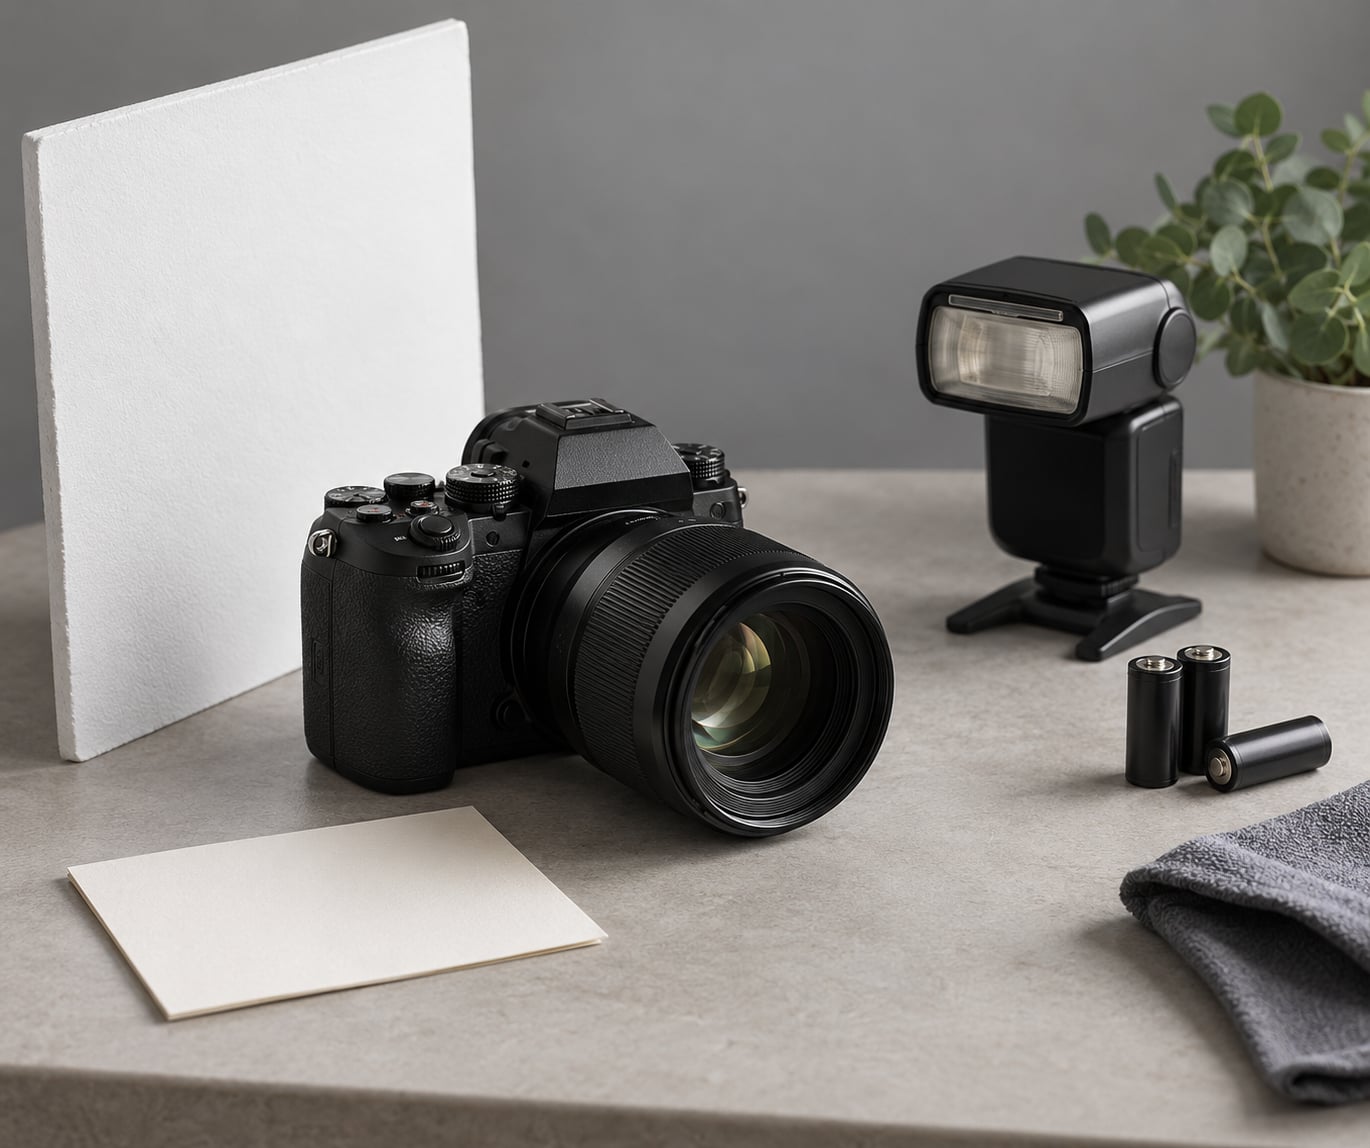
- A reflector or a white foam board. Open shade gives you soft light but still needs a little fill on faces turned away from the sky.
- A small flash with a diffuser for indoor locations or heavy backlight. Bounce it off a ceiling or a wall rather than firing straight at faces.
- A posing prompt list written down. You will forget half of it once you are directing people, and it is far better to glance at a card than to stop and think.
- Spare batteries, a cloth and a clip. The clip matters more than people expect; a loose strand of hair across one face ruins a setup you spent five minutes building.
- A single point of contact. One person answers the questions and settles the schedule so you are not fielding requests from two households at once.
How to Photograph a Blended Family Group Step by Step
- Plan the composition and learn the relationships. Ask each person how they want to be included before the day. Which child is closest to which parent right now, who has just come into the household, and whether anyone would rather not be labelled by relationship in front of the camera. Note ages and mobility limits so you know who needs a low seat or a bench.
- Pick a location with space and soft light. Look for somewhere people can move, sit and spread out, with a background you can simplify. Open shade under a wide tree or the shaded side of a house beats direct sun, and it is far easier to direct people there than into a doorway.
- Build trust before the formal frames. Arrive early, explain the order of the session, and let everyone look at the light first. Photograph one parent alone, then one child, so the session starts at low stakes and builds.
- Start with simple group arrangements. Put adults in a loose triangle or a staggered line rather than a straight row, and vary head heights. Give short instructions: shoulders toward me, chin forward, everyone look at my hand rather than the lens.
- Prompt interaction instead of forcing smiles. Ask for a walk, a hand squeeze, a whisper, a look at something off to the side. Real expressions arrive when people stop performing them.
- Photograph the whole group and the smaller combinations. Capture the complete blended family first, then break it into pairs and trios. Every relationship in that room deserves its own frame.
- Review the frames and finish warm. Check focus, blinks and background clutter, then end with an unposed moment. The last frames are usually the ones families print.
Why the Seven Steps Work in That Order
The order is doing more work than it looks. Trust comes before poses, poses come before interaction, and the full group comes before the subgroups, because energy is the one resource you cannot ask for twice. Shoot the sequence any other way round and you get a technically complete album of a family that looked miserable in every frame of it.
1. Plan the composition and learn the relationships
Most group photos fail before anyone smiles, because the arrangement was decided in the car. Sit down with the family, ask who wants to be near whom, and let them answer out loud. Children often say things to you that they will not say in front of the other household, and you want that information now rather than at minute forty.
Decide the standing order before you arrive and hold it loosely. In a blended family, placing a stepparent at the far end next to nobody is the single most common way a photo ends up sending the wrong message, and stepparents describe that arrangement as the thing that hurts most.
Then write your grouping list. For a family of eight, expect roughly a dozen combinations: the full group, both parents with all the children, each parent with their own children, the stepparent with the children they live with, siblings together, each child alone, and a few pairs. On a group setup, plan on eight to fifteen frames for six or more people and more as the count climbs.
2. Pick a location with space and soft light
Go look at the spot the hour before the shoot. Stand where you plan to stand and check what is directly behind your subjects: fence slats, road signs, playground equipment and parked cars are the usual offenders. Open shade is the safest light for a group because nobody has to squint and nobody flinches away from the sun.
Golden hour works, but only if you commit to it. Backlit groups look lovely until you raise the shadows and find a row of red-eyed faces. Either turn everyone slightly away from the sun with a reflector filling their faces, or wait for the light to soften.
Give yourself room. A blended family of eight needs about 15 feet of width for a single row to work without bodies pressing together, and children need somewhere to move between setups or the session stalls.
3. Build trust before the formal frames
Teenagers and adult stepchildren will not perform for a stranger on request, and pushing them rarely works. Start by photographing one person. Let them see a frame on the screen that they like, and let the rest of the family watch the process rather than being watched while they negotiate with it.
Do not put anyone in charge of the session except the photographer. If a stepparent starts directing siblings or a bio parent starts repositioning people, the group loses its center. Say early that you will handle the arrangement and that everyone is free to tell you privately if something feels off.
4. Start with simple group arrangements
A loose triangle beats a row every time. Put the tallest people near the middle, drop the adults a step lower than their children where you can, and stagger the heights so no head sits in a straight line. Straight lines of head heights are what make large group portraits look flat.
Use diagonal lines and depth. Two adults seated on a bench, children standing behind with hands on shoulders, and one person turned slightly toward the group creates layers that separate eight faces into readable rows. Keep the gaps even; an empty hole between two people pulls attention away from the faces.
Tell people where to look, not just what to do. Aim eyes at a specific point near the lens, chins forward and slightly down, shoulders angled in. If you simply say look here, half the group looks at the floor.
5. Prompt interaction instead of forcing smiles
Asking kids to turn and hug a parent rather than face the lens produces more natural connection than any smile instruction. Ask one to whisper something, one to show the other a secret, one to pull someone gently into the middle. Movement fixes the blink problem too, because people blink less when they are mid action.
Keep a stock of prompts that do not require labels. Say, walk toward me slowly and start a conversation among yourselves. That works on a group that includes a stepparent and a bio parent without referring to either.
Shoot the full group early, while energy is highest. Then play, then subgroups, then finish loose. The reverse order produces a technically complete album and an exhausted family.
6. Photograph the whole group and the smaller combinations
This is the part most guides skip and the part blended families remember. Photograph every parent with every child, not only the pairings that live under one roof, so a child who has a relationship with a parent outside the household still has a picture of it.
Groupings are quick. Budget about three minutes for a pair, five for a trio, and eight to ten minutes for the full group. Around twelve groupings gives you an hour of actual shooting, which fits comfortably inside a 90 minute session with buffer for a toddler meltdown.
| Grouping | Why it matters | Approx. minutes |
|---|---|---|
| Full blended family together | The wall and holiday card frame | 8 to 10 |
| All parents with all children | The only frame holding the whole unit | 6 to 8 |
| Each parent with their own children | Protects relationships that get lost in a wide shot | 4 each |
| Stepparent with the children at home | The pairing most often left out of a gallery | 4 |
| Bio parent with a child from the other household | Keeps a bond visible even when they split their week | 3 |
| Siblings only | The frame the kids will actually pick out | 4 |
| Each child alone | Growth tracking year to year | 2 each |
| Hands, shoulders, walking away | Detail frames for album spreads | 5 |
Read this list out loud and let the family cut it. Some pairings carry weight the adults do not expect, and hearing it from them before the session is far cheaper than discovering it after delivery.
Details matter too. Photograph hands held, a kid on a stepparent’s shoulders, two children mid-laugh from behind. Those frames carry the relationships better than a wide formal shot, and they give you something to interleave through a gallery.
7. Review the frames and finish warm
Look at each frame for closed eyes, a face in shadow, a head clipped by the frame edge, and background objects growing out of someone’s shoulder. Most problems are fixed by one small shift of a foot or a footstep closer to the reflector.
End with something unasked. Tell them to walk and talk while you keep shooting from a standing position, then get low for the wide shot and move in for the close frames. People relax once they stop being posed, and the relaxed ones are the ones that end up in the album.
Common Mistakes
- Flat head heights in a straight row. Fix: stagger the line into a loose triangle, and drop seated adults so the smallest child is not the only low point.
- Faces hidden behind taller people. Fix: move the back row sideways rather than straight back, and use back button focus or single point autofocus on the nearest eye.
- Forced smiles that freeze the frame. Fix: replace the smile instruction with an action. Walk, whisper, show the camera something interesting.
- Harsh midday light. Fix: move into open shade, turn the group so the light falls across them at about 45 degrees, and fill with a reflector.
- Skipping the subgroups. Fix: read your grouping list out loud before you leave. If a relationship was not photographed on its own, it will not exist in the album.
- Running out of patience for a shy toddler. Fix: insert a play break every few minutes. Blowing bubbles, a short walk, or letting the child hold the camera for a minute resets everyone.
- Letting two parents negotiate in front of the kids. Fix: take scheduling and grouping decisions before the session, and handle requests through the single point of contact.
Tips
How to photograph a blended family group without anyone looking like an outsider
Place people by relationship strength rather than by household. Whoever holds the youngest child naturally anchors a cluster, so build outward from there and check that the stepparent is holding or standing beside someone rather than floating at the end. Width is the real limit: eight people squeezed into ten feet is why the outer kids keep sliding out of frame.
Avoid labelling anyone out loud. Instead of asking two parents to step in together, name a group by its next activity. It sounds trivial, but the phrasing decides how relaxed the next twenty frames are.
Camera settings that survive a moving group
Most lost group frames are lost to blinks and motion. Set 1/250s as your floor for still groups, 1/500s once anyone walks or children run, and keep the aperture around f/4 to f/5.6 so everyone in a staggered group stays sharp. Use burst mode at eight to fifteen frames per setup and watch the histogram rather than the screen.
| Situation | Shutter speed | Aperture | Focal length | Frames per setup |
|---|---|---|---|---|
| Full group standing still | 1/250s | f/4 | 50 to 85mm | 8 to 10 |
| Walking prompt | 1/500s | f/4 | 70 to 135mm | 10 to 15 |
| Children running or playing | 1/1000s | f/5.6 | 85 to 135mm | 15 or more |
| Seated cluster indoors | 1/160s | f/4 | 50mm | 8 |
Coordinating outfits from two homes
Agree on one shared colour palette in advance rather than a matching outfit, which nobody under fifteen will tolerate. Pick two or three colours and let each household dress independently, since clothing arrives from both homes on the day.
Limit bold patterns to one person in the frame, and skip logos. Anything with text pulls the eye away from the faces, and in a group that already has a lot going on, that costs you three seconds of attention per frame.
Working with teens and adult stepchildren
Ask them what they want in the album. Give a teenager a job: focus puller, music controller, the person who decides which frame gets printed. A role turns a subject into a participant.
Adult stepchildren get the same treatment. Photograph them on their own terms, in their own framing, and let them see the results during the session rather than at delivery.
When the shoot has to split across two homes
If a child spends part of the week in another household, do not try to reunite everyone for one long day. Photograph the child with each set of adults separately, then match the light, lens and background so the two sets sit together in one gallery without looking like two different sessions.
Aim for the same time of day on both visits. Open shade at a house on one street and a park two weeks later rarely matches, but the same hour at the same place does. Keep a short note of the lens, the aperture and the spot where the group stood, and the pairs will hold together.
On gallery access, decide the delivery terms before you shoot and put them in writing. A shared gallery everyone can download from, plus a private print set for each household, avoids the awkward conversation later. If a comment like why is my child not in this photo comes up, the grouping list from step 6 is your answer, and it is better to have shown it to them on the day.
Photographing your own family without a professional
Put the camera on a tripod, use a two second timer or a remote release, and mark where each person stands with tape on the floor. Choose the focus distance in advance with manual focus on a marked spot, since autofocus will hunt if anything shifts.
Work from a tripod at chest height for the wide group, then hand the camera to a teenager for candid frames while you direct from the side. Budget a longer session, about two hours, because self-directed setups take twice as long.
Frequently Asked Questions
How do you pose a blended family for a group photo?
Start by asking who wants to stand with whom, then build a loose triangle or staggered line around those relationships rather than a straight row. Vary head heights, place the adults who are holding children near the middle, and avoid leaving a stepparent at the end of the line. Give short instructions about where to look and prompt an action like a slow walk instead of asking for a smile. Finish the setup by photographing each parent with each child separately.
Should a blended family portrait be formal or candid?
Do both, and put the formal frame first while everyone still has energy. A blended family group needs at least one clean, everyone-in-frame photograph because that is the image people hang on a wall or use for holiday cards. The candid frames carry the actual feeling of the family and belong in the album around it. Most sessions that work best spend the first fifteen minutes on the full group, then loosen up into movement and interaction.
What is the best lens for photographing a large family group?
A 50mm to 135mm lens covers almost every family session, with 70 to 135mm the most useful range for eight or more people. Longer focal lengths compress the group so the outer people do not look stretched, and they let you stand back far enough to keep everyone in frame. A 35mm works in tight indoor rooms but exaggerates the nearest person, so it needs care. On a crop sensor, treat the 50mm as roughly a 75mm and adjust from there.
How can I get natural smiles from children and adults?
Stop asking for smiles and start asking for reactions. Give a prompt that produces a feeling rather than an expression: whisper something to the person beside you, show the camera something you found, or walk toward me slowly while you talk. Children in particular look more natural when turned toward a parent than when pointed at a lens. Between setups, insert a minute of play so the reset happens without anyone feeling coached.
Where should a blended family photo session take place?
Choose somewhere with room to move, a simple background and soft light. Open shade under a wide tree or the shaded side of a house gives you even light with no squinting, and you can direct people far more easily than in a doorway. Indoors, put the group near a window and turn them about 45 degrees toward it, then fill the shadow side with a reflector. Avoid hard midday sun and any location with busy signage behind the group.
How do I include everyone equally in a family portrait?
Assign the standing order by relationship strength rather than by household, and check that no one ends up alone at an edge. Photograph every parent with every child, including parent and child pairs who live in separate households, so no relationship exists only in the wide shot. Watch the spacing so nobody has a gap beside them, and vary the group sizes so the album shows several combinations. If someone appears in fewer frames than the rest, the group is not equal yet.
Conclusion
To photograph a blended family group well, plan the relationships before the poses, shoot the full group early, break it into every smaller combination, and finish loose. Shutter speed, head heights and background clutter are technical, but the arrangement is what makes the picture say everyone belongs.
Start by learning the names, the relationships, who feels comfortable standing where, and which arrangement the family actually wants. Everything after that is faster.