Portrait mode uses two or more rear lenses plus on-device processing to build a depth map, then blurs everything behind your subject while keeping the subject sharp. To use portrait mode on a phone properly, you need distance, separation and controlled light — the mode itself is the easy part. Most disappointing portrait shots are made in bad light, too close, with a busy background.
This guide takes about ten minutes to read and works on any phone with portrait mode, from iPhones to Samsungs to Pixels to Huawei phones. Menu names differ a little between brands, so I have spelled out the path for each one. Everything after the menu tap is the same on every device.
One thing to clear up first: the background blur you see is computed, not optical. No light is actually bent by a wide aperture. The phone estimates how far every part of the scene is from the lens and paints everything it thinks is far away out of focus. That single fact explains most of the disappointments people post about online.
Table of Contents
What You Need
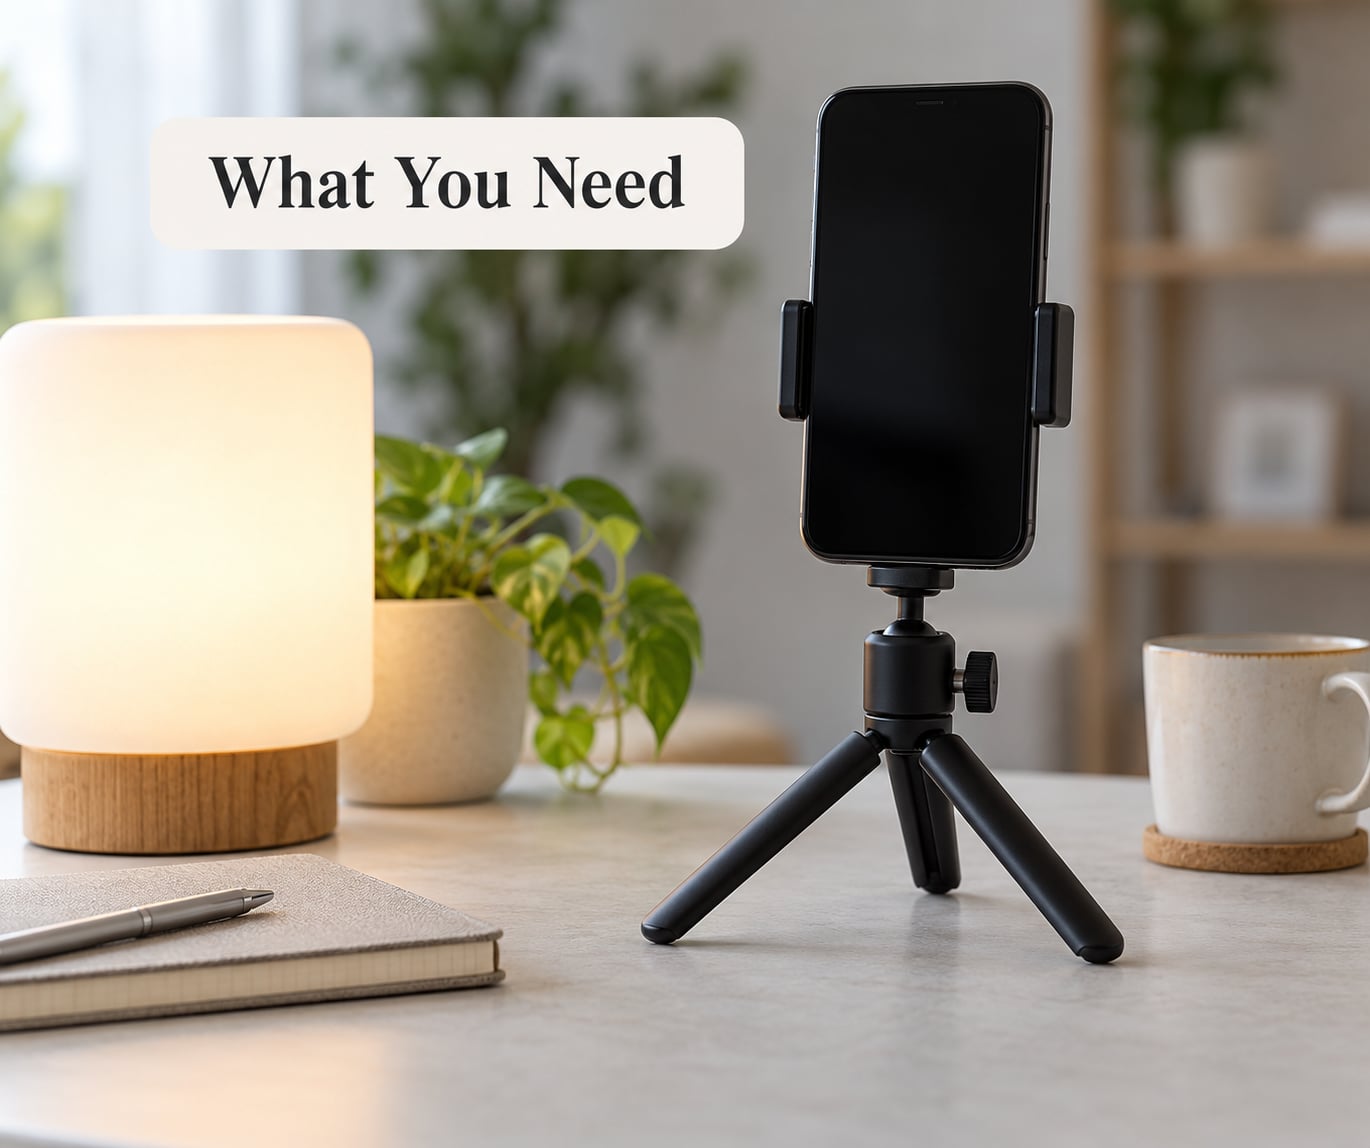
Four things, and only one of them is the phone.
- A phone that can do it. Portrait mode needs at least two rear lenses on the same camera module, or a dedicated depth sensor. Single-camera models, including several iPhone SE versions, have no Portrait mode at all.
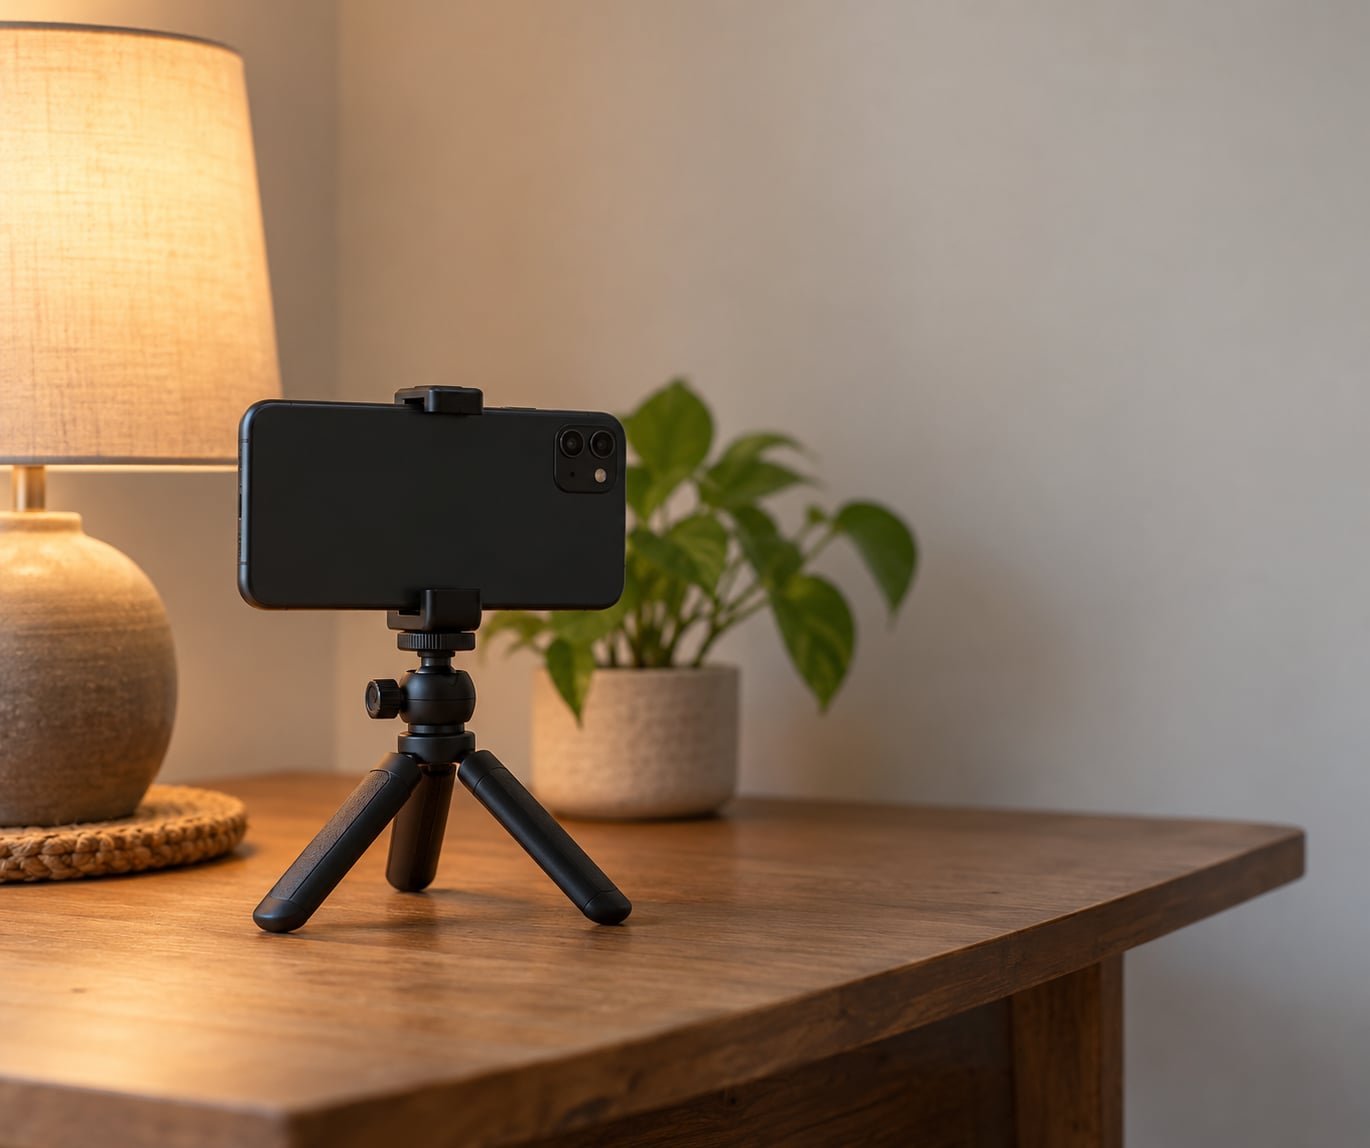
- Something to hold it steady. A small tripod, a stack of books, or a wall to brace against. Portrait mode often holds a longer exposure than standard Photo mode, and camera shake shows up as a soft face.
- One light source, ideally from the side. A window is the best one most people have. A table lamp with a fabric shade is the second best. Overhead ceiling light is the worst.
- A simple background. A plain wall, a curtain, a tidy bookshelf a couple of meters back. The depth map does a better job when there is not much to misread.
- The stock photo editor. Every phone ships with one, and it is where you fix blur strength and focus after the shot.
Step-by-Step
1. Clean the Camera and Choose the Right Lens
Wipe the rear lens with a cloth before you start. A fingerprint at 24 mm turns every portrait into a soft one, and it is the single most common cause of “my portrait mode looks blurry.”
Make sure you are on the main rear camera, not the ultra-wide. Portrait mode is usually unavailable on ultra-wide lenses, and where it is available it is often weaker, because the two lenses it measures with are not matched. If you are on a phone with a 2x telephoto, that is a good lens for head-and-shoulders shots because it flatters the face.
Avoid digital zoom. Pinching to zoom before the shot crops an image and throws away detail, and portrait mode plus a digital zoom is a bad combination.
2. Use a Simple Background with Clear Separation
Give yourself space between the subject and whatever is behind them. Roughly a meter of empty wall behind the subject makes the depth map’s job much easier than a subject pressed against a cluttered bookshelf.
Then light the background less than you light the face. A background brighter than the subject pulls the eye backwards and the blur just spreads the brightness around. Turn your subject toward the light and let the wall behind fall into shade.
Keep colour contrast between subject and background too. A person in a dark top against a pale wall separates cleanly. The same person in a dark top against a dark door is a guessing game for the processor.
3. Keep the Subject Between One and Three Meters Away
One to three meters — roughly three to ten feet — is the range where depth estimation is most reliable. Inside about half a meter, both lenses struggle to measure the same scene and the map gets noisy, which is why close-up pet and food shots often come out wrong.
If your phone shows an error or the mode stays greyed out, step back until it activates. That warning is the phone telling you it cannot see enough parallax between the two views, and no amount of tapping will fix it.
4. Turn On Portrait Mode and Set the Lighting
The menu path differs by brand. On iPhone, open Camera and swipe the mode strip below the viewfinder (or tap the mode name and pick from the list) until you reach Portrait; the label turns yellow when the mode is active. On Samsung, open Camera, tap the menu list at the bottom of the preview and choose Portrait from the list. On Google Pixel, tap the mode row under the viewfinder and choose Portrait. On Huawei, open Camera, open the mode list and select Portrait.
Indoors, face the subject toward the window and keep the window behind you. If you have a lamp, put it about 45 degrees to one side and slightly above eye level, and move it back until the shadow it casts on the wall softens.
Now check exposure. Phones routinely brighten faces in portrait mode, and a washed-out forehead is the reason so many portraits look flat. Tap the face, drag the little sun icon down until the skin returns to a normal tone, then long-press the screen to lock focus and exposure before shooting.
5. Lock Focus on the Eyes or Main Feature
Tap directly on the nearest eye in the preview. The depth map uses the focal point you set as the anchor for the subject, so tapping the chest instead of the face is a common reason the face comes out soft while the background stays sharp.
Check what the app says. iPhone shows a depth slider bar across the bottom and a yellow Portrait tag once it is happy; Samsung and Pixel show a similar confirmation. If there is no confirmation, keep moving slightly left and right until the phone settles.
Lock it once it locks. Tap and hold on the face to lock focus and exposure, then compose with small body movements rather than re-tapping.
6. Take Several Variations
Shoot five or six frames, changing one thing each time: a slightly different expression, a small turn of the head, half a step closer or further, or a small shift of the subject against the background. The depth map is not deterministic — the same setup two seconds apart can produce a noticeably different edge around hair.
Watch for the warning signs as you shoot. A blinking or spinning icon usually means the phone has lost the subject. Cut-out gaps in the background, a halo along the shoulder, or hair that has partly dissolved into the blur are all signals to reframe rather than press the shutter again.
7. Review and Refine the Result
Open the photo in your gallery and look at it at full size, not zoomed out. Check four edges: hair, glasses, ears and the shoulder line. Any place where the background blur eats into the subject is where the depth map guessed wrong.
Then edit. Open the photo, tap Edit, and look for the depth of field control — it is called Edit, Adjust, Portrait or Depth on different phones. You can change the blur strength on a scale from f/1.4 (a lot) to f/16 (almost none) on iPhone and on several Androids, and you can drag the focus point to a different eye if the phone picked the wrong one.
If your phone also keeps the unprocessed original, switch to it and compare. Plenty of people decide the standard Photo mode frame is the better one once they see the two side by side.
You can also re-edit the background blur, exposure and colour there, and this is the stage where an over-bright face gets put right if the tap-to-exposure trick at the time of shooting did not hold.
Common Mistakes
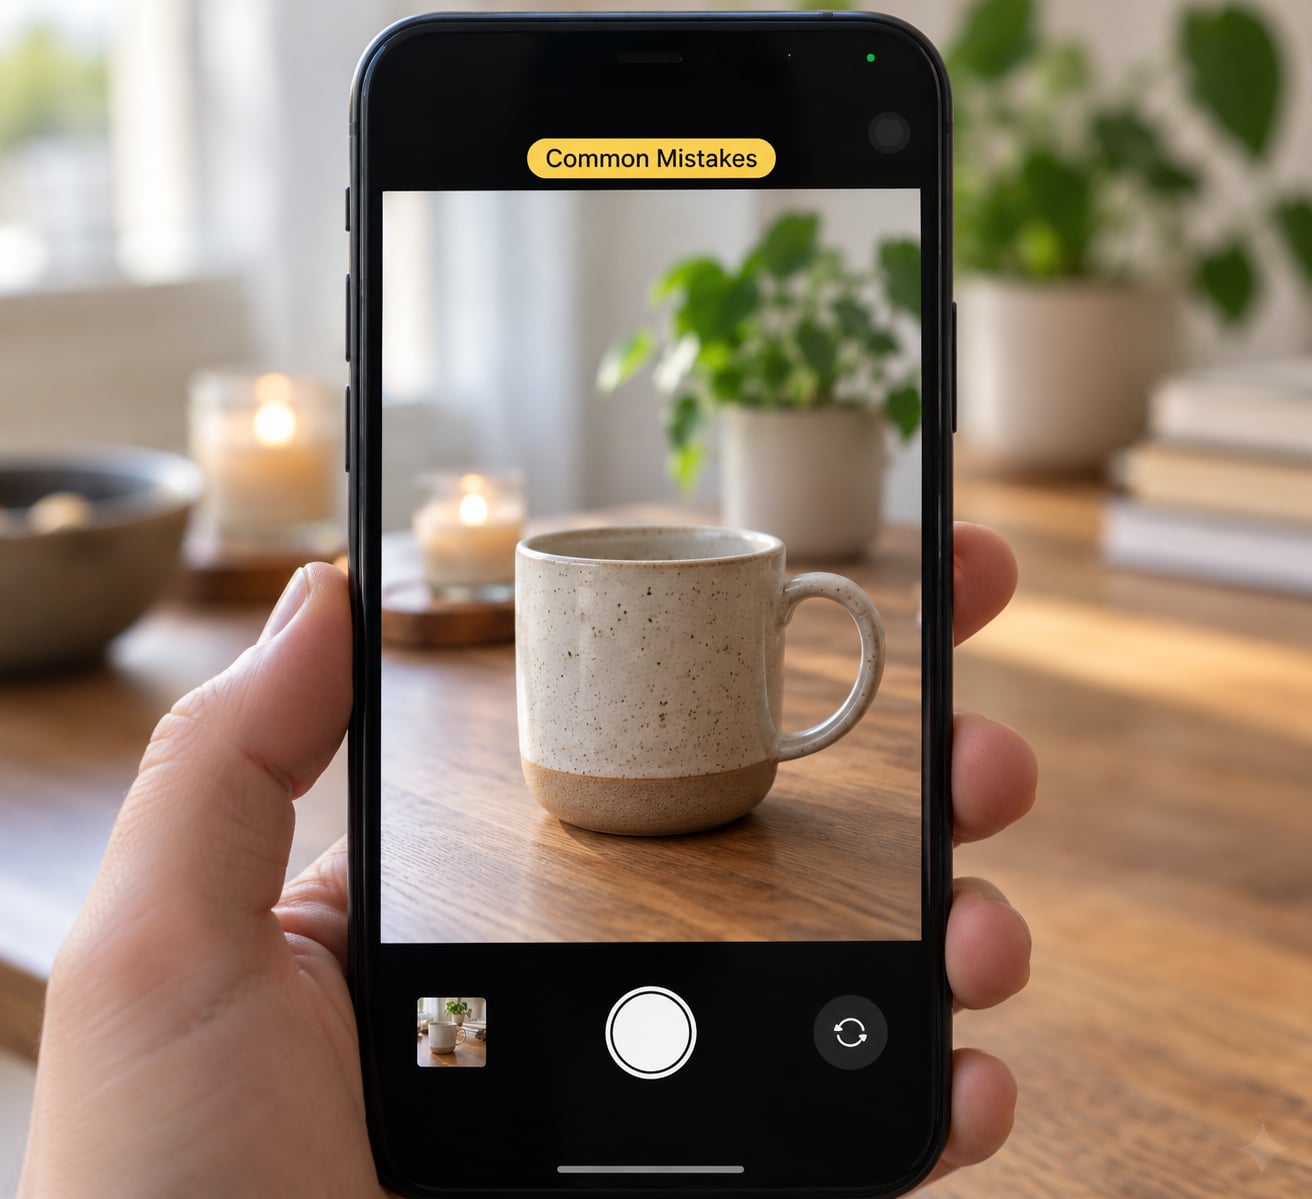
Almost every bad portrait trace back to one of seven things, and each has a quick fix.
The whole photo is soft, background included
Cause: camera shake, a dirty lens, or a shooting speed the phone cannot hold steady. Fix: clean the lens, use a tripod or a braced surface, and add light rather than ISO. Portrait mode disables itself in dim conditions on many phones, so more light fixes the softness and the disabled mode at the same time.
Hair, glasses or fur has been chewed away
Cause: the depth map cannot resolve fine, semi-transparent detail, so it treats strands as background. Fix: turn the subject so the hair edge falls against a plain, darker area rather than a busy one, move half a step further back, and lower the blur strength after the shot. Hair against sky or a flat wall is the easiest case your phone will ever see.
No blur at all
Cause: the background is too close to the subject, or too lit, or the phone decided the whole scene sits on one depth plane. Fix: put real distance behind the subject and darken the background.
The wrong thing got blurred
Cause: a plant stem, chair back or railing behind the subject matched the subject’s colour and distance. Fix: move the subject to overlap a plainer part of the frame, or shoot from a slightly different angle.
A bright outline around the subject
Cause: halo from the blending step between the sharp and blurred layers, usually at the maximum blur setting. Fix: dial the blur back rather than shooting at the strongest level.
The face looks pale and flat
Cause: automatic exposure compensation aimed at the whole frame, brightening the skin. Fix: tap the face and drag exposure down before shooting, then lock it.
Group shots look wrong
Cause: portrait mode is built for one subject at one depth. People standing at different distances confuse the map, and the result is a photo where one person is sharp and the others are ghosts. Fix: shoot groups in standard Photo mode, or arrange everyone on the same plane and accept a light blur.
One last habit worth building: keep the lens at eye level or a touch above, never tilted upward. Wide lenses taken from below stretch the forehead, which is the reason people ask why their head looks big.
Frequently Asked Questions
What is portrait mode used for on a phone?
Portrait mode is used to separate one subject from its background so the background looks blurred while the subject stays sharp. It works by measuring depth with two rear lenses, or a depth sensor, and applying a computed blur rather than a real optical one. Typical uses are headshots, graduation photos, couples, pets, food and product shots, and travel portraits where the background is cluttered. The blur level can be changed after the shot in the phone’s photo editor.
Can portrait mode work indoors?
Yes, and indoor window light is the best light for it. Put the subject roughly one to three metres from the window with the window behind the phone, or turn them 45 degrees to a window for softer, more directional light. A shaded table lamp works too. Avoid overhead ceiling light, which drops shadows into the eye sockets, and avoid dark rooms: many phones switch portrait mode off automatically when the light level gets low.
Why does my portrait photo look blurry?
Usually one of three things. First, camera shake, since portrait mode often uses a longer exposure than standard Photo mode, so prop the phone up. Second, a smudged lens, which is the most common cause and takes seconds to fix. Third, the whole frame is genuinely out of focus because there was not enough light, and the phone was compensating. Check whether only the background is soft; if the face is soft too, it is one of the first two causes rather than the portrait effect itself.
How far should the subject stand from the phone?
Between one and three metres, or roughly three to ten feet. That is the range where the two lenses see enough of a difference to estimate depth reliably. Closer than about half a metre the depth map gets noisy, which is why close-up shots of pets and food often fail. If portrait mode is greyed out or shows an error, step back until it activates. Leave another metre or so of empty space behind the subject as well.
Should I use portrait mode for groups?
Rarely. Portrait mode is designed around a single subject at a single distance, so people standing at different depths confuse the depth map and you can end up with one person sharp and the rest partly dissolved into the background. For two people, put them on the same plane, about arm’s length from the back wall, and shoot. For three or more, use standard Photo mode and create separation by moving closer and using a longer focal length instead.
Can I fix portrait mode in the photo editor?
Partly, yes. Open the photo, tap Edit and look for the depth of field control, called Edit, Adjust, Portrait or Depth depending on the brand. You can usually change the blur strength on a scale from f/1.4 to f/16, drag the focus point to a different part of the subject, and correct exposure and colour. What you cannot fix is a wrong depth map, so chewed hair edges or a missing subject have to be reshot. Some Android phones lock further blur editing once you re-save an edited copy.
Start with the boring parts: clean the lens, get the subject one to three metres away, put a metre of empty space behind them, and add light from the side. Do that and portrait mode on a phone produces the separated, natural-looking shot people expect from it, without the chewed edges or washed-out faces that make people give up on the mode.