Shooting portraits on film for the first time comes down to three things: a camera you understand, film rated for the light you have, and a plan for where the subject stands. Get those right and the roll that comes back will already be worth printing. This guide walks through the whole process, from loading the camera to dropping the canister at a lab, without the trial-and-error that usually eats a beginner’s first three rolls.
It helps to know what you’re working with. A 36-exposure roll gives you 36 chances to get a portrait right, so the aim on your first session is dependable frames, not a style experiment. Updated for 2026, this is the workflow I wish someone had handed me before my first sitting.
What You Need
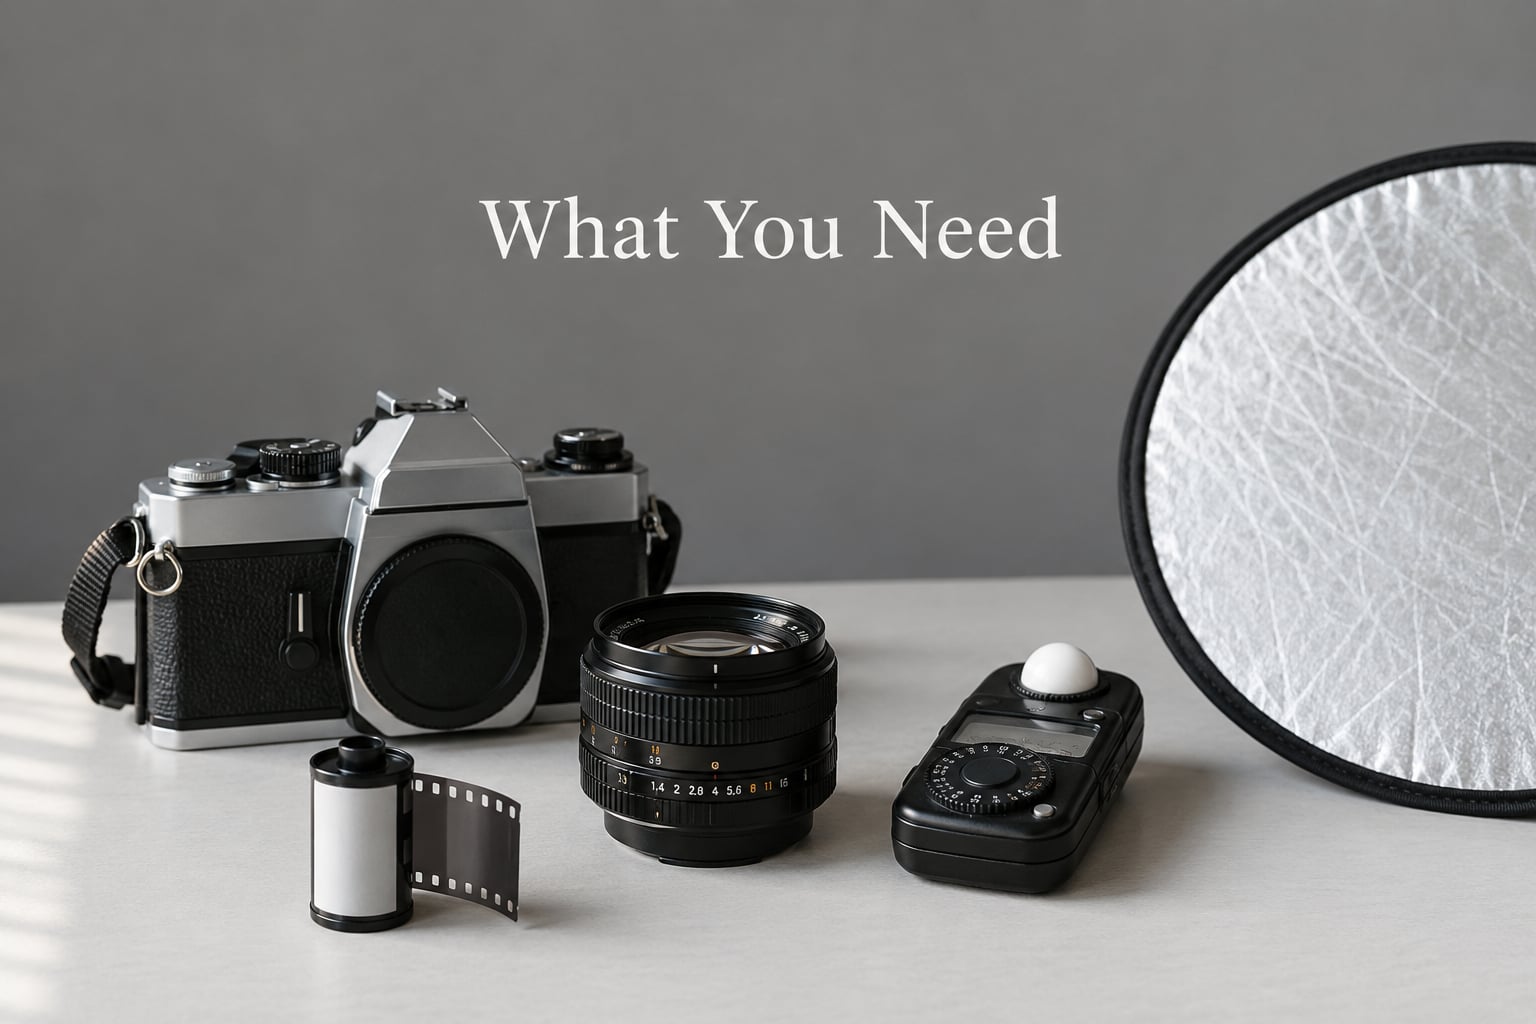
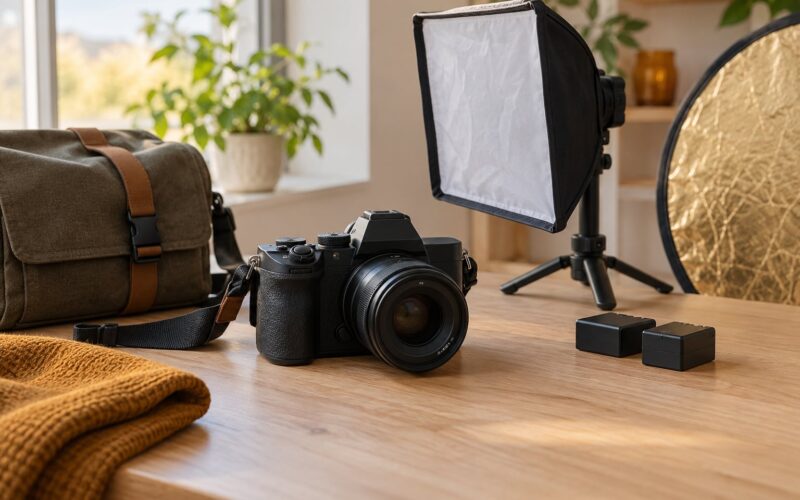
Four things are genuinely necessary: a camera that fires, a lens, a roll of film, and somewhere soft to shoot. The rest makes life easier.
- A camera you can operate blind. A fully automatic 35mm compact will meter and expose for you, which is the fastest way to get usable frames. A manual SLR or rangefinder teaches you more and costs more to get wrong.
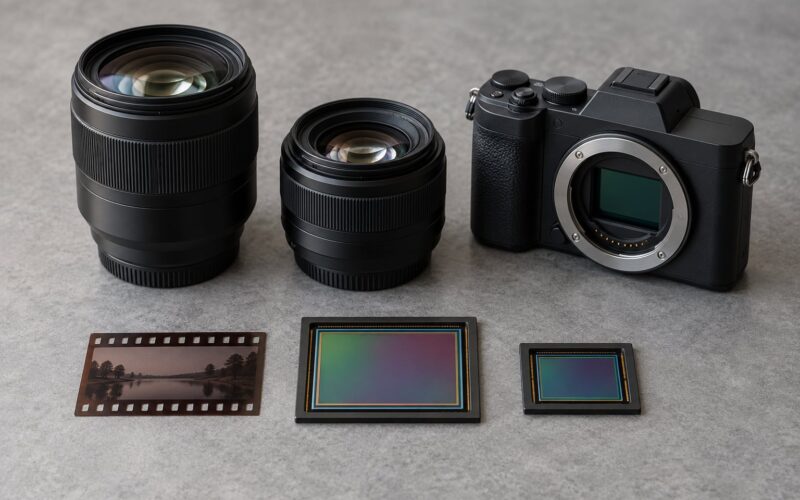
- A normal or short telephoto prime. A 40mm pancake or a 50mm f/1.8 works for head-and-shoulders and waist-up portraits. A fast aperture matters more than focal length for keeping a face sharp while the background softens.
- One roll of color negative film. Color negative forgives exposure error better than black-and-white, and most people learn faster when they see recognizable skin tones. Kodak Gold 200 and Ultramax 400 are forgiving everyday options; Portra 400 costs more and renders skin tones flatter and softer.
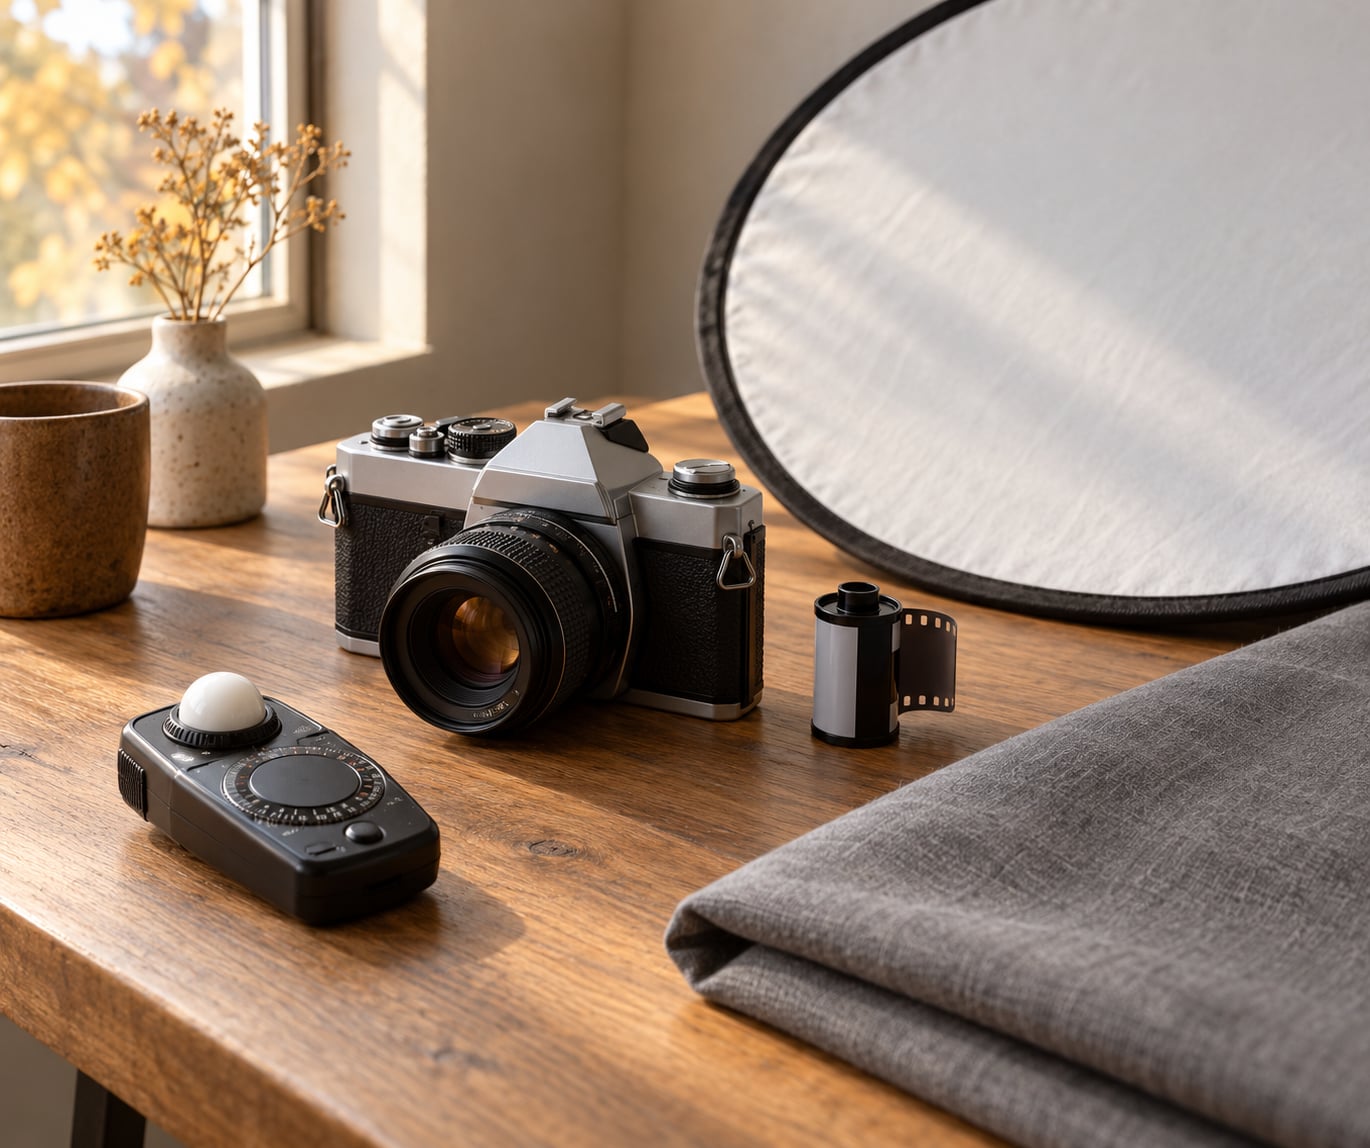
- A way to judge light. A handheld light meter is best, a built-in meter is fine, and a phone app is a reasonable stand-in when you check it against a known-good reading. The Sunny 16 rule covers you when nothing is available.
- One light source and something to bounce it. A window is enough indoors. Outdoors, open shade beats direct sun. A white card or foil-covered board fills the shadow side of a face for free.
- A plain backdrop. A sheet of gray or white fabric hung on a wall gives you separation and keeps the frame clean. A painted wall works too.
- A notebook. Film has no preview screen, so you write down the film speed, aperture, shutter speed, and light for each setup. That log is what stops you making the same mistake on the next roll.
Flash, a color checker, and a remote trigger are optional. Skip them for the first session and learn the light you already have.
Step-by-Step: How to Shoot Portraits on Film for the First Time
Run the session in the same order every time: camera, film, light, focus, direct, shoot, log, finish. A predictable sequence is what keeps a limited roll from turning into a set of near-duplicates.
1. Choose a Simple Camera and Film Combination
Three setups cover almost everyone starting out. A fully automatic 35mm compact handles metering and focus itself, so your only decisions are when and where to shoot. A reusable manual body, the kind sold for decades as an entry-level SLR, exposes its own weakness as soon as light drops, which makes it a much better teacher.
Medium format 120 film produces the largest negatives and the best files, but it is slower to load, slower to advance and far easier to waste. For one sitting with one person, the extra frame size is not worth the extra handling risk.
Match focal length to your distance. On 35mm film a 50mm reads as normal, an 85mm as a short telephoto that flatters features and compresses the background, and a 40mm gets you close to a face without the wide-angle nose distortion.
Match film speed to the light. ISO 200 film suits open shade and a dim interior. ISO 400 film handles overcast daylight and a small flash, and it stays flexible enough for a mixed session. ISO 800 is for shade, dusk or indoors without flash, at the cost of more grain.
2. Learn Your Camera Before the Portrait Session
Sit at a kitchen table with a dead camera body, an empty roll and 15 spare minutes. Load the film until the advance lever moves freely and the counter advances, then fire through all 36 frames to reset the counter to 1 with no film inside. On a rewind camera, confirm the rewind crank turns freely; on an automatic one, find out whether it rewinds at the end or needs the button pressed.
On your actual roll, fire one frame, advance, and check the counter moved. That single check prevents the most common first-roll failure, a blank or double-exposed roll from a misloaded or unadvanced camera.
Set the ISO dial or ring to match the film canister, then leave it alone. ISO is baked into the emulsion, so a dial set to 400 while shooting ISO 200 film produces a roll that is roughly two stops overexposed no matter how carefully you meter.
Understand the relationship before you need it. Aperture controls how much light reaches the film and how deep the sharp zone runs. Shutter speed controls how long the film is exposed and whether movement freezes. ISO is fixed by the film you loaded.
3. Plan Light for a Natural Look
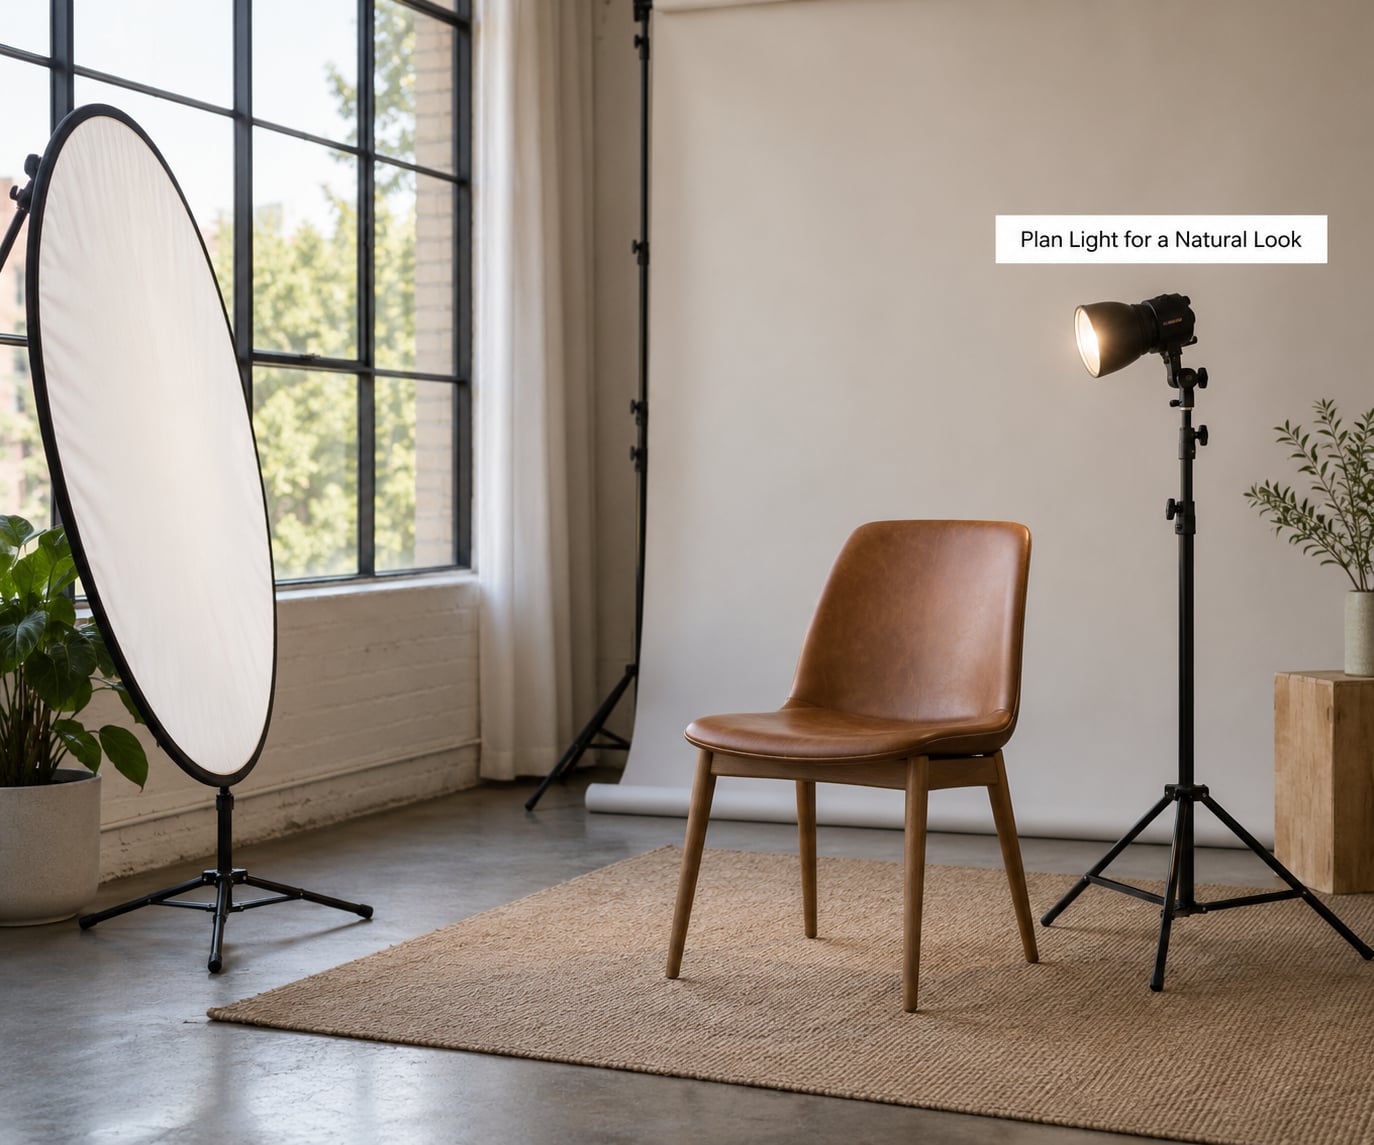
Put the subject about 1 to 2 metres from a window and turn them roughly 45 degrees toward it. Direct light straight on flattens a face, and light from directly behind blows out the background and puts the front of the face in shadow. The 45-degree angle is where the light wraps around the near cheek and leaves a soft shadow you can fill.
Place a white reflector on the shadow side, just out of frame, angled back at the face. That one move replaces a second light and is the difference between a snapshot and a portrait.
Avoid overhead light. Ceiling fixtures sit directly above the eyeline and drop shadows into the eye sockets and under the chin. If that is all you have, have the subject tilt their head up slightly and stand below the fixture.
Outdoors, work in open shade. Bright sun makes people squint and creates hard lines under the nose and chin, and it pushes you toward fast shutter speeds that are fine on ISO 200 but grainy on ISO 800. Overcast daylight is the best light a first film portrait session will ever get.
Available-light portraiture is the sensible default. If the room is genuinely too dim for the film speed you loaded, add a small adjustable LED or a flash bounced off a ceiling rather than firing straight into the face.
4. Set Focus and Exposure for Faces
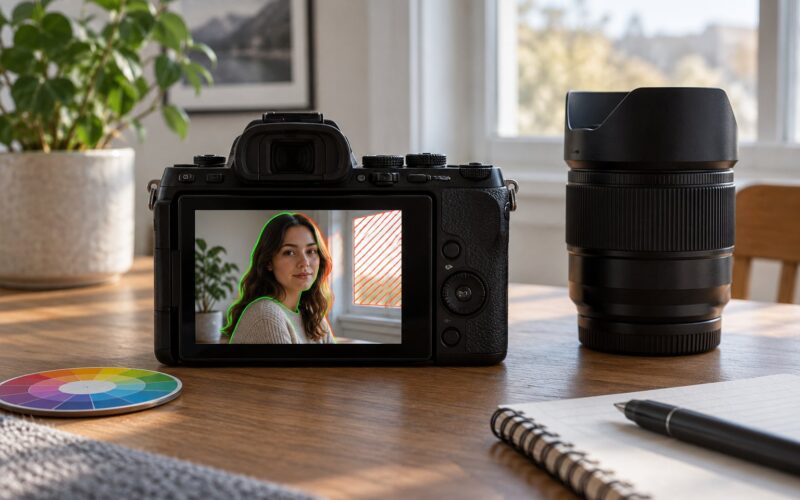
Focus on the nearest eye. Everything else in the frame can be soft, but a soft eye makes the portrait unusable, and on film you cannot check after the fact.
Get close enough for the eye to fill about a fifth of the frame height, then check the focus by zooming in on the viewfinder if your camera allows it. On a manual-focus body, focus at the subject’s distance, not at the infinity setting that works only when the subject happens to be far enough away.
Open the aperture as far as you can while keeping depth sufficient. f/2.8 to f/4 on a 50mm keeps the face and both eyes sharp and softens the background. Stopping down to f/8 or beyond to force more light into the frame will often put the far cheek and the ear out of focus at a portrait distance.
Meter for the face, not the background. Metering off a bright window gives you a silhouette; metering off dark clothing gives you a blown-out face. Place the reflective meter cell against the near cheek and read the shutter speed for your chosen aperture. Meter cells are less sensitive to darker skin tones, so lean a third of a stop brighter than the needle suggests and ask the subject how the light looked rather than trusting the reading alone.
Color negative film has wide latitude and shadows hold detail better than highlights, so adding a third to a stop of exposure gives you a slightly brighter, more open face with room to recover in the scan.
5. Direct the Subject Without Taking Over
Before the session, explain the pace. Tell them a roll has 36 frames, that you’ll review a few together afterward, and that most of those frames will be process, not portrait. People who expect one perfect shot relax immediately.
Start with a neutral posture: both feet planted, shoulders slightly turned away from the camera, hands visible rather than hidden in pockets. Then change one thing at a time. Turn the head a few degrees toward the light, chin forward and down half an inch, a small step toward the camera, weight onto the back foot so the body forms an S curve.
Give prompts about comfort rather than appearance. Try looking past my shoulder. Breathe out on the next shot. Do you want warm colors or the black-and-white roll after this? Specific instructions are easier to act on than “relax”.
Talk about the light out loud. When a face goes soft, move the reflector rather than blaming the subject. Feedback about what you can actually control tends to make people relax, not tense.
Shoot three frames at your starting setup, then change one variable and shoot three more. Spend most of the roll on the composition you already trust and save a handful of frames for something wilder, because on film every experiment comes off the count. Note which setup produced the frame you liked most, and repeat it.
6. Make the Roll and Record the Settings
Burn 8 to 12 frames at the start. Expose a strip of the same subject and setup across a range of shutter speeds, then note which value you would shoot at. It tells you how this body, this lens and this film behave together in this light, and it costs a fraction of the roll.
Write each setup in your notebook: film speed, aperture, shutter speed, light direction, and the reflector position. Without it you will not know why the first six frames look different from the last six, which is the whole reason film teaches you faster than digital.
Check the frame counter against the count of shutter releases every few frames. A counter that has not moved means the film did not advance, so the next shot will be a double exposure.
If a frame is double-exposed or missed, don’t stop. Fire the next frame, keep the roll moving, and note the frame number in your log. A ruined roll usually means one misfire in the loading process, not a ruined film canister.
7. Finish the Roll and Develop It Safely
A 36-exposure roll is done when the advance lever stops short of its normal stroke, or when the counter passes 36. On a camera with a manual rewind, rewind until you feel the tension release completely, which means the leader is back in the canister; then open the back and confirm the film is fully inside. On an automatic camera, listen for the motor and check that the rewind signal has stopped.
Label the canister with the film speed, the date and one word about the subject. That note costs nothing and saves you guessing later.
A mail-in lab is the right call for most first rolls. Development is chemistry, temperature and time, and the difference between a good lab and a cut-rate one shows up in your scans. If you want to develop at home, use a tank with continuous agitation, follow the times for your developer and temperature, and never open the tank before the fix step.
One warning worth stating plainly: undeveloped film cannot be recovered by editing software. Once the roll is in the tank, the exposure is decided by what happened in front of the camera and the chemistry in the tank.
Common Mistakes
Nearly every ruined beginner roll comes from one of seven things, and each has a simple fix.
- Underexposure. Metered against a dark background or a shadowed face, leaving shadows empty and colors muddy. Fix: meter off the lit cheek and add a third to a stop of exposure.
- Overexposure. Metering off a bright window, giving a washed-out face and thin, weak color. Fix: point the meter at the subject, never the window.
- Missed focus. Focusing on the forehead, the glasses or the frame edge instead of the nearest eye. Fix: use the magnified viewfinder and confirm sharpness at the eye before every setup change.
- Double exposures. Forgetting to advance the film, or advancing twice after one shot. Fix: watch the lever move on every frame and check the counter at each new setup.
- Subject discomfort. Filling the silence with rapid-fire direction. Fix: shoot a few frames, then step back and give one specific instruction at a time.
- Inconsistent film speed. Setting the dial to 400 while shooting ISO 200 film, or forgetting to change the dial with the film. Fix: read the ISO off the canister aloud before loading.
- Not finishing the rewind. Opening the camera with the film still partly in the canister, fogging every frame. Fix: after rewinding, open the back only when you feel the tension release.
A few habits carry most of the benefit. Shoot more test frames than feels necessary. Work in open shade. Keep the reflector where it flattens shadows. And hold the camera at chest height to eye level of a seated subject rather than crouching and shooting upward.
Frequently Asked Questions
What type of film is best for a first portrait session?
A color negative film at ISO 200 or 400 is the easiest place to start. Color negative tolerates a stop or more of exposure error in either direction, so beginner metering mistakes still produce usable frames. Kodak Gold 200 and Ultramax 400 are forgiving and widely available; Portra 400 renders skin tones softer and flatter at a higher cost. Black-and-white develops faster and is cheaper, but it shows underexposure and missed focus far more harshly.
Is it useful to practice film portrait techniques with a digital camera first?
Yes, and it costs nothing. Use any digital camera or your phone to rehearse the parts of the session that have nothing to do with film: where the subject stands, where the reflector goes, which focal length frames a head and shoulders, and how it feels to give direction out loud. What a digital rehearsal cannot teach you is exposure values, manual focus or the sting of only having 36 frames. Rehearse the room on digital, then shoot the real session on film.
What lens should I use for beginner film portraits?
A 40mm or 50mm prime is the most versatile choice, because it works for head-and-shoulders, waist-up and full-length frames without moving around much. A fast aperture such as f/1.8 or f/2 gives you the light you need indoors and softens the background. An 85mm is the upgrade to make once you are comfortable, since its longer view flatters features and compresses a busy background, but it demands more distance from the subject.
How many portraits can I take on one roll of 35mm film?
About 36 frames on a standard roll, so plan for roughly 20 usable portraits after test frames and retries. That is enough for one short session with a single subject if you change one variable at a time rather than shooting near-duplicates. Shooting two people in the same setting can eat a roll quickly, so use a second roll for a wider group. Never advance the film without firing a frame, because those empty frames come off your portrait count.
What should I do if I make a mistake on a film portrait?
Keep shooting and note the frame number in your log. A missed focus or a bad expression is not fatal on a 36-frame roll, since you may get a better version on the next frame. The only unrecoverable mistakes happen before or during the shoot, such as a wrong ISO setting, a roll that never advanced or film left in the camera during rewind. Those you cannot fix in editing, which is why the pre-session checklist matters more than the frames you already spent.
Conclusion
Your first film portrait session is decided long before you lift the camera. Pick one camera and one film speed you understand, find soft directional light from a window or open shade, spend 8 to 12 frames finding your exposure, and write every setting down as you go.
Do those things well and get the roll developed before buying anything else. The scan will tell you which part of the process you already do well and which one needs another roll, which is a far cheaper lesson than a new camera body.