To shoot portraits during blue hour, work the 20 to 40 minutes after sunset (or before sunrise) when the sun sits roughly 4 to 6 degrees below the horizon and the only light reaching your subject is cool, indirect skylight. Expose for the face, not the bright sky, keep the shutter fast enough to freeze movement or stabilise the camera properly, and treat the light as something to shape rather than a problem to correct. The whole window is short and it changes every minute, so the plan has to be made before the light arrives.
What makes blue hour portraits hard is not the darkness, it is the mismatch. A sky at 8 stops over a face at 3 stops will make any meter read the sky, and most people end up with a black face against a white sky. The workflow below fixes that by separating the two decisions: set the exposure for the person, then make a separate choice about the background.
It also helps to know what is happening optically. Once the sun drops below the horizon it stops lighting anything directly, so the only illumination is skylight that has travelled a long path through the atmosphere. Rayleigh scattering strips out the longer warm wavelengths along the way, which is why the light turns blue. Because that light is indirect and low in contrast, shadows on a face soften instead of falling hard, which is exactly why portrait photographers like it.
Plan on a full hour from arrival to last frame. The usable window is short, so scouting, positioning, and a test exposure all happen before the light is at its best.
Table of Contents
- What You Need
- Step-by-Step
- 1. Time the blue-hour window
- 2. Choose the portrait position
- 3. Meter without letting the background fool you
- 4. Set shutter speed, aperture, and ISO
- 5. Focus on the nearest eye
- 6. Stabilize the camera and handle movement
- 7. Shape and balance the ambient light
- Common Mistakes
- Tips for Consistent Blue-Hour Results
- Frequently Asked Questions
- Conclusion
What You Need
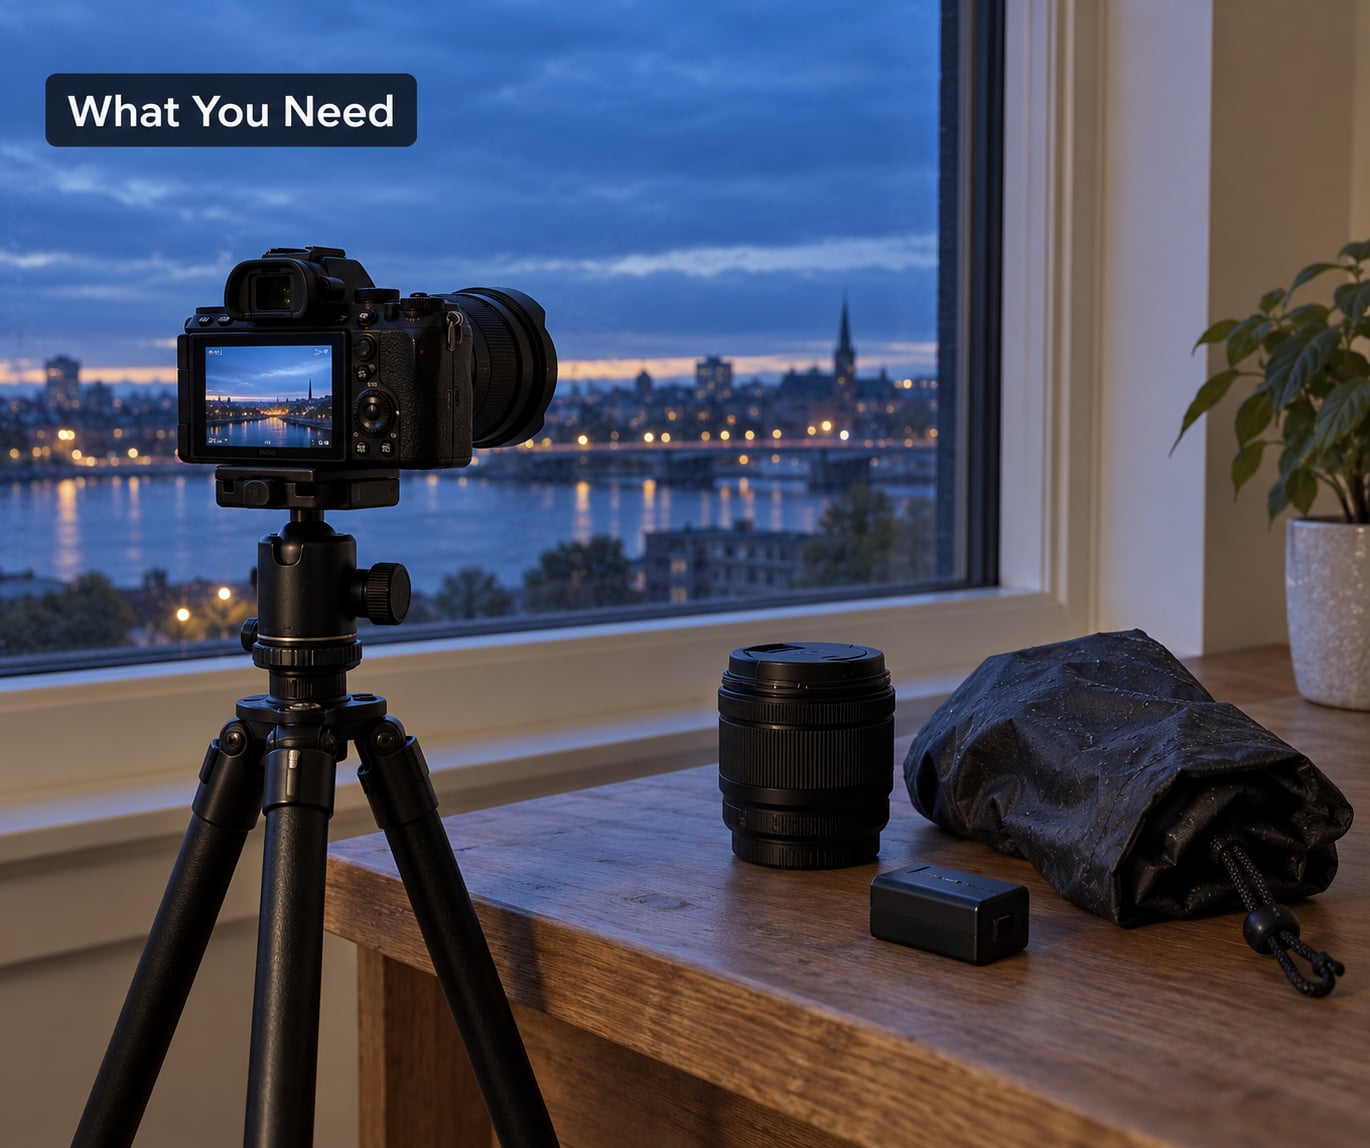
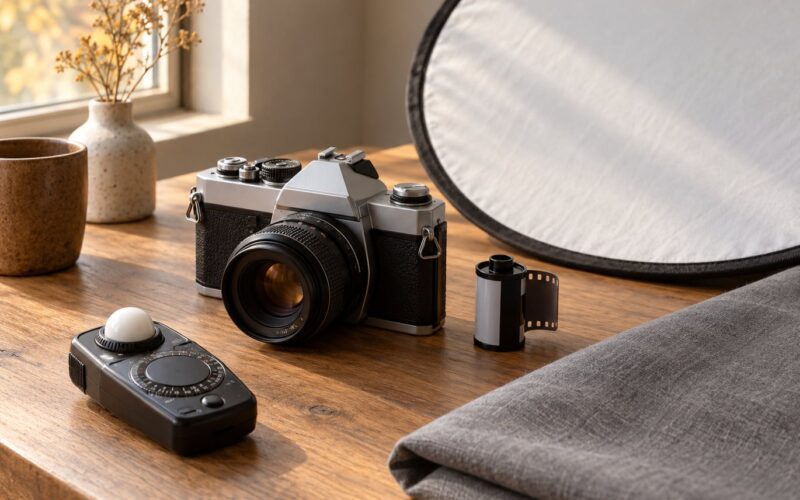
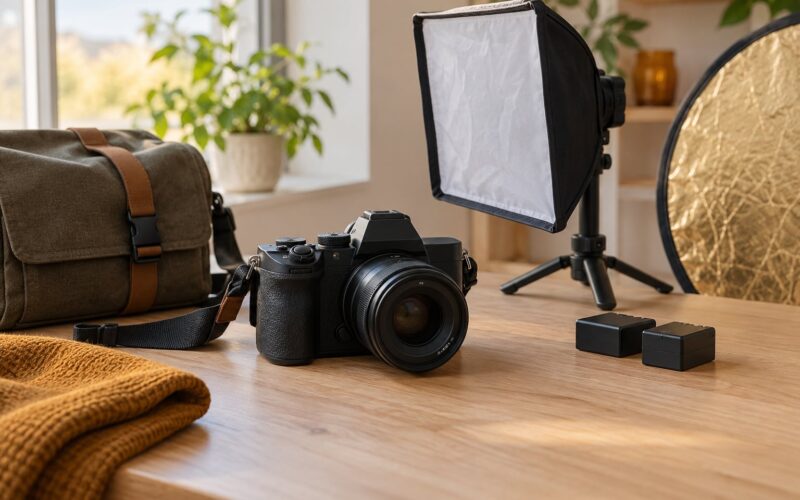
Any camera with manual mode will do. The list below is what makes the difference between a smooth shoot and a frustrating one.
- A camera body you can set manually. Aperture priority with exposure compensation works, but manual mode means one dial change instead of a fight with the meter.
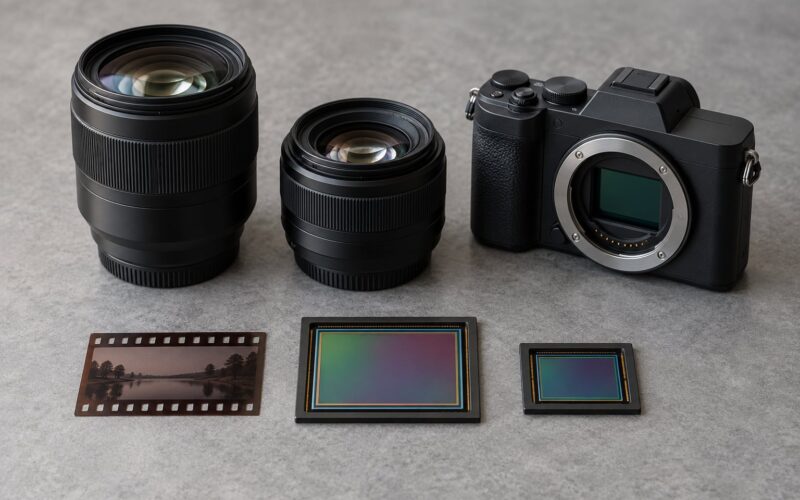
- A fast prime lens. Something in the f/1.8 to f/2.8 range collects two or three times the light of a kit zoom and gives you the shallow depth of field that separates a face from a city street. A 35mm or 50mm on full frame is a good starting point for an environmental portrait.
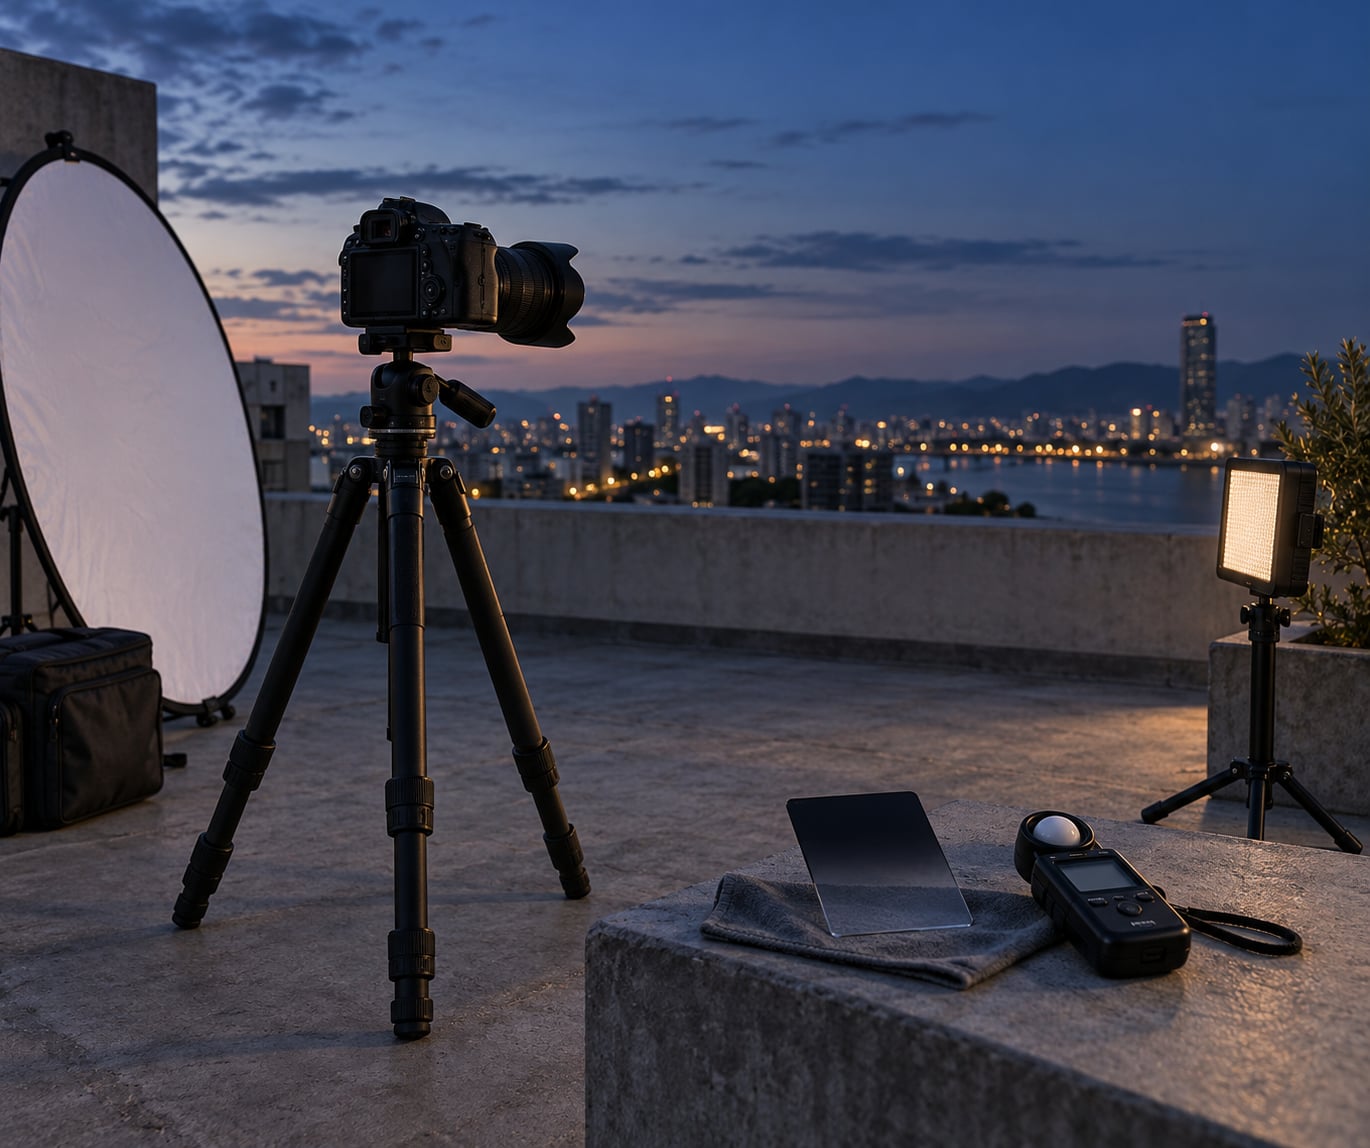
- A sturdy tripod with a remote release or a 2-second self-timer. This is the item people skip and then regret the moment a subject turns toward them mid-exposure.
- A light meter, or the ability to read a histogram. Either one. If the camera shows you a histogram, that is genuinely enough.
- Spare batteries. Cold air at blue hour drains them faster than you expect, and many bodies grip badly with numb hands.
- Weather protection. A rain cover or even a large plastic bag and a dry bag for the body. Dew forms fast once the ground cools.
- Optional, and genuinely useful: a white reflector, a small dimmable LED panel, or an off-camera flash. Ambient alone can work, but a small amount of added light is what separates a flat frame from a portrait with shape.
Bring a hand warm packet and a thermos. The uncomfortable truth about outdoor portrait work in the evening is that your subject is standing still in the cold while you walk around, and a cold person holds themselves stiffly.
Step-by-Step
Seven steps, in the order they need to happen. Steps one and two happen in daylight, and skipping them is the single most common reason a blue hour session goes badly.
1. Time the blue-hour window
Blue hour is defined by the sun’s angle, not the clock, and it is shorter than most people expect. Look up the exact times for your location and date in The Photographer’s Ephemeris or PhotoPills, then note three numbers: sunset, the end of civil twilight, and the end of nautical twilight.
Aim to arrive 45 minutes before sunset. That sounds early, and it is, but it buys you the time to walk the location, find your angle, make a test frame in daylight, and let your subject warm up. The person standing there from a cold start produces a much better portrait than someone dragged out of a warm car five minutes ago.
Watch the transition rather than the clock. There is a short stretch where the horizon still holds warm colour while the sky overhead is already deep blue, and that is the most flattering light of the whole session. Shoot the warm-to-cool shift as it happens, because you cannot get it back on the way home.
2. Choose the portrait position
Put the subject with open sky behind and above them. Open sky acts as a giant softbox, so a face turned toward it is evenly lit, and a deep blue background behind the head gives instant separation. A dark building or a stand of trees behind the subject does the opposite: it absorbs light and the face disappears.
Watch where direct light is still landing. In the ten minutes around sunset a shaft of horizontal sun can hit one side of a face and leave the other side in shadow, which is a Rembrandt pattern nobody planned. Sometimes that is the best frame of the session. Sometimes it is uneven and you step the subject ten degrees and it goes away.
For a silhouette, put the subject between you and the brightest part of the sky and expose for the background. For a lit portrait, put the sky behind and expose for the face. You are making that choice in the position, not later in the edit.
3. Meter without letting the background fool you
Switch the camera to spot metering or centre-weighted metering, put the metering circle on the brightest part of the forehead, and take a reading. A matrix meter pointed at a person against a bright sky will expose for the sky and leave the face two stops under. That is the single most common failure in blue hour portraits, and it happens to experienced shooters too.
Then check the histogram. Push the data toward the shadows, with the right edge touching but not pinned. If the right edge of the histogram is flat against the wall, your sky is clipped and no amount of editing gets it back. Forum users on blue hour threads consistently describe judging exposure off the histogram rather than the rear screen, which makes sense because the screen is bright and lies to you in the dark.
Do one test frame and zoom in at 100 percent on the face before you trust anything. If the skin is glowing and flat, you are a stop hot even if the histogram looked fine.
A related question comes up constantly: should the face be allowed to go dark and get lifted later? It can, but budget for it. Lifting a face by two stops in the raw file also lifts every noise pixel in the shadow detail, and blue hour shadow detail is already noisy.
4. Set shutter speed, aperture, and ISO
Start with manual mode, shutter priority instincts, and adjust from there. For a subject who is moving, a reliable starting point is 1/125 s, f/2.0, ISO 800, shot RAW. That is fast enough to freeze ordinary movement, wide enough to blur a city background, and low enough on ISO that noise stays out of the shadows.
If you need more light, open the aperture before you raise the ISO. f/1.4 gives you roughly two stops over f/2.8, and two stops of clean light beats two stops of noise you have to scrub out. Where that fails, raise the ISO, but check a frame at 100 percent before you commit to the whole session.
To reach a low native ISO for a static subject, slow the shutter and stabilise the camera instead. At 1/4 s and ISO 100 on a tripod, blue hour portrait work is very clean. That is also where graduated and neutral density filters earn their keep: an ND filter lets you sit at ISO 100 in full daylight, which means the same settings work from scouting through the transition.
On the f/2.8 versus f/4 question, in blue hour portraits f/2.8 wins as the default. The extra stop of light is worth more than a little background separation, especially when the light is going fast. Stop down to f/4 when the light is generous or when the subject is genuinely still and you want the whole scene readable.
5. Focus on the nearest eye
Autofocus in blue hour light is unreliable, especially on a subject moving toward camera. Point single-point autofocus at the nearest eye and shoot. If eye detection holds on a face turned toward the lens, use it, but check the focus indicator rather than trusting it.
When autofocus hunts, switch to manual focus or back-button autofocus with a single point on the eye. That feels slower for about two frames and then it is faster than fighting the system. On a tripod, focus once and the plane does not move, so nothing is lost by doing everything manually.
Keep the working distance close enough that the depth of field is forgiving. f/1.4 at three metres on an 85mm gives you almost nothing. f/1.4 at one and a half metres gives you a usable sliver. Step closer and open up.
6. Stabilize the camera and handle movement
This is where the tripod-versus-subject-motion conflict actually gets resolved, and it is worth being precise about it. Camera shake and subject motion are two different failures, and only one of them is fixed by a tripod.
With the camera on a tripod, any movement in front of the lens still blurs. So the tripod is for static environmental portraits, a subject leaning on something, a long-exposure frame with a person walking through it, and silhouette work where the subject holds still for a few seconds. Use a remote release or the 2-second timer so pressing the shutter does not nudge the mount, and on a DSLR with live view use that instead of mirror lock, which removes the mirror-slap movement altogether.
For a walking, laughing, turning-toward-camera subject, handhold and accept it. A slightly soft frame of someone mid-gesture is worth more than a technically sharp frame of someone standing like a coat hanger. Raise the shutter speed and the ISO to buy the speed, and stabilise yourself: feet planted, elbows in, back against something solid, breath out at the moment of the shot.
There is a third option worth trying with a tripod and a moving subject on purpose. Set 1/4 s or 1/2 s, keep the camera locked, and have the subject walk through part of the frame. The stationary parts stay sharp while the moving subject smears. It looks intentional when it works, and it is a technique people spend years learning to do deliberately.
7. Shape and balance the ambient light
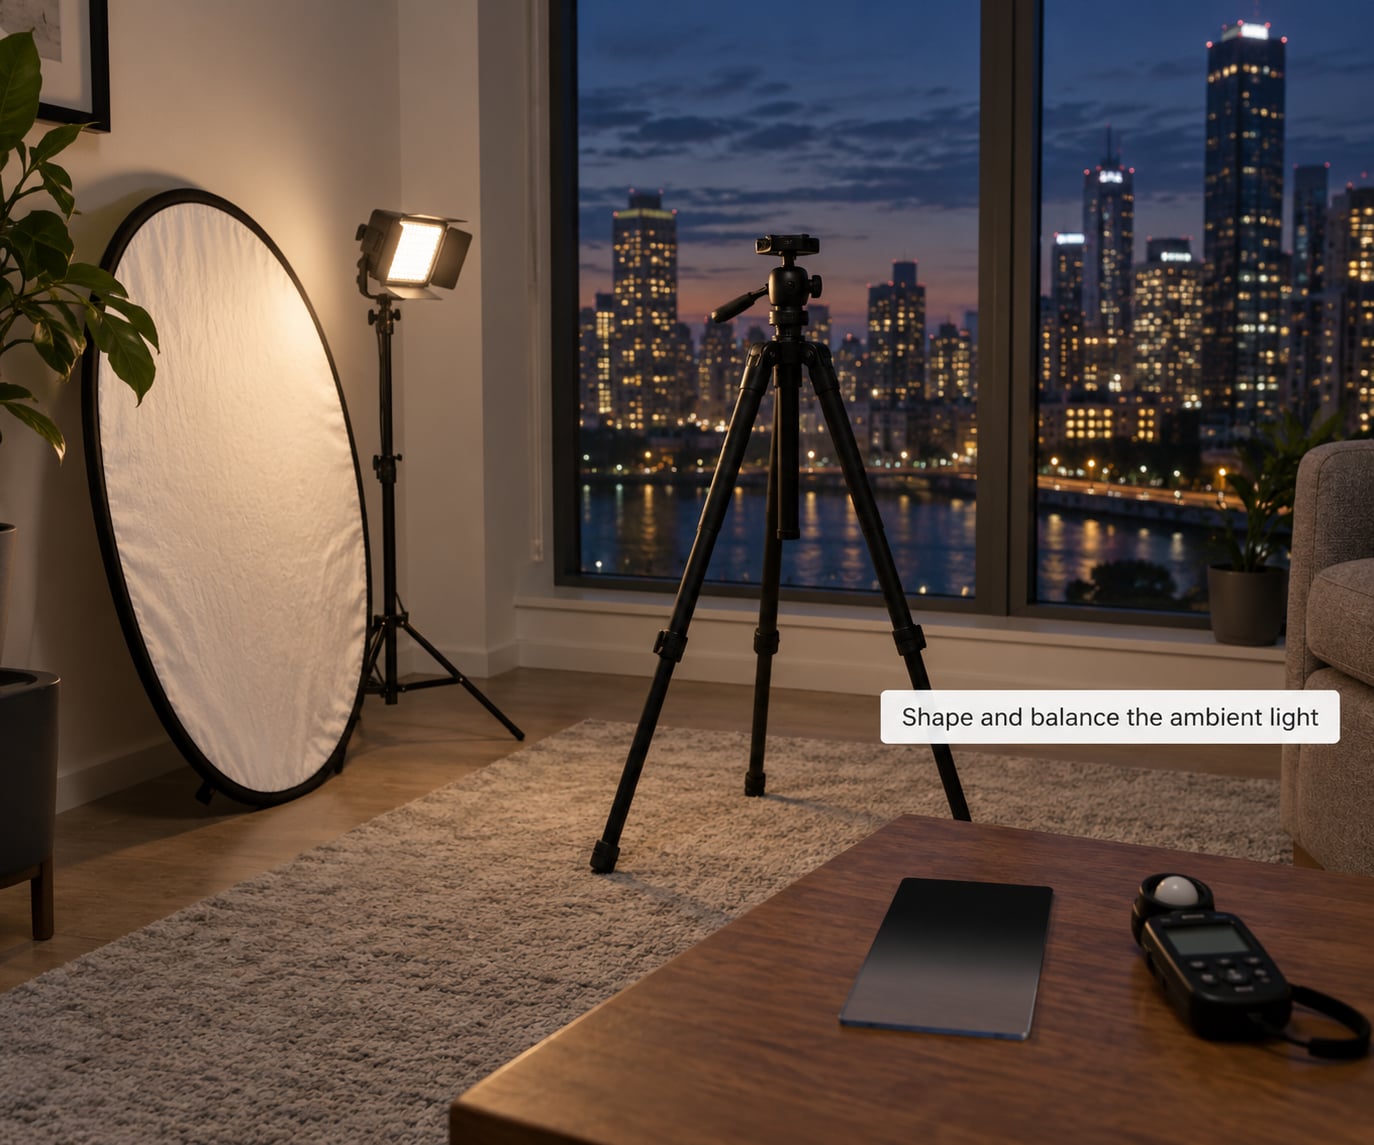
Ambient light is soft and flat, which is the appeal and the limitation. A white reflector or a piece of white foam board bounced close to the darker side of the face lifts the shadow a stop or two and costs nothing. Keep it just out of frame, angled to bounce the brightest part of the sky back at the subject.
A small dimmable LED gives more control than a reflector, especially when you want the face a stop or two above the ambient without a hard shadow. Set it low, off to one side, and slightly above eye level. Dial it down until you can barely tell it is on; the temptation is always to make it more obvious than it should be.
With an off-camera flash, the consensus advice from photographers shooting dusk on forums is to control the flash by distance and power rather than by changing the aperture, and to keep the flash contribution around 20 to 30 percent above the ambient so it still reads as daylight. Gel the head with a CTO or double CTO to warm it, and drop the camera white balance until the flash reads as a believable low sun. Then meter the background separately and bracket the ambient if the sky is going.
On white balance, there is an active argument in photography communities and no consensus answer. The workflow I prefer is to shoot deliberately warm, around 3200 to 4000K, rather than correct to daylight. A warm frame leaves more blue and green in the raw data, and you can push the whole scene cool in editing. Correcting to neutral in camera throws away the colour you might have wanted.
Whichever you choose, shoot RAW and set white balance in the raw file, not the viewfinder. Bracket two or three frames at different exposures as the light changes. You will pick between them later with a colour checker and a warm monitor instead of guessing on a phone screen in a car park.
Common Mistakes
- Underexposed faces. The meter read the sky. Fix it with spot metering on the forehead, a histogram check, and one stop more exposure compensation than the meter suggests.
- Clipped sky highlights. The histogram is flat against the right edge. Expose down slightly and lift the face in the raw file, or bracket.
- Wrong white balance. Correcting to daylight in camera kills the blue. Shoot RAW, set a warm white balance, cool it in the edit.
- Autofocus hunting. Single-point AF on the nearest eye, or switch to manual and stop adjusting.
- Excessive ISO. Open the aperture a stop before raising ISO two stops. Check noise at 100 percent before the session, not after.
- Camera shake on slow shutter speeds. Remote release, 2-second timer, live view instead of mirror lock, and a braced stance.
- Flash that overwhelms the ambient. Reduce power, increase distance, add a CTO gel, and drop the camera white balance to match.
- A person rendered invisible in a long exposure. Dark clothing, and keep them moving out of frame for part of the exposure.
Tips for Consistent Blue-Hour Results
Arrive early and scout in daylight. The light at 45 minutes before sunset tells you exactly where the shadows will fall, and it is the only chance you get to check the background for power lines and parked cars.
Take test frames the moment you set up, and keep shooting right through the transition. The first ten minutes and the last ten minutes of the window are different looks, and most people quit during the first one.
Keep two or three portrait looks rather than one. Establish a wide environmental frame, a mid-length portrait, and a tight head-and-shoulders, then work between them as the light changes. Direction takes time you do not have, so decide the three looks in advance.
Protect your gear. Dew arrives before you expect it. Keep the body in a bag until the frame is composed, and change lenses fast.
Stop when the look you came for is gone. Packing up while the sky is still blue is the most common self-inflicted disappointment, and the light you got is usually better than the one you were waiting for.
Frequently Asked Questions
What time is blue hour for portrait photography?
Blue hour runs from about 20 to 40 minutes after sunset, and the same length of time before sunrise. The exact window depends on your latitude and the season, so check an ephemeris app such as The Photographer’s Ephemeris rather than guessing. The best portrait light is the transition just after sunset, when the horizon still holds warm colour and the sky above is already deep blue. Arrive 45 minutes before sunset to scout and shoot test frames.
Do I need a tripod to shoot portraits during blue hour?
Only for static work. A tripod with a remote release or 2-second timer is essential for still environmental portraits, silhouettes, and any frame below about 1/60s. For a subject who is moving, handhold with a faster shutter speed instead, braced on something solid. Remember the tripod only removes camera shake, not subject motion, so a moving subject still blurs at slow shutter speeds no matter how stable the camera is.
What camera settings work best in blue-hour light?
Start at 1/125s, f/2.0, ISO 800 in manual mode, shot RAW. For a still subject on a tripod, drop to ISO 100 and slow the shutter instead, which keeps the files clean. Open the aperture a stop before you raise ISO, since two stops of extra light through the lens is cleaner than two stops of noise. Set white balance in the raw file rather than the viewfinder.
Should I use flash or a reflector during blue hour?
Either works, and both beat ambient alone. A white reflector is free and lifts the shadow side of a face by a stop or two. A small dimmable LED gives more control, kept low and slightly above eye level. With off-camera flash, control the output by distance and power rather than aperture, and keep the flash roughly 20 to 30 percent above the ambient so it still reads as natural. Gel it with CTO to match the warm horizon.
Is blue-hour light enough for a portrait?
Yes, for most portraits. Blue hour skylight is soft, even, and low in contrast, which is why it flatters faces. The limit is the background: a bright sky against a dark face exceeds what a single exposure can hold, so you either expose for the face and let the sky deepen, or expose for the sky and add light to the subject. A reflector, a small LED, or off-camera flash solves the mismatch.
Should I shoot blue-hour portraits in RAW?
Yes. Blue hour is a mixed-colour-light situation, and RAW keeps enough data to re-balance white balance and recover shadow detail later without the banding JPEG compression creates in smooth blue gradients. Shoot RAW, set white balance in the raw file, and keep the highlights unclipped, because clipped sky pixels cannot be recovered in any format. Bracketing a few exposures at each setup is cheap insurance.
Conclusion
The workflow that holds up is simple: find the window with an ephemeris app, arrive 45 minutes early, put the subject with open sky behind them, spot meter the forehead, and make one conservative test exposure before you adjust anything else. Check the histogram rather than the rear screen, keep the shutter fast enough for movement or stabilise the camera properly, and add only as much reflector or flash as the frame needs.
Start with those three things tonight: the histogram, the position, and a single test frame at 1/125s, f/2.0, ISO 800. The rest of the light you can shape once you know what the meter was trying to tell you.