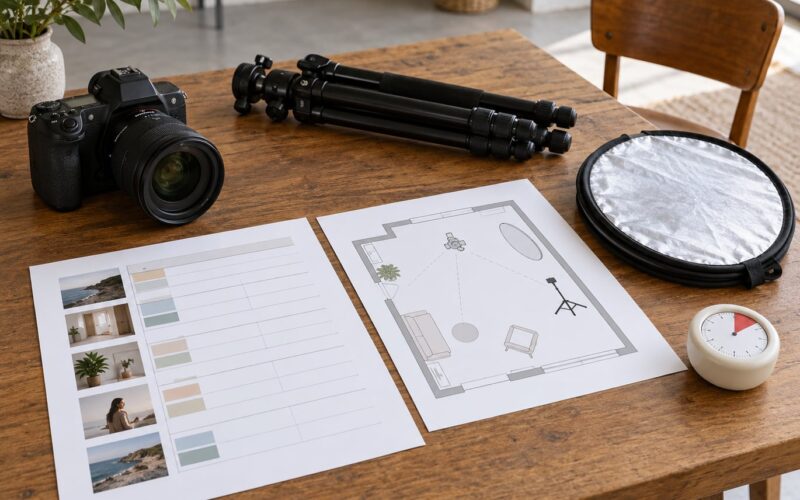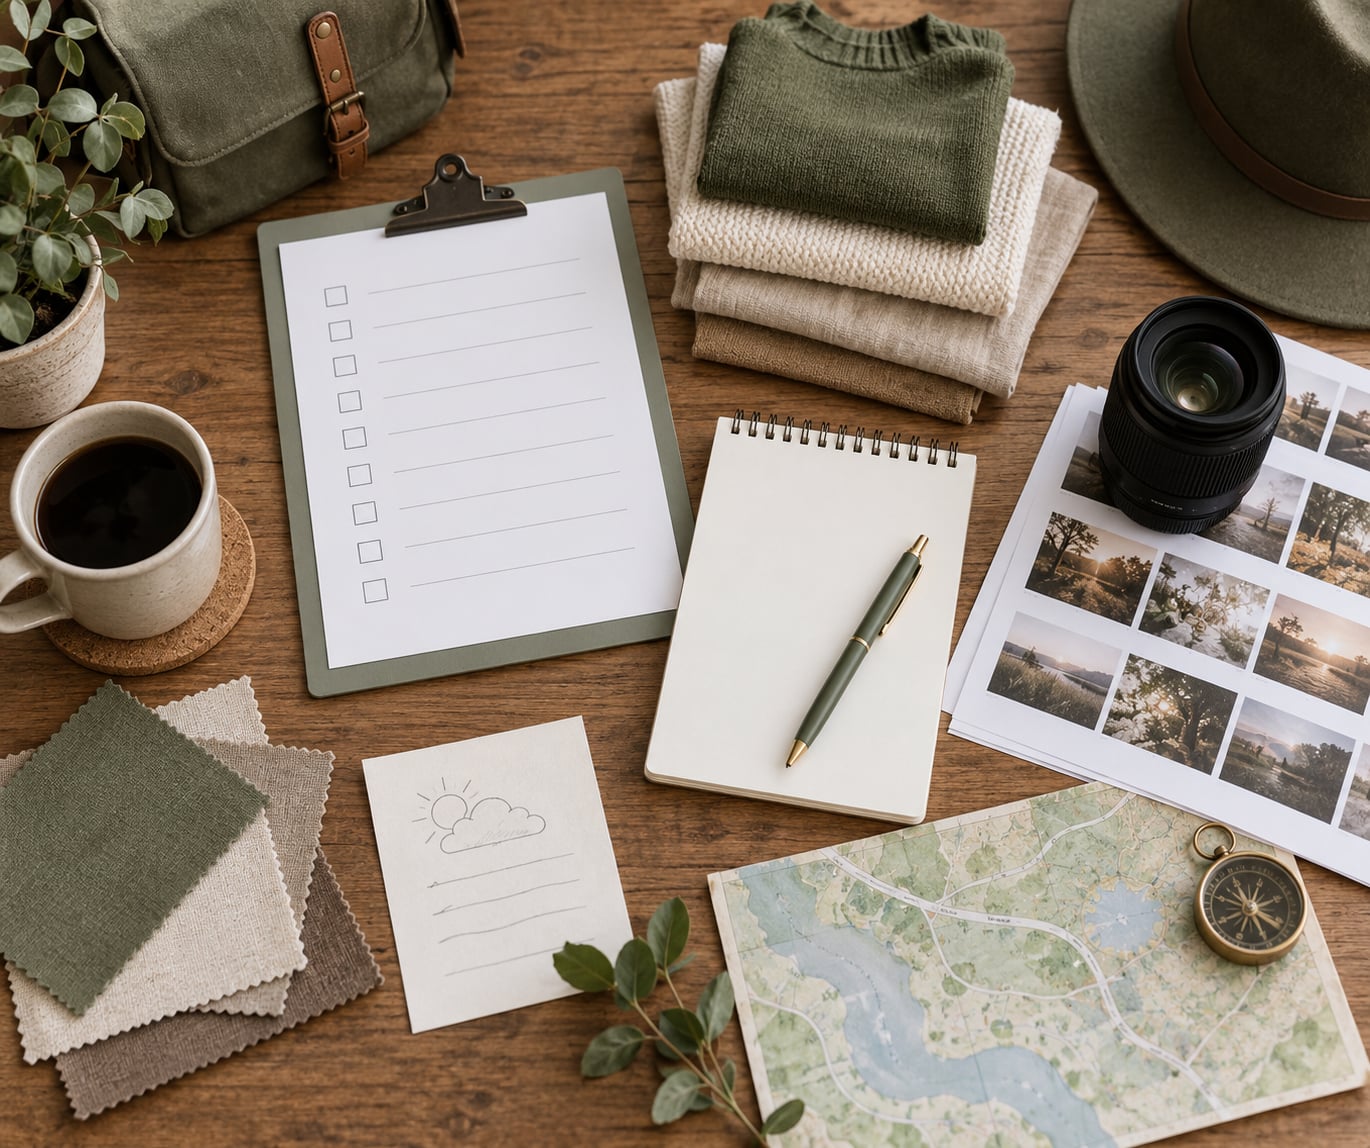
Knowing how to prepare clients before a photo session comes down to four things: set expectations, plan the look, plan the logistics, and calm the nerves. Send one short prep note, cover those four areas, and most clients arrive on time, dressed in something that works with the light, and ready to be photographed instead of quietly hoping for the best.
The part people overthink is tone. A prep guide is not a contract and it is not a mood police. It works best when it reads like a thoughtful friend describing the day, so the client spends the session being present rather than guessing what you wanted.
Table of Contents
- What You Need
- Step-by-Step: How to Prepare Clients Before a Photo Session
- Step 1: Confirm the session purpose and desired outcome
- Step 2: Set a clear visual direction
- Step 3: Recommend clothing and preparation that supports the portraits
- Step 4: Explain the location, timing, and working conditions
- Step 5: Prepare the client emotionally and conversationally
- Step 6: Confirm permissions, logistics, and final details
- Common Mistakes
- Frequently Asked Questions
- How far in advance should I send photo session prep instructions?
- What should a client wear for a photoshoot?
- Should clients practice poses before a photo session?
- What do I do if the weather changes before an outdoor session?
- How much makeup and styling does a photo session need?
- How early should clients arrive for a photo session?
- Conclusion
What You Need
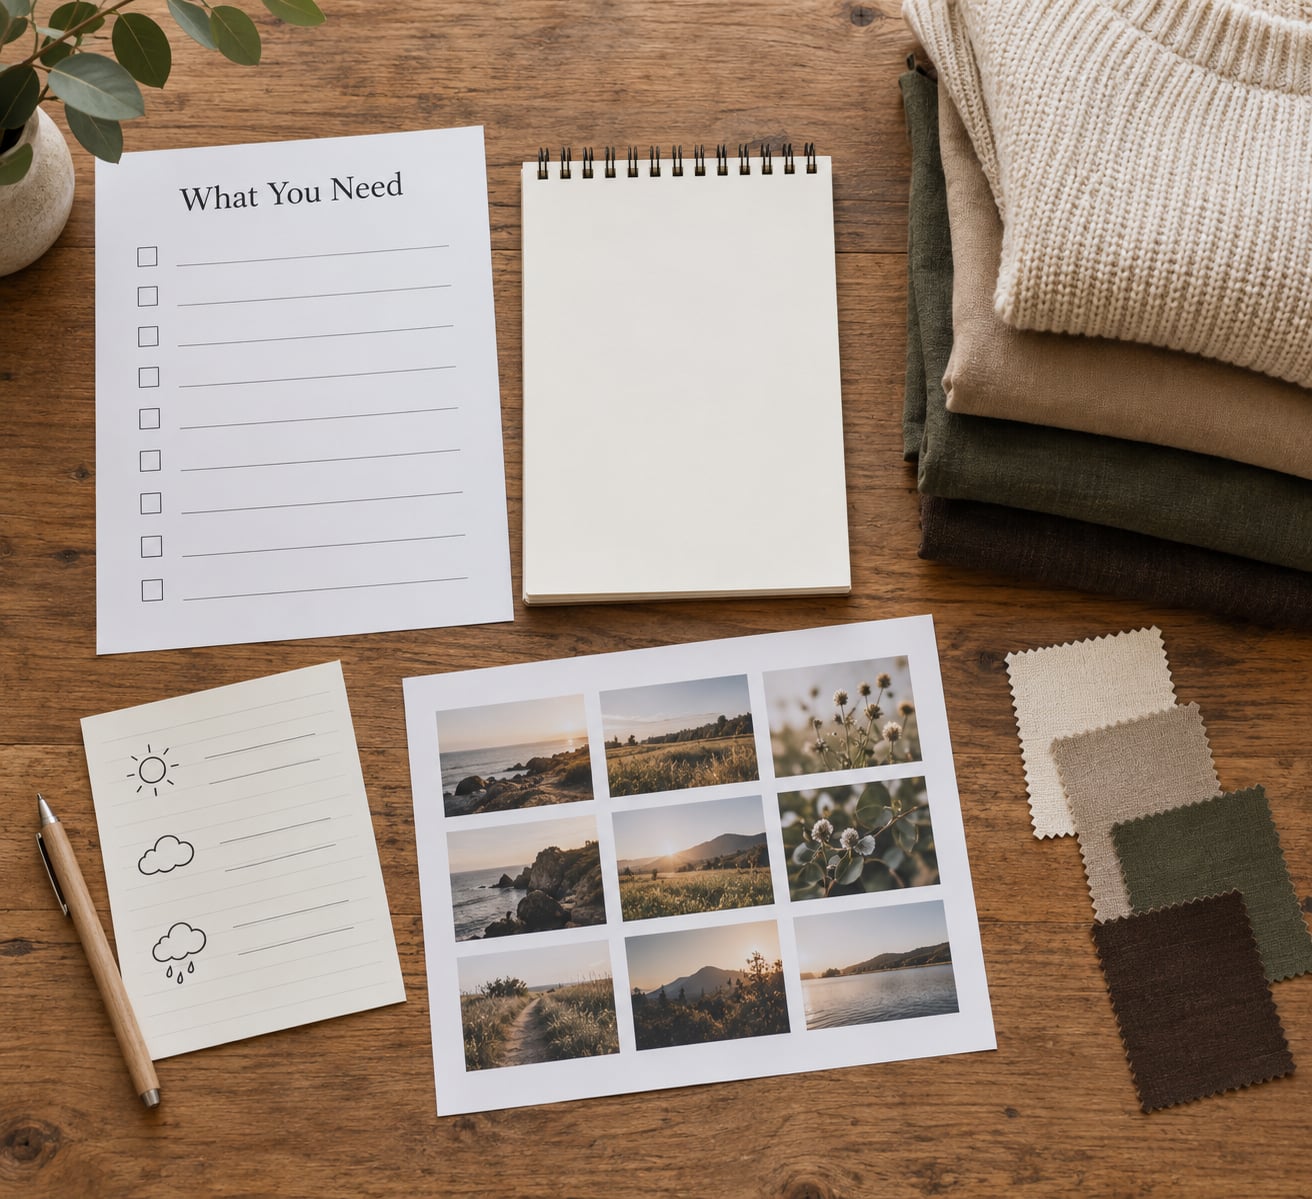
You need very little to prepare a client well. Most of it is information you already have, written down in one place instead of scattered across texts, emails and camera notes.
A short session brief. Three or four lines covering the date, the start time, the meeting point, roughly how long the session runs, and when the finished images arrive. This is the document everything else hangs from.
A shot or mood reference. A small set of images, six to ten at most, that show the light, the energy and the kind of frame you are going for. Past sessions in a similar style work better than stock images because they show what your camera actually produces.
Outfit guidance. Specific rather than general: how many outfits to bring, which colours suit the location, what to avoid, and what to wear for shoes. Vague advice produces vague results, and a client in a bright pattern at a golden-hour beach session will fight every frame.
Arrival and meeting information. The exact spot, not the neighbourhood. A pin that drops you on the correct side of a car park saves ten minutes you were counting on for light.
Weather and location detail. What the ground is like, how exposed the spot is, whether there is shelter, and your rescheduling policy in writing. For indoor studios, parking, floor level and access matter more than they look like they do.
Forms and payment. Contract, model release where one applies, and confirmation the balance is settled. Chasing these after a client has already paid creates an awkward exchange that has nothing to do with photography.
A short personal preference list. A client questionnaire covering must-have people, allergies, sensitivities about being photographed, and any detail they would regret missing. Ten questions is plenty.
Assemble these into one artefact. A welcome guide, a branded PDF, or for smaller shoots a single well-formatted email. The format matters far less than the fact that it exists in one place.
Step-by-Step: How to Prepare Clients Before a Photo Session
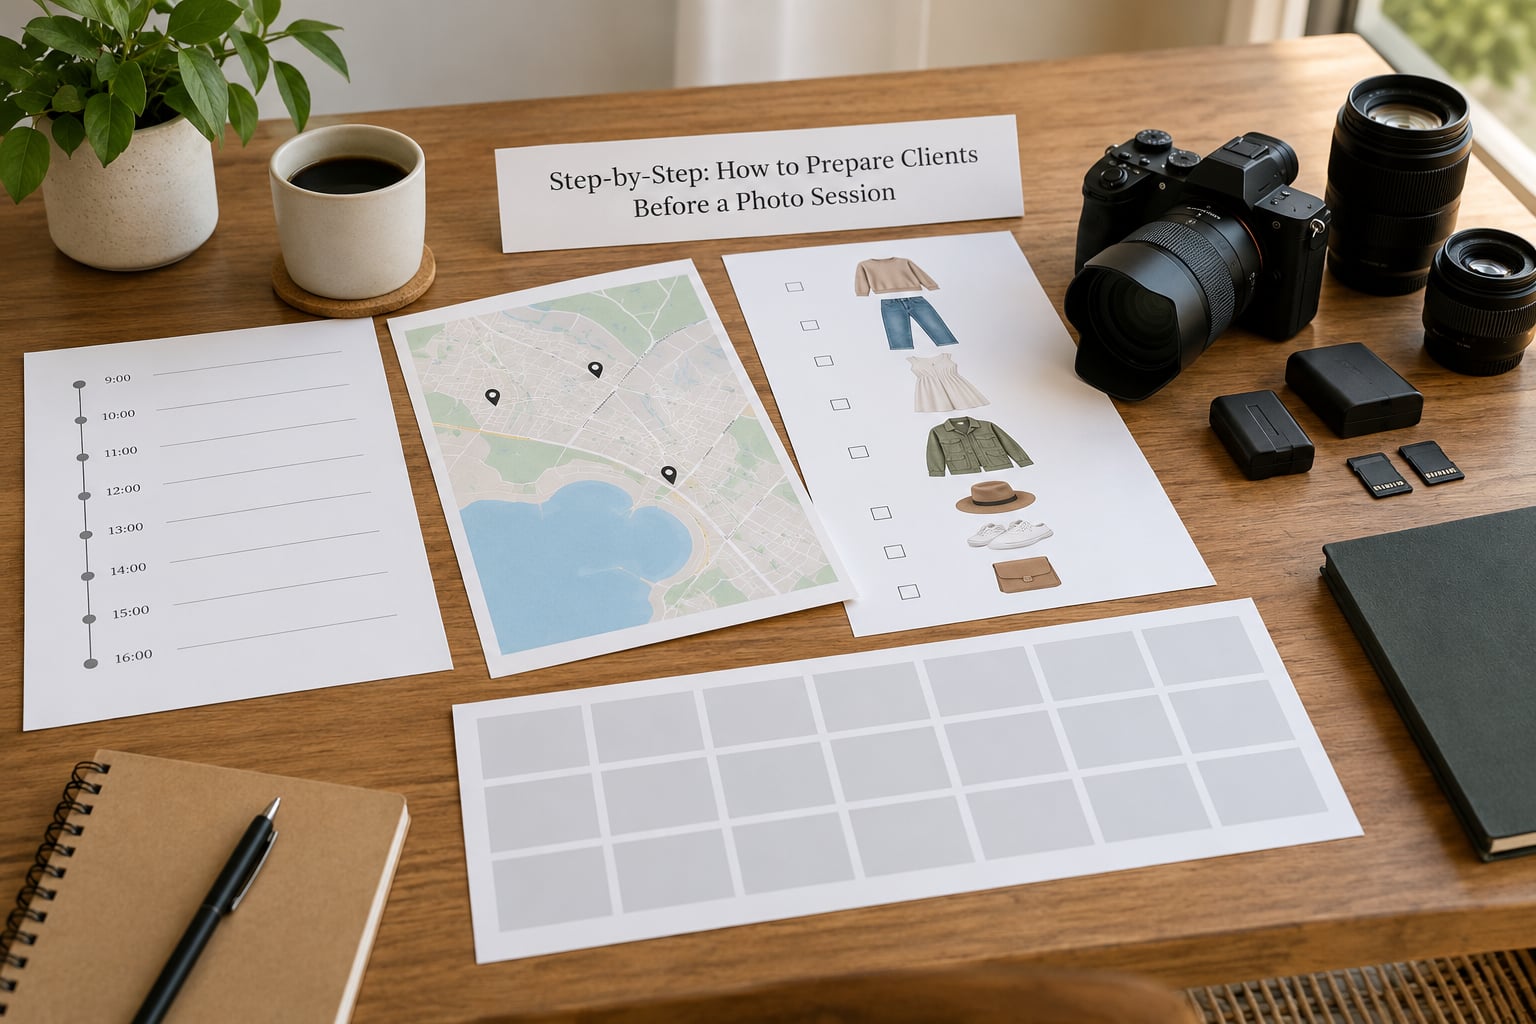
Preparation works as a chronological process rather than a single message. Each step removes a different kind of uncertainty, and clients tend to relax in the same order.
Step 1: Confirm the session purpose and desired outcome
Start by finding out what the images are for. A headshot for a company profile, a family set for the hallway wall, and a personal portrait for a partner’s birthday are three completely different sessions wearing the same word, and clients often arrive without having thought it through.
Ask directly: who will see these, where will they live, and what would make this a success for you. Then write their answer back in two or three sentences and get a thumbs-up. A short written confirmation means you are both working from the same brief, and it catches misunderstandings while they are still cheap to fix.
Note anything non-negotiable, such as a specific family member who must appear or a headshot that needs a plain background. Everything else stays flexible.
Step 2: Set a clear visual direction
Give clients a focused mood board rather than a folder of forty images. Six to ten frames that agree with each other tell them far more than a mixed set where every reference points somewhere different.
Cover the lighting, the energy of the posing, the background treatment, the clothing colours and the overall mood. For branding or personal-brand clients, this is the point where you build a vision board together and confirm it in writing.
Be careful what you promise. References guide a session; they do not guarantee a frame for frame reproduction, and nobody arrives on the day looking like the person in the picture. Say so plainly. It removes an awkward conversation later and it protects your own expectations.
Avoid asking a client to imitate another person’s appearance or relationship. Asking for the energy of a frame is useful. Asking someone to become someone else is not.
Step 3: Recommend clothing and preparation that supports the portraits
Clothes are the single biggest thing you control before the session starts, and the easiest thing for clients to get wrong without meaning to. Give them a rule rather than a wish list.
- Complement, do not match. Two people in the same shade read as a uniform and flatten the frame. Different tones in one colour family sit together without competing.
- Bring a second option. One change of outfit gives you variety in a short session and a visible backup if something spills on a shirt.
- Check what is underneath. Bra straps, waistbands and lining show through thin fabrics, and a visible strap line cannot be retouched away cheaply.
- Wear the shoes you will stand in. Especially for a full-length set. New boots and unfamiliar heels change how people hold themselves.
- Skip busy patterns for headshots. Fine stripes, checks and dense prints pull attention from a face in a tight crop.
Adjust the advice per session type. Families need movement, so soft fabrics and layers that survive being climbed on beat a stiff dress. Engagement sessions carry more colour and texture. Seniors usually do best in something familiar and comfortable. Children need a change of clothes and a favourite toy within reach.
For a session with outfit changes, build in real time. A simple trick is having swimwear under street clothes for beach or pool sessions, which turns a full change into pulling on a shirt.
Tell clients to sleep, hydrate, and shave or tidy whatever they normally tidy. Lint roll dark trousers the night before, steam a shirt, and leave any big new haircut at least a week out so you have seen the shape before the day.
Step 4: Explain the location, timing, and working conditions
Timing is light. For outdoor portraits, aim to start about an hour before sunset, because that low, soft light flatters faces and gives you a window with a beginning and an end. Tell clients the start time, not a vague “afternoon”, and tell them the session may run past sunset.
For the location, share specifics. Parking, restrooms, walking distance, whether the ground is sand or gravel, how many steps, and where shelter is if weather turns. A short location board with a few reference images removes a lot of hesitation.
Be honest about the conditions you are working in. On a winter session say that everyone will be moving to stay warm, and moving keeps people comfortable. On a beach session say that feet get wet. Surprise hurts trust; forewarned clients adapt.
State the weather plan in advance. Give a cut-off time, for example a decision the evening before or by 6am on the day, and say what happens to the session if it goes ahead in poor conditions or gets moved. A written policy removes most of the anxiety around rain, which matters more in some markets than any other single prep item.
Step 5: Prepare the client emotionally and conversationally
Most people in front of a camera are not models, and treating their discomfort as a problem to solve produces worse frames than treating it as normal. Say so. Something simple like “the first few minutes always feel strange, and then it settles” does more than any amount of directing later.
Send a short message that describes the shape of the session: arrive, a short walk, some warm-up shots, the main work, then a few relaxed frames at the end. Photographers report consistently that the best images land at the end of a session, after people forget about the camera, so a warm-up window at the start is worth protecting rather than rushing.
Send three or four pose examples if your client is camera shy. Practising a handful of poses in a mirror at home removes the surprise factor on the day. It is not about memorising choreography; it is about familiarity.
Ask them to bring something meaningful. A watch, a scarf, a letter, a story about a relative. Those objects give you material, and they give the client a job other than standing there being looked at.
Do not over-direct conversation or promise effortless results. If they ask whether they will like the pictures, the honest answer is that you cannot know, and saying it politely keeps the relationship intact.
Step 6: Confirm permissions, logistics, and final details
Tie off the loose ends in one message rather than a stream of reminders. Confirm the phone number, the people who must appear, the contract and release status, the payment position, and the delivery expectation in one go.
Set delivery expectations in plain numbers. A sneak peek within a couple of days and a full gallery inside three to four weeks is a shape many studios work to. Say whether skin retouching is part of the standard edit or an add-on, and say how many final images to expect. Clients who know the shape of the deliverable rarely chase you.
On the day, send one short reminder with the time, the pin and what to bring. Then stop texting. Preparation is finished, and more messages at that stage only add noise.
You might also have clients pick their favourites from a proof gallery, where you mark three to five favourites and let them refine from there. It reduces back-and-forth at selection time more than it reduces work.
Common Mistakes
Sending too many references. Forty images pointing in four directions is worse than none. Cut to six to ten that agree with each other and say why you chose them.
Overloading clients with technical detail. Apertures, focal lengths and light modifiers do not help a nervous person relax. Keep the technical thinking on your side of the camera and translate it into plain expectations.
Ignoring the weather and timing plan. A session with no stated cut-off turns a weather worry into a surprise for both of you. Decide the call time in advance and write it down.
Assuming a session style. Booking a mood and turning up with a different one is the fastest way to disappoint a client. Ask what they want in Step 1 and confirm it back.
Skipping forms and releases. Sorting paperwork after the session starts eats into the only time you actually paid for. Collect everything before the day.
Promising identical results to the reference images. Sets expectations you cannot meet. Describe the direction instead of the outcome.
Trying to fix nerves with pressure. Telling a stiff client to relax does the opposite. Slow down, move them, talk, and take the first frames on warm-up poses while they settle.
Two tips worth more than the rest. First, keep the day-of message short; clients read anxiety into a wall of text. Second, build in the warm-up. Ten minutes at the start buys better frames for the whole session.
For clients reading this on the other side of the camera, the short version is simple: sleep, hydrate, eat something, wear what you already feel good in, arrive fifteen minutes early, and expect a walk and some talking before anything official happens. You do not need to practice poses unless you want to, and no one is expecting you to know what to do.
Frequently Asked Questions
How far in advance should I send photo session prep instructions?
Send the main guide one to two weeks out, a shorter logistics check about 48 hours before, and one reminder on the day. The first message covers purpose, outfits, location and timing so the client has time to shop or rearrange childcare. The 48-hour message handles weather, parking and final details, and the day-of reminder only repeats the time, the meeting point and what to bring.
What should a client wear for a photoshoot?
Complement rather than match, and choose colours that suit the light and background. Soft, textured fabrics photograph well, and fitted clothes show shape. Avoid thin fabric that reveals straps or waistbands, large logos, and busy patterns for tight headshots. Bring a second option and wear the shoes you will stand in. How to prepare clients before a photo session starts with this detail, because it is the one they control completely.
Should clients practice poses before a photo session?
Only if they want to, and then lightly. Three or four examples sent in advance are enough to remove the surprise of an unfamiliar instruction, and a few minutes in front of a mirror helps camera-shy clients feel less exposed. Rehearsing a full routine usually backfires because it makes the session feel like a performance instead of a conversation.
What do I do if the weather changes before an outdoor session?
Publish a decision time in advance, such as the evening before or early on the day, and give the client one or two alternative dates rather than an open-ended promise. Have a covered location as a backup and be willing to move the session to it. Writing the policy down before the session removes most of the stress, since nobody minds rescheduling nearly as much as they mind waiting for a decision.
How much makeup and styling does a photo session need?
Enough to look like yourself on a good day, not like a different person. For most portrait work, a tidy hairstyle and a natural base is plenty, and SPF matters because it shows in flash photographs. For family sessions with children, keep it quick and familiar rather than starting a full styling session that ends in tears. For branding work, match the makeup to how the client will present at work.
How early should clients arrive for a photo session?
Ten to fifteen minutes early is enough. It lets them park, use a restroom, adjust clothing and settle without watching the clock. Asking for half an hour usually signals that something is wrong, and arriving a full hour early leaves people standing around and stiffening up before the session starts. Send the reminder with the exact time and the pin, and nothing more.
Conclusion
Start with one document sent a week or two before the session: what the images are for, the visual direction, what to wear, where and when to meet, and what happens after. That single artefact answers most of the anxiety clients arrive with.
Then keep preparation personal. Specific names, specific colours, a specific pin. Clients relax faster when they can see you have thought about their day rather than yours, and a session that starts calmly usually ends with the images you actually wanted to make.