Portrait photography gets easier the moment you stop shooting whatever happens to be in front of you and start practising on purpose. These photography challenges to improve your portraits each add a single constraint — one light, one lens, one colour, ten minutes — so your attention lands on one skill while the camera is in your hands.
Most general challenge lists send you out to photograph fences and railway tracks. None of that touches posing, light direction, or how you direct a person who has never been photographed before. Every exercise below is portrait-specific, names the skill it trains, and fits a realistic window: ten minutes on a lunch break, or one weekend afternoon.
You do not need a mirrorless body or a rented studio for any of them. Most of these work on a phone, in a hallway, with the light you already have. Updated for 2026.
Table of Contents
- Photography Challenges to Improve Your Portraits at a Glance
- 1. Shoot With One Light Only
- 2. Create a 30-Minute Portrait Challenge
- 3. Photograph Portraits in Five Different Light Sources
- 4. Use Negative Space to Improve Your Portraits
- 5. Direct One Complete Photo Series
- 6. Practice Expressive Hand Gestures
- 7. Shoot a Portrait in Black and White
- 8. Recreate Three Iconic Portrait Compositions
- 9. Make Portraits Without Showing the Face
- 10. Edit a Consistent Five-Image Mini-Series
- Frequently Asked Questions
- Conclusion
Photography Challenges to Improve Your Portraits at a Glance
The table below is the whole list in one view. Pick a row by looking at what you are weakest at, not by what looks most fun.
| Challenge | Skill it trains | Time | Gear |
|---|---|---|---|
| 1. One light only | Reading and shaping light | 45-60 min | One light source, window or lamp |
| 2. 30-minute session | Directing and decisive shooting | 30 min | Camera and one light |
| 3. Five light sources | Comparing colour, contrast and mood | 60 min | Room lamps, window, street |
| 4. Negative space | Composition and subject placement | 45 min | Anything, phone included |
| 5. One complete series | Visual storytelling and sequencing | 60 min | Camera, same subject |
| 6. Expressive hand gestures | Posing and directing the body | 30 min | None beyond the camera |
| 7. Black and white only | Tonal judgement, shape and gesture | 45 min | Any camera, convert in post |
| 8. Three iconic compositions | Framing and visual hierarchy | 60 min | Camera plus reference images |
| 9. No face shown | Detail, intimacy and anonymous framing | 45 min | None beyond the camera |
| 10. Edit a five-image series | Editing decisions and coherence | 60 min at the desk | Any editor or phone app |
How to pick the right photography challenge for your current weakness
Look at your last ten portrait frames, not at your last ten good ones. If most images have the same light on the same side of the face, take challenge one. If your subject always looks stiff, take challenge six.
Then check your calendar. A ten-minute challenge on a weeknight that you complete beats a two-hour challenge you skip, and skipping is what kills most practice programmes. The blocker is rarely gear. It is whether the exercise fits a real week.
How to review your results when a challenge ends
Put the frames side by side the next morning, not the same evening. Fresh eyes catch things exhaustion hides.
Ask three questions. Which single variable changed the picture most — light position, focal length, framing? Which frame would you keep if you could only print one? What will you do differently next time, in a sentence you could write on a sticky note? That last sentence is your next challenge, and it is usually more useful than any list.
1. Shoot With One Light Only
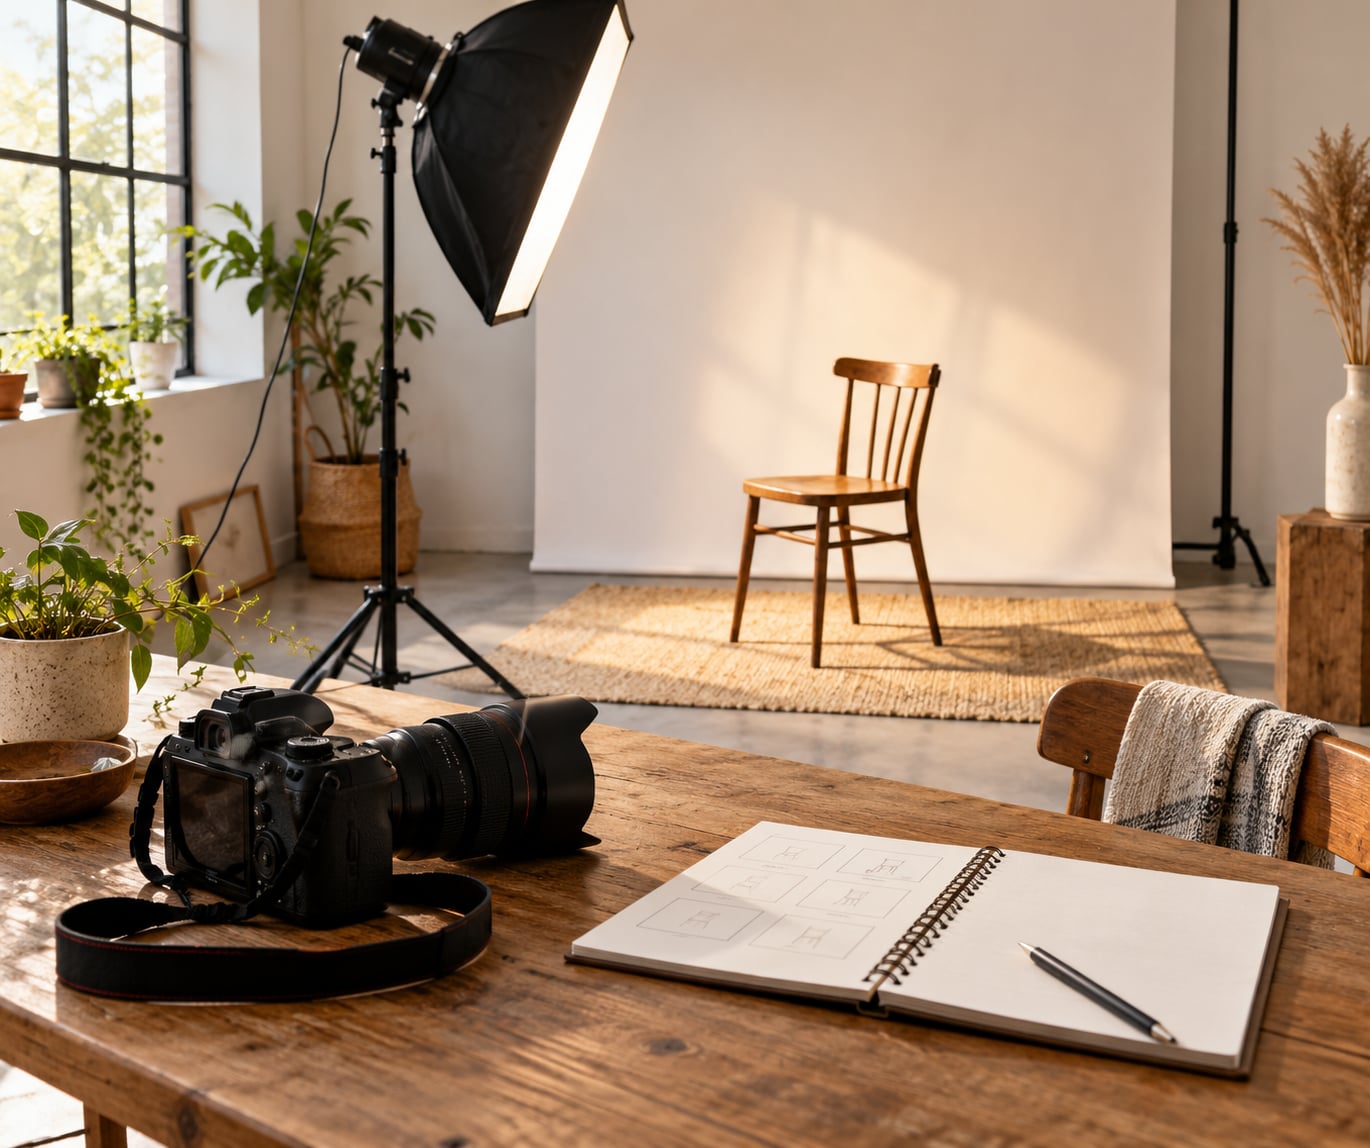
The rule: one light source for the entire session. A window, a desk lamp, a single bounced flash — pick one and switch nothing else on.
What it trains is the thing most portrait shooters skip: reading light. With only one source, you start to notice how moving it two feet changes the shadow under the jaw, and how a hard source makes skin look sharp while a large soft one wraps around the cheek.
Shoot the same pose at four angles: light at 45 degrees to the face, straight on, side, then behind for a rim. Keep aperture, shutter speed and ISO fixed so the only variable is the light. You will see the shape of the face change, which is the point.
How you know it worked: you can point at any frame and say which light position made it. If you cannot, shoot more angles.
2. Create a 30-Minute Portrait Challenge
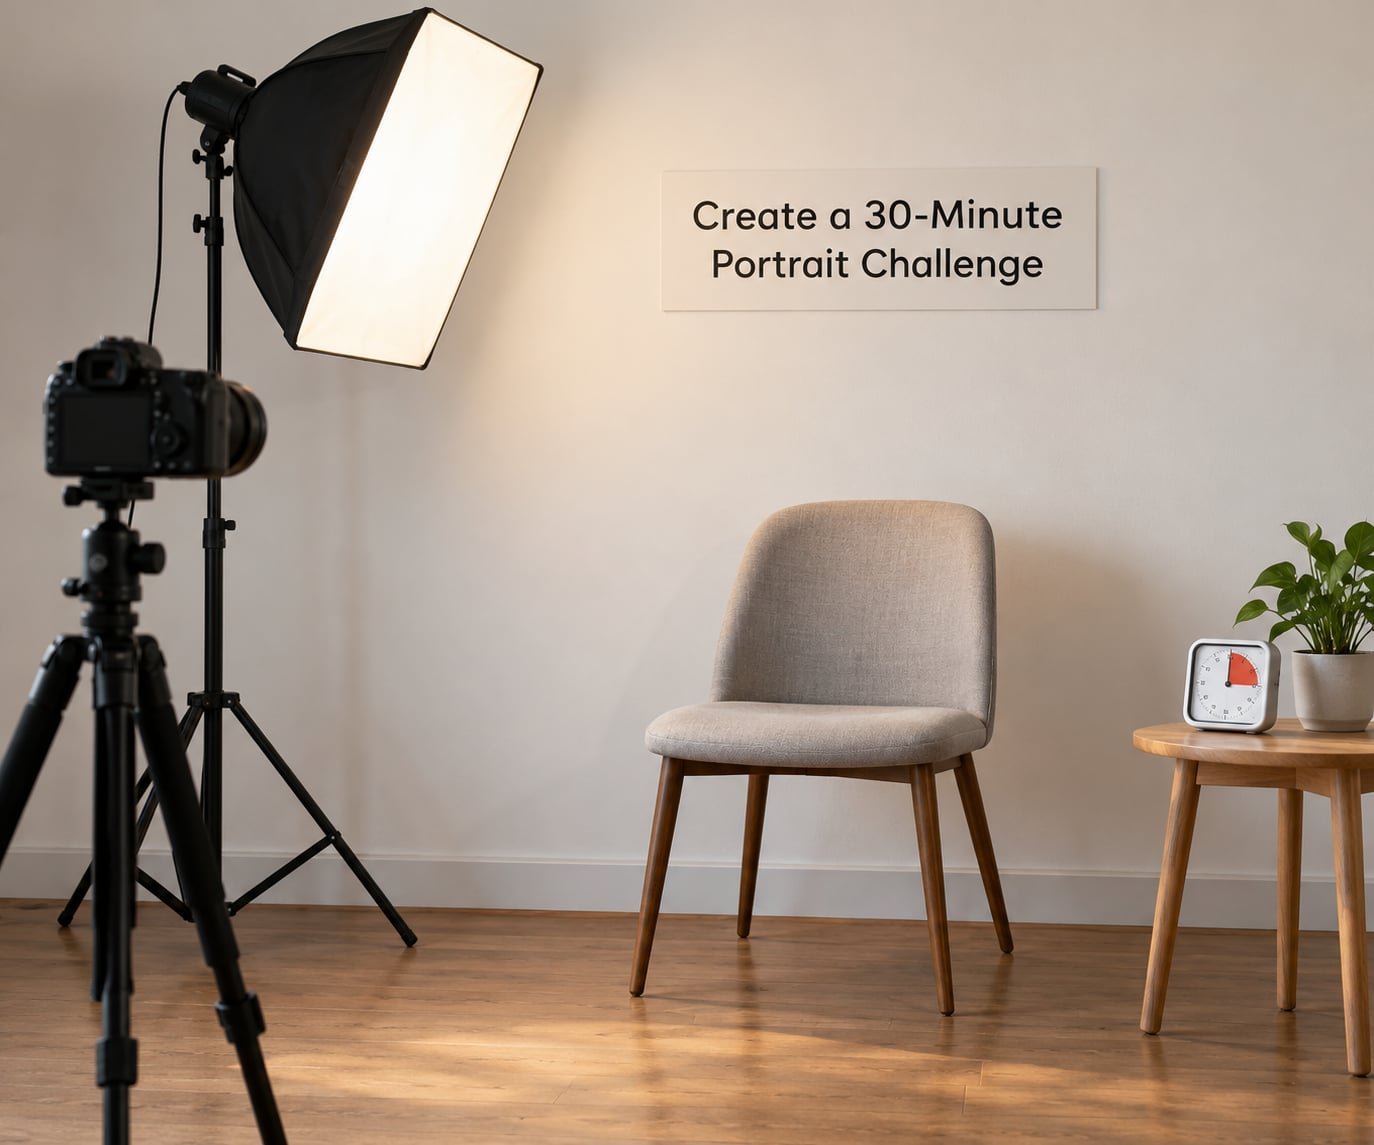
The rule: set a thirty-minute timer, then shoot until it goes off. Setup, directing, focus and exposure all happen inside the window.
What it trains is nerve. Most photographers do not fail at portrait photography because of technique; they fail because they fiddle for twenty minutes and leave with four usable frames. A hard stop forces you to work with what is in front of you.
Spend the first five minutes on the frame and the background, the next five on light, and leave twenty for the actual shooting. Set a self-timer so you can step back and be in the frame yourself — that solves the “no one will take my picture” problem and doubles as self-portrait practice.
How you know it worked: you came away with frames you would actually print, and the last ten minutes felt fast.
3. Photograph Portraits in Five Different Light Sources
The rule: one subject, five sources. Window light, a warm household lamp, a street light, light bounced off a pale wall, and either flash or a continuous light.
Each source pulls the frame in a different direction. Window light is soft and cool. Lamps are warm and small, so shadows get harder fast. Street lighting is flat and green-ish until you correct for it. Bounced light is soft but dim, which pushes your ISO up and your depth of field shallower.
Shoot the same framing for all five and lay them out in order. That comparison is the lesson, and it is the part most people skip. Five frames from one subject under five sources teaches white balance faster than any settings tutorial, because you can see the correction and the uncorrected original next to each other.
How you know it worked: you can rank the five by mood, and you know which one suits which kind of person.
4. Use Negative Space to Improve Your Portraits
The rule: one of the three compositions. Subject centred with clean space around them, subject placed to one side with the space in the direction they are looking or moving, or subject small in a frame that carries environment.
Negative space is the empty part of the frame doing work — giving the eye somewhere to rest, or making the subject feel small inside a bigger place. It is the quickest fix for a cluttered portrait, and cluttered portraits are the most common complaint from people who hate their own images.
Try the version that feels wrong first. Put your subject tiny in the corner of a wide frame with 70 percent wall, and shoot ten frames before you judge it. Most photographers have been trained to fill the frame and have to unlearn that.
How you know it worked: at least one frame has a subject off-centre that still feels balanced.
5. Direct One Complete Photo Series
The rule: pick one person and one idea — a colour, a gesture, a place, a single object they keep returning to — and shoot eight to twelve frames that all belong to that idea.
What it trains is visual storytelling, which is where portrait photography separates from snapshot work. A series needs a beginning, a middle and an end, and it needs variety inside one idea: change your height, change your distance, let the frame go wide and then tight.
Write the idea down before you start, and check every frame against it. Anything that does not fit gets deleted. That ruthless edit is what makes the survivors feel like a set rather than a folder, and it is the step most people skip before calling a body of work finished.
How you know it worked: the frames can be put in order and tell you something about the person without a caption.
6. Practice Expressive Hand Gestures
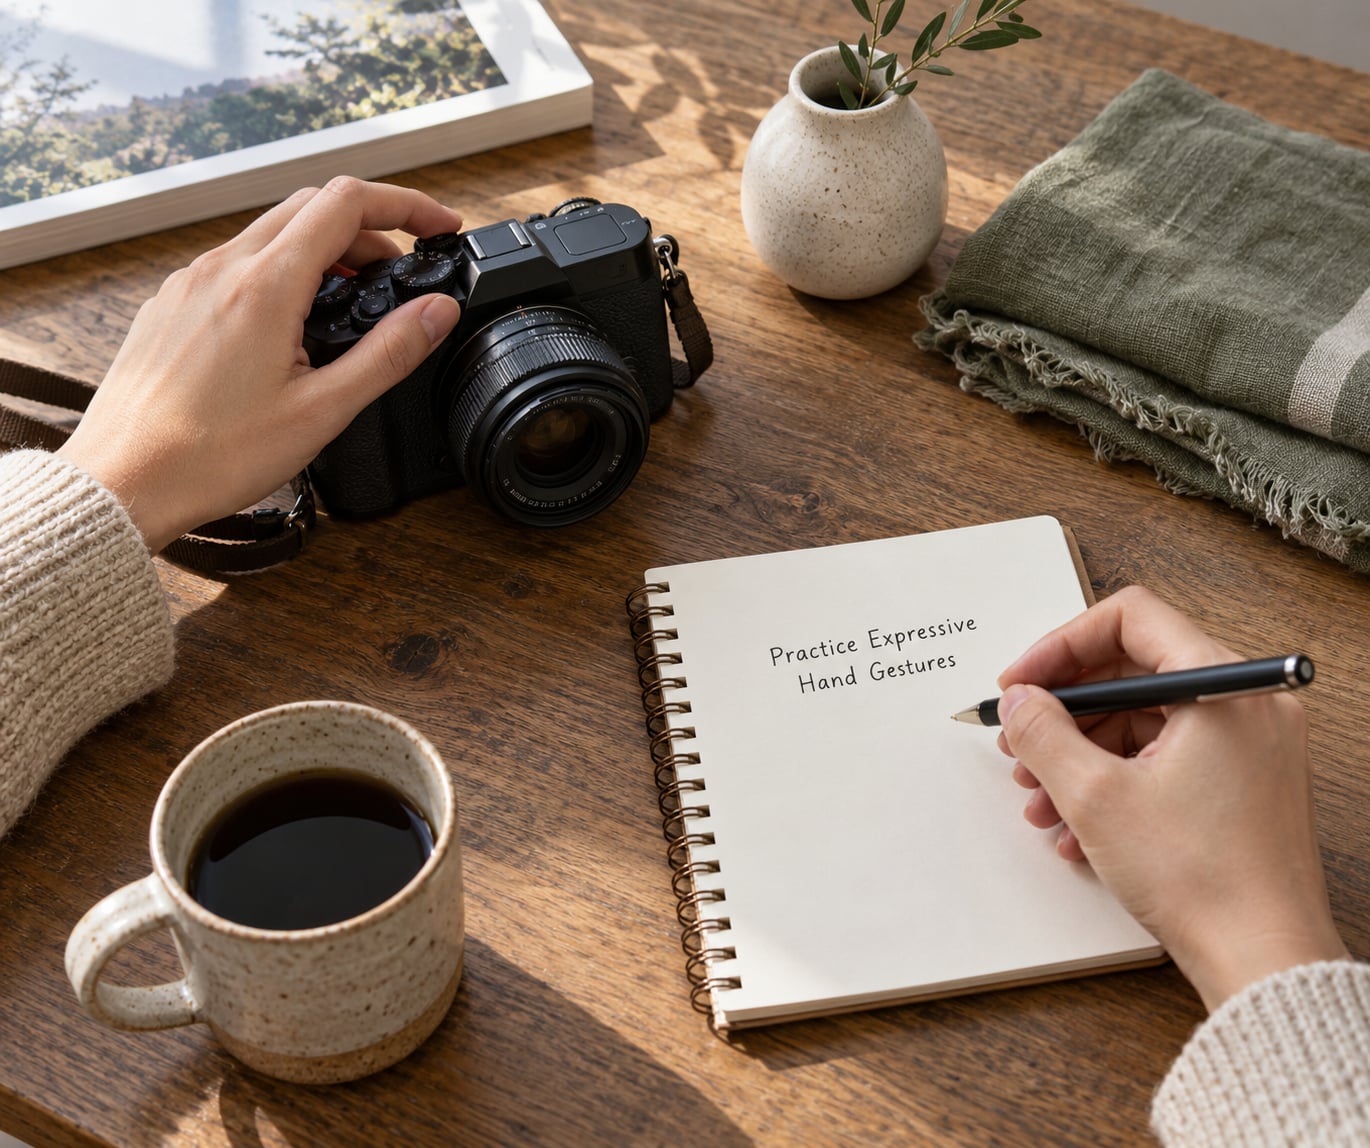
The rule: hands in every frame, doing something, not hanging at the sides. Give the subject three prompts at a time — hold the mug, turn the collar, finger along the edge of the table — and shoot five frames of each.
Hands carry most of what we read as personality in a portrait, and most people have no idea what to do with theirs. Giving them a task fixes the awkwardness in seconds, because attention moves from the face to the object.
Push it further with prompts that involve clothing or texture: fingers in the fabric of a jumper, both hands in hair, one hand trailing down a painted door. Watch for splayed fingers and cut knuckles, which are the two giveaways of a pose that was not directed.
How you know it worked: none of your frames has hands hanging like sausages at the sides of a body.
7. Shoot a Portrait in Black and White
The rule: shoot the whole session with a monochrome conversion on, and judge every frame on shape, gesture and tone before you look at colour.
Removing colour takes away your usual crutch. Without clothing colour and skin tone to hide behind, you notice the shape of a shoulder, the line of an arm, whether the background is fighting the head. It is the fastest way to find out whether your composition was doing any work.
Convert in your raw editor rather than your camera so you can switch one frame back to colour and compare. Look for a clear tonal separation between the face and what is behind it — if the values are too close, the subject disappears, and no amount of editing fully rescues that.
How you know it worked: you found two or three frames that are stronger with no colour than they ever were with it.
8. Recreate Three Iconic Portrait Compositions
The rule: study three portrait compositions you admire, then rebuild each one with your own subject in your own location. Adapt the framing and gesture, do not copy the person or the identity of the image.
What this trains is framing. Every strong portrait has a reason for where the subject sits, what the background does, and how much room is left. Borrowing a known arrangement shows you the decision that was made, which is much easier to learn than reverse-engineering it from a blank frame.
Print or pin the three references on your screen, then shoot your version side by side with them. The gap between yours and the reference is your next assignment. Do one composition well before moving to the next — rushing all three teaches you nothing.
How you know it worked: you can say in one sentence what the original photographer was doing that you were not.
9. Make Portraits Without Showing the Face
The rule: no eyes in frame. Work with hands, backs, silhouettes, clothing, reflections in glass and mirrors, and crops tight enough to hide the identity.
This one feels awkward for about ten minutes and then turns into the most interesting work you have done. Without the face, you have to carry the whole image with shape, surface and light, and you notice details you normally walk past.
Good places to start: hands on a table, a reflection in a shop window, a shoulder and jaw against a plain wall, or the whole body from behind at a low angle. Silhouettes are the hardest, since they demand clean separation from the background.
How you know it worked: someone looking at the frame says something about that person, not about the shot.
10. Edit a Consistent Five-Image Mini-Series
The rule: choose five related portraits and give them one treatment. Same exposure approach, same contrast, same colour handling, same crop logic, in the same sequence.
Consistency is what makes a set look like one person’s work rather than five accidents. Pick a single preset or a single set of adjustments and apply it to all five, then walk back through and fix what falls apart.
Decide the crop ratio once and hold it, because mismatched shapes break a sequence faster than mismatched colour. Then order them by emotional weight, not by what is easiest to grade. Sequences that end on the quietest frame usually hold attention longest.
How you know it worked: view the five at thumbnail size on your phone screen. If they still look like a set, it worked.
Frequently Asked Questions
How can I improve my portrait photography?
Improve it by isolating one skill at a time. Shoot ten portraits with a single light source and you will learn light direction in an afternoon; shoot the same subject five days in a row and you will learn rapport and see your own progress. Deliberate constraints beat volume, because aiming ten shots at one variable produces knowledge while aiming a thousand at everything produces a folder.
What are the 7 posing points?
The seven posing points are: feet, hands, shoulders, hips, elbows, weight distribution, and expression. If a pose looks awkward, one of those is usually out of place. Most often it is the hands or the feet, since both go stiff by default. Direct one at a time rather than all seven, and give the subject a physical task so the body has something to do.
How do I find a portrait practice model?
Ask friends and family first, then people you already photograph casually, then community groups, hobby clubs, dance or theatre groups, and local forums where people post looking for models. Offer something in return: prints, a set of edited images they can use, a portfolio page, or simply the session. Be clear about how many frames you take, how long it runs, and what you do with the images.
How do I know if a challenge actually improved my portraits?
Compare like with like. Keep the same subject, location, light and lens, and shoot before and after frames so the only change is the skill you practised. Review them a day later at thumbnail size and write one sentence about what changed. If you cannot name the change, the challenge was probably too short or too comfortable to teach you anything.
What is the 52 Week photography Challenge?
The 52 Week Photography Prompt Challenge gives you one themed prompt per week for a year, and the theme changes so you are shooting different subjects instead of repeating one habit. It works for portrait shooters when you apply each prompt to a person rather than an object. Treat it as background structure, then run one of the portrait challenges here on top each week for the skill work.
How do I get past creative block when I practise portrait photography?
Constraints are usually the cure, which is why the ones on this list exist. When nothing feels worth shooting, pick the shortest exercise on the list and finish it without judging the result. Shooting the same person on five different days also breaks a block, because the repetition removes performance pressure and lets you notice small changes you would otherwise miss.
Conclusion
Start with challenge one, shoot the whole session on a single light, and keep every other setting fixed. Then add one challenge that targets whatever you noticed you were avoiding — hands, negative space, or a consistent edit — and put both results side by side a week later.
Ten sessions is roughly a month of small, measurable improvement, and it beats a year of shooting the same comfortable portraits in a row. These photography challenges to improve your portraits only work when you finish them, so pick the one that fits this week and shoot it.