The three mistakes that wreck most beginner portraits are using the pop-up flash straight on, hanging the key light too high, and forgetting fill entirely. Fix those and most of your portraits improve before you touch any other setting.
That matters because light has three properties: quality, direction, and contrast. Get any one of them wrong and the camera faithfully records an unflattering face. Gear and editing can hide a bad frame; bad lighting has to be fixed at the moment you press the shutter.
Most of these mistakes are diagnosable from the photo itself. Look at the shadow under the nose, the catchlights, the background brightness, and you can usually name the error within a few seconds. Here is how to read those clues and correct them.
Table of Contents
- What You Need
- Step-by-Step: Diagnose and Fix Your Portrait Lighting
- Common Mistakes
- Beginner Lighting Mistakes at a Glance
- Frequently Asked Questions
- What is the most common beginner lighting mistake in portraits?
- Can I take good portrait photos with only one light?
- Should the light be directly in front of the subject?
- How do I stop harsh shadows from ruining a portrait?
- How do I keep mixed lighting from creating strange skin tones?
- How can I quickly tell whether my portrait lighting is wrong?
- What to Do First
What You Need
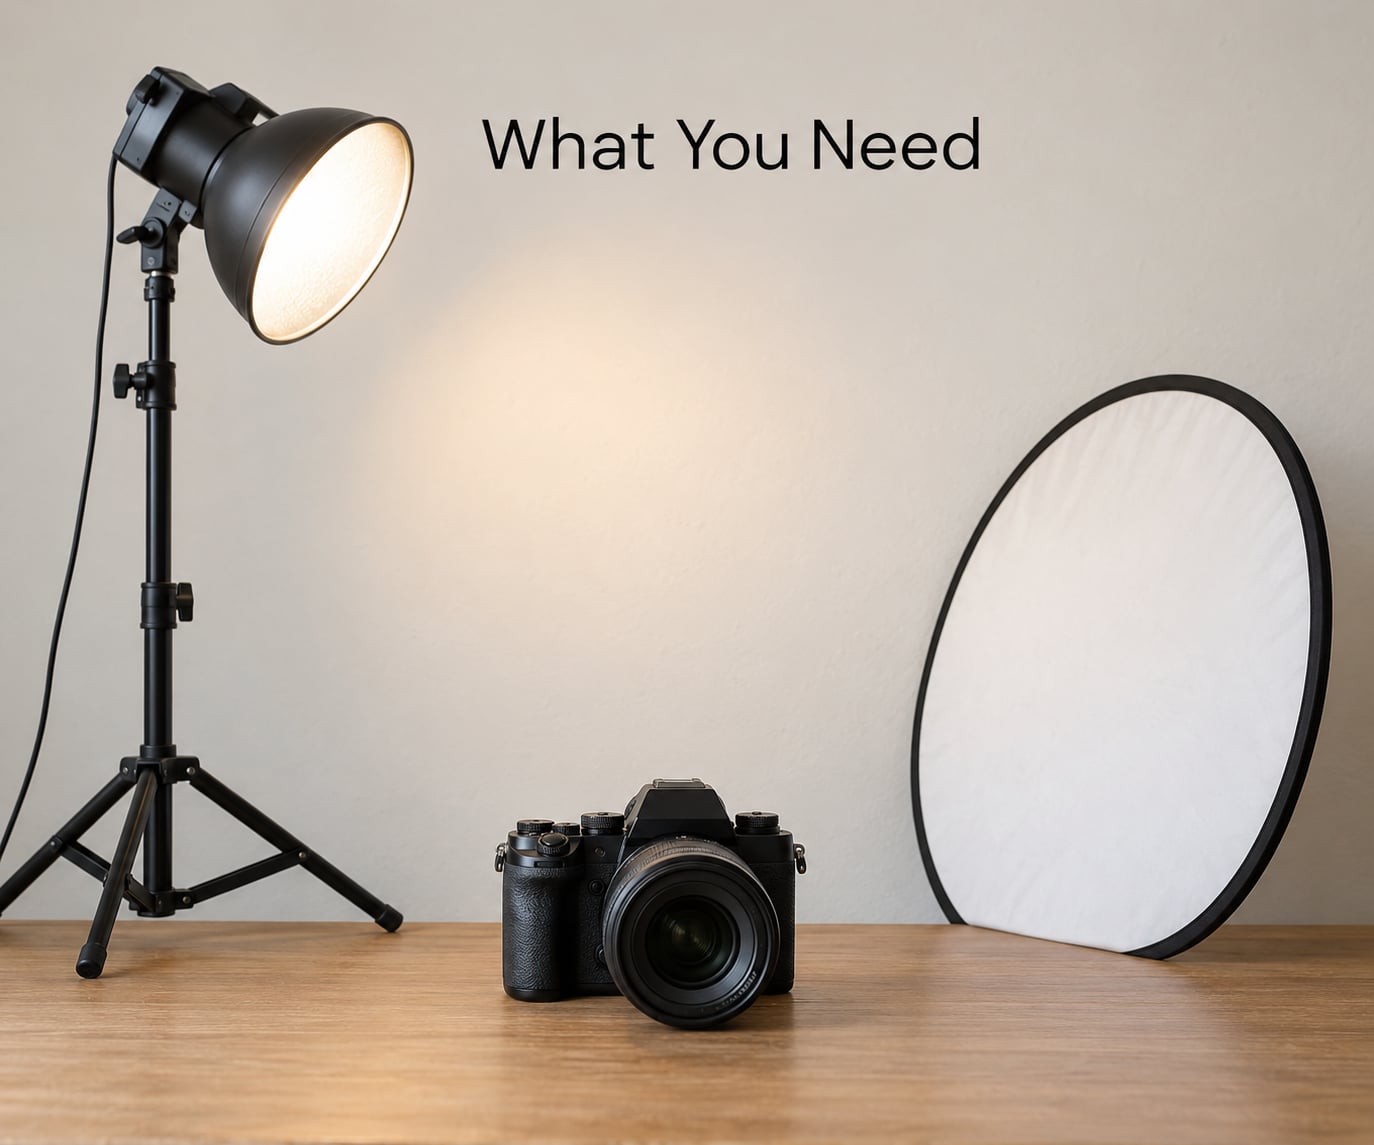
Diagnosing a lighting problem needs one light source and something to bounce or block light with. That is genuinely all. A window, a desk lamp with a shade, or a single speedlight covers every step below.
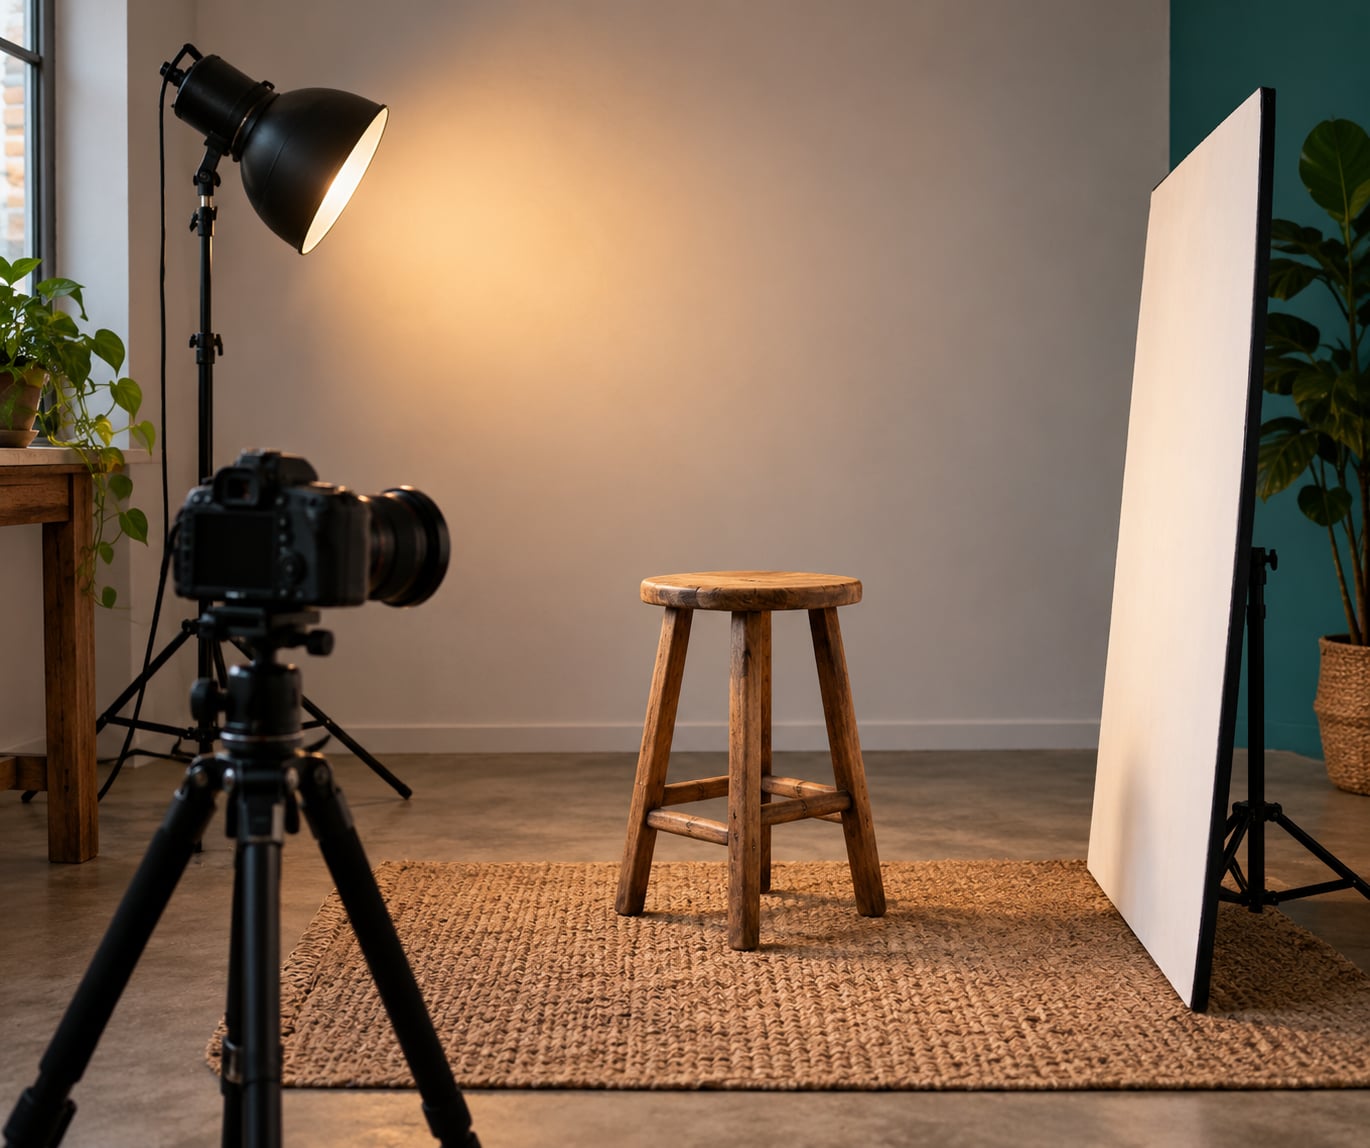
A white reflector or a piece of white foam board is the second item worth having. It is your fill light, and it costs less than a coffee. A black card or dark cloth does the opposite job as negative fill, which deepens shadows and adds contrast for free.
Beyond that, a plain wall gives you a controllable background, and a sheer curtain or a white bedsheet turns any harsh lamp or low sun into something softer. None of this needs a modifier, and most of it works better than an unmodified flash at close range.
Step-by-Step: Diagnose and Fix Your Portrait Lighting
Work through the sequence in this order: direction, quality, distance, intensity, then background. Changing more than one variable at a time is how beginners end up with a new problem they cannot explain.
How to check for beginner lighting mistakes that ruin portraits
Put your most recent portrait next to a reference you like and check five things: the shadow under the nose, the catchlights, the deepest shadow on the face, the brightest highlight, and the background behind the shoulders.
The nose shadow is the fastest read on direction. Shadow falling down and to one side means the light is high and off to the side. Shadow straight down means you are shooting under the face. Almost no shadow at all means the light is nearly in front of the subject, which flattens everything.
Catchlights tell you about quality and placement. A single round catchlight high in each eye usually means a small, close source. A rectangular catchlight from a window means soft directional light. Two catchlights in each eye almost always means two lights are hitting the face, and one of them is your fill.
Then check contrast. Compare the lit side of the face to the shadow side in your photo’s histogram. A ratio near 1:1 reads flat and lifeless. Around 1:2 to 1:3 is a natural-looking range. Wider than 1:8 and you have hard light, which is a choice rather than a mistake.
Finally, compare subject and background brightness. If the wall behind the head is the same tone as the skin, the portrait has no separation and the whole frame goes soft.
Fix shadow direction and facial contrast
Move the light higher, lower, closer, or farther away until the nose shadow points down and away from the cheek. The classic starting position is about 45 degrees to the side of the camera axis and 45 degrees above eye level, which is what most photographers mean by the 45-degree rule.
Swing the light straight up over the subject and you get raccoon eyes: dark sockets with a bright strip across the bridge of the nose. Swing it down and you get light leaking up into the nostrils, an upside-down nose shadow, and eyes that read as unlit.
Height also sets how much shadow sits under the cheekbone. Higher light, more shadow trapped under the brow and jaw. Lower and closer, softer transitions and a rounder face shape. Move in small arcs rather than jumps, and take a test frame after each move.
Distance changes quality as much as brightness. Under the inverse square law, doubling the light-to-subject distance cuts the light reaching the subject to a quarter. The practical version is easier to remember: to soften light, move the source closer and lower the power. To harden it, move back.
Beginners shoot long lenses from far away, and the result is a hard, flat, oddly lit face. The fix is usually not gear. Walk closer to the subject, use a wider aperture, and let the background fall away instead of reaching for a 200mm lens.
Correct flat, harsh, or uneven illumination
Flat light, hard light, and uneven light have three different causes and three different fixes. Flat light is a source too close to the lens axis, harsh light is a source too small relative to the subject, and uneven light is two sources fighting each other.
To fix flat light, move the key off the camera axis by about 45 degrees. If you cannot move the light, move yourself instead. Standing a few steps to the side of the subject changes the angle far more than any editing setting will.
To soften hard light for free, put a sheer curtain or bedsheet between the light and the subject, or bounce the source off a white ceiling. Moving the source closer does more than buying a modifier, because softness depends on the size of the source relative to the subject, not on the price of the box.
To fix uneven light, find out which source is causing it. Turn the fill off and take a frame. Turn the key off and take another. Most of the time one light is doing the job badly, and switching it off reveals the answer immediately.
Watch for hotspots too. A bright patch on the forehead or nose usually means the light is slightly above and too strong. Raise the camera a little and drop the power, or move the subject back a step so the light falls off less across the face.
Set exposure for the face and catchlights
Meter for the face, not the background or the sky. In any shooting mode, the exposure should be set from the skin, and the brightest part of the forehead is a safer starting point than the average of the whole frame.
Set the shot up first, then dial in the exposure. Take a frame, check the histogram, and adjust. Most portraits want the brightest skin just under clipping, with the shadow side dropping a stop or two below, not going to black.
Wide apertures cause their own problem here. Shooting at f/1.8 leaves so little depth of field that one eye goes soft while the subject breathes, and the sharp eye often is not the one you focused on. f/2.8 to f/4 keeps both eyes sharp in a head-and-shoulders frame.
On darker skin tones, watch the underexposure trap. Many cameras meter for a dark face as though it were backlit, underexpose the whole portrait, and then crush shadow detail in the edit. Dial in positive exposure compensation and check that the shadow side still holds detail before you leave the setup.
Check your catchlights in the final frame, not on the camera screen at arm’s length. If there are none, the face has no light source of its own and the portrait will look lifeless no matter how well it is exposed.
Separate the subject from the background
Push the subject two to three feet from the background and let light fall off behind them. Light falls off with distance, so moving the subject away from the wall darkens the wall without touching the exposure on the face.
Aim the background at the wall or use a flag so no light spills onto it. Aiming a background light straight at the subject’s back instead of past them is the classic cause of the pasted-on look, along with lens flare from an uncovered light in frame.
A separation or hair light behind the subject adds a bright rim on the shoulders or hair. Set it a stop or two under the key and keep it out of the camera’s sightline, or use a lens hood.
If you cannot add a light, make the background darker instead. Negative fill on the side of the subject darkens the shadow side and increases contrast, which does the same job as a rim light without the second flash head.
Common Mistakes
The errors below are the ones that show up most often. Each one is listed with what it looks like in the finished photo, why it happens, and the correction that fixes it.
Direct on-camera flash. The photo shows red-free but flat skin, a hard nose shadow directly below the nose, and dark eye sockets. The cause is a small light source sitting on the lens axis, only inches from the face. Bounce the flash off a ceiling or wall, or move it off camera entirely and add a reflector for fill.
The key light too high. Raccoon eyes, a bright forehead, and heavy shadow under the chin. An overhead source casts the brow shadow straight down. Drop the light to roughly 45 degrees above eye level, level with the top of the subject’s head or a little above it.
The key light too low. Light up the nostrils, an upside-down shadow under the nose, and no catchlight above the eye line. The light source is below chin height. Raise it above eye level and tilt it down.
No fill at all. The shadow side falls to solid black and the eyes on that side disappear. There is no second source or reflector. Put a white reflector just off the camera axis on the shadow side, close enough that the shadow opens up by about a stop.
Too much fill. Skin looks washed out and plastic, texture disappears, and every eye carries two catchlights. The fill is as strong as the key, or a second light is aimed straight at the face. Cut the fill power until the shadow side sits roughly a stop under the lit side, and keep it at or slightly below eye level.
Subject too close to a bright background. The shoulders and hair merge into the wall and the image reads flat. The background is receiving nearly as much light as the face. Move the subject away from the wall and darken the background so the tone behind the head is clearly darker than the skin.
Background lit too hard. The subject looks like a sticker on a bright wall. The background light is aimed at the subject or at full power. Aim the light at the backdrop from an angle, drop its power, and watch for flare in the frame.
Ignoring light quality outdoors. Midday sun gives hard-edged shadows the subject cannot pose out of, while overcast light gives soft light many beginners discard by mistake. Use open shade under a building edge or a tree for midday sessions, and look for evenly overcast days rather than treating grey light as bad light.
Mixed colour temperatures. Skin turns green, orange, or split-toned, sometimes with a hard line where the two sources meet. An ambient source and a flash are set to different colour temperatures. Set the flash to match the ambient light with the camera’s white balance, or use a gel, and turn ambient contribution down until one source dominates.
Copying setups instead of lighting for a look. The technique looks right and the result still feels wrong, because it was built for a different face, direction, or mood. Reproduce the light’s quality, direction, and contrast rather than the diagram. On r/photocritique, first-time flash shooters consistently improve fastest when they hold a simple one-light setup instead of adding complexity early.
Adding lights instead of moving one. The portrait gets busier but never clearer, and every new light adds a new shadow and another catchlight. There are too many lights doing too little. Before turning on the second head, try moving the first one up, down, sideways, or closer.
Review Your Lighting in a Controlled Test
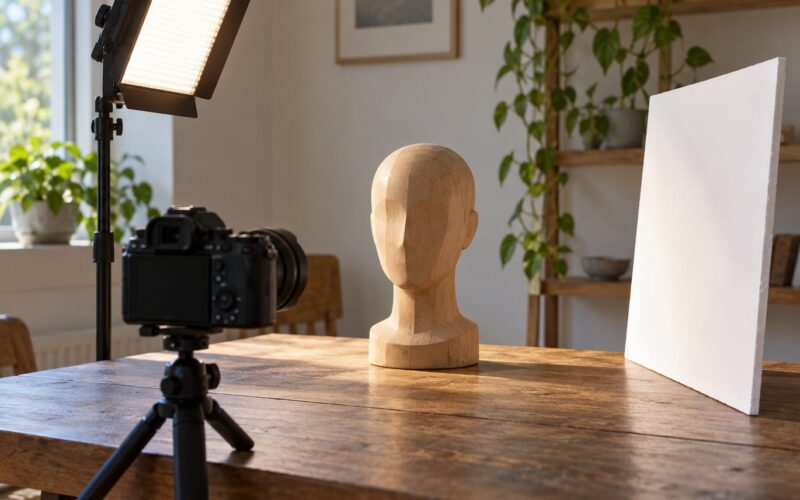
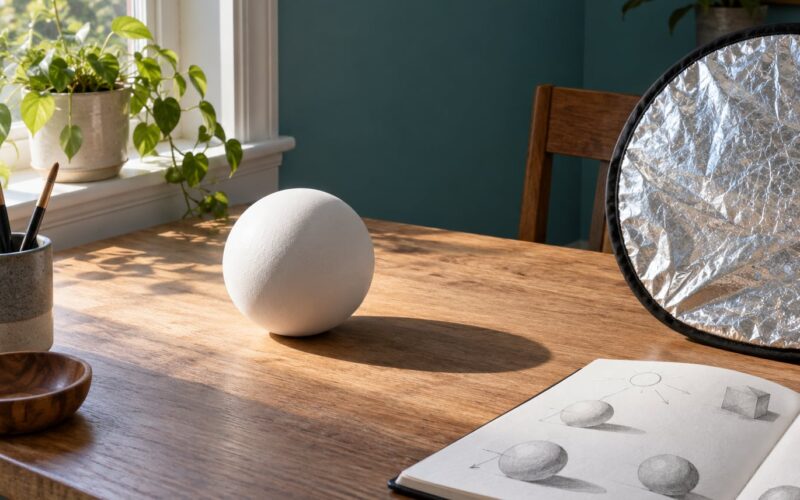
Run one repeatable test before you call a setup finished. Set up a still life on a table, or photograph a dummy head, and shoot a fixed test frame at every position you plan to use.
Write down three numbers for each frame: where the light sat, how far away it was, and the power setting. Photograph a grey card in the same frame if you have one, so colour and exposure shifts are visible rather than guessed.
Then repeat the test the next week with the same notes. Small changes in lamp warmth or room light are the ones that quietly ruin a session, and a written record is the only reliable way to catch them.
Beginner Lighting Mistakes at a Glance
| What you see in the photo | Likely cause | Fix |
|---|---|---|
| Flat skin, no shape, shadow straight under the nose | Light on or near the camera axis | Move the key about 45 degrees off axis |
| Dark sockets with a bright nose bridge | Key light directly overhead | Lower the light to about 45 degrees above eye level |
| Bright nostrils, nose shadow pointing up | Key light below chin height | Raise the light above eye level |
| Shadow side goes to solid black | No fill light or reflector | Add a white reflector on the shadow side |
| Washed-out skin, two catchlights per eye | Fill too strong or a second light on the face | Drop fill power about a stop and keep it below eye level |
| Sharp-edged shadow edges, shiny hotspots on nose or forehead | Hard, small, or too-close source | Diffuse with a curtain, bounce off a ceiling, or move the source closer and lower the power |
| Skin green, orange, or split in tone | Mixed colour temperatures from ambient and flash | Match the flash to ambient with white balance or a gel |
| Subject blends into the background | Subject too close to an evenly lit background | Move the subject away and let light fall off behind them |
| Subject looks pasted on, flare in frame | Background light aimed at the subject or spilling into the lens | Aim past the subject at the backdrop and use a lens hood |
| Background falls off across the face | Key light too far away, inverse square law ignored | Move the key closer and reduce power, or use a separate background light |
Before a session, run a short checklist: one key light in place at 45 degrees and above eye level, a reflector on the shadow side, a background darker than the skin, a test frame with correct skin exposure, catchlights visible, and no stray light hitting the lens.
After the shoot, check one frame before you pack down. Zoom to the shadow side of the face and ask whether you can see detail there. If not, the fill is missing or the exposure is low. Check the histogram next, then the background behind the head.
Frequently Asked Questions
What is the most common beginner lighting mistake in portraits?
Using direct on-camera flash is the most common, and it is easy to spot: a hard shadow directly under the nose, dark eye sockets, and flat skin with no shape. The fix is to get the light off the lens axis, bounce it off a ceiling or wall, or move it to one side and add a white reflector for fill.
Can I take good portrait photos with only one light?
Yes. Most professional-looking portraits use one source. Place the key about 45 degrees to the side of the camera axis and 45 degrees above eye level, then put a white reflector opposite it to open the shadows. Add a second light only when a specific problem shows up, not because a setup diagram had one.
Should the light be directly in front of the subject?
Not quite. Light coming from the camera axis produces almost no shadow, which flattens the face and hides texture. Shift the key off to one side so the nose casts a shadow down and away from the cheek. Direct frontal light works for flat-lay and ID-style images, but not for expressive portraits.
How do I stop harsh shadows from ruining a portrait?
Move the source closer to the subject and lower the power, since softness depends on the size of the light relative to the subject. Outside, work in open shade or bounce light off a white wall. Photographers on r/photography often argue hard shadows are a valid choice, so judge the result against the look you want rather than a rule.
How do I keep mixed lighting from creating strange skin tones?
Mixed sources at different colour temperatures cause green, orange, or split-toned skin. Set your white balance to match the ambient light, then set the flash to match that value using the camera’s flash exposure compensation or a gel. If you cannot match them, reduce the ambient light until the flash is the dominant source.
How can I quickly tell whether my portrait lighting is wrong?
Zoom in on three things: the nose shadow, the catchlights, and the background behind the head. A nose shadow straight down means the light is high; pointing up means it is low. No catchlight means the face has no source of its own. A background the same brightness as the skin means you need separation.
What to Do First
Strip the setup back to one light at about 45 degrees to the side of the camera and slightly above eye level. Put a white reflector on the opposite side, aim the key off the background, and check the nose shadow and catchlights on one test frame.
Meter for the face, then change one variable at a time. Add a second light only when you can name the specific problem it solves.