To study a photographer whose work you admire, pick one project, describe what you can actually see, work out how the light, lens, framing and edit were handled, then shoot your own version and put the two side by side. It takes about an hour per image the first time and gets much faster after that.
Admiring a photograph and studying it are different activities. Admiring is passive and lasts ten seconds. Studying produces something you can carry into your next shoot, and the thing it produces is vocabulary: a way to talk about light, distance, framing and tone that you did not have before.
That vocabulary is the actual goal. Photographers who plateau rarely lack talent. What they lack is a method for turning an image they love into decisions they can repeat, and a way of telling whether their attempt came close.
Forum threads on r/photography keep circling the same answer when professionals ask how they learn after years of working their own way. The consensus is deconstruction, not gear buying. One photographer described copying Dan Winters, Joey L and Albert Watson faithfully, reading catchlights to infer where the light was, and checking their guesses against behind-the-scenes images until the analysis held up.
Table of Contents
- What You Need
- Step-by-Step: How to Study a Photographer Whose Work You Admire
- 1. Start with your first response, before you research anything
- 2. View the work as a body, not as isolated images
- 3. Describe what you can see before you interpret it
- 4. Investigate the photographer’s context
- 5. Study the technical choices as evidence
- 6. Compare one project with another
- 7. Make your own study response
- 8. Write a concise study conclusion
- Common Mistakes
- Frequently Asked Questions
- Do I need to know camera settings to study a photographer’s work?
- How do I analyze a single photograph step by step?
- Is it bad to copy other photographers when learning?
- What are the qualities of a great photographer?
- How do I compliment a photographer whose work I admire?
- How do I turn admiration into a learning project I can finish?
- Conclusion
What You Need
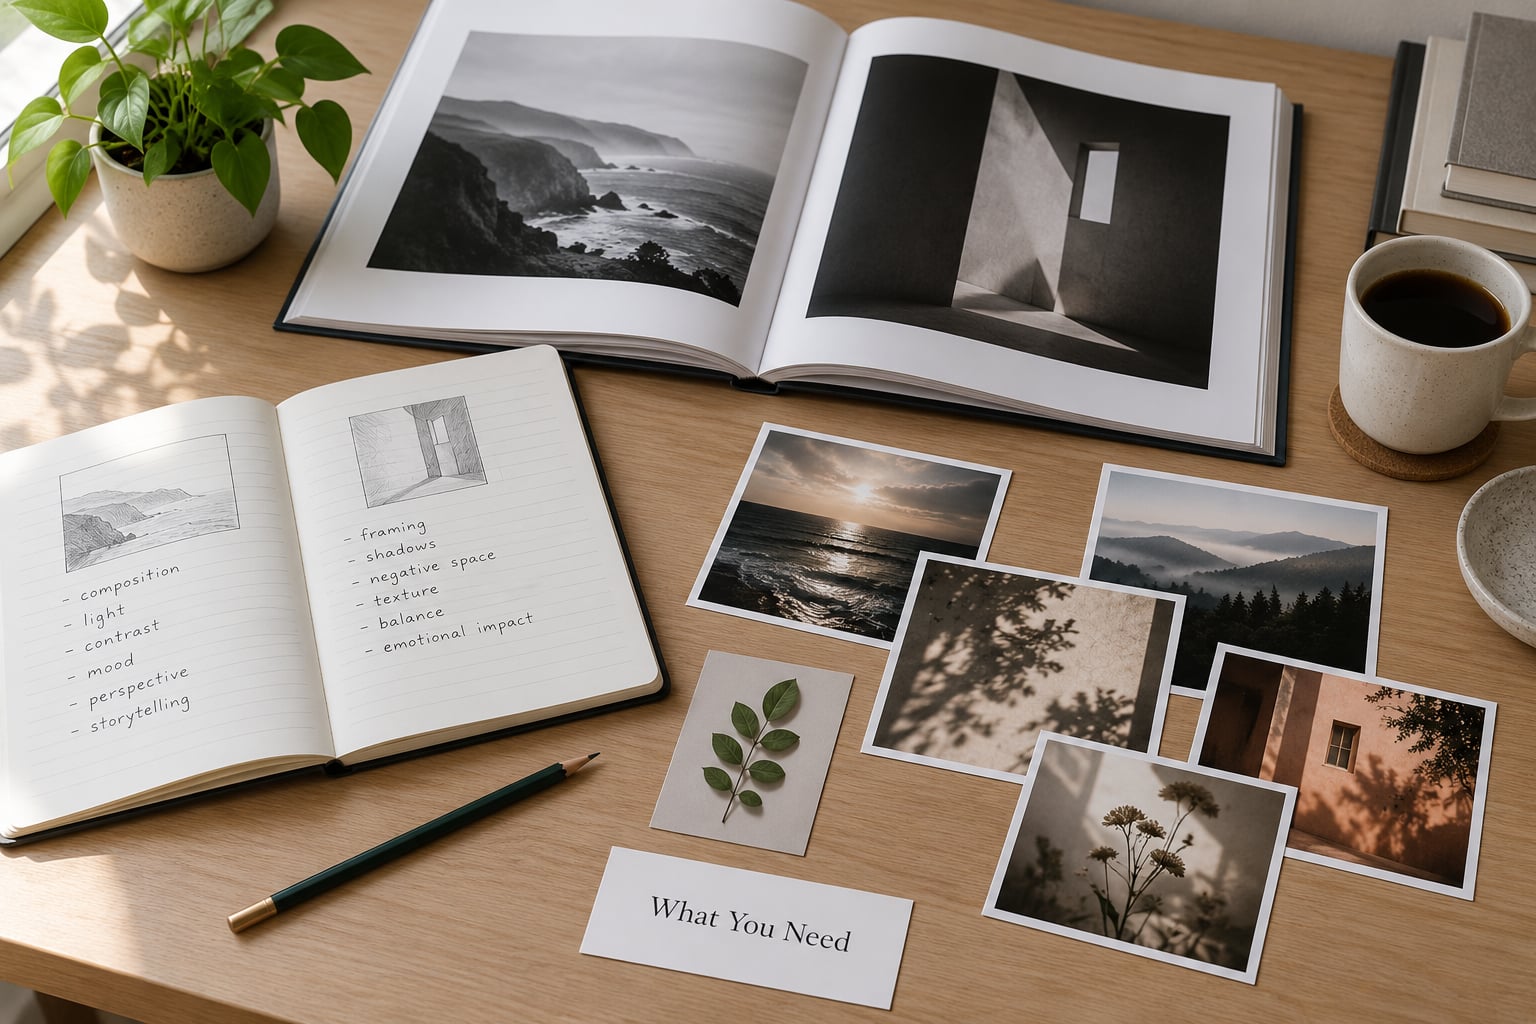
You need four things, and none of them cost money.
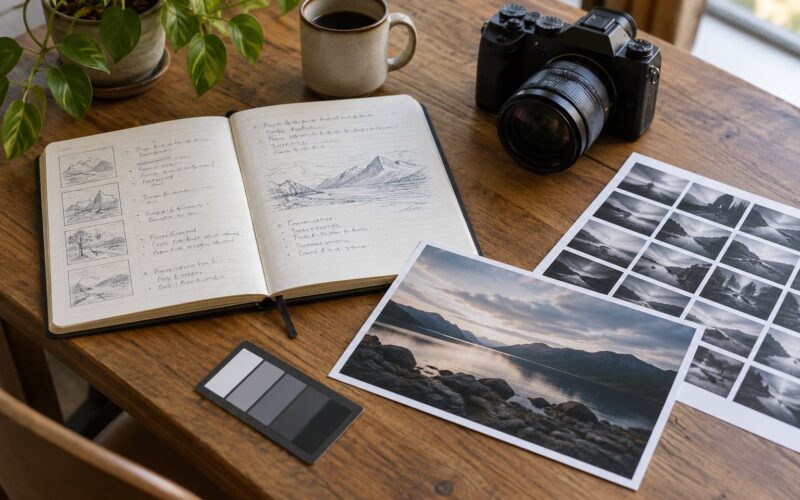
- A small study space. A desk, a table, anywhere you can lay out three to ten prints or a screen you can lean into. Analysis that happens while scrolling on a phone produces impressions, not notes.
- The highest-quality version of the images you can find. This matters more than anything else in the list. A compressed social feed thumbnail hides the shadow edges, gradient and grain that tell you how the light behaved.
- A notebook or annotation tool. Paper suits comparison better because you can draw arrows. A note app works if your photographs live on a screen.
- A way to compare. Two windows side by side, or your recreation printed and pinned next to the original.
On sources: an exhibition print or a museum collection page beats everything, then a monograph or retrospective, then a magazine feature, then a portfolio site. Behind-the-scenes footage and studio walkthroughs are worth more than they look because they confirm or break your guesses outright.
EXIF data from full-resolution files tells you camera, lens, focal length, aperture, shutter and ISO. It tells you nothing about the lighting, which is where the real study happens.
Step-by-Step: How to Study a Photographer Whose Work You Admire
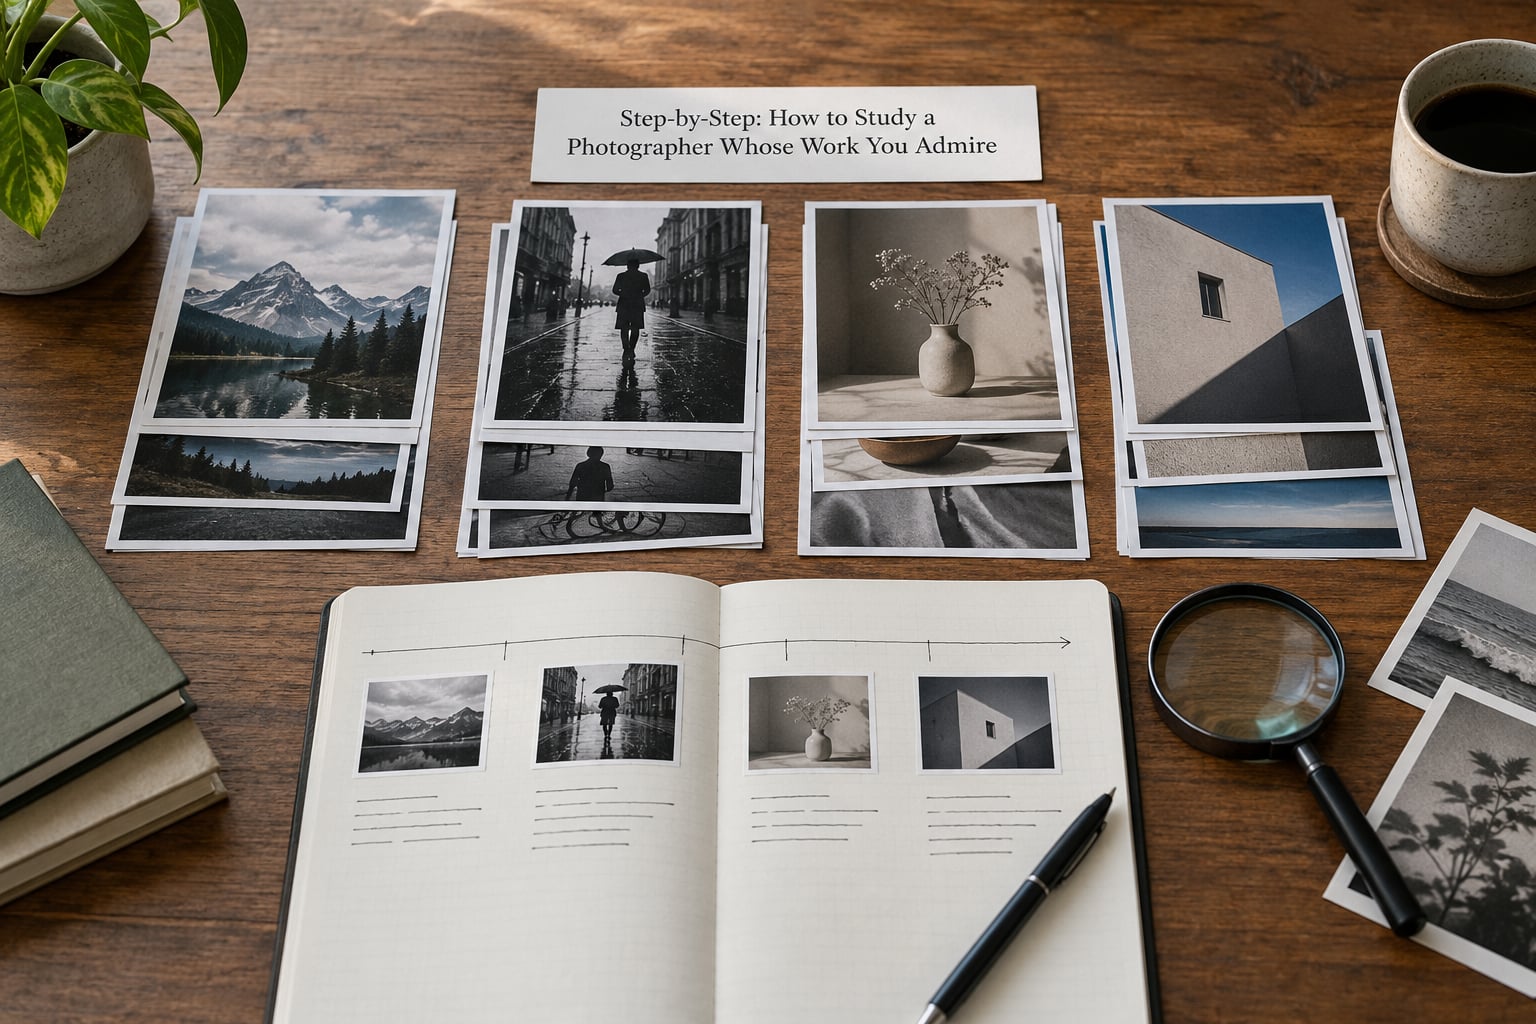
Run this sequence in order. Skipping ahead to technique is the most common way people get stuck, because technique without an observation to attach it to turns into gear collecting.
1. Start with your first response, before you research anything
Write down what hit you in one minute, before you look anything up. Three lines: one emotional reaction, one thing you noticed visually, one question you want answered.
The reason is simple. Once you know the photographer’s intentions, you start finding evidence for them. Your unfiltered reaction is the only clean baseline you will ever have, and it tells you later whether your analysis explains your response or replaced it.
It worked if your notes contain a specific observation rather than “great photo”. “The shadow under the jaw keeps a hard edge” is usable. “Really moody” is not.
2. View the work as a body, not as isolated images
Look at ten images from one project before you look hard at any of them. Ask what repeats: subject matter, distance, framing, where the subject sits, how much of the frame is empty, whether colour stays narrow or moves.
Then hunt for the exception. A body of work usually has one frame that breaks its own rules, and that frame tells you where the photographer was experimenting.
Record at least two recurring patterns and one exception, in writing. If you cannot name them, you are still browsing.
3. Describe what you can see before you interpret it
Write a neutral description using only what is visible: subject, setting, time of day, light direction, height of the camera, distance from the subject, colour, depth, and what is happening between the person and their surroundings.
Keep observation and interpretation in separate columns. Observation is “the background is three stops darker than the face”. Interpretation is “she is being pushed aside”. Both are useful, but only the first is evidence, and mixing them hides which part you are guessing at.
It worked if a stranger could follow your description without seeing the photograph.
4. Investigate the photographer’s context
Now go read. Artist statements, interviews, exhibition texts, the commission behind the project, the publication it appeared in, who else was involved, and what was happening in the world at the time.
Context resolves puzzles. A frame that reads as cold and detached in isolation often makes sense once you know it was shot inside a documentary project about a place the photographer grew up in.
The test of good context is whether it changes your reading. If it does not change anything, it is trivia. Context informs interpretation, it never replaces close looking.
5. Study the technical choices as evidence
Technical settings are conclusions, not starting points. Read them back out of the image, then verify them against the context you just gathered.
- Catchlight shape and position. A round catchlight points to a bare bulb or a softbox far from the subject. A rectangular catchlight with a visible edge is usually a small panel or a window. Two catchlights at different heights usually mean two sources.
- Shadow edge hardness. Hard edges mean a small or distant source. Soft, graded edges mean a large source close to the subject. This is the single most reliable clue in a portrait.
- Background falloff. How quickly the background darkens behind the subject tells you the distance between subject and backdrop, which tells you how far the light was from the subject.
- Depth of field. How much of the setting stays sharp, together with how compressed the background looks, gives you a range for focal length and aperture.
- Camera height and distance. Look at the relationship between near and far elements. Wide perspective shows a lot of foreground and background at once; compressed perspective stacks them.
- Edit. Palette width, contrast curve, whether shadows are lifted or crushed, grain, and how skin sits against the rest of the frame.
Record each as an estimate with a range, then check it. Photographs made for a book or a screen have been adjusted, so treat colour and contrast readings as soft evidence and physical cues as hard evidence.
6. Compare one project with another
Pick a second project by the same photographer, ideally from a different year or a different genre, and run the same grid across both: subject matter, visual grammar, narrative structure, emotional distance.
Three questions carry the weight. What stays constant, what changes, and is the recurring method deliberate, situational, or evolving?
A photographer who always shoots wide and always uses deep shadow is deliberate. One who sometimes shoots tight with flat light may simply have had a different location that week. Telling those apart is the difference between learning a method and copying a coincidence.
When you can, do this across genres. Portrait habits do not transfer automatically to landscapes, and the translation step is where you discover which parts of the work are genuinely yours to use.
7. Make your own study response
Do one of three things, in rising order of difficulty.
- Write a visual analysis of three images from the same series, using your worksheet grid. Fastest, and it exposes how much you have actually noticed.
- Recreate one composition with your own subject in your own location, matching framing and light direction as closely as you can. Hardest and most useful, because every mismatch has a cause.
- Photograph a different subject using one principle you identified, for instance the same negative space ratio or the same height of camera. Cheapest, and it separates the principle from the original look.
Score your attempt on four axes: light, lens and position, composition, edit. One point each for match, near miss, or miss. Write what moved the score rather than just the total, because the diagnosis is the useful part.
8. Write a concise study conclusion
Finish with one short paragraph: the photographer’s recurring method, the choice that makes it distinctive, one lesson you can apply to your own work, and what you are still unsure about.
Keep observation, interpretation and personal response labelled separately in that paragraph. Blurring them is how beginners end up convinced they have understood a photographer’s intentions when they have actually only guessed.
Common Mistakes
Copying the famous look without understanding it. A signature look is usually three or four decisions stacked. Copying only the visible one, often the grade, gets you a flat imitation. Fix: complete steps three through six before you shoot anything.
Treating technique as the whole practice. Settings explain the frame; they do not explain why the photographer walked over there. Fix: write one sentence about intent in every analysis, then check it against interviews.
Reading a single image. One frame hides the habits. A photographer can miss badly on any given day. Fix: ten images minimum, and never draw conclusions from a hero frame.
Confusing biography with visual evidence. Knowing where a photographer grew up changes nothing about what you can see in the frame. Fix: keep context in a separate column and only use it to alter an interpretation.
Overinterpreting without context. You will project anything onto a shadow you find beautiful. Fix: label every inference, and check the most confident ones against behind-the-scenes material.
Analysing compressed files. Judging a light setup from a feed thumbnail is guesswork, because the compression smears shadow edges and flattens falloff. Fix: find the print, the book or the full-resolution file first.
Passive consumption. Books on coffee tables and moodboards full of images feel like progress. Forum users who improved describe one project at a time with notes, not hours of browsing. Fix: finish a study write-up before opening a new photographer.
Recreating once and quitting. The first attempt is a diagnostic, not a verdict. Fix: change one variable at a time between attempts so you learn which one mattered.
Getting stuck when the match fails. If your recreation looks wrong, diagnose before you buy anything. Common causes: post-processing habit, unfamiliar lens or focal length, lighting you have not tried, or lack of practice with the subject’s movement.
Frequently Asked Questions
Do I need to know camera settings to study a photographer’s work?
No. You can read a great deal from the image alone. Catchlight shape, shadow edge hardness, background falloff and the relationship between near and far elements will tell you about the light, the lens and the camera position before you know a single number. Settings become useful for verification, not as an entry requirement.
How do I analyze a single photograph step by step?
Work through four passes. First describe only what you see. Second note what the light did. Third infer lens, distance and camera height from falloff, depth of field and perspective. Fourth read the edit: palette, contrast, skin tones, grain. Keep observation and interpretation in separate columns so you can see which claims are evidence and which are guesses.
Is it bad to copy other photographers when learning?
Recreating an image to understand how it was made is standard practice and most photographers discuss it openly. What matters is what you do next: publish it as your own, sell it, or strip the signature style and pass it off as work. Study, credit the source by name when you share the exercise, and use the exercise to extract a principle rather than a finished look.
What are the qualities of a great photographer?
Look for a repeatable method rather than a signature look. Great photographers handle light consistently, choose a distance and a lens for reasons, control what the background contributes, and edit toward a deliberate palette. Their series hold together across many frames, including the difficult ones, and their subject placement says something without relying on technique.
How do I compliment a photographer whose work I admire?
Be specific about a decision, not about taste. Saying an image is beautiful tells the photographer nothing they can use. Saying the way the shadow falls off across the background while the subject stays evenly exposed shows you read the image carefully, and that is a compliment a working photographer actually receives well.
How do I turn admiration into a learning project I can finish?
Give it a boundary and a deadline. One project, ten images, four analysis passes each, then one recreation, then a one-page write-up. Set the review date before you start so the study ends with a conclusion and an applied lesson rather than an open-ended folder of notes.
Conclusion
Studying a photographer is deconstruction followed by a test. You read the image for physical evidence, research the context that makes the evidence make sense, recreate your version, and compare honestly enough to find out which part you still do not understand.
Start here today: choose three images from one project, write your first reactions before you research anything, run the light, lens, composition and edit passes on each, then read one interview with the photographer. That is roughly an hour, and it is the difference between an inspiration folder that changes nothing and a method you can use on your next shoot.