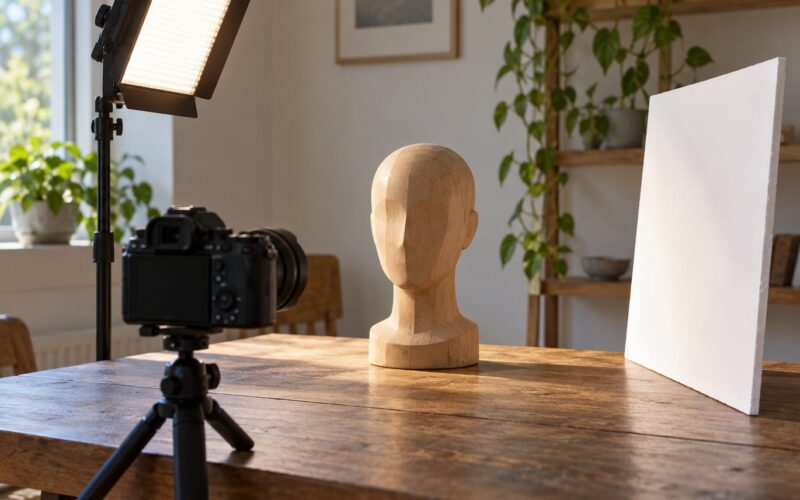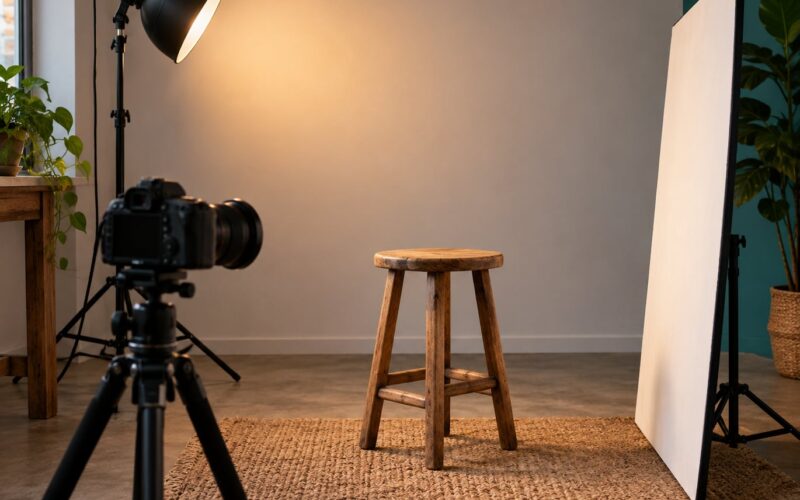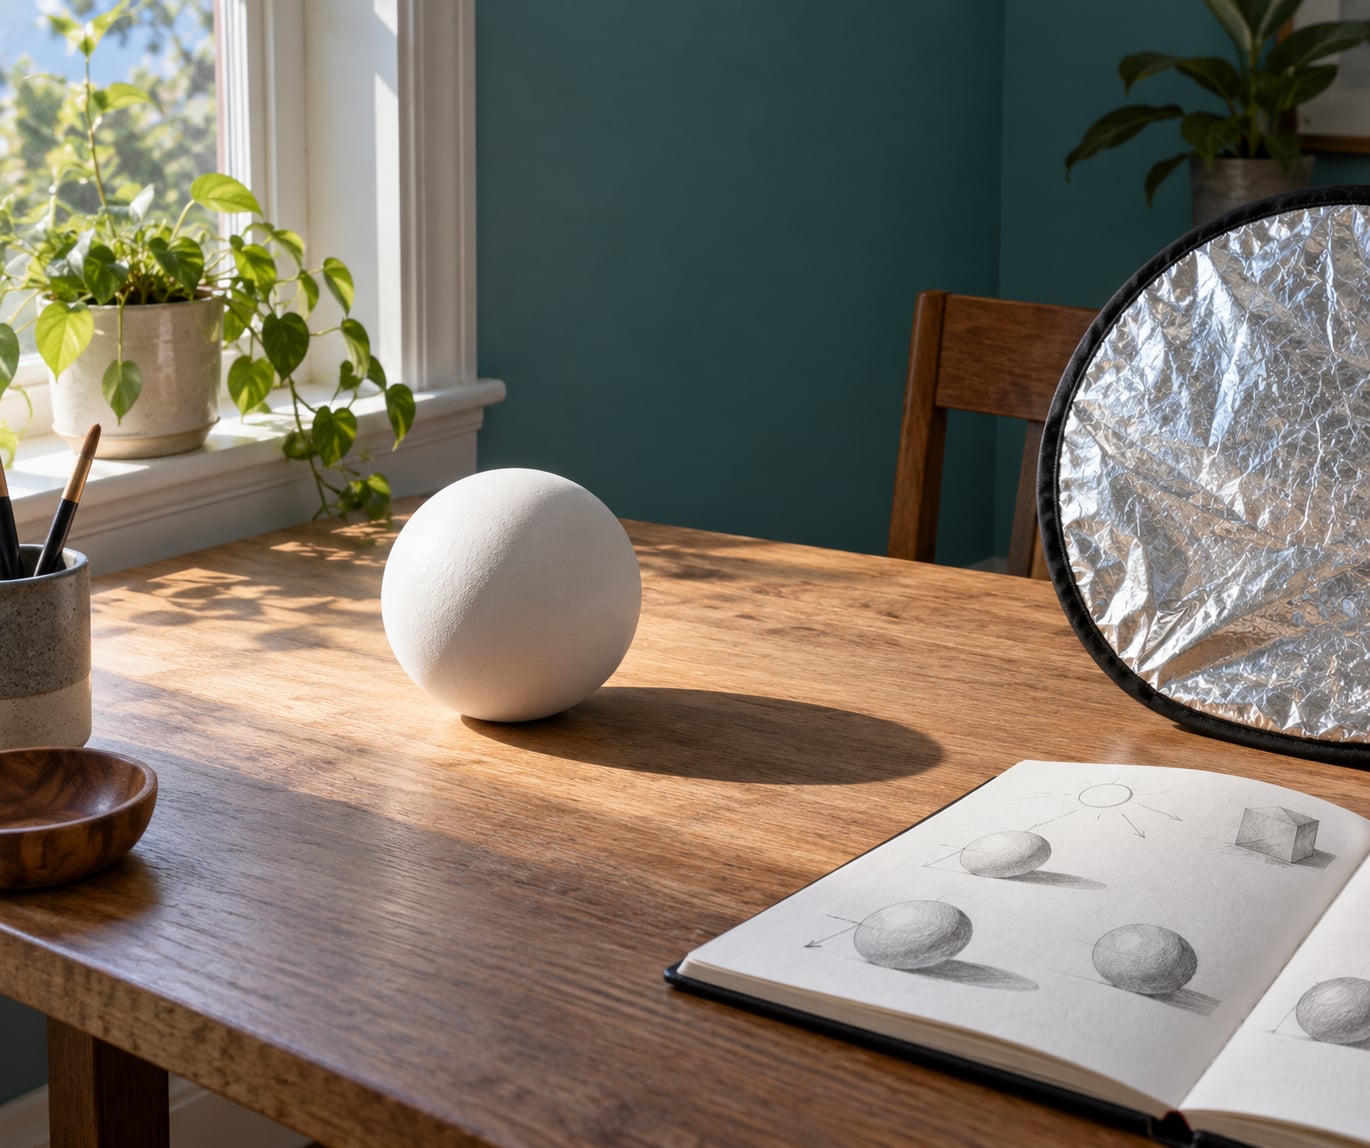
To analyze lighting in a photo you like, work through seven fixed questions in the same order every time: where is the main light coming from, how big is it, how much fill reaches the shadows, what colour is it, how does it fall off, how is it separating subject from background, and what setup would reproduce it. Fifteen minutes with a single frame teaches you more than an hour of browsing gear lists.
The trick is to treat the photograph as evidence. Every shadow edge, every catchlight, every patch of background brightness is a measurement the photographer already made for you. Read them in a fixed order and the setup practically writes itself.
Updated for 2026.
What You Need
Four things, and none of them are camera equipment. That is deliberate — the process trains observation, and no lens replaces it.
- The photograph itself. Save it locally at full resolution. Compressed thumbnails destroy the shadow detail you need.
- A zoomed view. Crop to a 1:1 view of the face or subject so you can inspect catchlights and shadow edges pixel by pixel.
- A notes app or a sheet of paper. One block per cue, written in your own words. Photographing your notes on your phone works fine.
- An optional analysis tool. A grayscale view, an eyedropper for sampling brightness, or a levels histogram in any editor. Useful, not required.
If you want a template rather than a blank page, use the cue table below as your worksheet. Fill in one row, then move to the next step.
Step-by-Step: How to Analyze Lighting in a Photo You Like
The seven steps run in a deliberate sequence. Direction first, because it anchors every other reading. Quality second, because it explains the shadow shapes you just found. Contrast third, then colour, then falloff, then the relationship between subject and background. Last, you convert all of it into a setup.
1. Identify the Main Light Direction
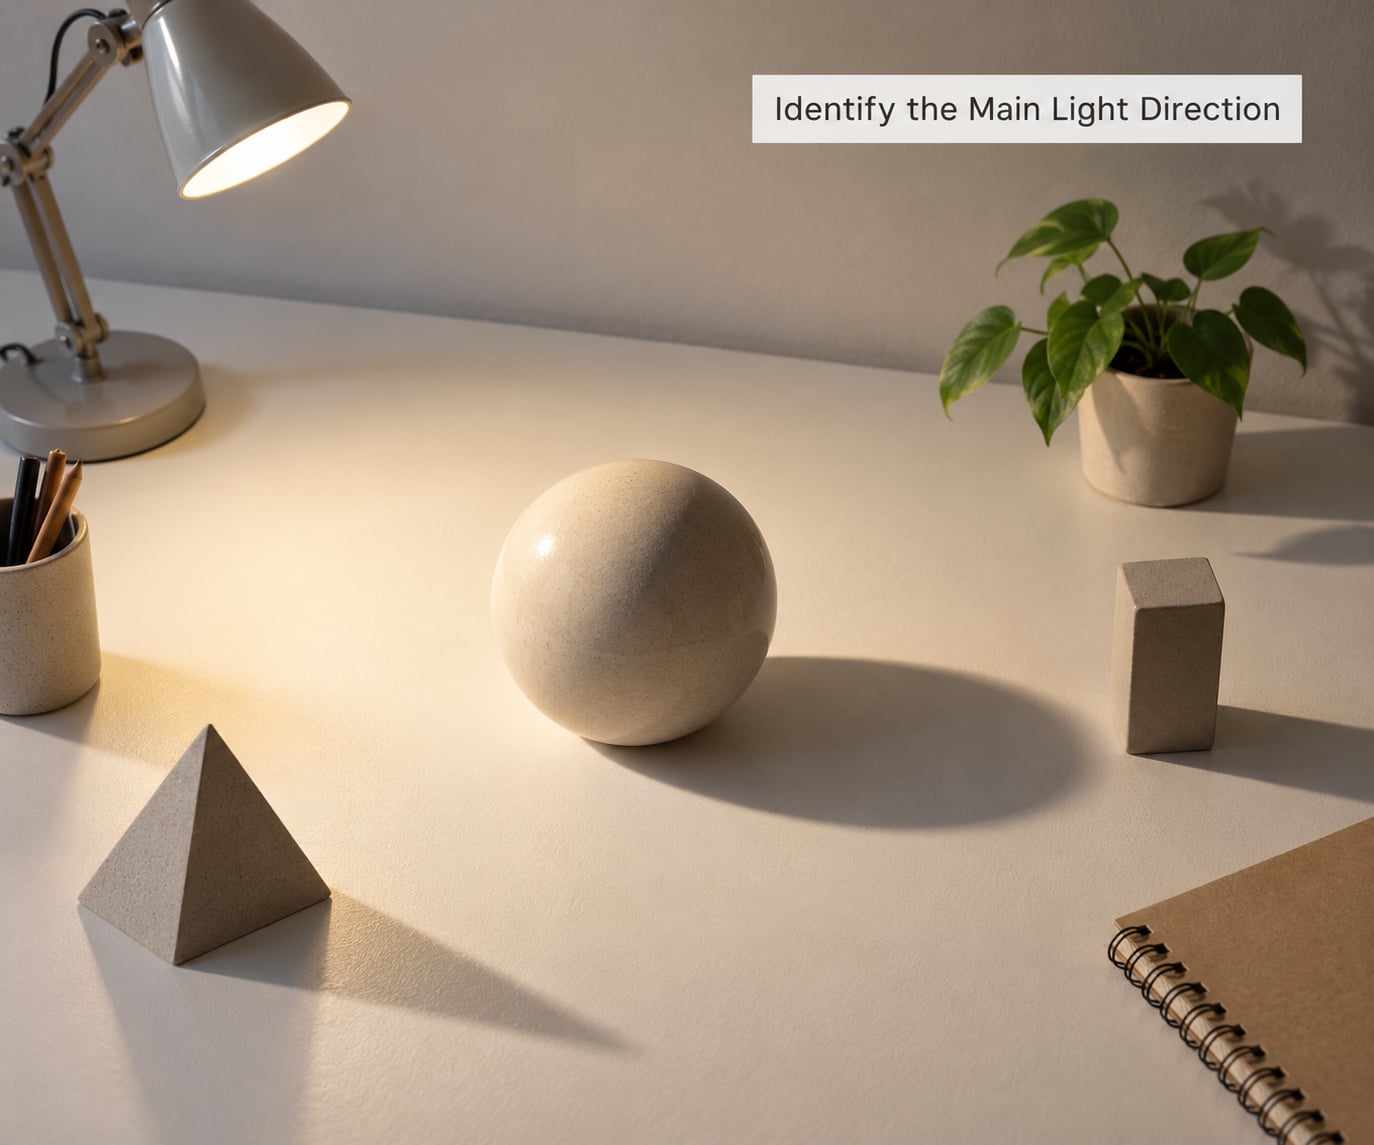
Find the planes of the subject that are lit and the ones that are dark, then infer the source. A bright forehead and cheek with a small shadow falling to one side of the nose points to a key light placed roughly 45 degrees off the camera axis and slightly above eye level. A shadow under the chin with the nose casting downward suggests light from well above. A bright outline along the hair and shoulder with a dark face means the source is behind the subject.
Cast shadows on the background tell you the same thing from another angle. Follow the shadow direction with your finger and back it out to where the source must sit.
Record it as a clock position facing the subject — 12 o’clock is directly overhead, 3 o’clock is camera right at eye level, 10 o’clock is the classic 45-degree key. Clock positions survive bad memory better than adjectives.
When two or more sources are visible, identify the dominant one first: it is whichever produces the strongest modelling and the darkest shadow side. Everything else is fill, rim or background light.
2. Judge the Quality and Size of the Light
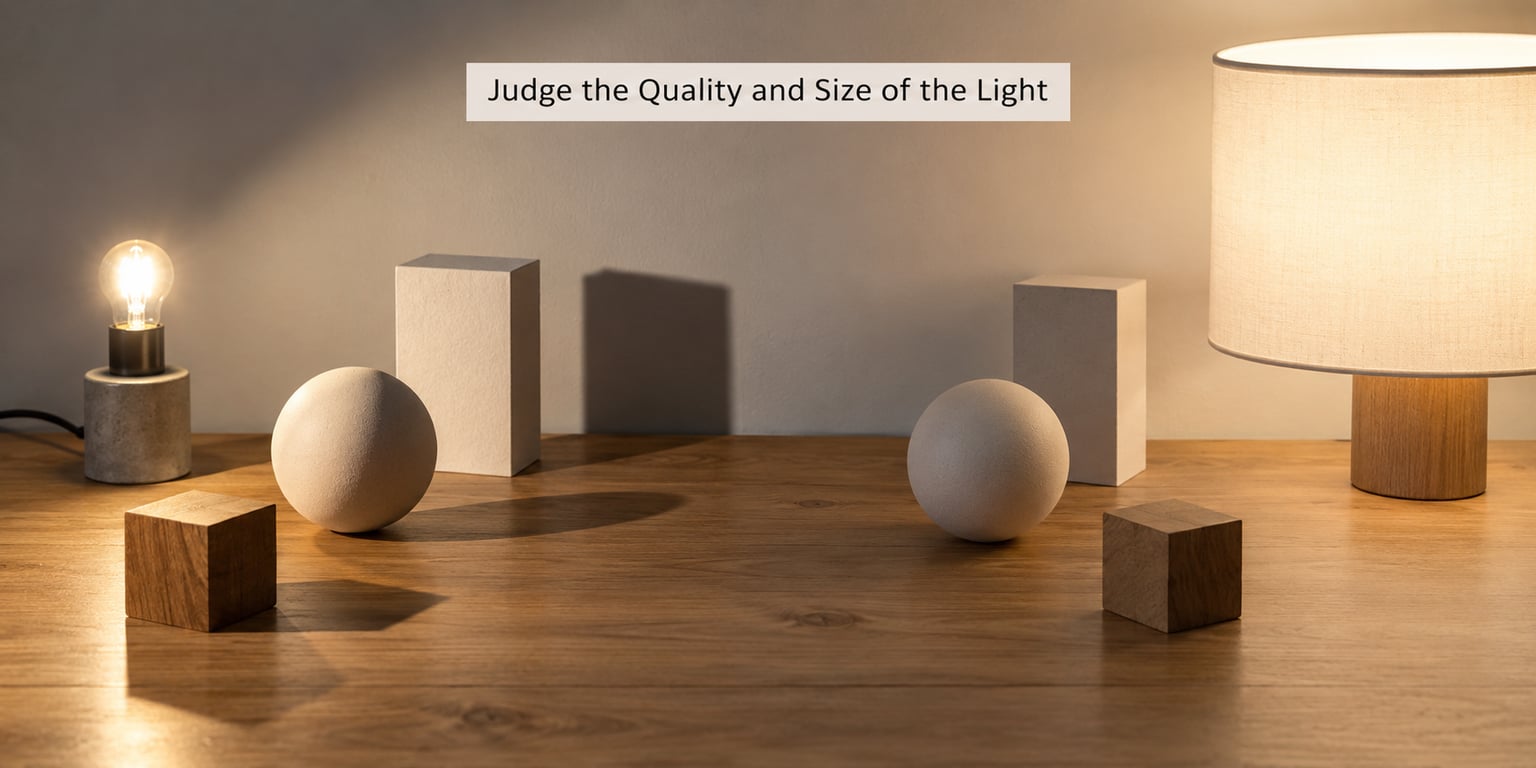
Quality means hardness. Hard light comes from a small, distant source and gives you crisp shadow edges, bright specular highlights and deep contrast. Soft light comes from a large or close source and gives you gradual transitions, open shadows and a forgiving look.
The test is the shadow edge. Sharp and well defined suggests the sun or a bare flash. Soft and gradual suggests an overcast sky, open shade, a large softbox, a beauty dish or a wall being used as a bounce.
Estimate the apparent size of the source by comparing the catchlight to the subject. A catchlight that fills most of the iris came from something large and close. A small pinpoint catchlight came from something small and far. A rectangular catchlight points to a softbox or a window with a visible frame; a round one points to a dish, a bare bulb or a reflector.
Three shadows from three different edges on the same subject usually means several sources or bounced light. A single clean set of edges means one dominant source.
Write down your source estimate in plain terms — “large window camera left”, “bare flash about three metres away”, “sun through a sheer curtain” — not a gear brand. What matters for how to analyze a photo is the size and distance, not the model name.
3. Read the Contrast and Shadow Pattern
Now compare the brightest area, the midtones and the darkest shadow. Bright shadows with visible detail point to a high light ratio and lots of fill, often a reflector or a wall close to the subject. Deep shadows with no detail point to a low ratio and little or no fill, which is where negative fill comes in.
For faces, the shape of the shadow the nose casts names the pattern. A small triangle of shadow beside the nose on the shadow-side cheek is Rembrandt. A shadow shaped like a butterfly under the nose is Paramount or butterfly. A shadow splitting one side of the face evenly down the middle is split lighting. A small loop-shaped nose shadow that leaves a lit area between nose and cheek is loop lighting.
Also note whether the whole frame is high key, with bright tones and open shadows throughout, or low key, with a small bright area against dominant darkness. That choice tells you the photographer’s intent more clearly than any single cue.
Check what the shadows can still show you. If you can see texture and detail in the darkest parts, the ratio is under about four to one. If the shadows crush to solid black, it is well past that.
4. Notice the Color of the Light
Warm highlights and cool shadows usually mean one warm source against a cooler ambient, often sunlight plus blue sky fill. Everything warm with no cool in it suggests tungsten, a warm reflector, or a graded frame. Everything evenly cool and flat suggests an overcast sky or open shade.
Separate light colour from subject colour before drawing conclusions. A red sweater does not make the light red. Look at neutral surfaces — skin, grey clothing, a white wall, a concrete floor — and read the tint there.
Then consider the edit. A split tone, a warm filter or a heavy preset can tint an image after the fact, so a colour that looks deliberate may just be grading. Skin that stays natural while the background goes teal and orange is a strong hint that the lighting was neutral and the colour came later.
Golden hour light sits low and warm with long, soft-edged shadows. Blue hour sits after sunset, when the sky is an even cool source and shadows nearly disappear. If the shadows are long and warm-edged, the sun was low.
5. Map How the Light Falls Off
Trace the brightness outward from the brightest point into the surrounding midtones and shadows. Gradual, smooth falloff means the source is large relative to the subject. A sudden drop means the source is small and close, and the inverse square law does the rest — doubling the distance quarters the light.
Watch the background. If the background is darker than the subject on the side nearest the source, the light is directional and there is nothing else contributing much. If the background is brighter than the subject’s shadow side, ambient or bounce light is reaching it, which also means some of that fill reaches the subject.
In outdoor scenes the same reading works on terrain. Raking light with long shadows across a hillside means a low sun. Flat light with almost no shadow means an overcast sky or the sun hidden behind a thin cloud layer. Jagged, high-contrast shadows on a wall point to direct sun through trees.
6. Analyze Light, Subject, and Background Together
Now ask whether the light separates the subject from its surroundings or merges them. A rim of bright light along the hair and shoulders, placed behind and above at roughly 90 degrees to the camera axis, is separation light and it is doing real work. A dark halo where the subject meets a bright background is negative fill or a background light aimed away from the subject.
Look for reflected light. A white card or light wall on the shadow side creates a bright patch on the cheek and jaw that matches no visible source. Warm bounce off a wooden floor or a red wall tints the underside of the jaw.
Background gradients tell you what was aimed at what. A pool of light centred behind the subject means a dedicated background light or a snoot. An evenly lit background of the same brightness as the subject means they were lit together, probably by one broad source.
In food and still life work the cues shift but do not change. Long soft shadows suggest a large source close to the frame. Hard-edged shadows from a fork or a glass suggest direct light. A bright specular highlight on a sauce or a liquid usually means a strip softbox, a bare flash or a gridded source that the photographer then positioned carefully.
7. Translate the Observations into a Lighting Setup
Write the reconstruction as a short list you could hand to another photographer. Name the key light position by clock face and height, guess its size and distance, then name the fill and the separation light.
A worked example: a window-lit portrait with soft open shadows, a visible rectangular catchlight camera left, background darker than the subject, and a faint bright edge on the far shoulder. That reads as a large window camera left at roughly 45 degrees and slightly above eye level, a white reflector or pale wall on the right for fill, and either the window reaching the subject or a second dim source behind for separation.
Now decide whether to match the frame or improve it. If the reference has harsh edges you dislike, moving one step back toward the window or adding a sheer curtain gives you the same direction with softer quality. Matching exactly is useful for building a portfolio look you have been asked to reproduce; improving is what you do when the frame is your own.
Then test it. Recreate the setup with whatever light you have and compare the two frames side by side. The mismatch that shows up first is almost always the size of the source, not its direction.
| Cue you see | What it tells you | Likely source |
|---|---|---|
| Small round catchlight | Small, distant source | Bare flash, snoot, direct sun |
| Large rectangular catchlight | Large source close to the subject | Softbox, window, scrim |
| Crisp shadow edge | Hard light, high contrast | Sun, bare bulb, unmodded strobe |
| Gradual shadow edge | Soft light, low contrast | Overcast sky, large softbox, open shade |
| Bright open shadows | High fill, low light ratio | Reflector, bounce card, pale wall |
| Crushed black shadows | Low fill, high light ratio | Single source, negative fill |
| Bright edge on hair and shoulders | Separation light behind subject | Strobe behind, backlit window |
| Warm light, cool shadows | Warm source plus cool ambient | Sun with blue sky fill, golden hour |
| Background darker than subject | Directional key, background unlit | Single source with flags or distance |
| Warm tint on shadow-side jaw | Bounce off a coloured surface | Wood floor, warm wall, coloured foamcore |
Common Mistakes
Judging brightness from memory. Screens differ and your eyes adapt to whatever they just looked at. Fix: open a grayscale view or sample the darkest and brightest pixels with an eyedropper before you decide anything about contrast.
Confusing subject colour with light colour. A warm wall makes everything in front of it look warm. Fix: find a neutral reference in the frame — skin, grey fabric, concrete — and read the tint there.
Assuming every soft image came from one huge source. Soft light near the subject with hard light on the background usually means two different sources at different distances. Fix: check shadow edges in several parts of the frame, not just on the face.
Reading shadows without checking highlights. You cannot judge the ratio if you never look at where the light lands brightest. Fix: alternate between the shadow side and the highlight side a few times before writing anything down.
Chasing equipment before the effect. Knowing the image used a beauty dish does not help you build the look. Knowing the source was two metres away and slightly above eye level does. Fix: describe size and distance in your notes, and only mention modifiers after the visual result is clear.
Trying to rebuild a frame that was heavily edited. Split toning, dodge-and-burn and composites can fake light that was never there. Fix: check whether highlights and shadows behave consistently across the subject and the background. If the background is clean while the subject is gritty, that was added later.
Analyzing once and moving on. One frame teaches a pattern you cannot trust yet. Fix: run the seven steps on five different photographs from five different photographers before you rebuild any of them.
Frequently Asked Questions
How do you describe lighting in photography?
You describe it by direction, quality, quantity, contrast and colour. Direction says where the main light sits relative to the subject, quality says how hard or soft it is, quantity is how much of it, contrast is the ratio between lit and shadow areas, and colour is its temperature against whatever else is in the frame. Five terms cover almost any lighting description a photographer would give.
What is the 3 lighting rule?
The three-point lighting rule uses a key light that shapes the subject, a fill light that controls how dark the shadows go, and a back light that separates the subject from the background. Most reference photographs you admire are built on some version of it. When you analyze a photo, look for which of the three you can actually see, because plenty of great portraits only use two.
What is the 20-60-20 rule in photography?
The 20-60-20 rule is a composition guideline, not a lighting one. It suggests placing roughly 20 percent of the frame for foreground interest, 60 percent for the main subject, and 20 percent for background, and it concerns where things sit in the frame rather than how they are lit. It is useful, but it tells you nothing about where the light came from.
How to analyze lighting in a photo you like step by step?
Work in a fixed order: find the main light direction from lit and shadowed planes, judge the quality from shadow edges and catchlight size, read the contrast from shadow brightness, note the colour from neutral surfaces, map the falloff outward from the brightest point, check how subject and background separate, then write the setup down as key, fill and rim. A fixed order is what turns this from guesswork into a repeatable skill.
How can I tell what lighting was used in a photo?
Look for four clues together. Catchlight shape and size give you the source shape and distance. Shadow edge hardness tells you hard or soft. Background falloff tells you whether the source is directional. Rim highlights along hair and shoulders tell you where a separation light sits. One clue alone is ambiguous. Four pointing the same way is a reliable read of the setup.
Why do I look flat or unlike myself in photos?
Flat usually means a source directly in front of the subject, close to the camera axis, which lights both sides of the face evenly and removes modelling. Looking unlike yourself is usually a focal length and angle problem rather than a lighting one, though flat light makes both look worse. For how to analyze lighting in a photo of yourself, check the shadow beside your nose first. No visible side shadow usually means your key was too frontal.
Start With the Shadows
Begin on the shadow side of the subject, not the highlight side. Record the direction the shadows fall, then how crisp their edges are, then how much detail survives inside them. Those three notes answer direction, quality and fill in about a minute.
After that, work outward: catchlights for source size, neutral surfaces for colour, brightness running away from the brightest point for falloff, and the boundary between subject and background for separation. Write it up as key, fill and rim, with clock positions and rough distances.
Do that for five photographs from five photographers before you rebuild a single one. The second pass is where the pattern stops feeling like detective work and starts feeling like reading.