The common portrait photography mistakes to avoid are mostly about things that happen before the shutter button is pressed: how you direct the person, what is behind them, where the light is coming from and how far away you are standing. Fix those four things and most of your portraits improve immediately, whatever camera you use.
A portrait photography mistake is any repeatable technical, compositional or interpersonal habit that makes a photo worse than the subject deserved. Bad framing, a distracting background, focus on the forehead instead of the eye, light straight overhead, or simply standing too close with a wide lens are the ones that come up again and again in critique threads on r/PhotographyAdvice and r/photocritique.
This is a diagnostic list rather than a set of style rules. Some things people defend loudly on forums, like shooting wide or using a very shallow depth of field, are not mistakes in themselves; they are mistakes when they happen by accident. Everything below is written so you can look at your own back catalogue tonight and recognise at least three of them.
Table of Contents
- Common Portrait Photography Mistakes to Avoid at a Glance
- 1. Not Directing the Subject Clearly
- 2. Ignoring the Background
- 3. Using Harsh, Unflattering Light
- 4. Standing Too Close with a Wide-Angle Lens
- 5. Focusing on the Camera Instead of the Eyes
- 6. Asking for Generic Poses and Smiles
- 7. Cropping at Awkward Points
- 8. Overcorrecting Skin and Facial Texture
- 9. Shooting at the Wrong Time
- 10. Taking Too Few Photographs
- Frequently Asked Questions
- What is the most common mistake in portrait photography?
- How can I make a portrait look more professional without expensive equipment?
- Should I always focus on the subject’s closest eye?
- What focal length is best for flattering portraits?
- How do I fix harsh shadows in a portrait?
- Is heavy skin retouching necessary for natural-looking portraits?
- Conclusion
Common Portrait Photography Mistakes to Avoid at a Glance
Start here. Find the symptom you recognise in the second column and jump to the section that fixes it.
| Mistake | What it looks like in the frame | The fix |
|---|---|---|
| Vague direction | Stiff shoulders, awkward hands, a face that is waiting for the shutter | Give one physical instruction, then a short burst |
| Ignored background | Poles through shoulders, bright windows blown out, clutter competing with the face | Walk the subject sideways until the line goes away |
| Harsh light | Black eye sockets, harsh shadow line across the cheek, blinking subjects | Move the subject into open shade, turn them 45 degrees to the window |
| Too close with a wide lens | Large nose, small ears, receding hairline | Step back and crop in, or use 70mm and longer |
| Focus on the forehead | A soft portrait that looks sharp at a glance | Turn on eye-detection autofocus or use back button focus |
| Generic pose | Hands hidden, weight even, a forced grin | Ask for an action or a thought, not a pose |
| Awkward crop | Elbow or knee cut mid-joint, half a metre of empty sky above the head | Crop tighter, cut at the elbow above or the wrist |
| Over-retouching | Plastic skin, halos around hair, orange faces | Zoom to 100 percent, reduce texture and saturation slightly |
| Wrong time of day | Sunken eyes at noon, orange cast at sunset indoors | Work near a window, or shade the face and keep the sky bright |
| Too few frames | One usable photo out of a whole session | Shoot through the setup, take short bursts, cull honestly |
1. Not Directing the Subject Clearly
Telling someone to relax is the single most common instruction that does nothing. People do not know what relaxed looks like from the outside, so they stand still and wait.
Direct with something physical instead: “shift your weight onto your back leg”, “turn your shoulder toward me, keep your face where it is”, “walk three steps toward me and stop”. One instruction at a time, then shoot a burst, then give the next one.
The other half of clear direction is permission to move. Say out loud that walking, leaning, adjusting a collar or breaking and re-making the pose is normal, and most stiffness disappears on its own.
2. Ignoring the Background
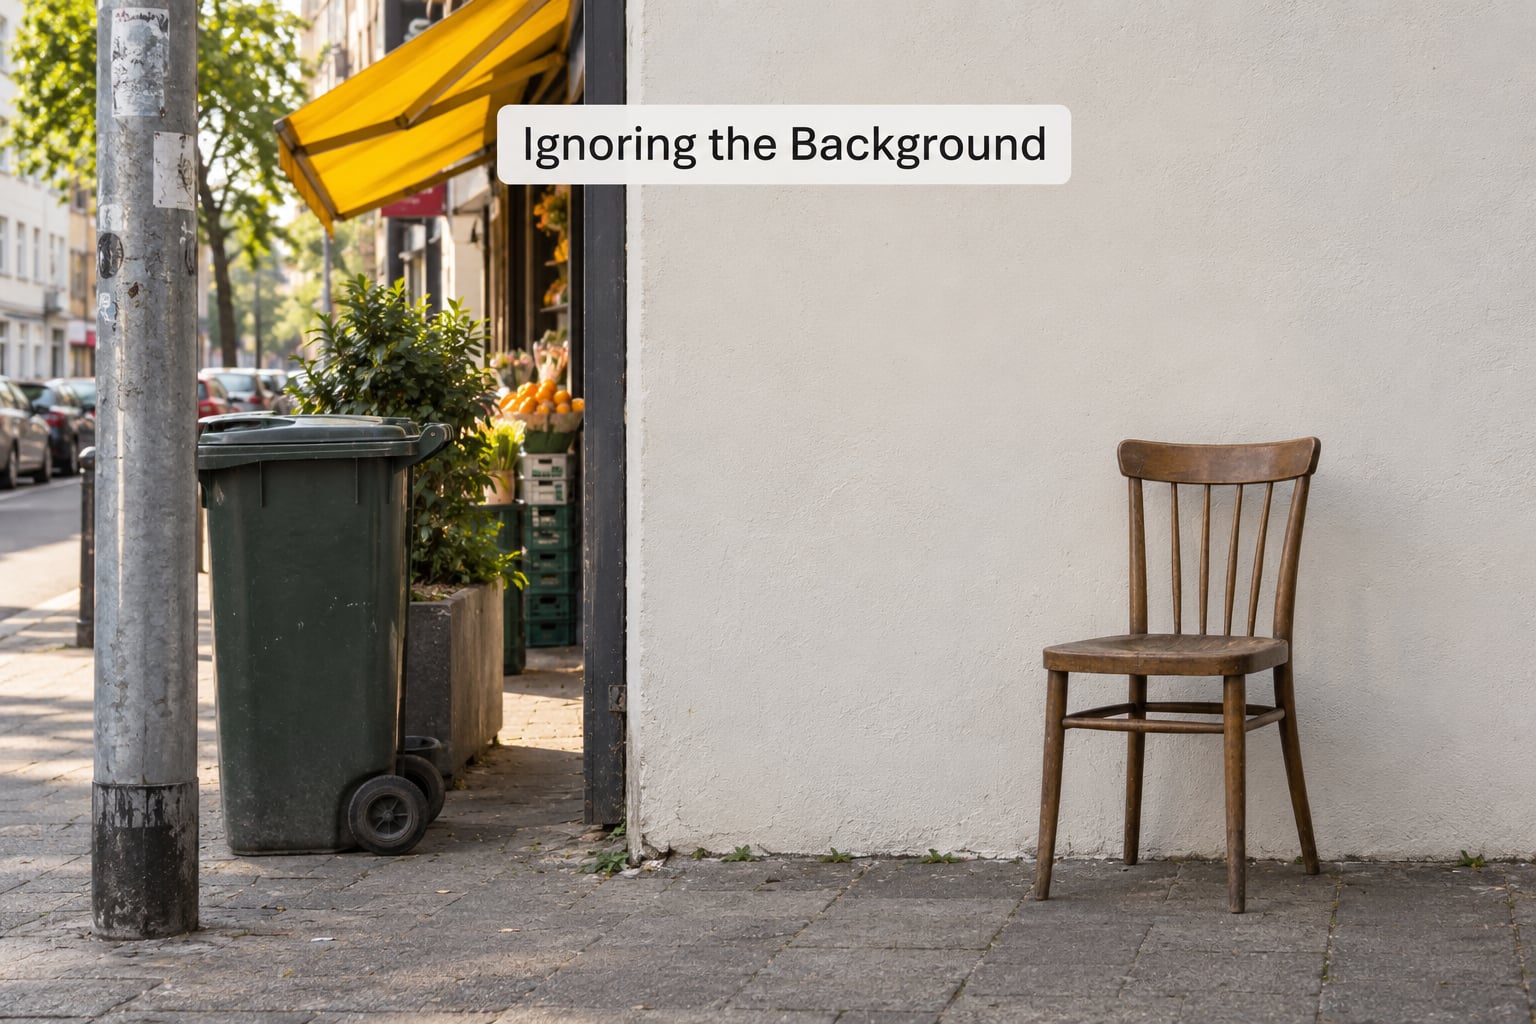
Half of the work in a portrait happens behind the subject, and it is the half most beginners skip. A bright window, a white fence, a road sign or a line of fence posts will pull the eye straight off a face.
Watch for tangencies, where two edges appear to touch. A lamppost that looks like it is growing out of someone’s head, or a vertical line that appears to impale a shoulder, ruins an otherwise good frame.
The fix is almost always movement rather than a new lens. Ask the subject to walk a few steps left or right and watch the background change behind them. When you find a clear patch, mark the spot with their feet and shoot in a small area around it.
Distance helps too. Give the subject three or four metres of space from whatever is behind them, and the background stops competing. If the location is tight, change the angle instead, moving a few steps yourself until the clutter slides out of frame.
3. Using Harsh, Unflattering Light
You can spot hard light before you take the shot. Look at the shadows under the nose and the eye sockets. If they are small black shapes, the light is coming from a single small source very close to the subject, usually the midday sun.
Light straight overhead and slightly in front is the worst case: it drops shadows into the eyes, adds a bright line along the cheek, and makes people squint. The face looks tired even when the subject is not.
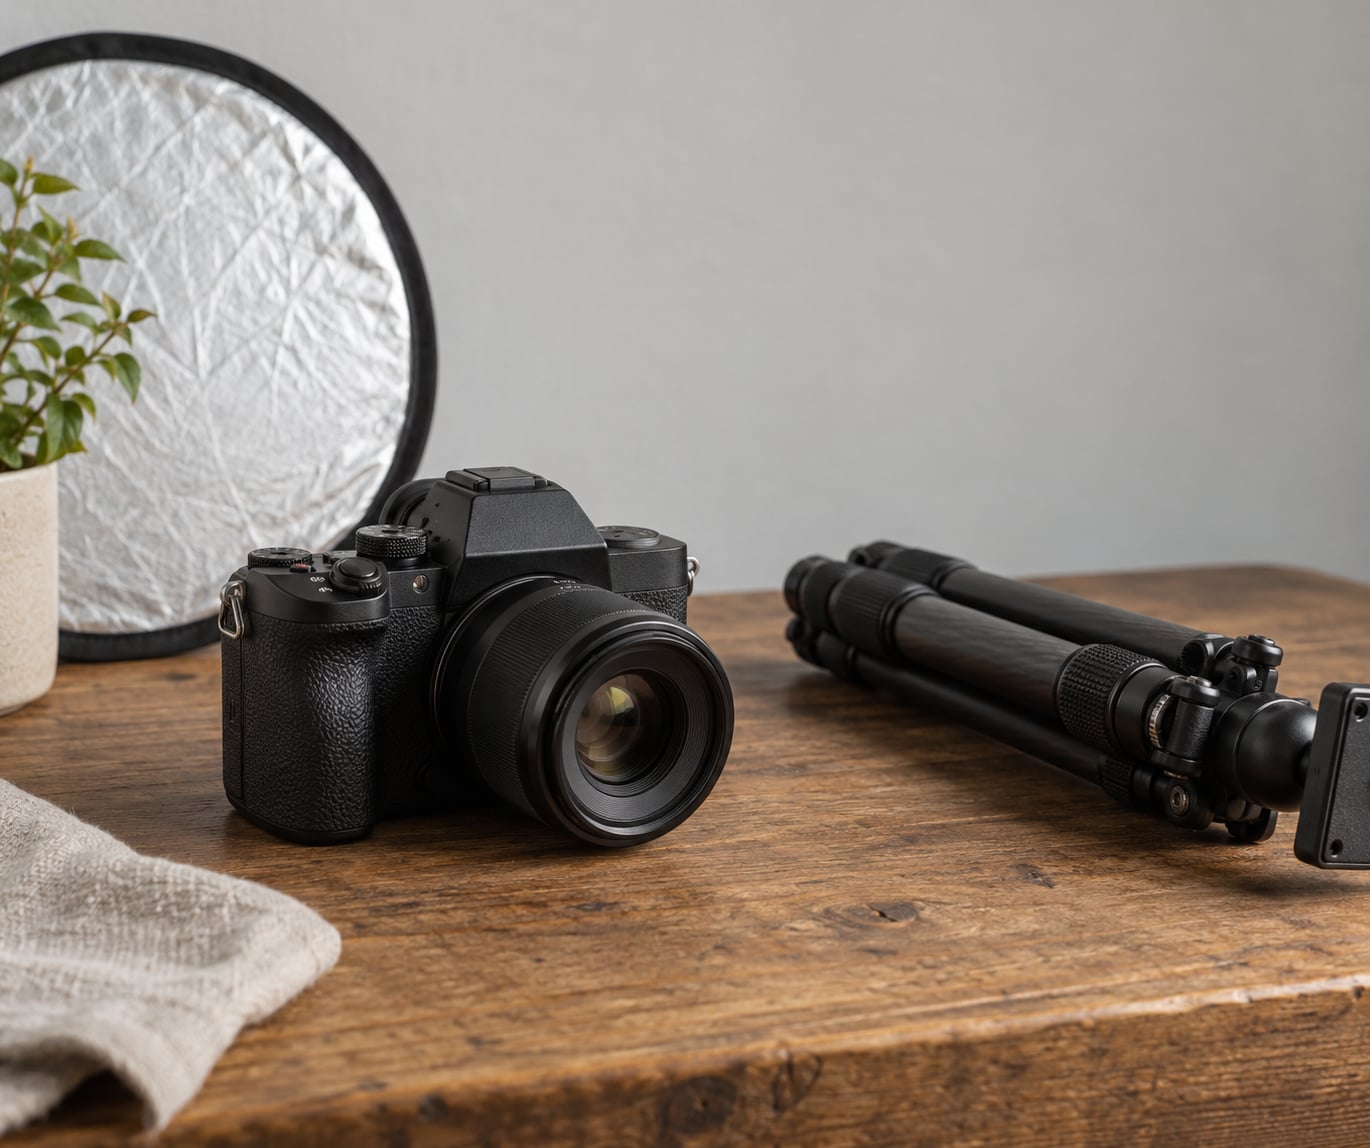
Three fixes cover most situations. Turn the subject so the light comes from about 45 degrees to their face, rather than straight on or straight behind. Move them into open shade, under an awning or the shadow of a building, and let the brighter background do the separating. Or put a reflector or piece of white card just below the face and bounce light back into the shadows.
Window light is the same idea indoors. Put your subject a metre or so inside the window, angled away from it, and you have a soft source the size of a softbox for free.
4. Standing Too Close with a Wide-Angle Lens
When you stand close with a wide lens, the nearest part of the face is magnified far more than the far part. Noses grow, ears shrink, and faces look wider than the person actually is.
This is perspective, not a lens defect. Hold your phone at arm’s length and take a friend’s face: the nose looks enormous. Hold the camera two metres away with the same lens and the proportions settle back to normal.
Below roughly 60mm on a full-frame body, close portraits suffer noticeably. The fix is simple: step back and crop in. An 85mm lens lets you stand three to four metres away and still fill the frame with a head and shoulders.
Working distance also helps the background. Long focal lengths compress the space behind the subject, so a distant wall appears closer and blurs more cleanly at the same aperture.
Wide lenses are not a mistake when you use them on purpose. Shoot from the chest up or wider, use them for environmental portraits where the room matters as much as the face, and get the camera low enough that you are not pointing it up the nose.
5. Focusing on the Camera Instead of the Eyes
Sharp eyelashes, soft eyes. It happens because the camera focused on the plane in front of the face, which is where the sensor sits, not on the eye itself.
Turn on eye-detection autofocus if your camera has it, and pick the eye that is nearest the middle of the frame rather than the closest to the camera. With a face turned to the side, the near eye can fall slightly out of the focal plane, so the far eye is often the sharper choice.
Back button focus gives you real control. Set one button to focus and hold it to lock focus on the eye, then recompose with another hand on the shutter. A quick burst right after the button press catches blinks too.
Before a session, confirm focus by turning on live view and magnifying to 100 percent on the near eye. If the lashes are sharp and the iris is soft, you are too close or the aperture is too wide. Stopping down one notch from f/1.8 to f/2.8 usually fixes it and keeps the background soft.
6. Asking for Generic Poses and Smiles
A portrait taken after “stand there and smile for the camera” rarely survives contact with a real person. The smile is produced on command, the body holds itself still, and the result reads as a passport photo that cost more.
Replace adjectives with actions. Ask someone to look at the person behind you, to read a line from a card, to pull their coat collar straight, or to take two steps and turn back. Hands and shoulders move, and movement is what makes a frame look alive.
For a real smile, talk before you shoot. Ask something you already know the answer to, or say something slightly silly. Genuine smiles arrive a beat late and vary in shape, which is exactly what a single command never gives you.
Not everyone is comfortable on camera and that is fine. Direct the body clearly and let the expression be quiet. Plenty of strong portraits use a neutral face and a hand gesture instead of a grin.
7. Cropping at Awkward Points
Crop at the elbow and you have invited the viewer to keep looking at the joint. Wrists, knees and ankles have the same problem. Leave the frame just above the elbow or a little below it, and the arm looks intentional.
Headroom is the other classic. Half a metre of empty sky above someone’s head makes them look small and the picture looks unfinished. Most portraits need less space above the head than you instinctively give.
Use the rule of thirds as a starting point, placing the eyes on the upper horizontal line, though centring works well for symmetrical headshots and centred compositions.
Do a quick frame check before and after every capture. Look at the four edges, then the corners, then the lines running through the subject. Two seconds of this saves more frames than any editing trick later.
8. Overcorrecting Skin and Facial Texture
Heavy smoothing turns a face into plastic. The signal is texture: zoom to 100 percent and if pores, fine hairs and freckles have vanished, the skin no longer looks like skin.
Sharpening that bites too hard leaves halos around hair, eyelashes and the edge of the jaw. Pull the sharpening amount back and raise the radius instead, which smooths the noise without drawing an outline around the face.
Saturation is the other culprit. Boosting vibrance on a portrait pushes skin toward orange, especially on a face lit by a warm window. Selective colour, where skin stays in colour and the background goes grey, reads as a filter rather than a photograph.
HDR tone mapping has the same effect, flattening contrast until the frame looks pasted together. And converting an out-of-focus portrait to black and white hides nothing: the blur is still there, it just has less colour to distract from it.
Keep expression and personality intact. A little asymmetry, texture and skin variation is what makes a portrait resemble the person.
9. Shooting at the Wrong Time
Midday sun is the most reliable way to make an outdoor portrait look harsh. The sun is high and short-shadowed, skin brightens and squints, and no amount of editing fully recovers the lost texture.
The hour after sunrise and the hour before sunset give lower, warmer light that wraps around a face. Be aware that the low sun is much redder than the sky, so set a custom white balance or shoot a frame against grey card rather than leaving white balance on auto.
Indoors the problem is mixed colour temperature. A warm ceiling bulb beside a cool window lights one side of a face orange and the other blue, and that mismatch is more obvious than any exposure error.
Face the subject toward the window and turn off or cover the other sources. If you cannot control the room, move to a doorway, a stairwell or under a covered walkway where the light has already mixed.
Watch the actual light rather than the clock. A heavy overcast sky gives soft, even light all day and some of the best portraits of the year, while a clear afternoon at three is close to unusable.
10. Taking Too Few Photographs
Hesitation is the quiet one. If you shoot four frames of a fifteen minute session and delete three of them, there was never a photograph to work with.
Work in short bursts of three to five frames, and shoot continuously while you adjust settings and position. Those setup frames are usually where the unplanned expressions happen.
Watch for the moment rather than the pose: the half second after a joke lands, the turn back towards the light, the hand going up to push hair out of the way. Those frames are unrepeatable, and you will not get them if you are still adjusting a dial.
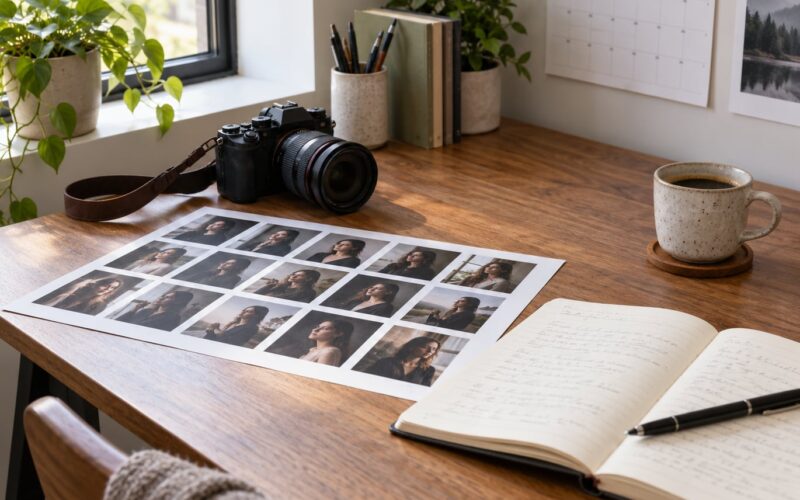
Then cull honestly. Look at faces at full size, not at thumbnails, and delete in batches. Beginners report that the biggest single jump in their portraits came from asking for feedback rather than shooting more frames, so show a contact sheet to someone whose opinion you trust before you delete anything.
Frequently Asked Questions
What is the most common mistake in portrait photography?
The most common mistake is not directing the subject clearly. Telling someone to relax produces a stiff pose and a fixed expression because the instruction is an adjective, not an action. Give one physical instruction such as shifting weight onto the back leg, then shoot a short burst of three to five frames. Frame volume, eye focus and background distance follow closely behind.
How can I make a portrait look more professional without expensive equipment?
Move closer to the work, not the shopping list. Put the subject three or four metres from the background, step back to about two metres with 70mm or longer, shoot in open shade with a reflector or white card for fill, and turn on eye-detection autofocus. Those four free changes fix most of what makes a snapshot look amateur.
Should I always focus on the subject’s closest eye?
Not always. The closest eye is the default because it is largest and easiest to detect, but when a face turns sharply to the side the near eye can fall slightly out of the focal plane. Aim for the eye nearest the middle of the frame, and check with live view magnification at 100 percent before the session starts.
What focal length is best for flattering portraits?
Around 85mm on a full-frame body is the flattering default, because it lets you stand far enough back to keep facial proportions natural while still filling the frame. A 70-200mm works well when distance is available. Use 35mm or 50mm when the environment matters more than the face, and avoid wide lenses for tight close-ups.
How do I fix harsh shadows in a portrait?
Move the subject into open shade or turn them 45 degrees to the light source instead of facing it straight on, which drops the shadow line into the eye sockets. Then bounce fill back into the shadows with a reflector or white card held just below the face, or use a low-power flash. Adjusting exposure alone will not fix it.
Is heavy skin retouching necessary for natural-looking portraits?
No. Zoom to 100 percent and check that pores, fine hairs and freckles are still visible; if they are gone, the skin has been pushed too far. Reduce the texture or smoothing amount, pull sharpening back and raise its radius to avoid halos, and leave saturation moderate so skin tone stays believable.
Conclusion
Pick one frame from your last portrait session and walk it through five checks in order: eye focus, working distance, background clutter, light direction, and how much retouching you needed. Whatever fails twice in a row is your mistake to work on next.
Almost all of these fixes cost nothing. Step back, turn the subject, wait for shade, switch to a burst. Pick one item from the ten above, practise it at the next session with friends or family, and your portraits will outrun most people who keep buying gear instead.