Yes, you can learn photography without a class. Most working photographers taught themselves, and the whole skill comes down to a loop: learn one thing, shoot with it the same day, look at what you made, fix one problem, repeat. What a class really gives you is structure and feedback, and both are things you can build yourself in about three months of steady practice.
That loop matters more than any gear. Photography is one of those things you learn by making a hundred bad frames, not by reading a hundred articles about light. So this guide is a routine rather than a syllabus — what you need (very little), seven steps in a sensible order, and a way to know whether you’re getting better.
Table of Contents
- What You Need
- How to Learn Photography Without a Class: Step-by-Step
- Common Mistakes
- Frequently Asked Questions
- Can I learn photography without a class if I only have a smartphone?
- How long does it take to learn photography without taking a class?
- What should a beginner practice first when learning photography alone?
- Are free photography tutorials or online courses enough?
- How often should I practice photography as a beginner?
- How do I know when my photography is improving?
What You Need
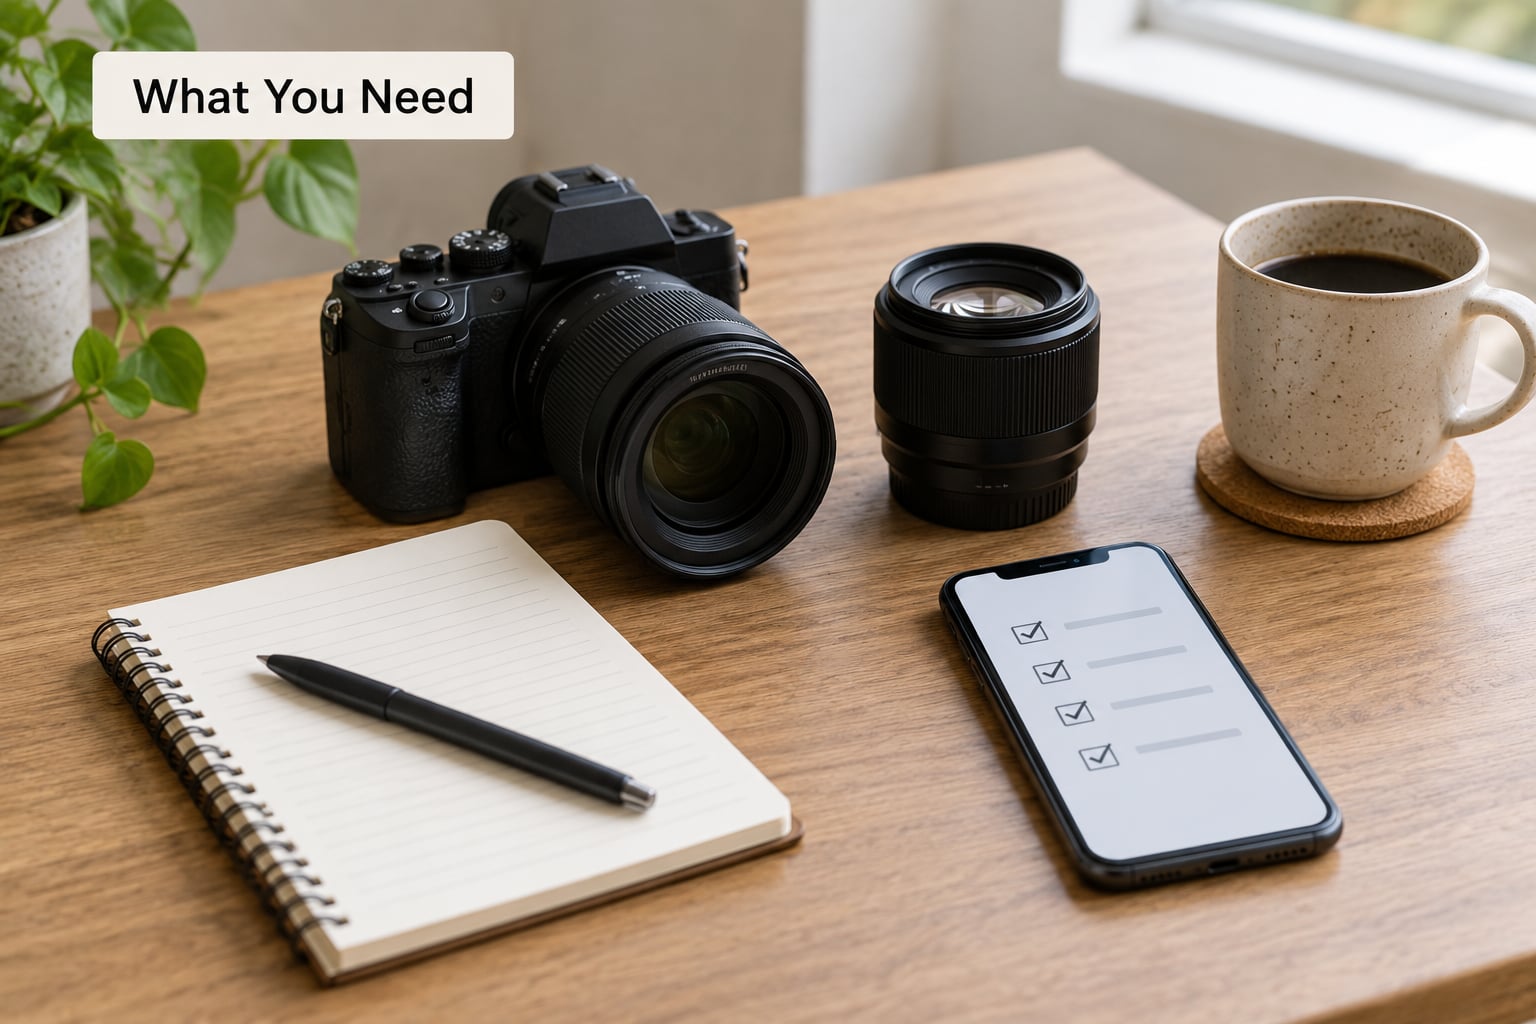
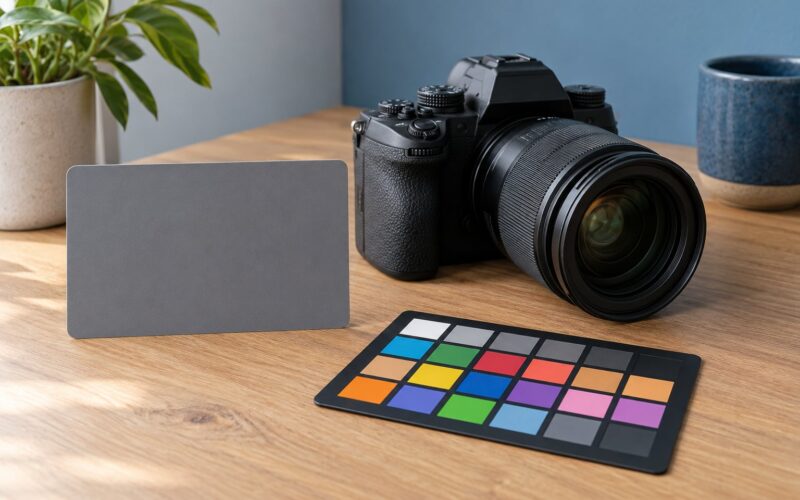
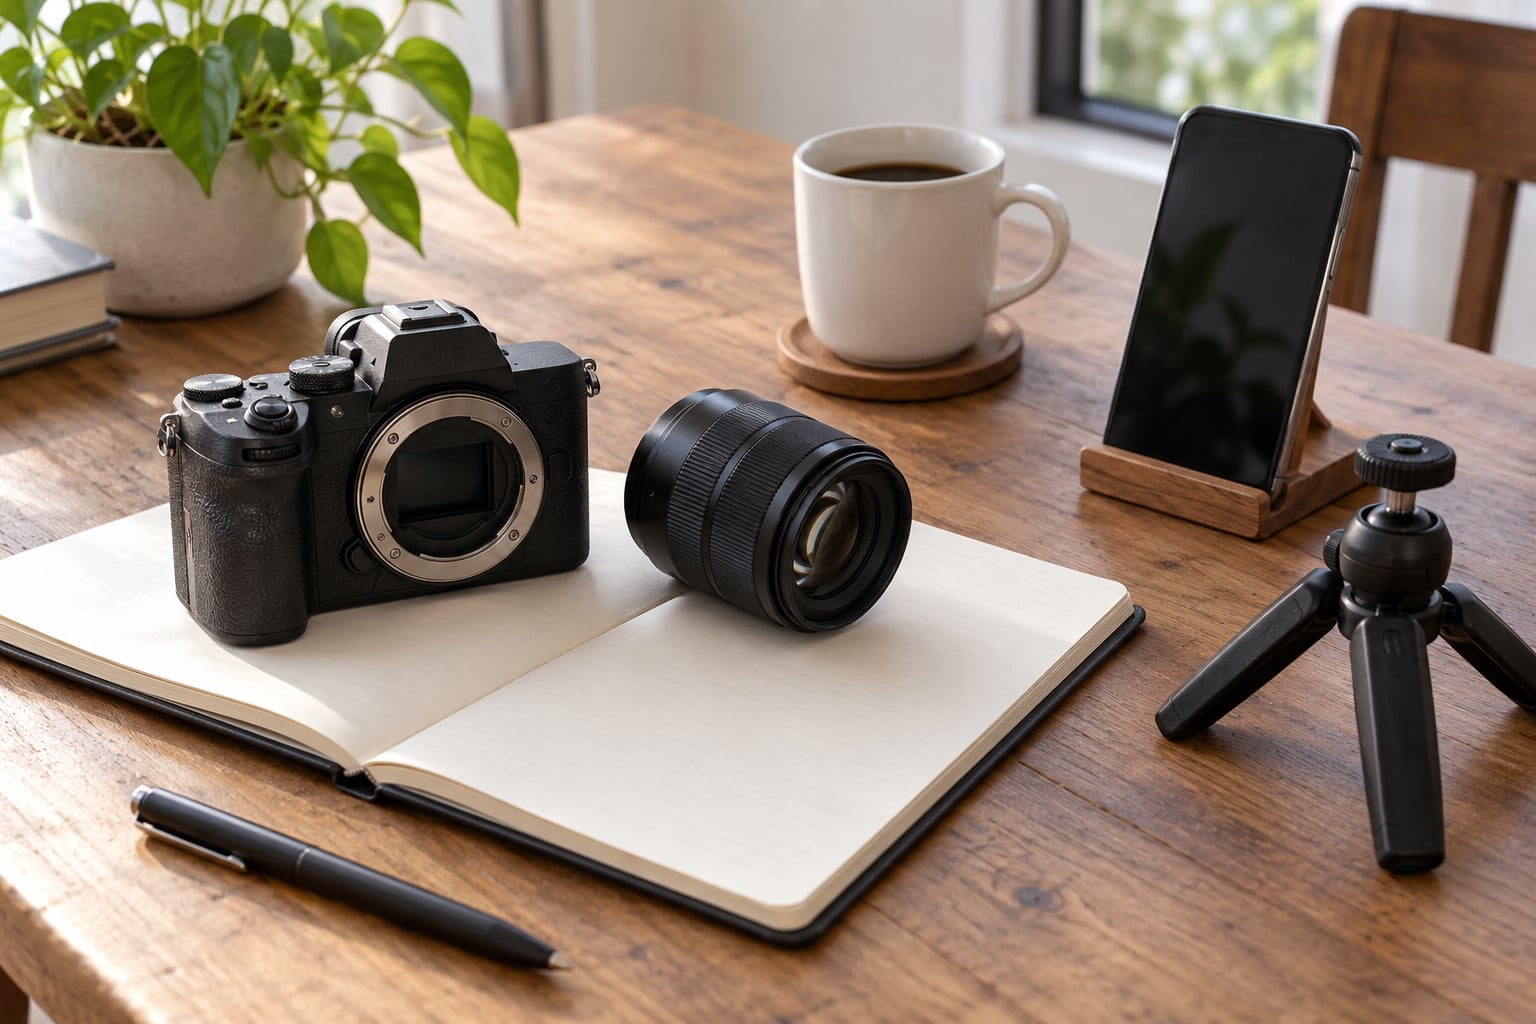
The starter list is short, and it is deliberately short: a camera you already own (or a phone), something to keep the camera steady, a free editing app, the manual that came with the camera, and a notebook. Everything else can wait until you know what you actually need.
The camera. If you own any camera, start with it. The gap between an entry-level body and a mid-range body is much smaller than the gap between “shooting on Auto forever” and understanding what you’re doing. If you have no camera at all, a phone genuinely is enough to learn composition, light, and editing — and it will teach you the eye, which is the part that doesn’t upgrade.
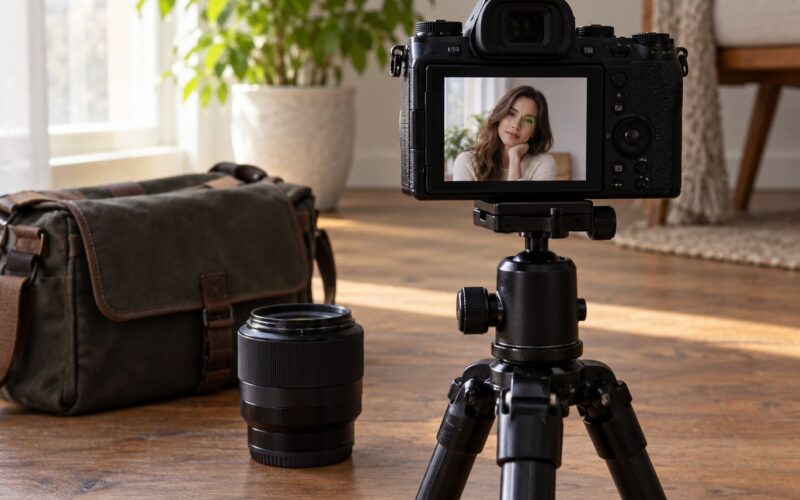
Something to steady it. A small tripod or a firm surface (a table, a wall, the ground) removes camera shake from the equation. When you can see exactly what blur does to a frame, every other setting becomes easier to read.
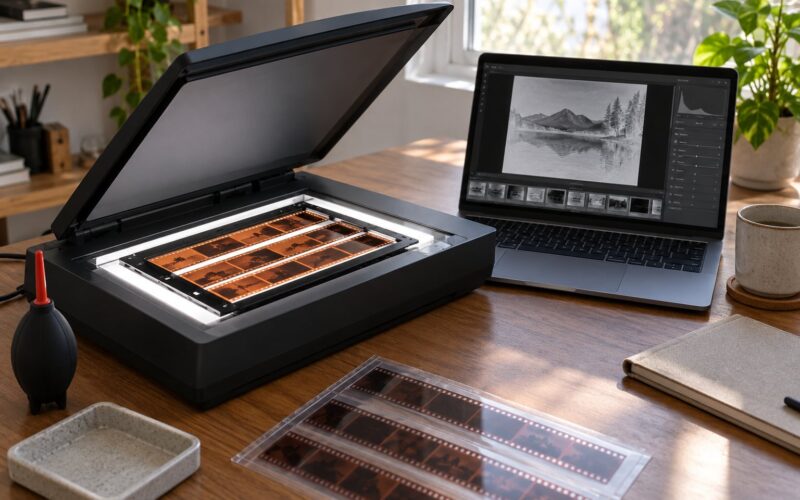
An editor. Adobe Lightroom and its free mobile/legacy versions, plus the free editor bundled with your phone, cover everything a beginner needs. Non-destructive editing means your original file is never destroyed, so you can always start over.
The manual. This is the most-skipped and most useful item on the list. Searching “your camera model plus exposure compensation” in a search bar will teach you more in an evening than an hour of scrolling through general tutorials, because every body puts settings in a different place.
A notebook. Phone notes are fine. You want somewhere to record what you practiced, what went wrong, and what you’ll change next time — that log is what turns practice into progress.
How to Learn Photography Without a Class: Step-by-Step
Learn in this order and each step makes the next one easier: camera controls, then the eye, then focused practice, then feedback, then editing, then a project, then a monthly review. Skip ahead and you’ll be editing photos you don’t yet know how to expose, which is how beginners end up blaming the camera.
Step 1: Learn the Camera Controls You Actually Need
You need six things, and you can ignore the rest of the menu entirely for now: aperture, shutter speed, ISO, focus mode, metering, and white balance. Those six control how much light comes in, how sharp the frame is, and what color your photo looks like.
The exposure triangle is the whole thing in three numbers. Aperture (written as an f-number like f/2.8) controls how wide the opening is: low numbers let in more light and blur the background, high numbers like f/11 keep more in focus. Shutter speed controls how long the sensor is exposed, and anything below roughly 1/250th of a second when handholding will show as shake. ISO controls the camera’s sensitivity to light — low is cleaner, high gets grainy.
Start in aperture priority mode (A on Nikon and Sony, Av on Canon) rather than full manual. You pick the aperture and the camera picks the matching shutter speed, which lets you learn one variable at a time. Once aperture priority feels automatic, switch to shutter priority, then try full manual on a bright day.
You’ll know this step worked when you can look at a photo and say which of the three settings made it look that way. A test: shoot the same subject at f/1.8, f/5.6, and f/11 and look at how the background changes.
Step 2: Build Visual Foundations
Composition is not a gift you either have or don’t — it’s trained attention, and it comes from noticing a small set of repeatable things: light, lines, shapes, color, depth, and balance.
Do observation exercises instead of reading lists. Pick a street, a café, or your own kitchen, and for fifteen minutes make only photographs about light — shadows, reflections, a lamp through a window. Then the next outing, make only photographs about lines and leading lines — road markings, railings, edges of buildings. Restricting what you shoot forces you past the lazy default of pointing the camera at whatever is in front of you.
Use the rule of thirds as a starting grid, not a law. Put your subject on a line rather than dead center, leave some negative space in the direction they’re facing or looking, and check the edges of the frame for half-cut objects that pull the eye out of the picture.
Shoot in natural light whenever you can. The hour after sunrise and the hour before sunset — the golden hour — gives you warm, low, directional light that flatters almost any subject. Midday sun puts hard shadows on faces and blows out bright surfaces. You can also find good light indoors by putting your subject near a window and turning off the overhead lights.
Step 3: Practice One Skill at a Time
Focused, short sessions beat long unstructured outings, and this is where most self-taught photography actually goes wrong: people watch tutorials for months and shoot for five minutes a month. The fix is to practice one skill per session and write down one thing to fix next time.
A session that works: 15 to 30 minutes, one skill, a subject you can reach. Forty minutes of exposure practice on the same three objects at home beats two hours wandering a park trying to get a good photo of everything. If you’re stuck indoors, shoot hands, coffee cups, shadows on a wall, reflections in a window — there is always something within arm’s reach.
Noticing things doesn’t come naturally yet, and that’s normal for the first few weeks. It helps to walk the same short route repeatedly instead of new places, so you stop seeing the surroundings and start seeing frames in it: the light falling across a stairwell, reflections in shop windows, the one tree that catches the morning sun.
End every session with a note: “next time, get lower” or “next time, focus on the eyes.” One measurable change per session, written down, is what keeps you from repeating the same mistakes while feeling busy.
Step 4: Give Yourself Useful Feedback
Without a teacher, you have to build your own feedback loop or you won’t know whether you’re improving. Two habits do most of the work: compare, then critique with a rule.
First, comparison. Put your photo next to a photo you admire — same subject if possible — and ask what makes theirs look better. Tighter framing, cleaner light, a stronger background separation. There’s almost always one specific thing, and it’s usually not “better camera.”
Second, structured self-critique. For each frame ask: what was I trying to do, what worked, what’s the one weakness. Write it down in one line. Restricting yourself to one strength and one weakness per photo sounds harsh, but it’s what stops you from the vague feeling that something is wrong with everything.
Then ask other people. Post to r/AskPhotography with your camera, settings, and what you were trying — that community regularly answers beginner setup questions, and a specific question gets a useful answer where “how do I make my photos better” gets encouragement. Ask for one specific thing to improve, not general opinions. And take criticism on the technical points while ignoring taste-based comments about what you like to photograph; that’s your call, not theirs.
Step 5: Learn a Simple Editing Workflow
Editing isn’t cheating and it isn’t optional — every JPEG you’ve ever admired came out of some software. But it’s a second skill, and learning it after you’re comfortable shooting is easier than learning both at once.
Keep the workflow short and non-destructive: import and organize into folders by date or project, adjust exposure and white balance, correct obvious distractions, apply a consistent color treatment, export a copy. In Lightroom that’s roughly: Library to find images, Develop for exposure, whites and black points, crop and straighten, then a saved preset or copy-pasted settings for consistency.
Learn it in stages, the way experienced photographers recommend on forums. Shoot JPEG first and don’t edit at all until you understand exposure — you need to know what the camera produced before you start correcting it. Then add white balance and exposure adjustments, and only later open RAW files. Beginners who start in RAW usually quit, because the raw file out of the camera looks wrong and gives no clue which setting caused it.
Step 6: Create a Small Photo Project
Drills make you better at settings. Projects make you better at seeing. A small finished project — ten to twenty images with one theme — teaches selection and sequence, which is where beginners learn the most.
Pick something people-focused and bounded: your family’s Sunday routine, hands at work in your trade, the walk from your front door to the bus stop, what your kid does every afternoon. Give it a shot list (five specific moments, not “photos of my kid”), shoot over a week or two, then edit it down to a coherent set of twelve. The final selection is the hard, valuable part — it’s where you learn that a good project drops the frames that repeat the same idea.
Step 7: Review Your Progress Every Month
Progress is invisible week to week and obvious over a month, so build the monthly review into your calendar rather than waiting to feel ready.
Pick ten frames from the month, put them in one folder, and view them as a contact sheet or slideshow. Compare them to ten frames from three months earlier and note the difference. Write down the two things that recur as problems — for most people it’s a cluttered background and focus landing on the wrong place — and make those next month’s two goals. Then set the next month: one technical goal, one creative goal, nothing else.
Common Mistakes
These seven account for most stalled self-taught photographers, and each has a straightforward fix.
Buying gear before you know what you need. New gear feels like progress, so you stop practicing. The fix is a six-month no-gear-buying rule and shooting with what you already own.
Changing settings randomly on every frame. You never learn what any single setting does. Lock one variable per session and change only that.
Watching tutorials instead of shooting. Nothing transfers without repetition. Watch one short video, then go shoot for twenty minutes.
Skipping practice notes. You repeat the same mistakes for months. Write one line per session: what worked, one thing to fix.
Editing far beyond what the photo needs. You mask exposure mistakes instead of fixing them. Match the edit to the intent — correct, don’t transform.
Copying another photographer’s style. You learn imitation instead of your own eye. Copy the technique, choose your own subject matter.
Avoiding people photography entirely. You miss the hardest and most useful practice available to you. Start with consenting family and friends, then move to strangers.
Two habits fix most of these at once: shoot something every single day, even badly, and look at your own work the next morning before you delete anything. Beginners routinely delete the frames that would have taught them the most.
One honest exception — a class or workshop is worth paying for when you need accountability, access to expensive gear, or a specific niche you’re stuck on (studio lighting, wedding work, commercial retouching). Structured feedback from someone who has done it professionally compresses months into weeks. It is not required to reach a high level, and it is not the only way to get there.
Frequently Asked Questions
Can I learn photography without a class if I only have a smartphone?
Yes. A phone teaches composition, light, and editing, which are the parts of photography that matter most and that no camera upgrade will give you. Most phones also give you manual control over ISO, shutter speed, and exposure compensation through their built-in camera app or a free manual app. Shoot in RAW where the phone supports it, treat the built-in editor as a starting point, and move to a dedicated app once you want more control over contrast and color.
How long does it take to learn photography without taking a class?
Expect roughly three months to shoot confidently in any light with settings you understand, and six to twelve months to get consistently good results on subjects you care about. The timeline depends far more on how often you shoot than on how much you study. Someone photographing daily for half an hour will learn faster in two months than someone watching tutorials for a year without a camera in hand.
What should a beginner practice first when learning photography alone?
Focus on exposure before anything else. Learn what aperture, shutter speed, and ISO each do by shooting the same subject at several settings and comparing the results. Once exposure makes sense to you, practice light and composition, because those two account for most of the difference between a snapshot and a photograph you like.
Are free photography tutorials or online courses enough?
For the fundamentals, yes. Free resources cover exposure, light, composition, and basic editing well enough to reach a competent level. Structured courses help when you want a specific direction, a niche, or accountability, but paid content is not required to start. The real risk is consuming tutorials instead of practicing, so limit watching and set yourself a shooting task after every video.
How often should I practice photography as a beginner?
Aim for something you can do most days — 15 to 30 minutes daily beats three hours once a week, because skill comes from repetition rather than long sessions. If your time is fragmented, shoot one subject per outing and keep the session focused on a single skill. Even a photo a day adds up fast, and skipping a week costs you more than the sessions you missed.
How do I know when my photography is improving?
Keep ten of your best frames from each month in one folder and view them as a slideshow. Comparing this month to three months ago is far more reliable than judging a single photo, and a monthly written review of recurring weaknesses tells you what to work on next. If your recent frames show deliberate choices about light and framing rather than whatever was in front of you, that is real progress.
Start today, not after you buy anything. Pick the subject closest to you right now, set your camera to aperture priority, pick one aperture, and make twenty frames. Then write one line about what to change. That single session is the whole method — the rest of this guide is just doing it repeatedly.