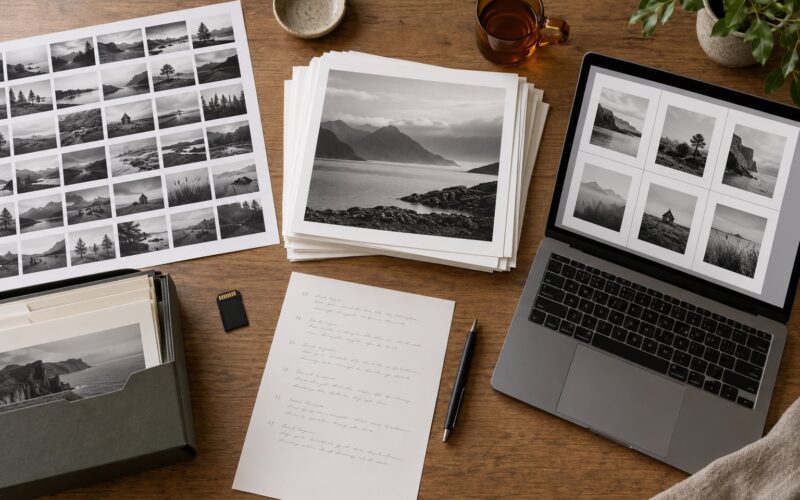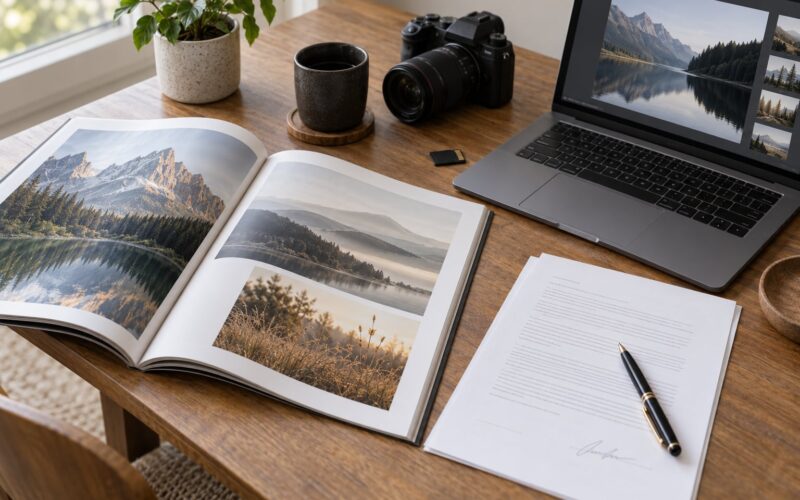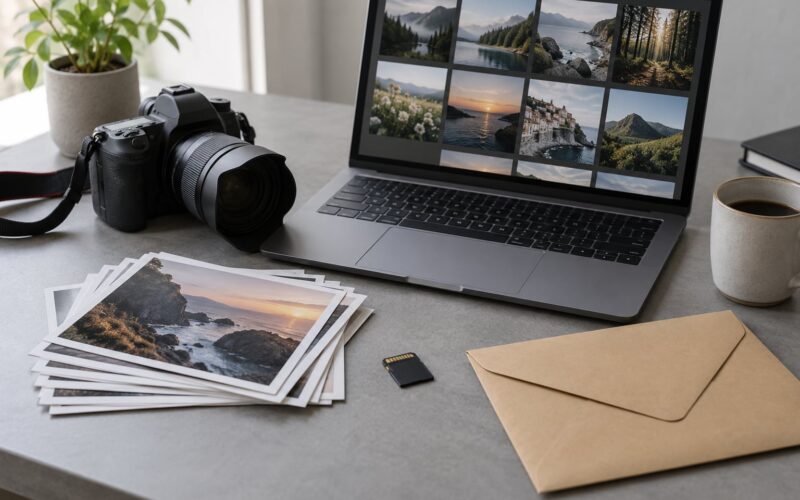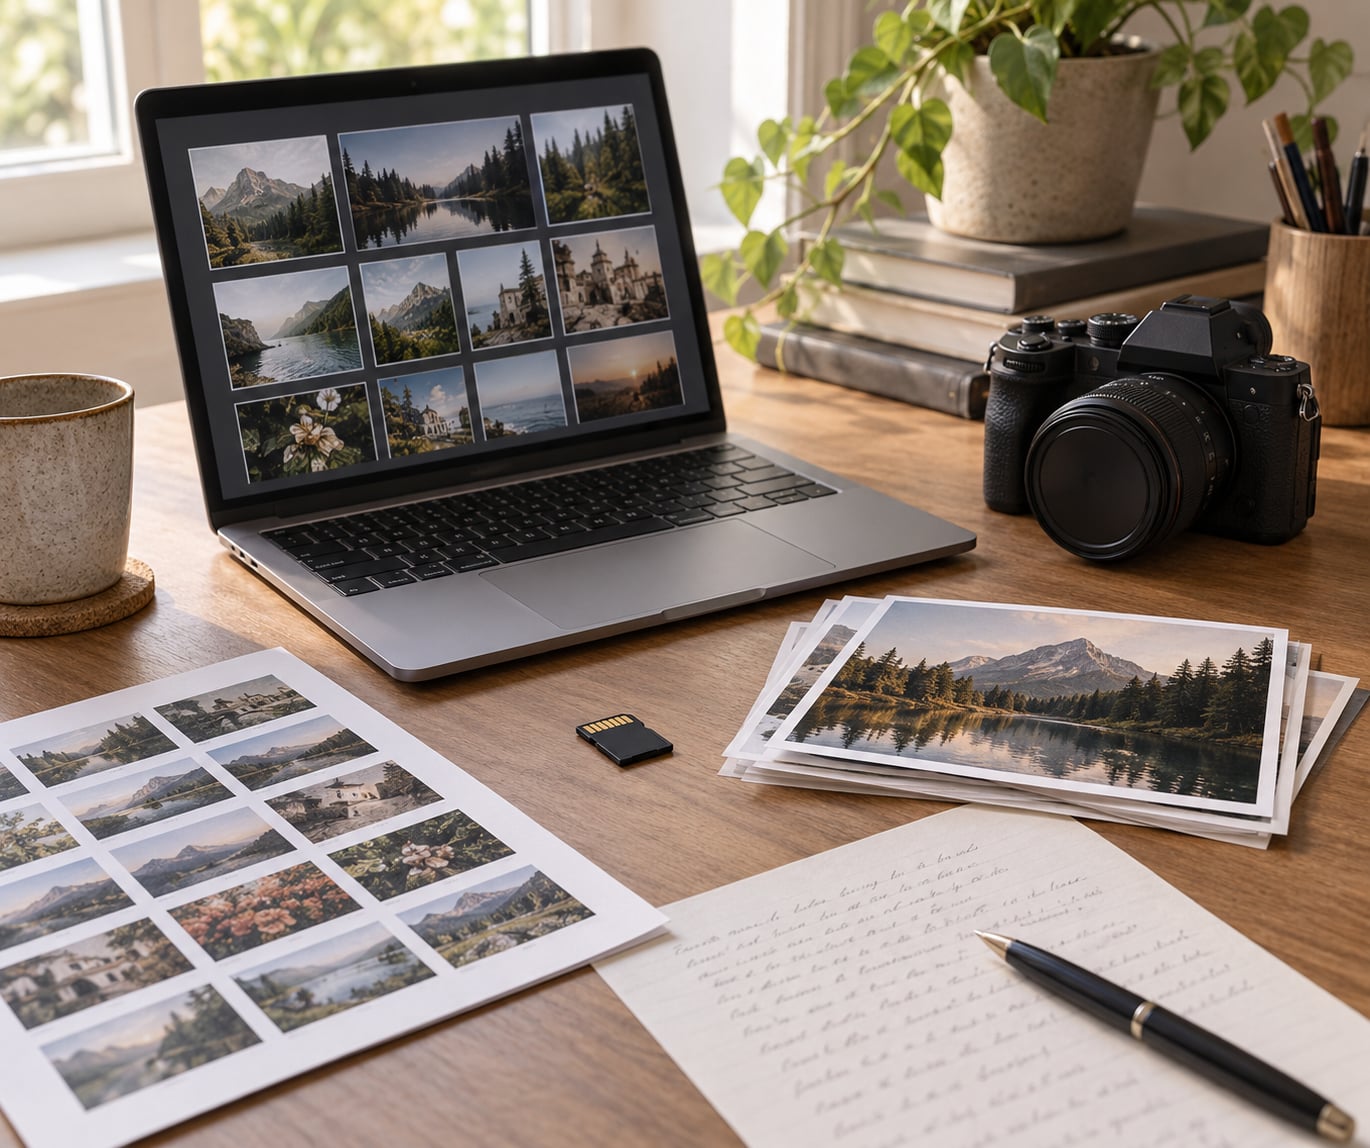
Getting your photo work published online comes down to four things: a finished series that holds together, files prepared to a publication’s own specs, one page online that holds the work, and a targeted pitch to an editor who already publishes that kind of story. There are several channels available — online magazines, stock agencies, portfolio platforms, self-published books, contests and local press — and each one asks for something different.
The honest version of how to get your photo work published online is that you pick one channel and finish it, rather than opening six tabs and abandoning all of them in week two. Most photographers who never get published aren’t short of talent. They’re short of a completed project and a deadline.
This guide walks through the whole route: what you need ready first, seven steps from project to publication, the mistakes that get submissions binned before anyone opens them, and how to handle silence. Submission specs and platform policies change, so check every guideline page yourself before you send anything.
Table of Contents
- What You Need
- Step-by-Step
- Step 1: Define the project and its publication-ready angle
- Step 2: Build a portfolio page that makes the work easy to understand
- Step 3: Prepare files, captions, credits and rights information
- Step 4: Research publications that match the project
- Step 5: Submit a tailored pitch or portfolio
- Step 6: Follow up professionally and track every submission
- Step 7: Promote and measure the published feature
- Common Mistakes
- Frequently Asked Questions
- Do I need a personal website to get my photo work published online?
- How should I choose where to submit my photography?
- Can I make money when my photographs are published online?
- What should I do if a publication does not respond to my submission?
- How do I handle copyright and image permissions when publishing photos?
- Conclusion
What You Need
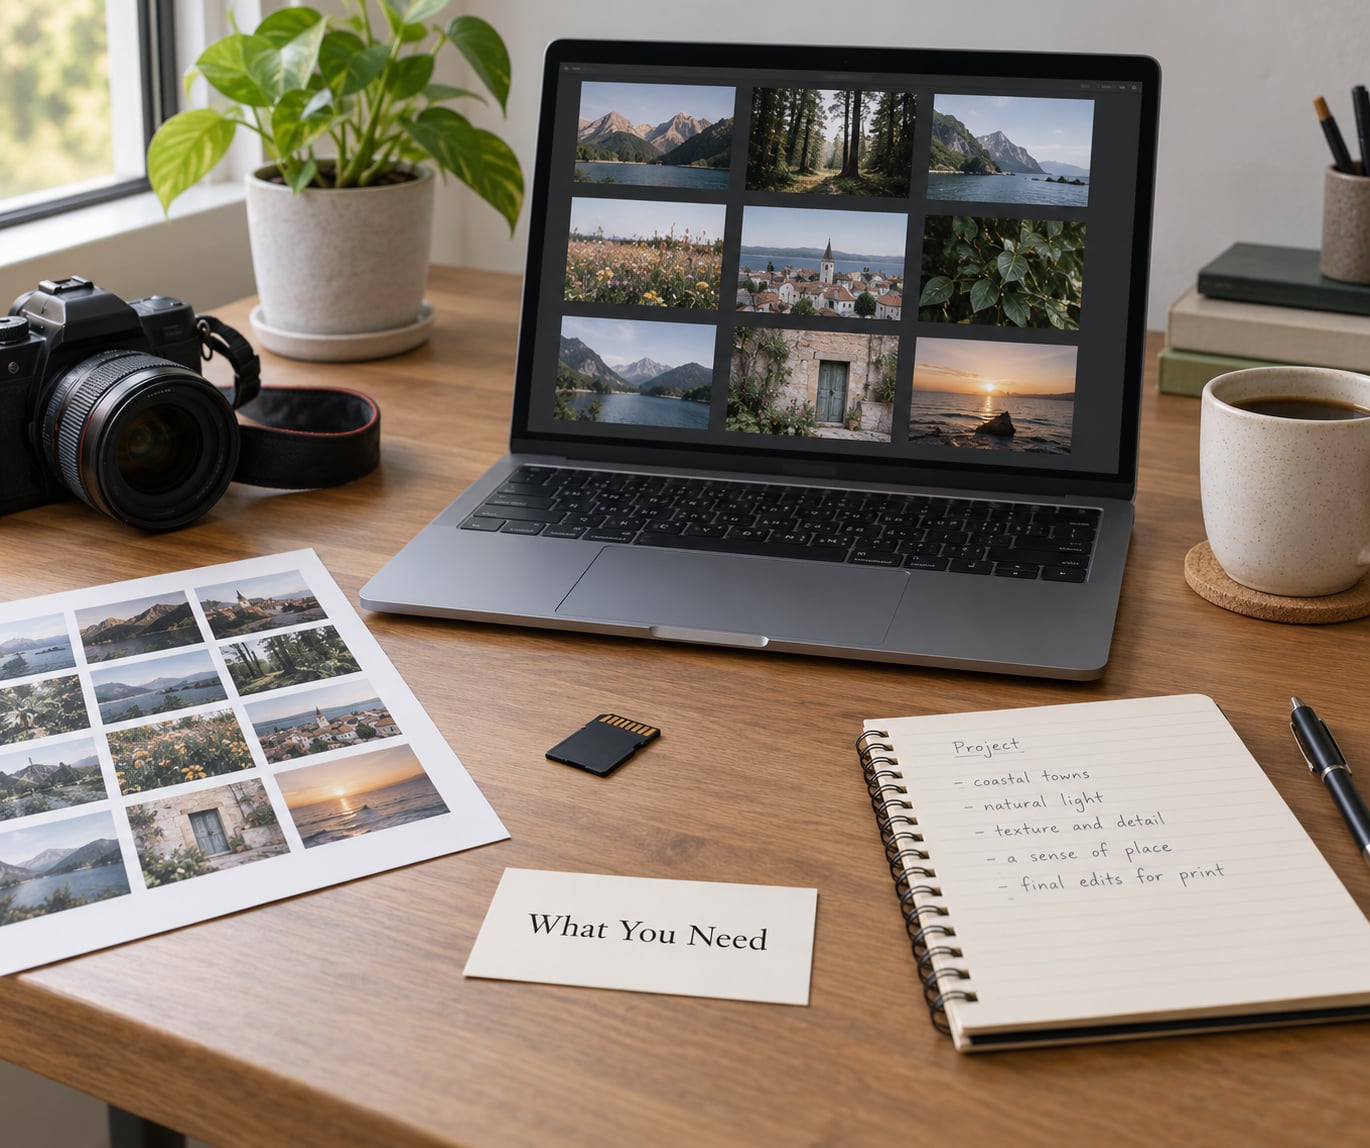
You need five things before the first submission goes out, and most people are missing two of them.
A finished body of work. Not your best twelve images from six years — one project with a beginning, a middle and an end. Editors and algorithms both respond to coherence. Ten frames from a single shoot or a single theme beats fifty unrelated favourites every time.
Prepared files. Most online publications want JPEGs at maximum quality, converted to the sRGB colour profile, with the long edge roughly between 2000 and 3500 pixels. Print titles work in inches and 300 pixels per inch instead: a page image 8 by 10 inches needs about 2400 by 3000 pixels. Some editorial titles ask for TIFF at the same dimensions. Export a separate copy without camera metadata unless the guidelines specifically request it.
Captions, credits and context. For each frame: who is in it, what is happening, where and when, plus a credit line in the form the publication uses. Editors repackage captions constantly, so giving them clean facts saves everyone time.
Rights paperwork. If a recognisable person appears, you need a signed model release. If a recognisable private interior, artwork or trademark is visible, you need a property release. Stock agencies will not license an image without the right release, and most editorial publications will ask for one at the point of publication. Templates are easy to find; get the habit of signing on the day you shoot rather than the week you submit.
One place the work lives. Either your own site or a portfolio platform — 500px, Flickr, SmugMug, Squarespace, Pixpa and Format all work for photographers, and all have different ownership and cost terms. Read them before you upload a decade of images, because some platforms claim a licence to display what you post. Your own domain is the only address that travels with you if you change your mind later.
Also useful before you start: a shortlist of ten to fifteen outlets whose recent work you actually like, and a simple tracker so you know who you contacted, when, and with what.
Step-by-Step
Step 1: Define the project and its publication-ready angle
Start by writing the project down in two sentences: what the photographs are about, and why they are interesting right now. That sentence is your angle, and every later decision — which outlet, which images, which pitch — gets tested against it.
An angle is not a mood board in words. “Night work in a 24-hour bakery” is an angle. “Urban documentary, series two” is not. A useful angle names a subject, a setting and a tension: night shift work, a coastal town losing its fishing fleet, one bar that has stayed family-run since 1961.
Then choose a publication format before you choose a website. A single striking portrait works as a feature image. A sequence of eight frames needs a spread or a gallery. Decide which, because it tells you what to submit, how many images, and in what order. Opening and closing frames do most of the work — if neither one is strong, the sequence probably needs re-editing rather than a new venue.
Step 2: Build a portfolio page that makes the work easy to understand
A portfolio page has one job: let someone who has never met you understand the project in under a minute. Put the strongest image first, the title and a short paragraph above or below it, captions under each frame, and a contact link that actually works.
Write the introduction last, when you know what the pictures ended up saying. Sixty to a hundred words is plenty. Name the subject, the place, the time span and why you made the work. Editors read that paragraph to decide whether the series fits their issue; if it is missing, you get binned for being unclear rather than for being weak.
Sequence matters more than most people expect. Group images so the visual rhythm matches the story — establishing frames, then detail, then the moment of tension. Remove anything that repeats a good frame without adding to it. Ten curated images beat thirty honest ones.
Keep your name visible on the page and on every image if you can. Right-click protection and light watermarks on a public portfolio stop casual reposting; most editors dislike heavy watermarks on preview files, so check the guidelines before you mark anything up.
Step 3: Prepare files, captions, credits and rights information
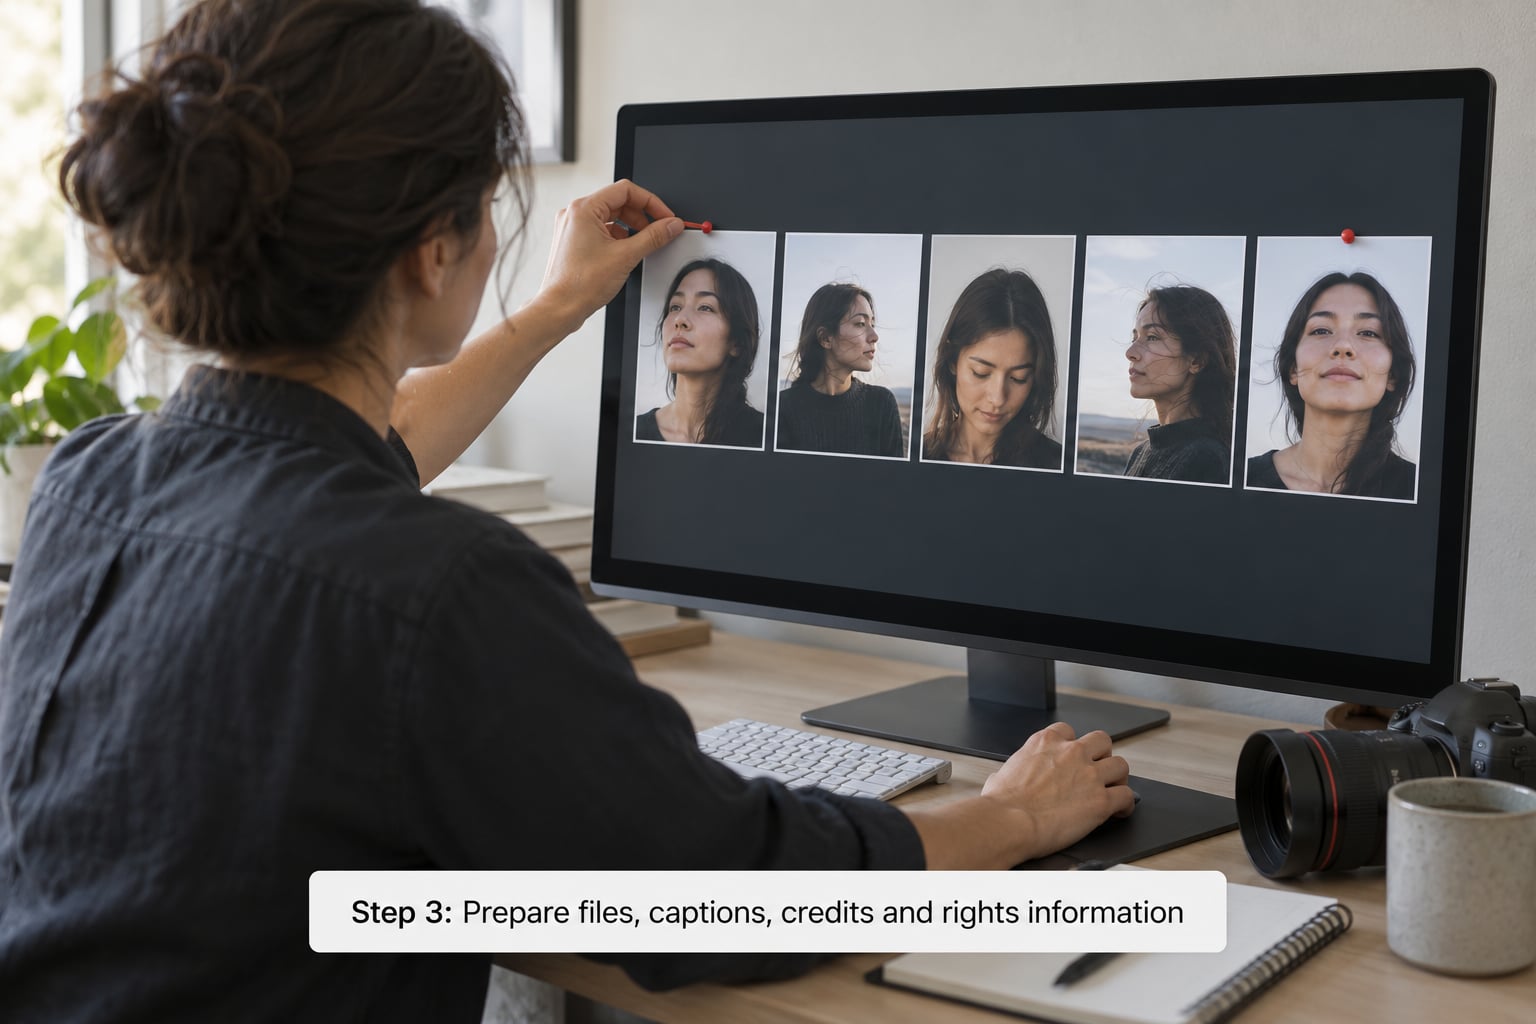
Get the technical side right once and reuse it. Work from a catalogue, not from your camera card, so the same export settings apply to every frame in the series.
Export a screen version as maximum-quality JPEG in sRGB, sized to the long edge the guidelines specify. Export a print version at the final reproduction size and 300 pixels per inch. Keep the layered working files separately, and never sharpen at the same resolution twice — resampled halos are the fastest way to get a file returned as technically unusable.
Crop consistently. If ten frames are landscape and two are portrait, either crop or move those two. Mixed aspect ratios in one gallery look accidental unless the variation is obviously deliberate.
Write each caption as a single factual line: names, place, date, and the frame’s role in the story. Keep it under about 25 words. Then write a credit line and, if relevant, a one-line note on the technical context — camera, lens, film or digital, lighting. That context often gets lifted straight into the article.
Attach the paperwork in the same folder as the files: model release or property release where needed, a note confirming you own the copyright, and an honest statement about any AI editing or generative work. Policies here have moved fast, and several major publications and agencies now ask contributors to disclose AI-generated or AI-assisted content. Saying nothing when you were asked a direct question is the fastest way to lose a place on a contributor list.
Step 4: Research publications that match the project
Matching matters more than prestige. An editor commissioning food photography is not the right target for a portrait series about night-shift bakers, however good the magazine is.
Look at the last three issues, not just the homepage. Ask: what subjects recur, how long are the features, how many frames do they run, is the writing personal or journalistic, and what is the pace — a slow essay project or a fast news package? Then read the submission guidelines page properly. It usually tells you the file format, pixel dimensions, image count cap, submission method, whether it is an open call with a deadline or an open portfolio, what they pay, and how long they take to reply.
For online photography titles and open calls, look at names such as Aesthetica Magazine, Luminous-Lint, Feature Shoot, Fstoppers, LensCulture, P Magazine, Doghead Magazine and The Leek, plus curated open-call platforms. Treat any list you find as a starting point and verify each one’s guidelines yourself — outlets fold, change editors or close submissions without announcing it, which is exactly the problem photographers complain about on forums like r/AskPhotography and Fredmiranda.
For local and hyperlocal work, local is genuinely the best first publication. Tourism boards, city guides, neighbourhood blogs, regional magazines and local newspapers commission people you can actually reach, and a series shot in your own town is far easier to sell than an abstract project. One r/photography thread asked specifically for an unpaid local route into news, tourism and community outlets with no track record — that route exists, and it is the friendliest door in.
Build a spreadsheet with columns for outlet, editor or submissions address, guidelines link, date checked, file spec, deadline, date sent, date followed up, response and notes. Ten focused submissions beat fifty blind ones.
Step 5: Submit a tailored pitch or portfolio
Write the pitch to one specific editor. Name them, reference a piece in their publication that you genuinely liked, and say why your work belongs next to it.
Keep it short — a dozen lines is plenty. Three sentences on you and the project, two on why this publication, one clear ask. Attach or link the work, state your availability, and finish with a professional contact line. There are copy-ready submission templates circulating on photography forums, and they are useful precisely because they stop you rewriting the same message ten times; adapt the specific lines, never send the template untouched.
Include everything an editor would otherwise have to chase: how many images, the final frame count, technical specs, release status, delivery time, and whether you can supply higher-resolution files or print-ready TIFFs.
Attach a small number of strong images rather than everything. Online titles frequently cap submissions — commonly 10 to 12 images, one submission per issue, with file requirements such as 1200 pixels on the long edge for screen features. If the guidelines state a limit, that limit is the whole exercise.
State clearly what you want: publication, payment, a fee quote, or exposure for a first byline. Vague pitches get vague answers, and an editor who assumes you want free work will happily assume it.
Step 6: Follow up professionally and track every submission
Assume nothing arrives. Editors receive hundreds of submissions a week, and silence is the default outcome rather than a verdict on your work.
Wait the window stated in the guidelines. If none is stated, two to three weeks is a reasonable first follow-up, sent once, three or four lines long, restating the project and the link and thanking them. One follow-up, then stop. Repeated chasing after a no damages your standing with the people you actually want publishing you.
Keep the tracker current on the day you send, not the day you remember. Future you will not be able to tell which editor got which project, and duplicate submissions to the same title are the most common avoidable embarrassment.
When you are turned down, write down the reason if you were given one and move on. It is editorial filtering, not a judgement of your ability, and treating it personally is how people quit submitting at eighteen applications instead of a hundred.
At the same time, build the channels you control. Uploading a finished series to a portfolio platform, posting it to a photography community, or self-publishing a photo book through Blurb, Lulu or Amazon KDP means you have something to point at while the editorial pipeline works. Print-on-demand through Etsy, Printful or Printify turns the same files into products without a run of anything.
Step 7: Promote and measure the published feature
Once the work appears, do the unglamorous half properly. Share the link with the photographer communities where your subject already exists, post the feature to your own audience with a straight description of what it is, and thank the editor by name.
Credit collaborators in your caption and your own posts. If a subject, guide or business made the shoot possible, name them, and give them the link too. That is how the next commission finds you.
Track what actually matters: where the traffic comes from, whether the page loads fast on a phone, whether strangers email you about the work, whether client enquiries mention it. Engagement numbers are fine to glance at. Chasing them turns publishing into a performance instead of a body of work.
Then do the thing most photographers skip: convert the project into five outputs. A gallery on your site for the full sequence, a shorter edit for a magazine submission, a commercially licensed set for a stock agency, a small self-published book, and a few single frames offered to a contest. One shoot, five publications, one project description.
Common Mistakes
These are the errors that end submissions before an editor looks properly, and each one has a simple correction.
Sending a generic submission. A blast with no mention of the publication reads as mass mail and is filtered the same way. Fix it: reference one specific piece from a specific issue and explain the fit in a sentence.
Sending files that cannot be used. Over-compressed JPEGs, 800-pixel versions, screenshots, missing colour profile, inconsistent crops. Fix it: build one export preset, apply it to every frame, and check a single image at 100% before you zip anything.
Missing or unsigned releases. The single most common licensing blocker, and one no amount of good photography fixes. Fix it: shoot with the release, not around it. Include a copy with the submission and say in your pitch that it exists.
Inconsistent branding and captions. Three different name spellings, mixed caption styles, dates in three formats. Fix it: write a style note — name, credit line, caption length, date format — and apply it to every file.
Oversaturated captions. Long, literary captions that editorial writers then rewrite. Fix it: one factual line per image, 25 words or fewer, ready to lift.
Watermarked or over-branded preview files. A tiled watermark across the whole frame reads as distrust to an editor who is trying to judge your work. Fix it: check whether the outlet asks for unwatermarked previews, and protect your public portfolio page instead with discreet marks plus right-click protection.
Untargeted outreach. Submitting the same series to twenty titles that share no audience. Fix it: ten outlets, each selected because of a specific editorial fit, beat twenty chosen from a stale list.
Neglecting follow-up, or over-following-up. Fix it: one polite message after the stated window, then stop. Track it in the same spreadsheet as the submission so you never send a second one.
Stale outlet lists. Guides from a few years back name titles that have folded. Fix it: verify the guidelines page and the submissions address yourself, note the date you checked, and prefer open calls with visible deadlines over vague “always open” claims.
Treating silence as a verdict. Most submissions end in no reply, and that is normal editorial volume. Fix it: set a monthly submission target, judge the work by the number of quality submissions sent, not by the reply count.
Frequently Asked Questions
Do I need a personal website to get my photo work published online?
No. Most online magazines and image licensing agencies accept submissions through hosted platforms such as 500px, Flickr, SmugMug, Squarespace or Pixpa, and some still take email attachments. A custom domain is still worth having eventually, because platforms change their terms and a site you control keeps your email address and your archive. Use a platform to get moving now, then move the finished series to your own address once the work justifies it.
How should I choose where to submit my photography?
Match the project to what the outlet actually publishes. Read three recent issues and check the subjects, the length of features, the number of frames they run and the tone of the writing, then read the submission guidelines for file format, pixel dimensions, image count and pay. Choose ten outlets where the fit is specific, not twenty chosen from a list that might be four years old.
Can I make money when my photographs are published online?
Sometimes, and it depends entirely on the channel. Stock agencies pay a share of each licence, usually a modest royalty per sale with no guaranteed income. Editorial commissions and commissioned assignments pay a fee or a day rate. Print-on-demand and self-published books pay a margin per copy rather than an upfront fee. Many online titles publish unpaid contributor work, so ask what the offer is before you send anything.
What should I do if a publication does not respond to my submission?
Wait for the response window stated in the guidelines, or two to three weeks if none is given. Then send one short, polite follow-up restating the project and the link. If there is still no reply, stop and log it in your tracker. Silence usually means volume, not judgement, and chasing further rarely converts into a publication.
How do I handle copyright and image permissions when publishing photos?
Copyright in your photographs is yours from the moment you press the shutter, in most countries including the US, unless a contract assigns it elsewhere. What you must clear is permission from people and property. Get a signed model release for any recognisable person and a property release for recognisable interiors, artwork or trademarks. Never hand over the original file or surrender copyright just to be published; license it, on stated terms, for the use you agreed.
Conclusion
Here is the whole thing compressed into one afternoon. Choose one finished series. Write its angle in two sentences. Build a single portfolio page with a short introduction and clean captions. List ten outlets you would genuinely like to appear in, and verify each one’s guidelines. Send three personalised pitches, log them, and follow up once.
How to get your photo work published online in 2026 comes down to finishing one project and putting it in front of people who already publish that kind of work. The editors are not waiting to discover you. They are waiting for something coherent from someone who sends it.