Condensation forms on a camera lens when warm, moisture-laden air touches glass that is cooler than the air’s dew point, and it usually shows up within ten minutes of crossing a doorway, a car door or a hotel lobby. The cure is not a gadget. It is controlling the temperature transition, and this guide covers how to shoot in humid conditions without fogging the lens, from drying gear before it goes outside to what to do when the front element fogs anyway.
A rain cover deals with liquid water on the outside of the camera. A silica packet deals with moisture slowly soaking in. Neither changes the temperature difference between your glass and the air around it, which is the only thing that actually decides whether water forms on the element.
Table of Contents
- What You Need
- How to Shoot in Humid Conditions Without Fogging the Lens: Step-by-Step
- 1. Dry the Camera Before It Enters Humid Conditions
- 2. Use a Breathable Bag While the Gear Is Still Cool
- 3. Let Sealed Gear Acclimate Gradually
- 4. How to Shoot in Humid Conditions Without Fogging the Lens During Transitions
- 5. Keep Airflow Moving Around the Camera
- 6. Protect the Equipment from Rain Without Sealing In Moisture
- 7. Recover Safely If the Lens Has Already Fogged
- Common Mistakes
- Frequently Asked Questions
- Conclusion: Start With the Gear, Not the Shot
What You Need
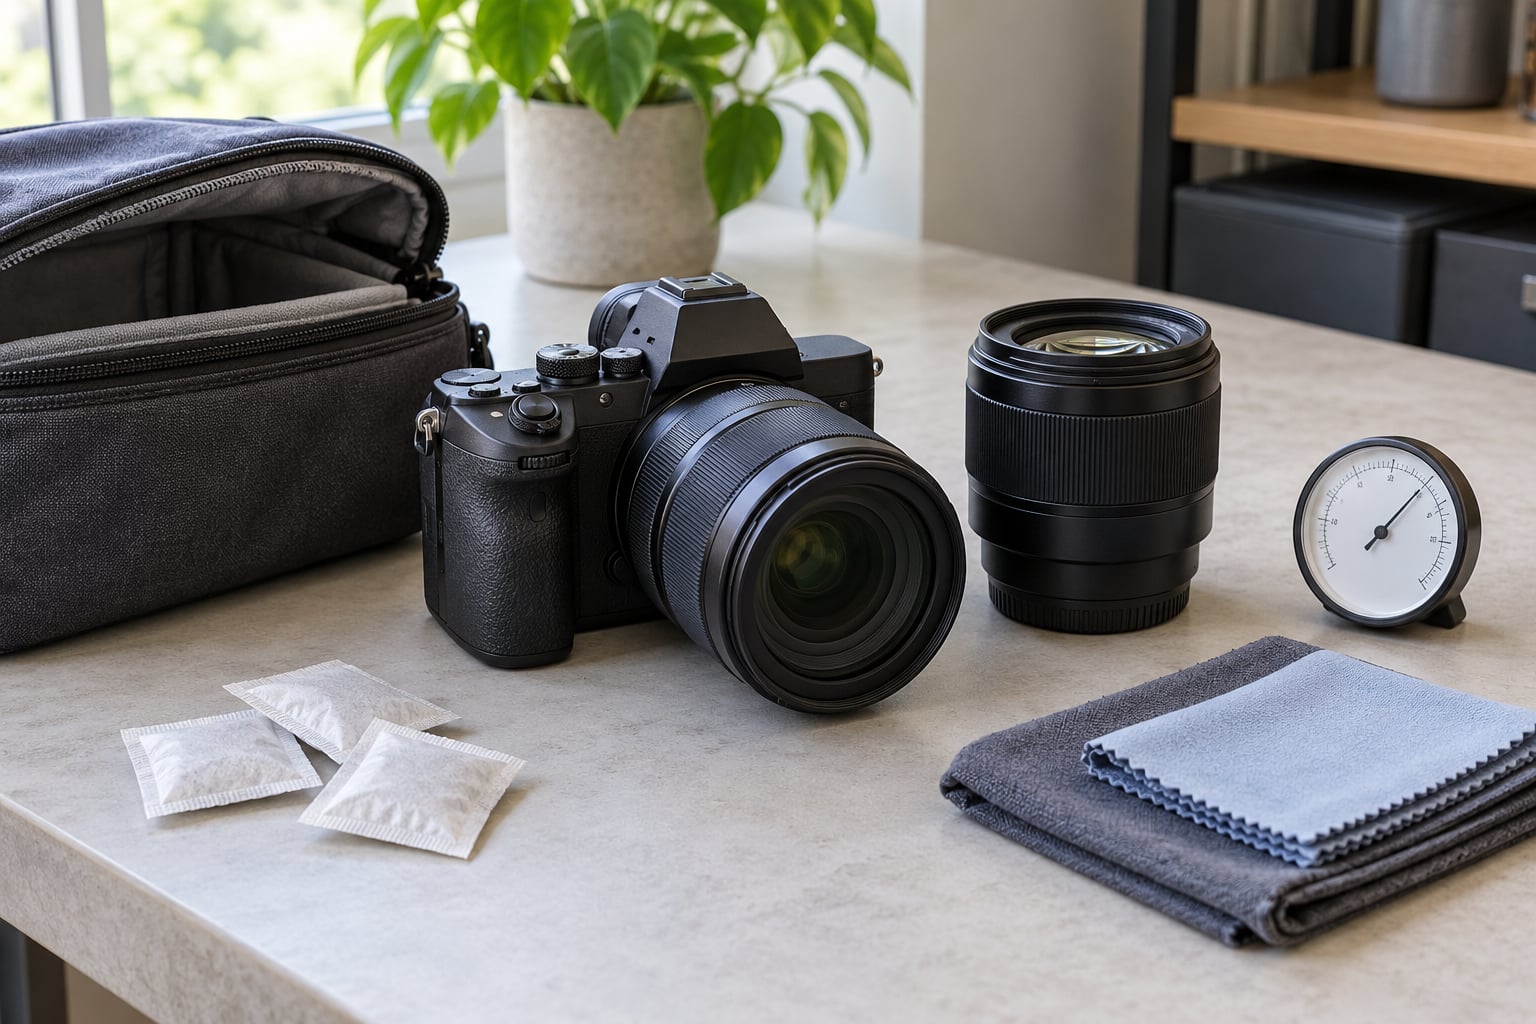
Fogging is a temperature problem before it is a moisture problem, so your kit list is about slowing temperature change rather than blocking water. This is the kit that earns its place in the bag for coastal, rainforest or wet-season work.
- A weather-sealed body and lens. Sealing slows the exchange of air and moisture; it does not stop condensation forming between internal elements.
- Two or three clean, dry microfiber cloths. Keep one for bodies and barrels and a separate one for glass, because grit dragged across a front element is a permanent mark.
- A breathable pouch or large zip bag with room for the body plus an attached lens. This is the acclimatization tool, not a storage bag.
- Silica gel packets sized for the volume. The sachet from a medicine bottle does nothing. A handful of packets that turn colour when saturated is what you want.
- A rain cover for the outer shell during actual precipitation.
- A hand blower for dust and grit on rear elements and mounts, used with care around any moisture.
- Optional: a hygrometer. A cheap dial model tells you what the room you just walked into actually measures, which is more useful than guessing.
- Optional: a heat source. A chemical hand warmer strapped to the barrel or a USB dew-heater band keeps the front element a degree or two above the dew point.
What each piece actually solves:
- Sealed body and lens slows moisture exchange, but does not stop internal condensation.
- Zip bag or breathable pouch slows temperature change during a transition.
- Silica gel packets absorb ambient moisture that has already entered the bag.
- Rain cover blocks falling water on the outside of the body.
- Hand warmer or dew heater holds the front element above the dew point.
- Microfiber cloths remove droplets from exterior glass without grinding in grit.
One distinction worth holding onto: a rain cover manages liquid water sitting on your equipment. It does nothing about internal condensation, because the vapour that fogs internal glass is already inside the body.
How to Shoot in Humid Conditions Without Fogging the Lens: Step-by-Step
To shoot in humid conditions without fogging the lens, you need to slow the temperature transition and keep moist air out of the sealed chamber until the metal and glass have warmed to match the air. Most fogging traces back to one of two events: a cool camera moving into warm humid air, or a warm damp camera moving into a strongly air-conditioned room. The steps below handle both directions, and the routine takes about ten minutes once you have done it a few times.
1. Dry the Camera Before It Enters Humid Conditions
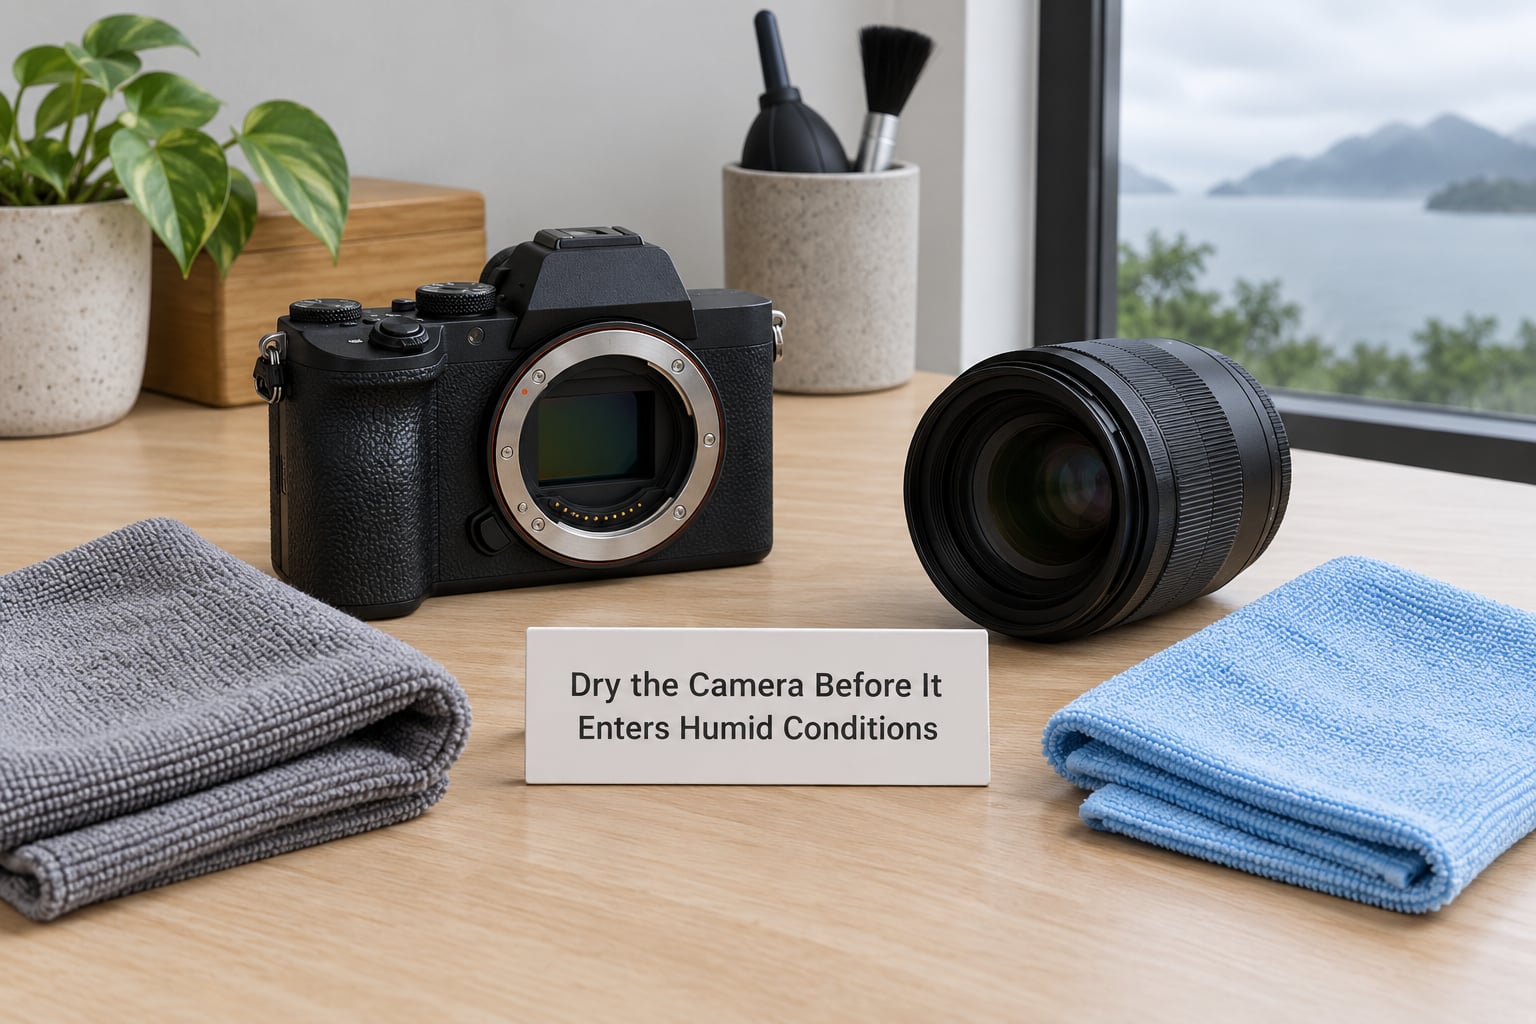
Work on a clean surface with the camera powered off. Check the body, the lens mount, both caps, the front and rear elements and the rear screen for visible moisture, salt-like spotting or grit before the camera goes anywhere near humid air.
Run a clean dry cloth along the barrel and around the mount ring, and treat any speckled or hazed glass as a sign the camera is not ready. Salt film from a previous coastal day attracts moisture, so cleaning matters more in humid locations than it does at home.
A hair dryer or a domestic heater is not the tool for this. Directed heat can drive vapour past coatings and into seals, and the water you cannot see is still there when you seal the bag.
2. Use a Breathable Bag While the Gear Is Still Cool
Put the still-cool gear into a zip bag or breathable pouch before it is exposed to the humid air. Loosely closed is enough: you want air exchange, but you do not want a fan of moist air being pressed onto the front element.
The sign that it worked is simple. When you finally look, the glass is clear, the outer surface of the bag is not damp, and the camera inside has warmed to roughly room temperature.
Photography forums are full of reports that sealing cool gear in a closed bag for 15 to 30 minutes before opening it solves most beach and greenhouse problems. The same reports describe the bag trick failing completely when it was applied in reverse, which is step 4.
3. Let Sealed Gear Acclimate Gradually
Give sealed bodies and lenses real time inside the bag, and scale that time to the size of the temperature gap. A move from an air-conditioned room to a humid street is not the same event as stepping from 15 degrees into a 38 degree greenhouse.
Rough guide: 15 to 30 minutes for a normal indoor-to-outdoor swing, and 30 to 60 minutes when the gap is extreme or the body is a sealed pro body with a lot of internal volume. Pre-cooling the closed bag in an unheated space the night before works even better when you have that option.
Before you open the bag or mount anything, check the body, the front and rear elements, the viewfinder and the barrel itself. Internal fogging is easy to miss because the front element often stays clear while the rear one clouds.
- Under 40% relative humidity. Dry air, condensation is unlikely, normal handling and no acclimatization needed.
- 40 to 60%. Comfortable range for electronics. Short transitions are usually fine; keep silica in the bag.
- 60 to 80%. Fogging likely on any temperature drop. Use the full bag routine, warm the front element, avoid lens changes.
- Above 80%. Condensation can form without a temperature drop at all. Seal gear when not shooting and expect dew on any cool surface.
Those percentages matter more than the temperature alone. At 80 percent humidity, a surface only a few degrees cooler than the air is enough, which is why gear can fog in a warm greenhouse with no dramatic temperature swing at all.
4. How to Shoot in Humid Conditions Without Fogging the Lens During Transitions
Direction matters more than most advice admits. Cold-to-warm is a sealing problem you can solve with a bag. Warm-to-cold is an entirely different failure, and sealing warm moist gear before it enters cool air can make things worse.
- Cool gear into warm humid air. Humid vapour condenses on cold internal glass. Seal the gear in a bag, let it warm slowly, then open. The classic mistake is unbagging the camera the moment you reach the street.
- Warm damp gear into air-conditioned air. The air cools fast, so the vapour it holds condenses everywhere. Seal the gear before you go inside and let it cool in the bag. Walking in with an open bag and switching it on immediately is the mistake here.
Leaving a hot, humid car for an air-conditioned hotel room is the classic version of the second case. Forum regulars name the car air conditioning as the trigger more often than the weather itself, because the switch from a warm blast of outside air to a cold room happens in minutes.
Do a final visual check of the glass before you mount, clean or change anything. That habit catches the front element fogging you could not feel through the viewfinder.
5. Keep Airflow Moving Around the Camera
A small fan or a naturally ventilated space helps when condensation is light and you have no clean, dry option. Moving air carries away the saturated air sitting against the glass.
Do not aim a blower or compressed air at the optics when dust or moisture is present. You will drive particles into the coating or the element, and both are much harder to fix than the fog you were trying to clear.
If you see droplets spreading across the glass rather than a uniform haze, power the camera down and stop shooting. Active condensation means vapour is still arriving faster than air can carry it away.
6. Protect the Equipment from Rain Without Sealing In Moisture
A fitted rain cover, used so that the seam sits below the front element, keeps falling water off the glass without trapping air. The goal is to shed liquid, not to create a sealed greenhouse around the camera.
A bead of water on the front element is not fogging. A bead sits on the coating, rolls or wipes away, and leaves no lasting trace. Fog forms underneath or between elements and stays there while the glass is colder than the surrounding air.
Skip the hot shower of water that comes with a sudden downpour, never wipe the front element with a contaminated cloth or your shirt, and stop changing lenses unnecessarily. Mount changes open the chamber to the ambient humidity you are trying to exclude.
If the rain is heavy enough that you are shooting through it rather than protecting against it, get to shelter first and deal with the camera once it is dry and sealed.
7. Recover Safely If the Lens Has Already Fogged
Stop shooting and power the camera down. Where it is practical, remove the battery, then keep the lens capped or mounted rather than opening the body to air on the spot.
Let the equipment come to ambient temperature and dry naturally, usually 10 to 30 minutes once the glass has reached the temperature of the room. Do not open the body immediately, do not apply uncontrolled heat, and do not wipe internal glass, since all three turn a reversible problem into a coating or fungus problem.
If you have a zoom, some users pump it from one focal extreme to the other to shift internal condensation, a trick reported on Nikon forums with long telephoto zooms. It works now and then because moving elements add a little heat, but it is a rescue step, not a prevention plan.
Common Mistakes
Almost every ruined humid shoot traces back to one of these habits, and each one has a simple fix.
- Opening a cool camera the moment you arrive. Seal first, wait 15 to 30 minutes, then open.
- Leaving gear in a hot car. A parked car in humid weather is an oven and a humidifier at once. Take the bag with you.
- Sealing warm gear before moving into cool air. You trap vapour that condenses as it cools. Let warm gear cool in the open, or keep it sealed the entire time.
- Using a domestic hairdryer or an oven. Uncontrolled heat damages coatings and seals. There is no safe version of this.
- Pointing a blower at dust or damp optics. You are grinding particles into the front element. Use the blower on mounts and rear glass only, in dry conditions.
- Wrapping a wet lens in a towel or bag. Trapping liquid water with the glass accelerates fungus growth. Air-dry first, pack second.
- Changing lenses in heavy rain or peak humidity. Every mount change is an invitation to moist air. Pick a sheltered spot or stay with one lens.
- Storing gear straight after a rain session. Seal it in a bag with silica gel and leave it there until everything is room temperature and dry.
Three preventive habits do most of the work: acclimatize in the bag at every threshold crossing, keep silica gel in the bag year-round, and power the camera down rather than cycling it while glass is still misted.
Warning signs worth treating as a stop signal: fog that appears within a minute of unmounting, water beading inside the viewfinder or rear screen, a lens that stays misted after 30 minutes, or any smell of damp coming from the body. Persistent condensation that will not clear is a service question, not something to solve with more heat.
Frequently Asked Questions
Can I use a lens while it is still fogged?
You can mount and fire away, but droplets between elements scatter light and every frame will look soft and hazy. Give it 10 to 30 minutes to clear first. On phones and mirrorless bodies the same rule applies, and a phone left in a pocket will warm faster than a camera body.
Do anti-fog sprays or lens cloths stop condensation?
Anti-fog sprays reduce surface wetting for a while, which helps with a viewfinder or an eyecup, but they do nothing for condensation forming between internal elements. Treats and warm cloths are also a common false fix: the fog returns as soon as the glass is colder than the dew point again.
How long should a camera acclimate in humid weather?
Leave the sealed bag closed for 15 to 30 minutes for a normal indoor-to-outdoor swing, and 30 to 60 minutes when the temperature gap is extreme, such as stepping from an air-conditioned room into a hot greenhouse. Pre-cooling the closed bag in an unheated space overnight removes most of the wait.
Will a little fog inside the camera damage it?
Temporary internal fogging is harmless and clears on its own once the glass reaches ambient temperature. The real risk is repeated or prolonged moisture sitting on coatings in warm conditions, which encourages lens fungus. Dry the gear completely before storing it and the danger mostly disappears.
Is silica gel effective for preventing lens fogging?
Silica gel absorbs moisture that is already inside the bag, but it cannot prevent condensation, which needs a temperature gap to form. Packets saturate silently, so use indicator packets and recharge saturated gel for a few hours in a warm oven before returning it to the bag.
Conclusion: Start With the Gear, Not the Shot
Knowing how to shoot in humid conditions without fogging the lens comes down to two habits: dry the equipment before it goes out, and give sealed gear time before it opens. Everything else, the silica gel, the rain cover, the hand warmer, only makes those two steps easier.
If a shoot has big indoor-to-outdoor swings, build a ten-minute routine and run it every time. Wipe the body and glass, seal the gear in the bag, set a timer for 15 to 30 minutes, and check the front and rear elements before you mount anything. Do the same in reverse on the way back inside from a humid street to an air-conditioned room.
When fog does appear, treat it as a pause rather than a problem. Power down, leave the gear sealed, and give it half an hour. That single habit prevents almost every expensive outcome that humidity tends to create.