The short answer: keep your spare batteries warm in an inner pocket, keep the body dry and sealed in a padded weather-resistant bag, and slip that bag inside a large zip-seal plastic bag before the gear warms up indoors. Cold itself rarely kills a camera body. Batteries running flat and condensation forming on the sensor are what actually cause problems, and both are cheap to prevent.
That last part trips up almost everyone. You come in from a cold walk, open the bag in a warm kitchen, and within minutes there is frost on the top plate and fog inside the lens barrel. The camera was never too cold. It met humid air too fast.
Getting ahead of this takes about ten minutes of preparation and about two hours of patience afterwards. Here is exactly what to do, what to pack, and which winter habits to drop.
What You Need
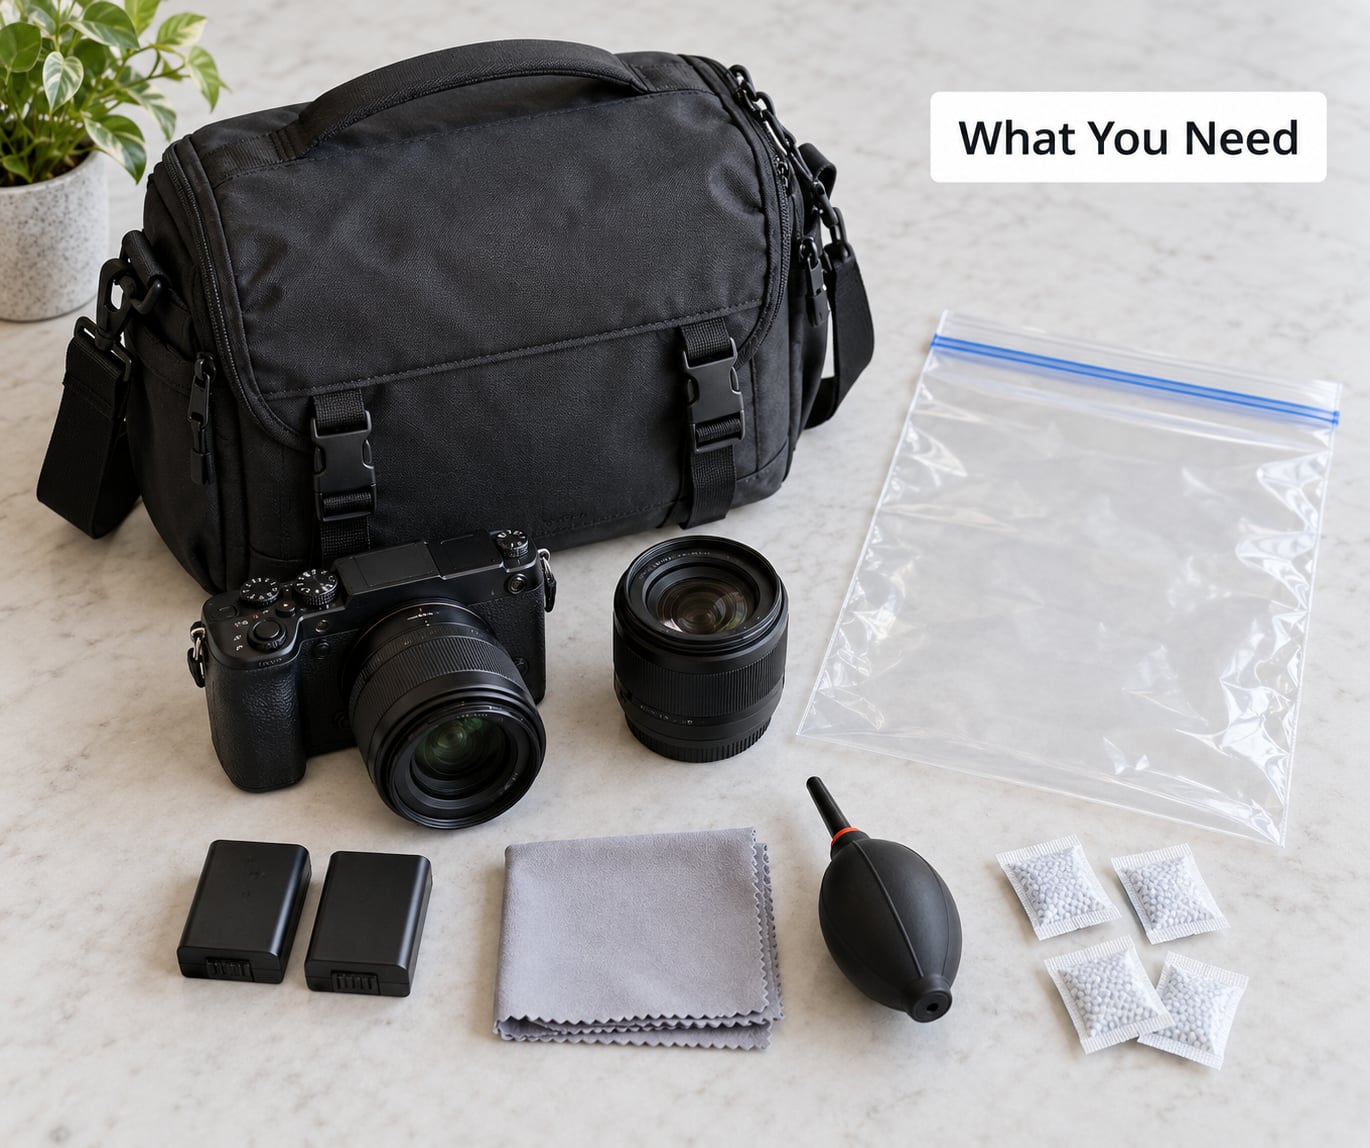
None of this is specialist equipment. Most of it sits in a camera bag already.
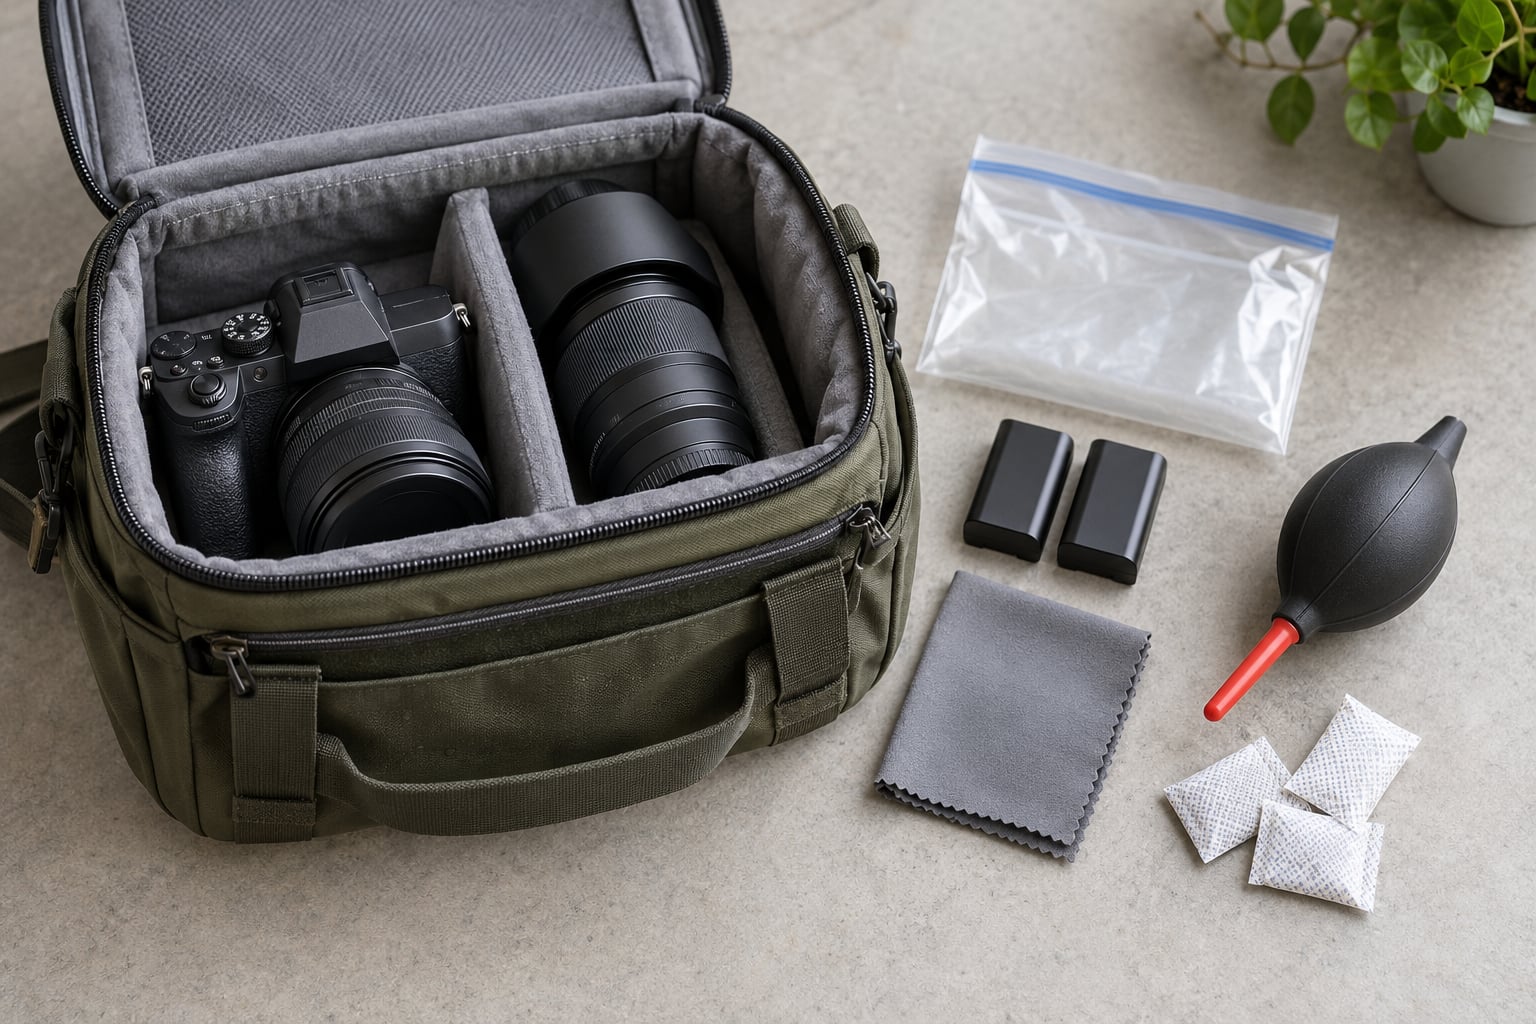
- Two or three spare batteries. Lithium-ion cells lose usable charge fast when cold, so the spares are the difference between finishing a shoot and packing up at lunch.
- A padded, weather-resistant camera bag. Padding insulates the body and protects it when you set it down in snow. Weather resistance keeps windblown moisture out of the seams.
- Large zip-seal plastic bags. A freezer-grade bag works better than a thin grocery bag because the thicker film holds warmth and does not tear. Two or three, so you can bag bodies and lenses separately.
- Silica gel packets. Tucked into the bag for long-term storage, they pull moisture out of a sealed container over days.
- A lens cloth and a rubber blower. Snowmelt and grit come off with air first, then a clean cloth. Fingers never do.
- Hand warmers and thin gloves. Bare skin on a metal barrel in wind drains your hands and your batteries at the same time.
Leave the compressed air can in the shop. Propellant and residue are not designed for a shutter curtain or a sensor, and a rubber blower does the same job without the risk.
Step-by-Step: How to Protect Your Camera in Cold Weather
1. Keep Spare Batteries Warm and Ready
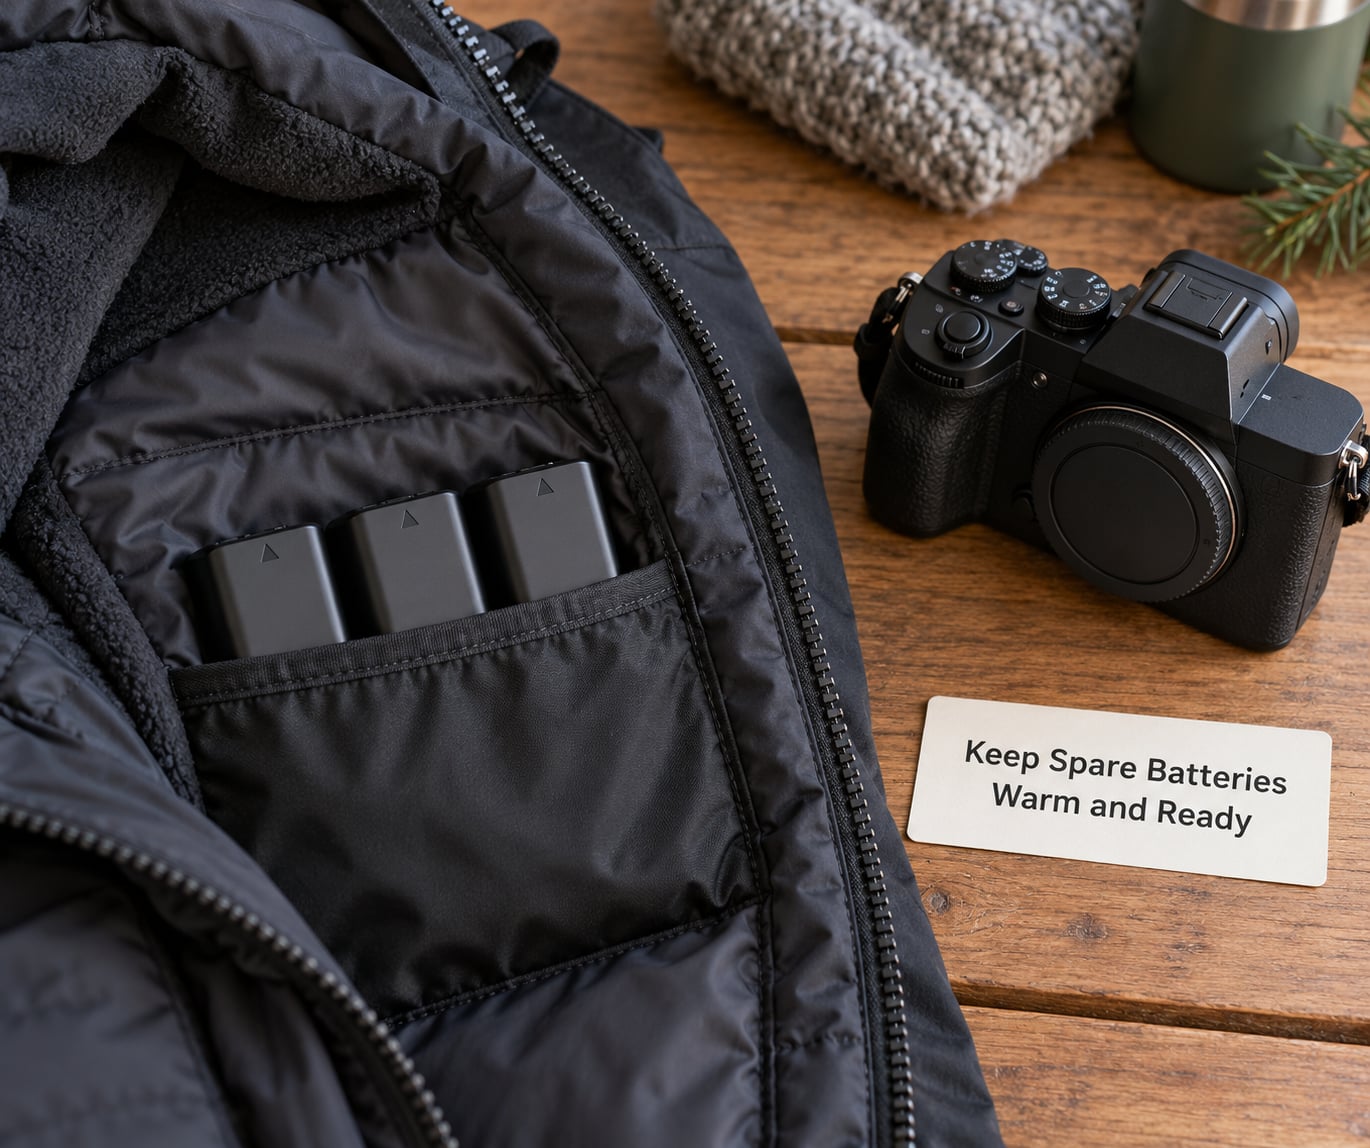
Cold does not destroy a battery quickly, it just makes the charge disappear. Inside your coat, close to your body, a battery stays near the temperature that lets it deliver its rated capacity.
Store spares in an inner pocket, never in the outer pocket of a backpack left standing in the snow. Leave the car at home with the batteries in it too. A vehicle interior can swing from mild to hard frost in the time it takes you to walk to a trailhead, and that cycle ages cells faster than a long winter shoot does.
Rotate rather than drain. When the meter starts to look tired, swap in a warm spare and put the tired one in your pocket to warm up while it recovers. Photographers shooting multi-day winter work report burning two or three batteries on a day where one would have done in summer, which is the number most people find surprising.
As a rough guide to what you are working with:
- Above 32°F (0°C): Batteries behave close to normal. Outdoor handling is where most of the risk lives, not the cells.
- 32°F to 14°F (0°C to -10°C): Noticeable drop in burst length and menu response. Most bodies are rated to around 14°F (-10°C), so the body is fine but the battery is no longer at full strength.
- 14°F to -4°F (-10°C to -20°C): Expect batteries to finish early and screens to lag. Swap spares more often, and keep the camera in your coat between setups.
- Below -4°F (-20°C): Many cameras will still fire, but shutter count per charge drops again. Some plastic doors and rubber fittings turn brittle, so stop forcing them open and closed in the wind.
2. Prepare the Camera Before Leaving Warm Indoors
Fix problems while it is still warm. Charge the battery fully, format the memory card in the camera rather than on a computer, and check that the rubber door seals sit flat and free of grit.
Run a shutter test and confirm the viewfinder and rear screen wake up instantly. If the LCD already lags in a warm room, you have found the fault before the cold made it look like a battery problem.
Pack the spares loose against the body inside a pocket, not in a side compartment where they sit against an insulated outer wall. Then leave the house earlier than you think you need to, because rewarming at the end takes longer than getting ready.
3. Use a Protective Camera Bag and Sealed Storage
Put the camera in its padded bag, keep that bag inside the larger weather-resistant bag, and use the jacket or a cover as a wind shell when you are standing still. Snow settles on the top of a bag and then melts straight down onto the body.
Do not leave the bag on snow or wet ground, even with a waterproof base. Meltwater travels along the underside and straight through the seams, which is how a dry-looking bag ends up putting water on the baseplate.
For longer storage between outings, seal the bag with a silica gel packet inside. It costs almost nothing and it keeps trapped humidity from sitting against metal for weeks.
4. Prevent Condensation With the Sealed Bag Trick
This is the rule that saves your gear, so it is worth doing properly. Before you come inside, put the camera, lens and battery into a zip-seal bag and seal it while everything is still cold. Bring it into the warm room closed.
Warm indoor air can only reach the outside of the bag. Moisture condenses on the outside of the plastic where it does no harm, rather than on the cold metal, the lens elements and the circuit boards inside. Photographers on the Fujix and general photography forums settled on a couple of hours as the working wait, and that matches the physics: the gear needs to reach room temperature gradually.
How long depends on the size of the gear and how cold it is. An hour is usually enough for a small body and lens. A big DSLR with a battery grip and a long telephoto can take closer to two. If you are in a hurry, sitting the sealed bag somewhere with no direct heater output speeds it up. A radiator fire is the one thing to avoid, because that is rapid warming with a huge temperature difference at the surface.
Wait until the bag feels like room temperature all the way through before opening it. If you open early, you have simply moved the condensation problem inside the camera.
5. Handle the Camera and Lens Carefully Outside
Keep the lens hood on. It takes the majority of direct snow, breath and grit before any of it reaches the front element, and it costs nothing.
Change glass only indoors or in a sheltered vehicle. Swapping a lens in blowing snow puts wet grit straight onto the rear element and into the mount, and that is the point where water gets at the sensor. If you have to change outside, turn your back to the wind, work low and close to the bag, and fit the new lens quickly.
Clear snow and meltwater off the body with the blower first, then the lens cloth. Never scrape frost off glass or off a rear screen with a bare fingernail or a stiff edge, and never rub a frozen element, because the coating deforms under pressure before the ice comes off.
Watch the rear screen. In cold it often responds late, shows washed-out contrast and then greys out completely. That progression is normal and reversible: let the camera warm against your body and it comes back. If it stays black at room temperature, that is a real fault and not the cold.
6. Store the Camera Safely After the Shoot
Once the camera is back at room temperature and dry, take the battery out for anything longer than a day. A partly charged cell stored for months is how people end up with a battery that will not hold anything.
Look for ice around the battery grip, the card door and the baseplate, and check whether any of it has melted and run into the seams. Wipe it and let the bag stand open and ventilated before you zip it away.
Only then put the camera into a padded case or a cupboard. Sealing damp gear into a case gives moisture somewhere to sit, and a warm cupboard makes the problem worse rather than better.
Common Mistakes
Almost every cold-weather camera problem traces back to one of these.
- Holding a hot drink against the camera. It looks like a joke and it works like a sauna. Condensation forms on the body and you have created the exact problem you were trying to avoid. Keep coffee on the far side of the bag.
- Using a hair dryer or heat gun on frosted glass. Heat spreads unevenly, glass and body can end up at different temperatures, and you risk cracking a coated element or driving moisture further in. Let the gear warm on its own, sealed.
- Powering the camera on while it is still cold and damp. Powering on is what turns condensation into corrosion. Leave it off until it is at room temperature and dry.
- Changing lenses in blowing snow. Do it in shelter, every time. Grit and meltwater reaching the mount is the expensive mistake, and the one that voids most service plans.
- Leaving the battery in a car or in a bag sitting in the snow. Both go through freeze-thaw cycles that age cells quickly. Batteries live in a pocket, close to you.
- Storing gear damp, or sealing wet gear into a sealed bag. Silica gel only works if the container is airtight. A wet camera in a ziplock with a desiccant packet still ends up fogged.
- Assuming weather sealing makes it irrelevant. Seals slow water down, they do not stop it, and they get less reliable when stiff and cold. A weather-sealed body still wants a bag over it in a storm.
Frequently Asked Questions
How do you protect a camera from condensation?
Seal the camera in a zip-seal plastic bag while it is still cold, then bring it inside and leave it closed until the gear reaches room temperature. Moisture then forms on the outside of the bag instead of on the lens, sensor and circuit boards. Keep batteries and cards out of the bag, wipe meltwater off, and never power the camera on while it is cold and damp.
Does condensation on a camera go away on its own?
Light surface fog usually clears once the gear warms evenly and you leave the bag open to dry. Fog inside the lens barrel or on the rear element takes far longer, and moisture that reaches the electronics can leave corrosion and erratic behaviour that you will not notice until much later. If fog persists after a few hours at room temperature, keep the camera off and let it dry for a day before testing it.
How cold is too cold for a camera?
Most camera bodies are rated to around 14°F (-10°C) for operation, and the limit is usually the battery rather than the body. Below that you should expect shorter battery life, slower screens and brittle plastic doors. Below -4°F (-20°C) keep batteries in an inner pocket and limit how often you open the card door in the wind. Check your specific model’s manual for its published operating range.
Why do camera batteries die in the cold?
Lithium-ion cells deliver less usable charge when they are cold, and the drop-off happens quickly at low temperatures. A battery that is warm from your inner pocket can lose half of its apparent capacity sitting in freezing air. That is why spares belong against your body, not in the camera bag. Plan on two or three batteries for a full winter day where one would have done in summer.
How long can a camera stay in a cold car or bag?
A sealed camera bag can sit in a cold vehicle overnight or longer without real risk, as long as nothing is wet and you bag it before bringing it inside. The danger is not the cold storage, it is the warm-up. Put the bagged gear in a second plastic bag the moment you get out of the cold, and give it one to two hours at room temperature before opening anything.
Conclusion
Before you head out, charge every battery and put the spares in your inner pocket, then load the camera into its padded bag with a zip-seal bag in the top of the pack for the walk home. That single habit is what prevents condensation, which is the failure that actually costs people money.
On the way back, seal it before you cross the threshold and give it one to two hours to reach room temperature before opening anything. Everything else in this guide is a refinement of those two steps.