Choosing a memory card for portrait work comes down to three things: the physical format your camera slot accepts, the write speed it needs to clear the buffer during bursts, and enough capacity for a whole session with headroom. Get those three right and the rest is habit — rotate cards, offload, back up twice, format only in the camera. Getting one wrong, usually the format or the capacity, is how a full card or an unreadable card interrupts a paid session.
This guide covers how to choose memory cards for portrait sessions properly: confirming the slot type, sizing capacity for a full booking, matching write speed to your burst rate, and testing cards before a client is standing in front of you. It takes about fifteen minutes to work through, and it happens once rather than on the day.
The uncomfortable truth is that a card failure is not a skill problem. It is a probability event, and the only defence is preparation: correct card, correct capacity, a spare, and a copy of every frame that exists somewhere that is not the card.
Table of Contents
- What You Need
- Step-by-Step
- Common Mistakes
- Frequently Asked Questions
- What type of memory card is best for portrait photography?
- How much storage do I need for a portrait session?
- Does a faster memory card improve image quality?
- Is it safer to use one large card or several smaller cards?
- How do I test a memory card before a paid shoot?
- What should I do if a memory card says it is corrupted or cannot be read?
- Conclusion
What You Need
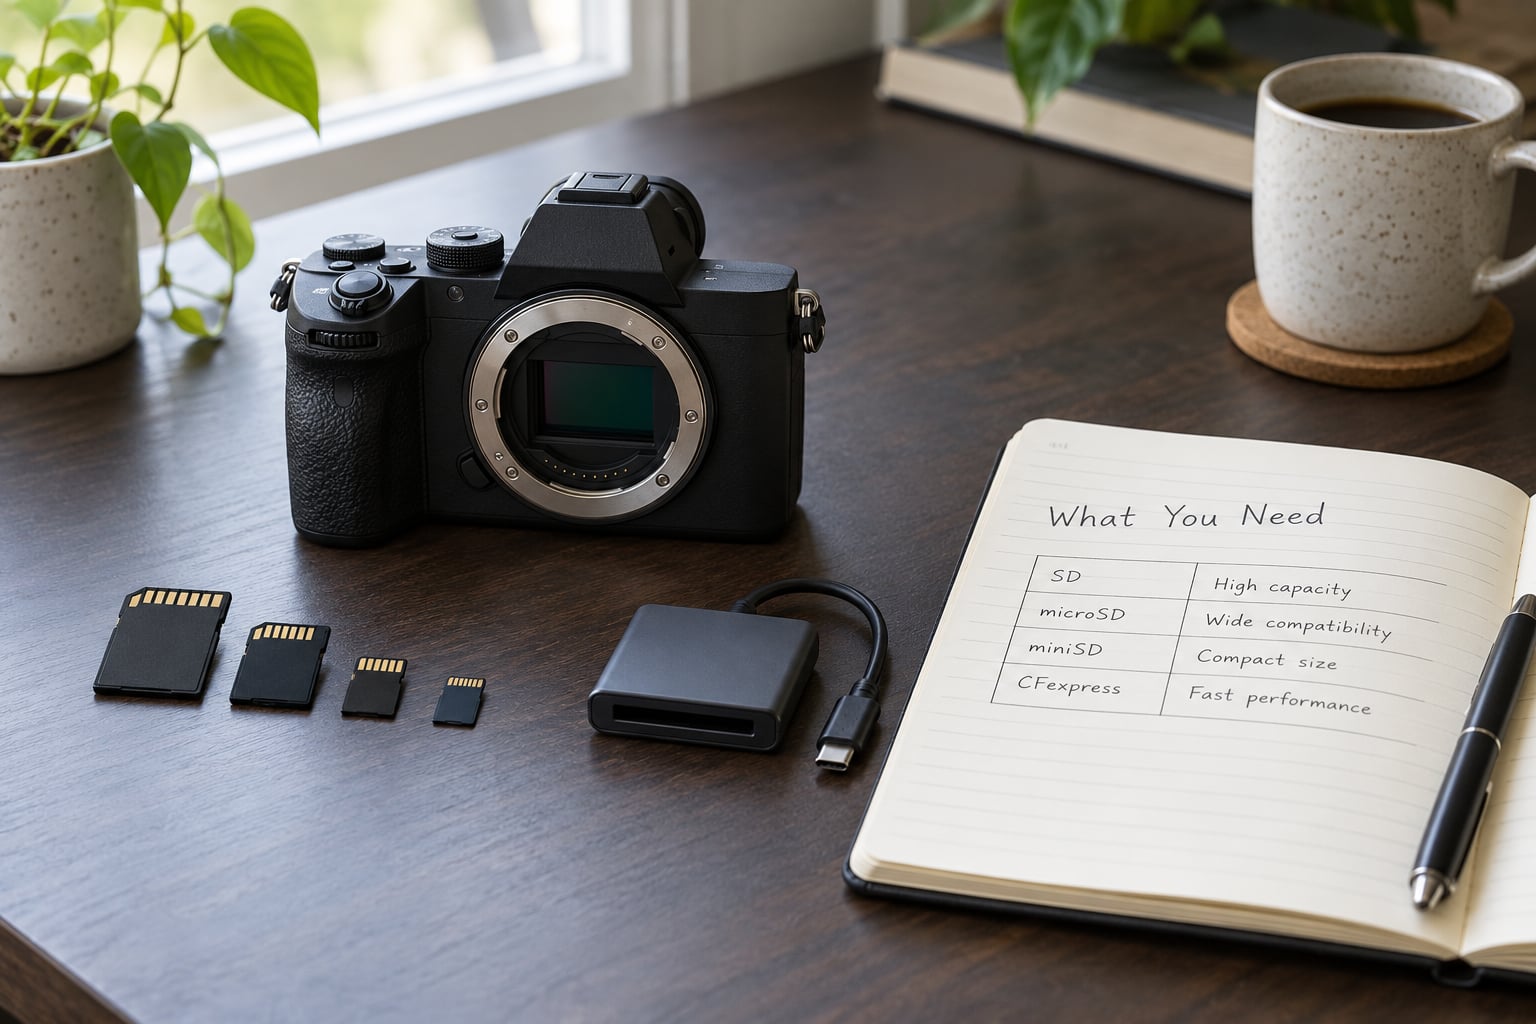
Before you buy anything, gather six facts. None of them require a trip to a shop, and all of them come from the camera manual plus the numbers you already know about your sessions.
- Your slot type. SD, SDHC, SDXC, CFexpress Type A, CFexpress Type B, or an older CompactFlash/XQD slot on secondhand gear.
- The maximum capacity that slot accepts. Some bodies cap out well below the largest cards on the market.
- Your bus generation. UHS-I or UHS-II. The physical card looks identical; only the contact count and the second row of pins differ.
- Your frame volume. Average frames per session, whether you shoot RAW, JPEG, or both, and whether you burst for expression or bracketing.
- Your worst-case session. The longest shoot of the year, and how much video, if any, you capture.
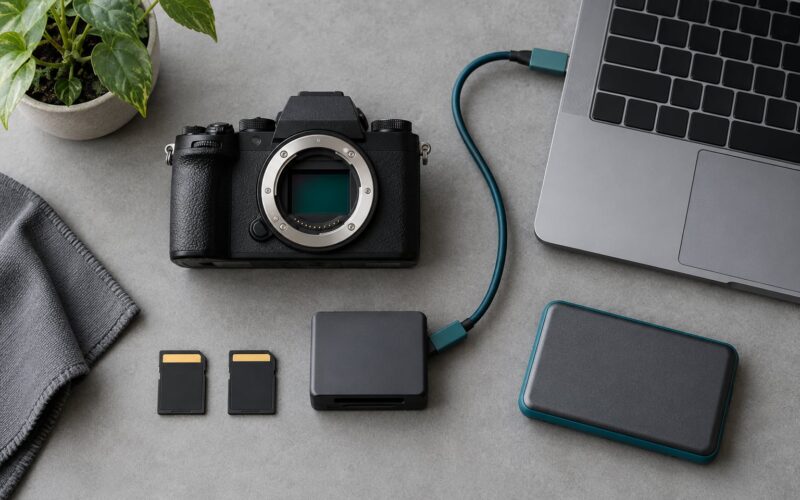
- Your offload hardware. A fast card reader and somewhere to copy to that is not the camera.
Here is the checklist that matters most when you compare two cards side by side.
- Does the format physically and electrically fit my slot, at the right capacity tier?
- Is the sustained write speed high enough for my burst rate, not just the headline read speed?
- Does the speed class match how I shoot — U1 for stills, V30 or higher if I record video?
- Does one card cover a full session, or do I need two or three?
- Is it from a brand with a real warranty and a recovery service?
- Is it from a seller I trust, so it is not a relabelled fake?
Check the camera manual rather than guessing. Most manufacturers print the supported card list and the maximum capacity in the specifications section, and several brands state that performance is only guaranteed with specific UHS-II models. If your body came out before UHS-II existed, the manual will say so plainly.
Step-by-Step
1. Check your camera’s memory card format
Physical fit is the first filter, and it is the one people skip most often. SDHC cards top out at 32GB. SDXC covers 64GB up to the format limit of 2TB. A 256GB SDXC card is not a bigger SDHC card; it is a different type that older cameras will refuse to see.
CFexpress Type A is roughly the size of an SD card but uses a completely different connector. CFexpress Type B is closer to CompactFlash in footprint and is what most high-end bodies pair with a second SD slot. XQD and CompactFlash only matter if you bought used, and then only so you know which older reader you need.
Next check the capacity ceiling. Plenty of cameras released with firmware support for 256GB or 512GB cards will happily fail to recognise a 1TB card even when they accept the format. Search the manual for the maximum, and if your body is past its support window, the manufacturer’s own compatibility updates are worth reading before you trust a forum thread.
Finally, count the slots. A body with two slots gives you options that change the whole card decision: overflow recording, where the camera fills slot one and then spills onto slot two; and mirror or backup recording, where every frame is written to both cards at once. Backup mode is slower, because the camera writes two copies, but it means a single card failure costs you nothing.
2. Estimate storage for the portrait session
Capacity planning is arithmetic, not guesswork. Start with your RAW file size, multiply by your frame count, then add headroom.
A 24MP sensor produces compressed RAW files of roughly 25 to 35MB. A 45MP sensor lands around 45 to 60MB. A 61MP sensor can reach 70MB or more per frame. A full-resolution JPEG from the same camera is a fraction of that, usually 8 to 15MB.
So for a typical two-hour headshot session where I might take 1,200 frames on a 45MP body shooting RAW plus JPEG, that is 1,200 multiplied by roughly 55MB for the RAW, or about 66GB, plus roughly 12MB per JPEG for another 14GB. EightyGB of headroom is comfortable; 64GB would mean swapping mid-session.
Here is a quick reference for how many frames a single 128GB card holds. The ranges are wide because file size varies with compression settings and subject complexity, so treat them as a planning floor rather than a promise.
| Camera class | Approx. RAW size | RAW only on 128GB | RAW plus JPEG on 128GB |
|---|---|---|---|
| 24MP compact system or entry mirrorless | 25 to 35MB | about 3,600 to 5,100 frames | about 3,100 to 4,400 |
| 33 to 45MP full frame | 40 to 60MB | about 2,100 to 3,200 frames | about 1,900 to 2,800 |
| 50 to 61MP high resolution | 60 to 85MB | about 1,500 to 2,100 frames | about 1,400 to 1,900 |
| JPEG only, any of the above | 8 to 15MB | about 8,500 to 16,000 frames | not applicable |
Then multiply for the day. Two sessions in one booking means two sessions worth of capacity plus the gap between them, because you should not be reusing a card you have not yet offloaded and verified.
This is also why I carry several smaller cards rather than one large one. If a 128GB card dies mid-session, you lose everything on it. If 32GB and 64GB cards die, you lose a third of the session at worst, and you have a known-good card to fall back on immediately instead of standing there formatting.
3. Match write speed to bursts and video
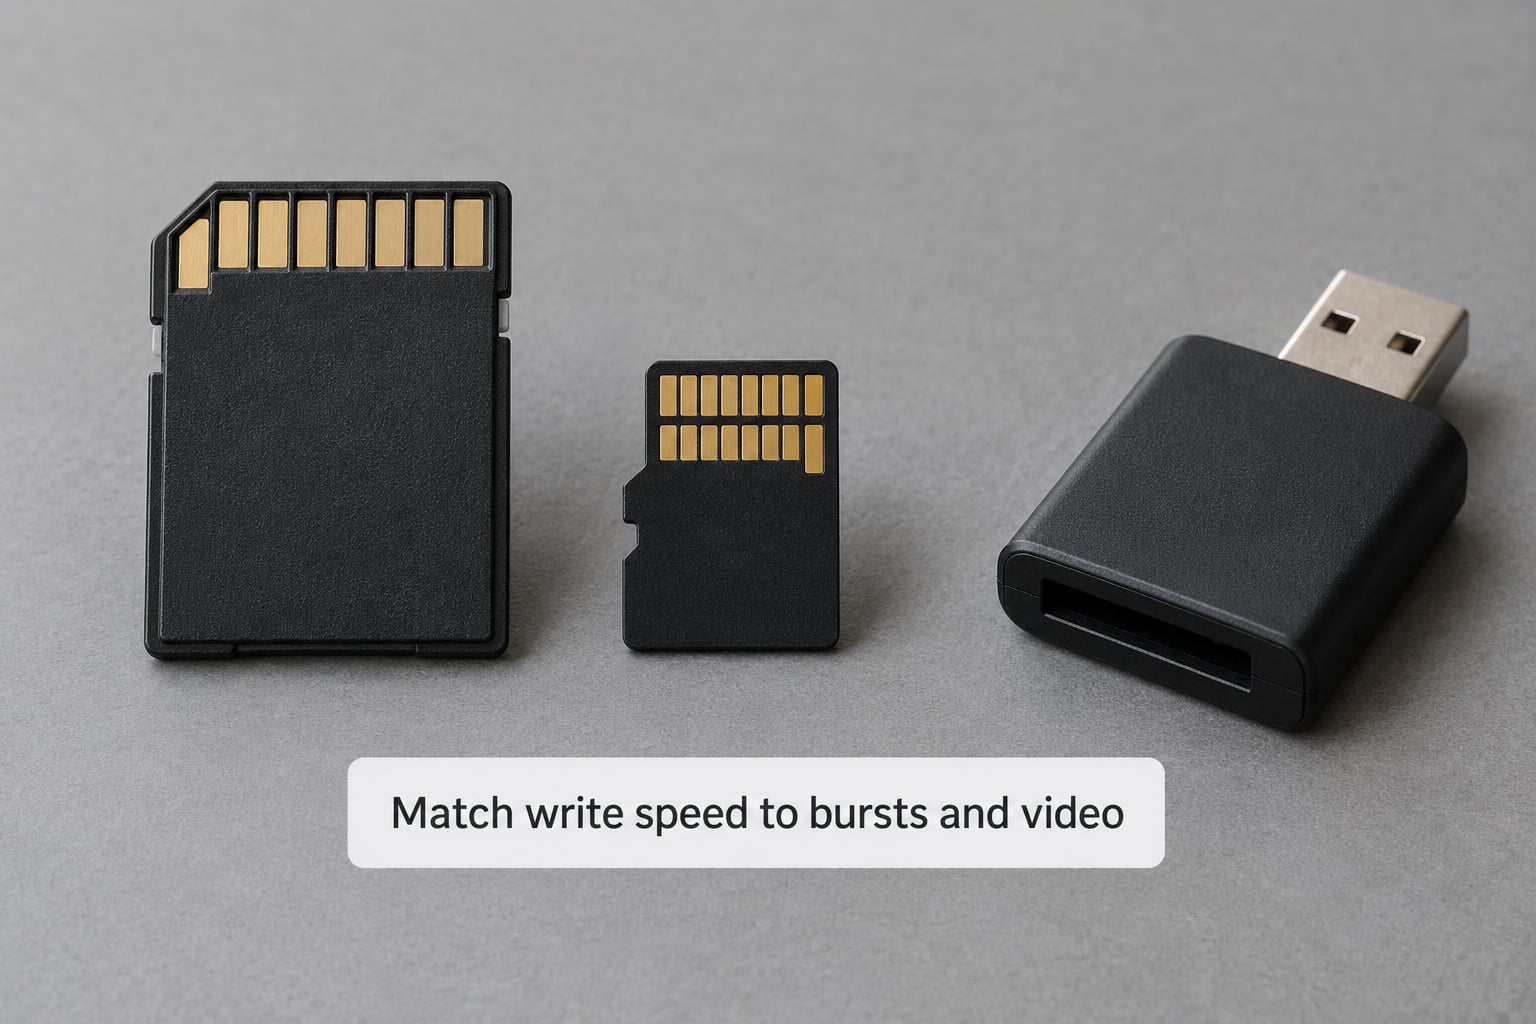
The number printed in large type on the front of every card is a maximum read speed — how fast the card can hand files back to your reader. It is the number marketers shout about, and for portrait stills it is largely irrelevant.
What you need is write speed: how fast the card accepts each frame as the camera produces it. When a buffer fills faster than the card can drain it, you get a stalled viewfinder, a buffer warning, or frames that quietly drop from your burst. That is the only failure mode where card speed actually changes the pictures you keep.
Sustained write speed matters more than peak write speed, because a card that hits 90MB/s for two seconds and then throttles is worse than one that holds 60MB/s for the whole burst. For long portrait sessions that is rarely a live problem. It becomes one the moment you record high-bitrate video, where the camera writes continuously for minutes at a time.
Here is how the ratings decode.
- U1 (Speed Class 1) guarantees a minimum of 10MB/s. Fine for stills, too slow for 4K video.
- U3 (Speed Class 3) guarantees 30MB/s minimum. This is the sensible floor for any modern stills body.
- UHS-I is a bus generation topping out at about 104MB/s. UHS-II is the second row of pins, up to about 312MB/s.
- V30, V60, V90 are Video Speed Classes guaranteeing 30, 60 and 90MB/s of sustained write. V90 only pays off for 4K at 60fps or higher, or 6K and 8K recording.
For portraits, UHS-I at U3 is enough for nearly everything. UHS-II earns its place if your body has a fast buffer, you shoot long bursts of expression, or you mix in video. A camera with two slots can also pair a UHS-II card in the primary slot with a UHS-I card in the secondary slot, which is a common and sensible money-saving setup.
4. Choose enough capacity without overcommitting
Bigger is not better. A very large card fills your bag, gets harder to keep track of, and concentrates all your risk in one place.
For studio headshots and family portraits, 32GB to 64GB per card is comfortable. For a long on-location day with a high-resolution body, 64GB to 128GB per card is more useful. What matters more than the number is that you never reuse a card until its previous contents are copied to two separate places and confirmed.
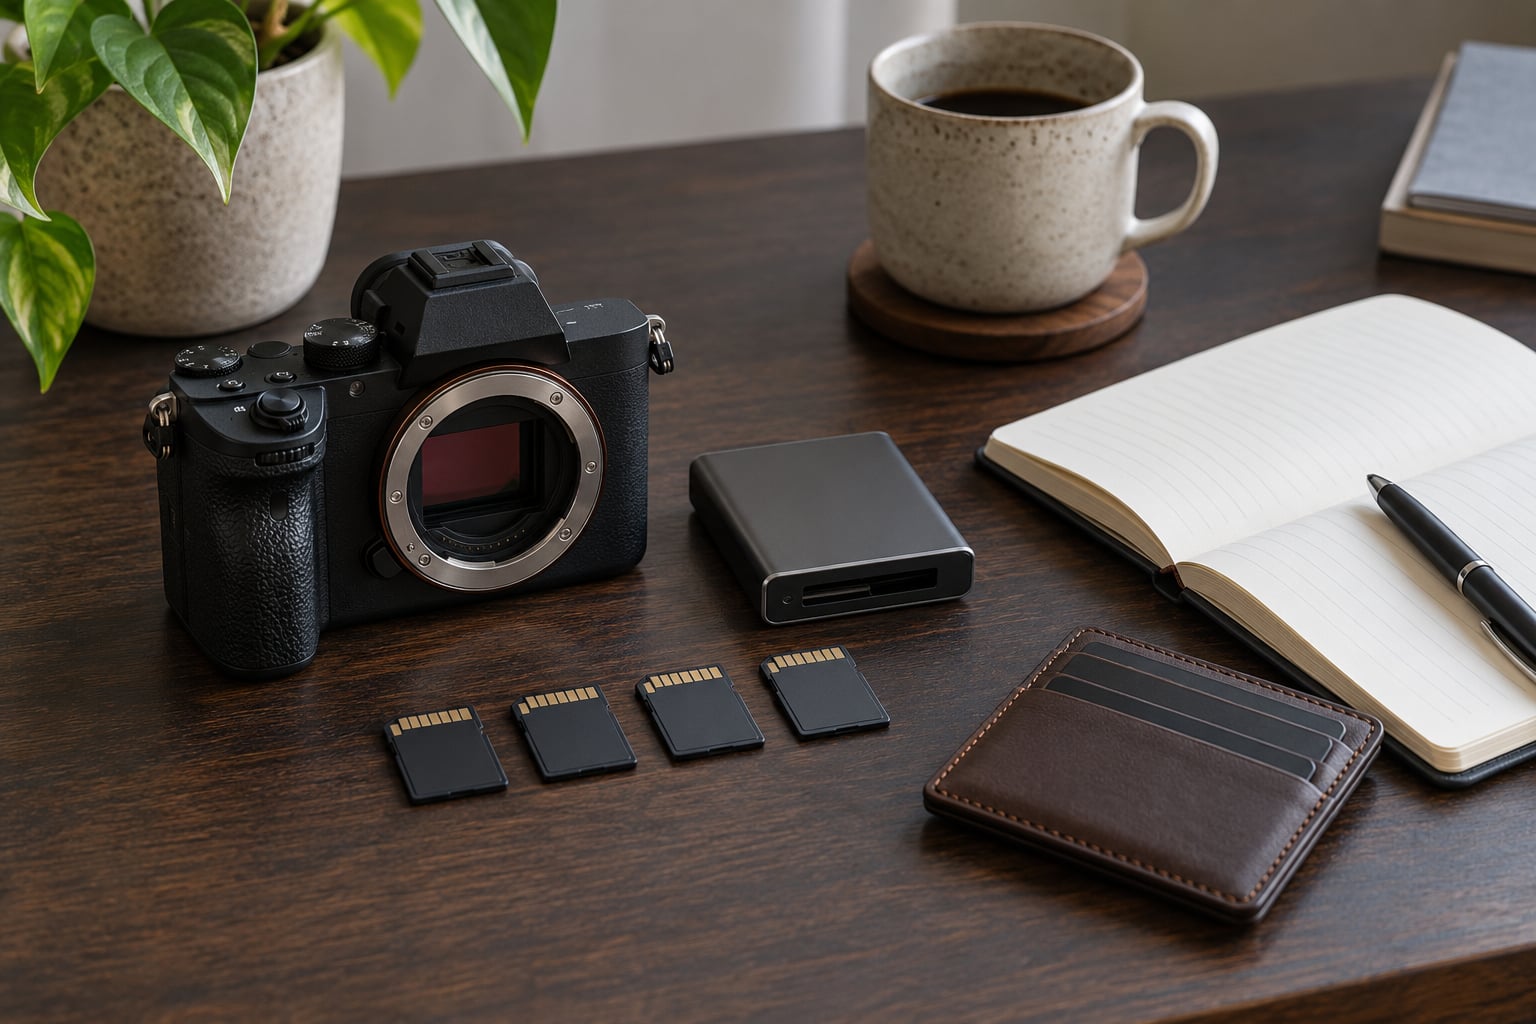
Three habits keep this manageable. Label cards with a marker or a printed label so you know at a glance which ones are in use, which are formatted and empty, and which have not been checked yet. Keep them in a wallet with separate pockets so a full card cannot slide back in next to an empty one. And write the session date on the card the moment you pull it, because untitled cards are how you end up formatting over the wrong one.
On the flip side, do not delete images to make room. Deleting leaves the file system fragmented and, more importantly, throws away the only copy you have. Format instead, and only once the backup is verified. This is the point where how to choose memory cards for portrait sessions turns into a routine rather than a spec sheet.
5. Consider reliability and professional workflow
Every card will eventually fail. Threads on photography forums make that point repeatedly, and the practical conclusion is that backup discipline matters more than brand loyalty. Still, brand matters in one specific way: a card from a major manufacturer usually comes with a real warranty, a stated endurance figure, and a recovery service that can attempt to read a card no longer recognised by a camera.
Counterfeit cards are the other risk, and they cluster on third-party marketplaces where the seller is not the manufacturer. Fake capacity is the common trick: the card reports 512GB and delivers maybe 32GB before it starts failing writes. Stick to reputable sellers, and if a brand-new card reports an unusual speed or capacity combination, treat it as suspect.
Physical handling matters too. Cards survive drops better than cameras do, but they do not survive bent contacts, pocket grit, or static discharge from handling bare cards in dry conditions. Keep them in the wallet, not loose in a camera bag pocket next to keys.
Then think about the rest of the chain. A UHS-II card plugged into a USB 2.0 reader will offload at 20 to 30MB/s no matter how fast the card reads, so the reader is part of the decision. A single fast SSD that you copy to on set, then a second drive that stays at home, beats a slower card and a hopeful workflow.
Card endurance is worth a mention. Flash wears out through write cycles, and photographers treat cards as consumables for that reason. There is no reliable public figure for expected cycles in a given card, so use behaviour instead: cards that error during bursts, produce corrupted files, or need formatting twice deserve replacing, regardless of age.
6. Test the cards before the important session
Any card can be formatted and used straight out of the pack, which is exactly why surprises show up on set. A short test routine takes ten minutes per card.
- Format the card in the camera, using the camera’s own format function. Never format on a computer for a card you are about to shoot paid work on.
- Shoot a burst at your normal rate, at your normal resolution, in the format you actually use. Ten seconds of continuous frames tells you more than the box claims.
- Record a short clip at your intended video settings if you shoot any video at all. Dropped frames show up here first.
- Copy everything to your laptop or SSD through the reader, then verify the file count matches what the camera recorded.
- Copy again to a second drive, verify again, and only then format the card in the camera.
Warning signs during the test, and during a session later, are consistent: write errors on the camera screen, a card the camera refuses to recognise after a format, files that will not open, or a card that needs formatting again immediately after formatting. Any one of those means the card goes into the suspect pile, not into the camera bag.
Common Mistakes
Most card problems trace back to one of these eight, and every one of them has a simple correction.
Buying on the headline read speed
The big number on the front is a read speed. It tells you how fast files come off the card, not how fast the camera writes to it. Look at the U class and, if you shoot video, the V rating instead.
Buying the wrong capacity tier
A 64GB SDXC card will not work in a camera that only accepts SDHC, and some bodies cap well below the largest capacity available. Check the manual before you buy rather than after the first card error.
Underestimating session volume
The arithmetic above takes two minutes. Photographers run short when they assume a session is 300 frames instead of 1,200, and they discover it in the middle of a burst. Size for your longest session of the year, then add headroom.
Buying from marketplaces full of counterfeits
Fake-capacity cards read fine until they fill, then fail writes and can take the pictures on them with them. Buy from sellers who actually carry the brand.
Relying on one card
One card means one failure takes everything. Several smaller cards spread the risk and guarantee you have something to shoot on. This is the single change with the biggest effect on how a session feels.
Formatting on the computer
A card formatted on a desktop can end up with a file system or allocation unit size the camera struggles with. Format in the camera every time, using the in-camera option.
Deleting instead of formatting
Deleting files leaves the card fragmented and keeps your only copy alive. Format it instead, once the backup exists.
Backing up once
Copying from the camera to one drive is not a backup if the drive is in the same bag as the camera. Two copies, two different places, then verify.
Three session-day habits tie it together. Swap cards during a natural break rather than mid-burst. Check the frame count on the camera display against the card counter when you change cards. And keep cards in rotation with labels so the one you reach for is always the one you formatted last.
Frequently Asked Questions
What type of memory card is best for portrait photography?
For most portrait bodies, a UHS-I SDXC card rated U3 (30MB/s minimum write) is enough, and 64GB to 128GB covers most sessions. Add a UHS-II card if your camera has a fast buffer, you shoot long bursts, or you record high-bitrate video. CFexpress is only worth it for video-heavy or high-frame-rate work, not for portraits.
How much storage do I need for a portrait session?
Multiply your RAW file size by your frame count, then add 30 percent. A 24MP body at roughly 30MB per RAW frame and 1,000 frames needs about 30GB, so a 64GB card gives you comfortable headroom. A 45MP body at roughly 55MB per frame needs closer to 70GB for the same session, which is where two cards or a 128GB card starts to make sense.
Does a faster memory card improve image quality?
No. Speed does not change the pixels, the colour or the dynamic range in any way. A faster card only keeps up with the buffer during bursts, shortens the time files take to copy to your computer, and prevents dropped frames when recording video. For a studio portrait sitting with one frame at a time, a faster card buys you almost nothing.
Is it safer to use one large card or several smaller cards?
Several smaller cards are safer. If one large card fails, you lose every frame on it. If a small card fails, you lose only the frames since the last swap and you already have a formatted card ready to continue. Many working photographers carry three or four moderate cards instead of one huge one for exactly this reason.
How do I test a memory card before a paid shoot?
Format it in the camera, shoot a ten-second burst at your normal settings, and record a short clip at your usual video settings if you use any. Then copy the files to two separate drives and confirm the counts match what the camera recorded. Write errors, corrupted files or a card that needs repeated formatting are all reasons to stop using it.
What should I do if a memory card says it is corrupted or cannot be read?
Stop writing to the card immediately, because every further attempt can overwrite recoverable data. Move the card to a computer and try a read-only copy with recovery software, and contact the manufacturer’s recovery service if the card came from a major brand. Check whether your camera has a second slot and a backup recording mode, because that mode is what stops this from happening again.
Conclusion
Start tonight, not the morning of the shoot. Open your camera manual, find the supported card types and the maximum capacity for your slot, and write down the number. Then do the arithmetic for your longest session of the year using your real RAW file size and a realistic frame count.
Buy two or three cards that fit those numbers, at U3 or better, from a seller you trust, and keep a spare in the bag. Test each one before you need it, label it, and build the habit of copying twice before formatting. That routine costs an afternoon once and removes the one failure that can cost you a client’s session.