Lens fungus needs four things at once: relative humidity around 70% or higher for several days, trapped still air, total darkness, and something organic to eat. Take away any one of those and it cannot establish. So the answer to how to store lenses to prevent fungus is simple: clean the glass, dry it fully, seal it in an airtight container with the right amount of desiccant, and hold the air inside at 40-50% RH. It takes about ten minutes per lens.
I have watched this go wrong in a small apartment closet in a coastal town, where a padded bag and a warm shelf were all that stood between a kit and a coating-etching disaster. Nothing about the closet was obviously wrong. That is the problem.
By the time you see fungus, it is already expensive. Professional cleaning removes the growth but never removes the etch marks it leaves in the optical coating, and spores travel between lenses, bodies, bags and cabinets. Prevention is the only strategy that really works, which is why the routine below is worth doing before the gear goes into storage rather than after you notice haze.
Everything here is storage practice. Nothing below needs a service visit or a workshop bench, and every step fits into a routine you could repeat the same evening you last used the lens.
Table of Contents
- What You Need
- Step-by-Step: How to Store Lenses to Prevent Fungus
- 1. Inspect and clean the lenses before storage
- 2. Use caps or a clean, breathable inner case
- 3. Choose a dry, airtight storage container
- 4. Add the right amount of desiccant and keep humidity stable
- 5. Store the lenses in a stable, moderate environment
- 6. Check stored lenses every few weeks Put a monthly ten-minute inspection in your calendar. It catches problems while they are still a wipe-and-recharge fix rather than a professional job. Check the hygrometer first, then the gel colour, then run a flashlight behind each front element in a dim room. A white flashlight held close to the glass will throw the shadows forward, and fungal hyphae show up as a spiderweb branching out from the edge of the element. Watch for a musty smell when you open the container, persistent haze that does not clear with a breath, and spots that stay put when you tap the barrel lightly. Any of those means isolate that lens immediately. Do not put it back with the others. Common Mistakes Storing lenses damp is the number one failure. Everything else is a variation on putting wet gear into a dark, closed space. Leaving lenses in a padded camera bag. Foam is the opposite of dry storage. Move the gear into a sealed container or dry cabinet. Assuming the packets in the box are desiccant. They are sized for a shoebox, not a lens. Not replacing saturated gel. A blue-to-pink pack that stays pink has zero capacity left. Overusing silica gel. Piling loose crystals against a barrel blocks ventilation and can scratch a cap rim. Keep it in a breathable sachet or in a separate compartment. Baking lenses in sunlight. This one circulates widely and I would rather see it retired. UV can suppress surface growth, but hours of heat and intense light degrade helicoid grease, rubber gaskets, internal baffles and adhesives, and vintage lenses with balsam cement are especially vulnerable. You are trading a possible fungal reduction for certain mechanical damage. Cleaning fungus with the wrong liquid. Vinegar, bleach and household peroxide can strip coatings and leave permanent haze. Specialists do use hydrogen peroxide with immersion and controlled conditions; that is not a kitchen-table job. Ignoring early haze. It is always cheaper earlier. Two more worth knowing. Fungus spreads, so isolate any suspect lens rather than living with it and checking later. And shipping or a long absence deserves its own routine: clean the glass, charge the gel, seal the container, then put the whole thing inside a larger plastic bag before it goes in the hold. If fungus sits between internal elements, stop using the lens and send it to a technician. If it is only on an exterior element, it is usually a simple clean and your images will not be permanently affected once it is gone. Frequently Asked Questions How do I keep fungus out of my lenses?
- Does silica gel prevent lens fungus?
- Can lens fungus permanently damage a lens?
- Should I store lenses with the caps on or off?
- What humidity level stops lens fungus?
- Is it safe to use a lens that has fungus?
- How to Store Lenses to Prevent Fungus: Start With Dry, Sealed, Stable Storage
What You Need
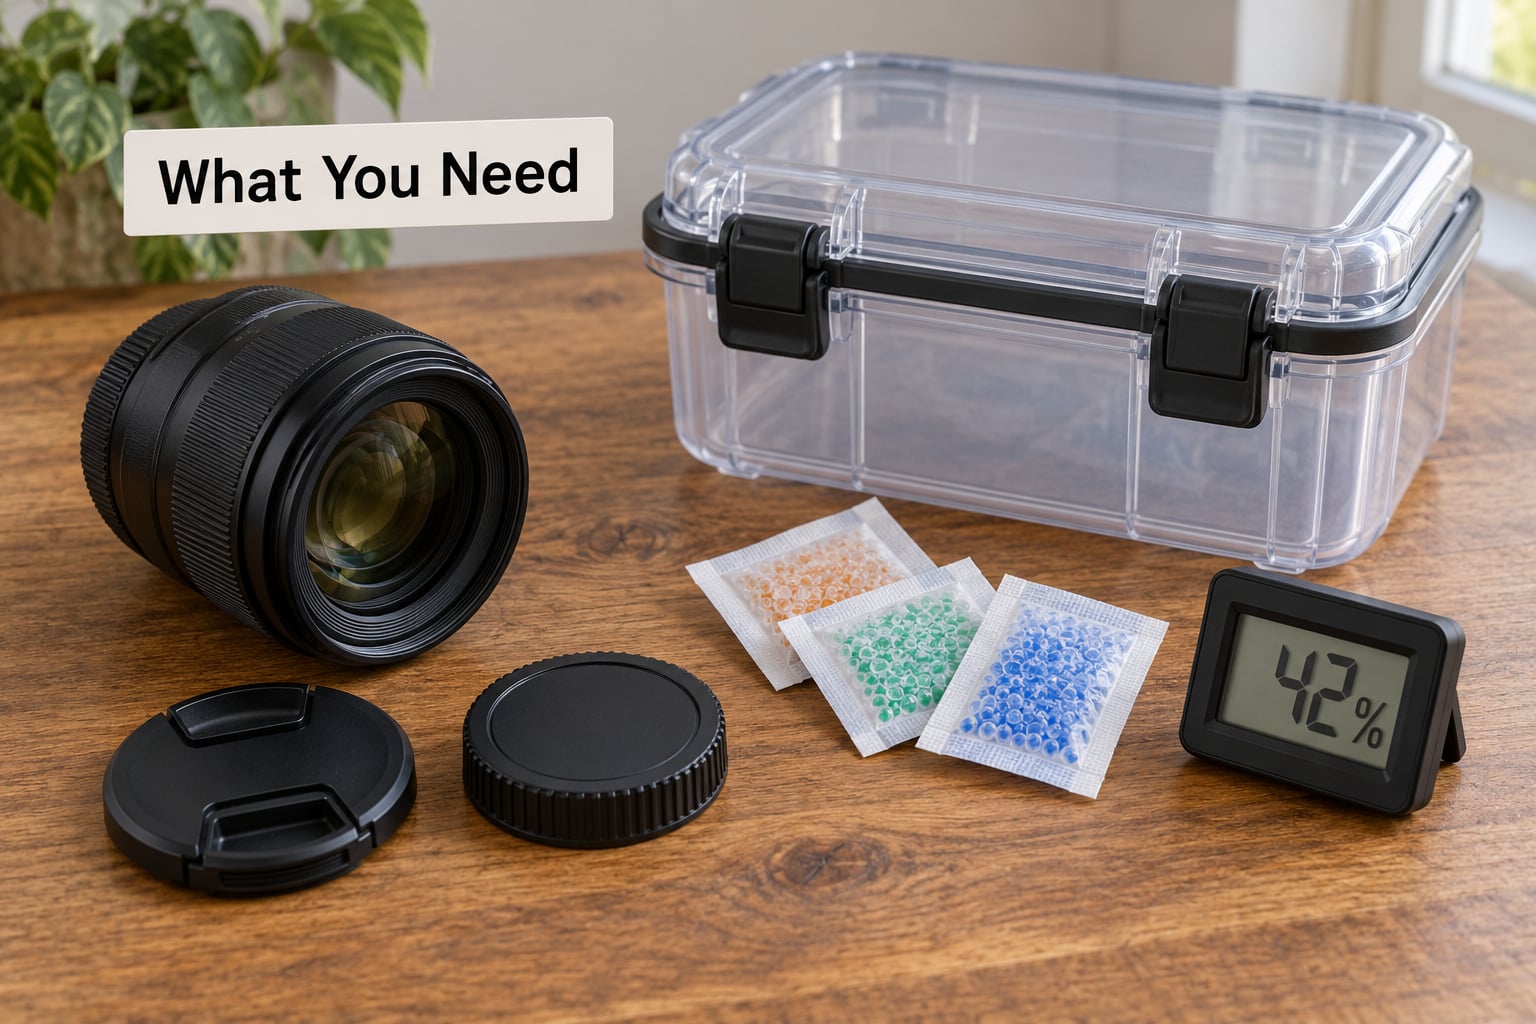
Gather this before you start. The whole setup fits in a drawer, and the expensive part is optional.
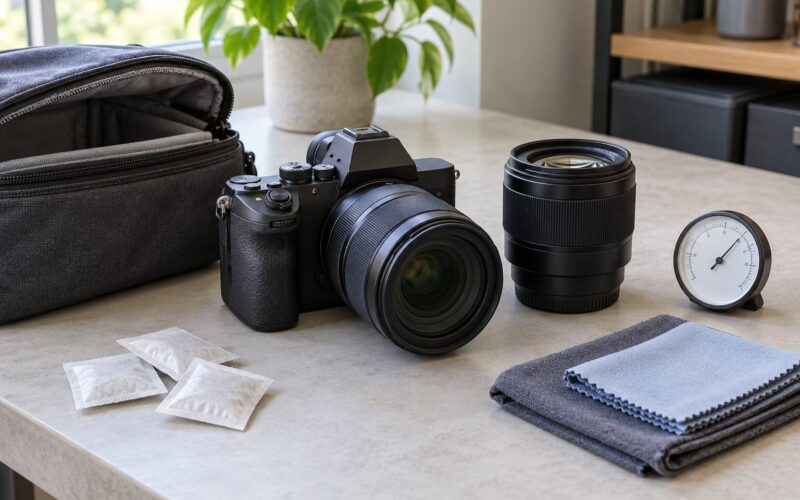
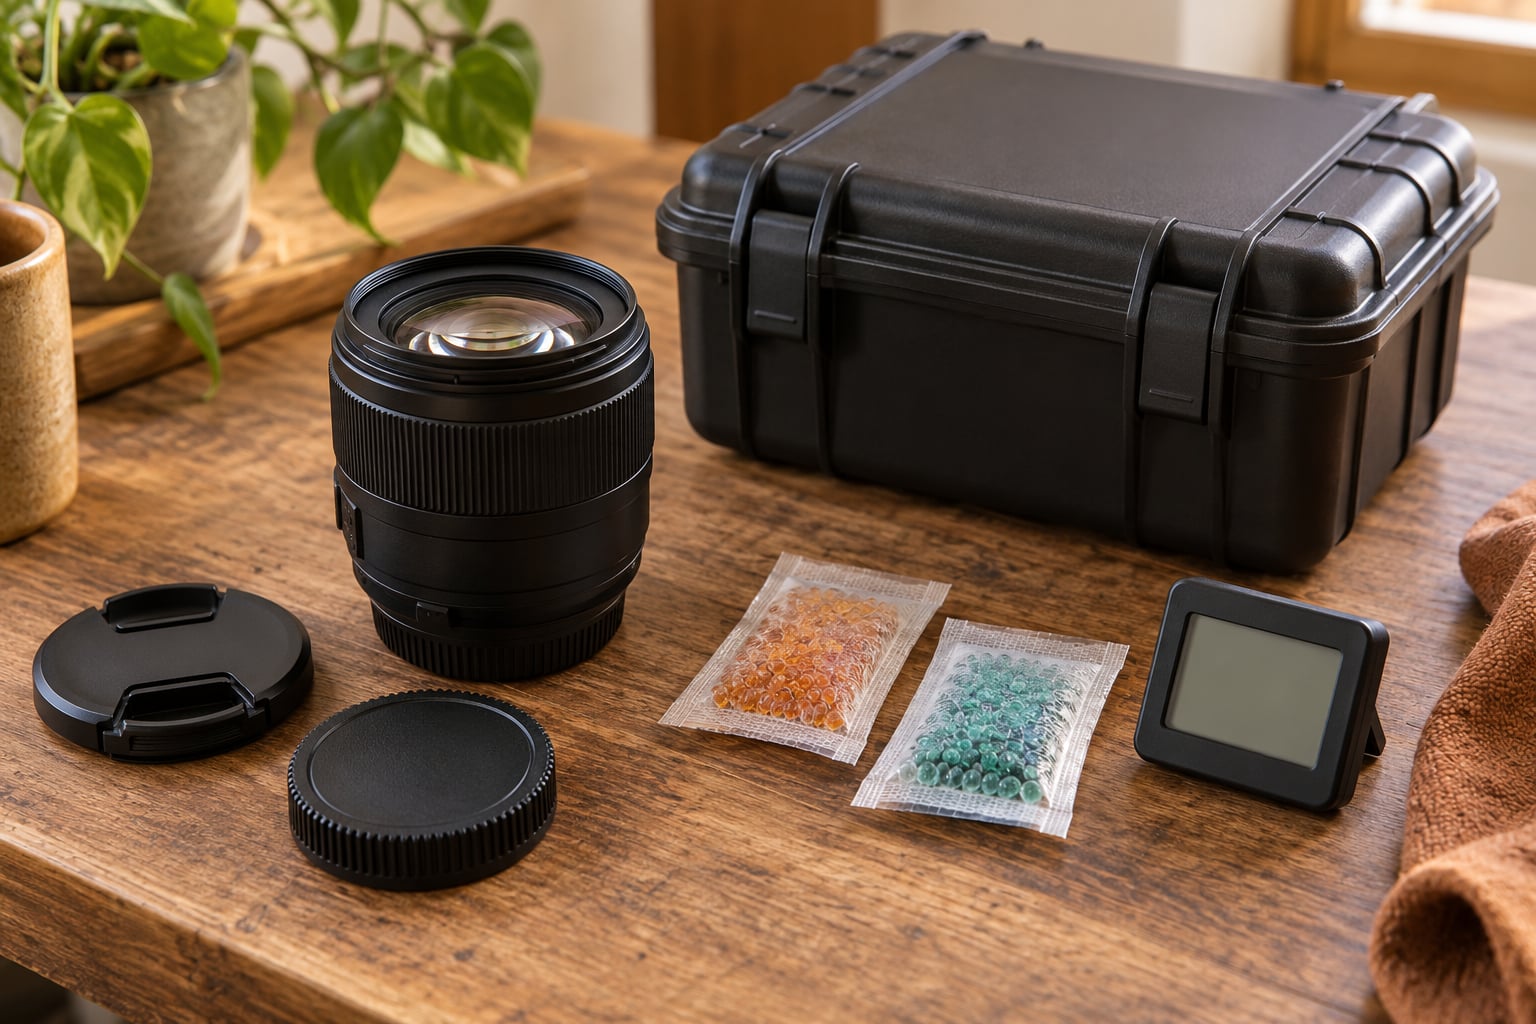
- Front and rear caps, or a clean padded inner case. The caps matter more than the foam. They keep dust off the glass and stop the barrel rolling around a shelf.
- An airtight container. A gasketed hard case works well. So does a decent food storage tub with a seal that closes on the first try. A ziplock bag is not a substitute for months of storage.
- Desiccant. Colour-indicating silica gel is the useful kind, because the beads tell you when they are loaded. Two-way humidity control packs are the better choice if you want a target rather than a maximum.
- A hygrometer. A cheap digital one is enough. This is the tool that turns “I hope it is dry in there” into a number you can check.
- A microfibre lens cloth, a blower, and a little isopropyl alcohol. For removing fingerprint oils before sealing.
- A dry, stable location. An upstairs shelf, a conditioned closet, or the cabinet itself. Not a basement, not a garage, not the boot of a car.
Skip the tiny packets that come inside product packaging. Forum users have flagged those as effectively useless for anything the size of a lens, and they are right. Volume matters here.
Step-by-Step: How to Store Lenses to Prevent Fungus
1. Inspect and clean the lenses before storage
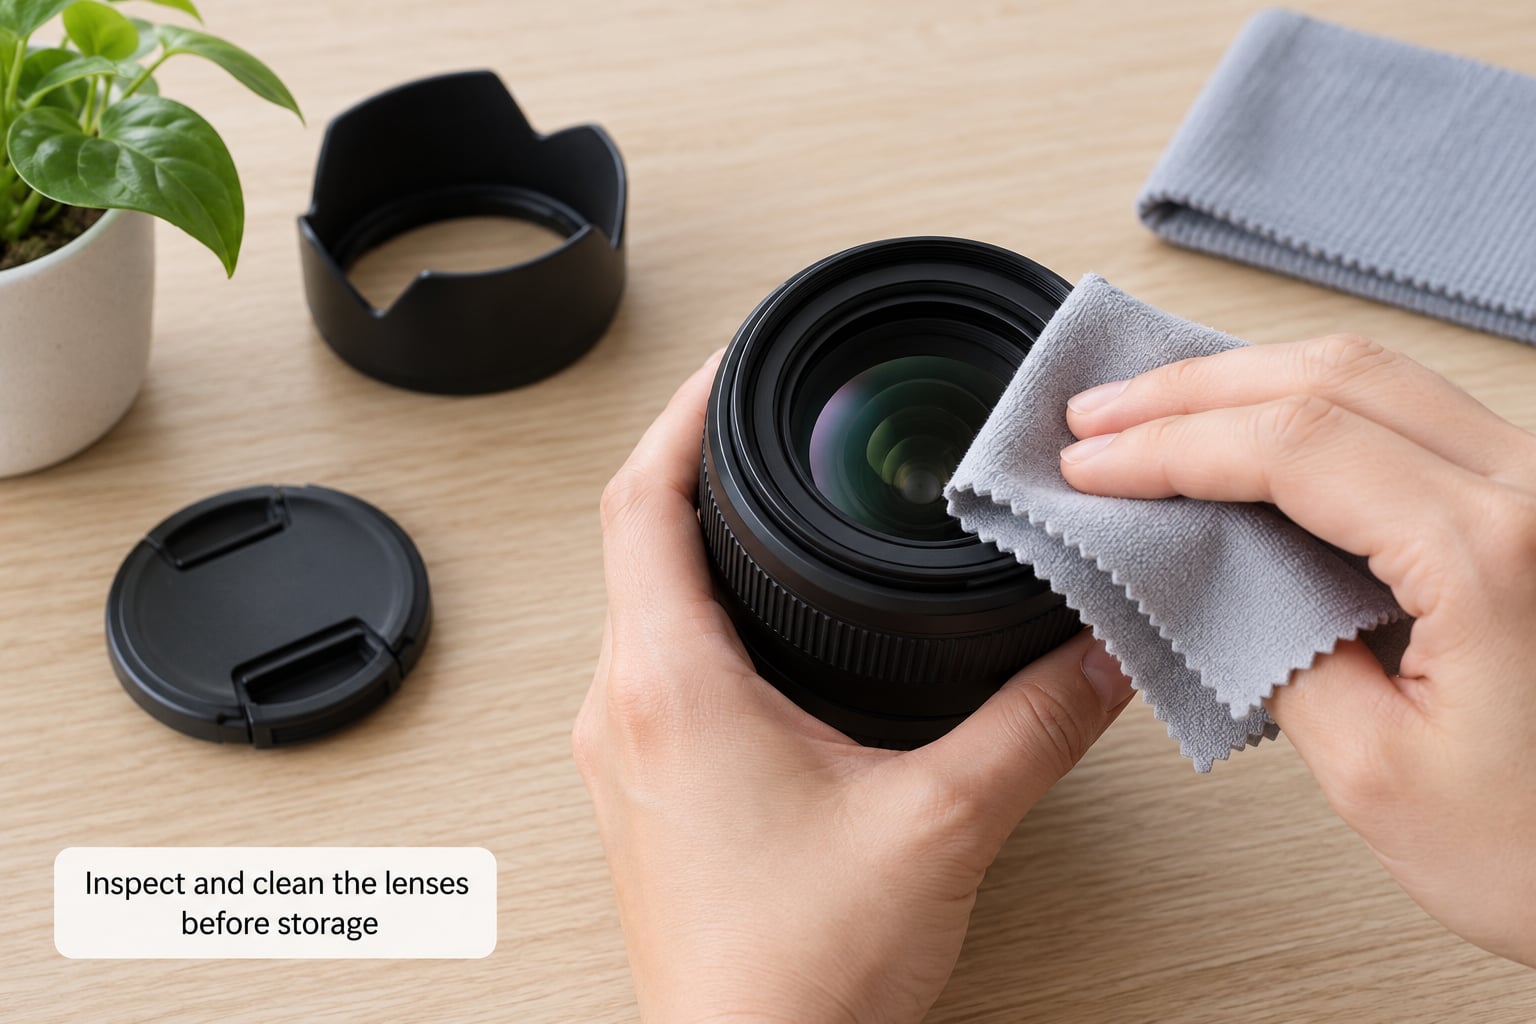
Look through the front and rear element against a light before the lens goes away. Check for haze, a spiderweb pattern at the edge of the glass, or spots that do not shift when you tap the barrel lightly.
Wipe away dust and fingerprints with a clean microfibre cloth, using a little isopropyl alcohol on stubborn grease. Oils are the food source fungus feeds on, so removing them takes away one of its four conditions.
Most important: let the glass dry completely. A lens that goes into a sealed container with moisture still on the element has been sealed into the perfect environment. After a wet or beach shoot, fan it for an hour and leave it in moving air for 30-60 minutes before shelving.
2. Use caps or a clean, breathable inner case
Cap both ends. Dust is abrasive, and a scratched element scatters light permanently, so glass protection comes before humidity control in my routine.
Do not seal the lens barrel itself airtight while it is damp. The barrel needs to vent residual moisture, which is why you let it air out first and cap it only once it is dry. What you are sealing is the container, not the lens.
3. Choose a dry, airtight storage container
The container is doing the real work. A sealed box with a gasket, or a tub that closes without a gap, stops room air from cycling in and out. Dust, pests and humidity all stay out.
An unsealed bag is unsuitable for long-term storage. Padded camera bags are the worst option, because padded foam traps a pocket of still, humid, dark air around each barrel, which is close to the ideal growth environment. If a bag is all you have, treat it as a travel case and move the gear into something sealed when you get home.
This is where the sealed-versus-air argument usually gets tangled. Forum threads split into two camps: seal it, or give it light and air. Both are describing the same problem badly. Light does not kill spores, and air only helps when it is dry air. The controlled version of “air it out” is a dry cabinet, which lets air move through a sealed space while holding humidity at 40-50%. That is what the debate is actually about.
4. Add the right amount of desiccant and keep humidity stable
Desiccant does not kill spores. It pulls water out of the air inside the container, which removes the condition spores need to germinate. That is the whole mechanism.
Use enough to matter. A rough working figure is around 30 grams of silica gel for every 10 litres of container volume, and more in humid climates. Small consumer packets thrown into a case holding several lenses will saturate within weeks and then do nothing, which explains the forum reports of fungus growing directly beneath the gel packets.
Colour-indicating gel changes colour as it loads, so a glance tells you whether it is still working. Two-way humidity control packs both absorb and release moisture to hold a set level, around 45-49% RH, which suits a collection you want to leave alone.
Recharge saturated gel according to its instructions, usually a low oven or microwave cycle for the microwave-safe types. Once beads have gone fully pink rather than partly pink, replace them. Desiccant is a consumable, and treating it as one is the single most common storage mistake I see.
5. Store the lenses in a stable, moderate environment
Temperature is the quiet one. Warmth speeds spore growth, so a hot car, a boiler cupboard or a shelf above a radiator is worse than a cool closet, even if both look equally dry to you.
Avoid basements and any place where humidity swings day to night. Rapid changes drive condensation on the inside of the front element, which is a wet surface in a dark, still space. Choose somewhere with moving air, no direct sun, and no heat source, and keep it off the floor where damp floors collect.
For most people, an electronic dry cabinet solves all of this at once. Set it to 40-50% RH and it becomes a set-and-forget system. Size it so the shelves are not packed solid; gear needs air moving around it inside the cabinet. The one caveat is power: if it loses electricity and sits open, a loaded cabinet is a warm dark box.
6. Check stored lenses every few weeks
Put a monthly ten-minute inspection in your calendar. It catches problems while they are still a wipe-and-recharge fix rather than a professional job.
Check the hygrometer first, then the gel colour, then run a flashlight behind each front element in a dim room. A white flashlight held close to the glass will throw the shadows forward, and fungal hyphae show up as a spiderweb branching out from the edge of the element.
Watch for a musty smell when you open the container, persistent haze that does not clear with a breath, and spots that stay put when you tap the barrel lightly. Any of those means isolate that lens immediately. Do not put it back with the others.
Common Mistakes
Storing lenses damp is the number one failure. Everything else is a variation on putting wet gear into a dark, closed space.
- Leaving lenses in a padded camera bag. Foam is the opposite of dry storage. Move the gear into a sealed container or dry cabinet.
- Assuming the packets in the box are desiccant. They are sized for a shoebox, not a lens.
- Not replacing saturated gel. A blue-to-pink pack that stays pink has zero capacity left.
- Overusing silica gel. Piling loose crystals against a barrel blocks ventilation and can scratch a cap rim. Keep it in a breathable sachet or in a separate compartment.
- Baking lenses in sunlight. This one circulates widely and I would rather see it retired. UV can suppress surface growth, but hours of heat and intense light degrade helicoid grease, rubber gaskets, internal baffles and adhesives, and vintage lenses with balsam cement are especially vulnerable. You are trading a possible fungal reduction for certain mechanical damage.
- Cleaning fungus with the wrong liquid. Vinegar, bleach and household peroxide can strip coatings and leave permanent haze. Specialists do use hydrogen peroxide with immersion and controlled conditions; that is not a kitchen-table job.
- Ignoring early haze. It is always cheaper earlier.
Two more worth knowing. Fungus spreads, so isolate any suspect lens rather than living with it and checking later. And shipping or a long absence deserves its own routine: clean the glass, charge the gel, seal the container, then put the whole thing inside a larger plastic bag before it goes in the hold.
If fungus sits between internal elements, stop using the lens and send it to a technician. If it is only on an exterior element, it is usually a simple clean and your images will not be permanently affected once it is gone.
Frequently Asked Questions
How do I keep fungus out of my lenses?
Keep the four conditions fungus needs from lining up. Clean and fully dry the glass, cap both ends, seal the lens in an airtight container with enough colour-indicating silica gel to control the volume, and hold the internal air at 40-50% relative humidity. Store the container somewhere cool and stable, not a basement or car, and inspect the elements with a flashlight once a month.
Does silica gel prevent lens fungus?
Silica gel controls humidity, which removes one of the four conditions fungus needs, so it prevents growth rather than killing spores. That distinction matters: saturated gel stops working silently, which is why colour-indicating beads are worth the small extra cost. Give a lens roughly 30 grams per 10 litres of container volume and recharge or replace the gel as soon as it changes colour.
Can lens fungus permanently damage a lens?
The growth itself can be removed, but the etch marks cannot. Fungal acids leave permanent haze and frosting in the optical coating, so a cleaned lens usually returns to usable and may even sell, but contrast and flare performance rarely recover fully. That is the argument for prevention. Treat any spotting between internal elements as a service job rather than a wipe-down.
Should I store lenses with the caps on or off?
Caps on, once the glass is fully dry. Caps keep dust off the front and rear elements, and dust scratches are permanent. The caps are not what makes storage airtight, though, and leaving them off does not dry a damp barrel any faster. Air the lens out before you cap it, then let the sealed container do the humidity work.
What humidity level stops lens fungus?
Below about 60% relative humidity, and ideally in the 40-50% band, spores cannot germinate on glass. That band is where dry cabinets sit, and two-way humidity packs hold a similar target inside a sealed case. Do not chase 30% or lower: very dry air dries out helicoid grease and stiffens rubber gaskets and seals over time. Above 60-70% for three or more days is the range where problems start.
Is it safe to use a lens that has fungus?
Exterior-element fungus is usually safe to shoot with briefly and easy to clean, though it will affect contrast and can shed spores onto your camera body and other glass. Fungus between internal elements is different: stop using it and have a technician open the lens. Either way, isolate the lens until it is cleaned, because spores travel to bags, bodies and cabinets through contact.
How to Store Lenses to Prevent Fungus: Start With Dry, Sealed, Stable Storage
Start with the simplest version: clean the glass, let it dry completely, cap it, and seal it in an airtight container with desiccant sized to the volume. Check the hygrometer, not your assumptions, and look through the front element once a month.
One lens, ten minutes. Do that before 2026 turns into another closet statistic.