A press kit for a photo project is one shareable bundle of materials: a short project overview, a curated set of high-resolution images with captions and credit lines, a photographer bio, contact details, and any releases the pictures need. Building the first one takes an afternoon, and every version after that takes about half an hour.
The parts are simple. The work is in deciding what the project is actually about, choosing the eight to twelve images that carry it, and writing captions an editor can paste without rewriting.
One naming question comes up constantly, so it is worth settling first. Press kit, media kit and electronic press kit get used interchangeably, but they point at different things.
| Format | What it covers | Who uses it |
|---|---|---|
| Press kit | One project, exhibition, book or campaign, with the images and facts an editor needs to publish it | Journalists, editors, magazine art desks |
| Media kit | A person or a business: bio, headshots, client list, services, rates, audience numbers | Brand PR teams, booking agents, conference hosts |
| Electronic press kit (EPK) | Film or music: logline, cast and crew credits, screenings, awards, trailers, downloads | Festival programmers, distributors, reviewers |
For a photo project you can borrow from all three. Send a short PDF as the press kit, keep a shared folder of press-ready images behind a link inside it, and leave your commercial rates and services list for the reply after they come back to you.
Table of Contents
- What You Need
- Step-by-Step: How to Prepare a Press Kit for a Photo Project
- Common Mistakes
- Frequently Asked Questions
- What is the difference between a media kit and a press kit?
- How long should a photo project press kit be?
- What size and format should press images be?
- Do I need model or property releases for editorial photos?
- Should I send a PDF, a web page or a shared folder?
- How do I pitch a photo project without following up five times?
- Conclusion
What You Need
Gather these before you open a design file. The order you collect them in hardly matters, as long as everything ends up in one folder you can actually search.
- Project context. Title, the year the work was made, where it was shot, why it exists and what it documents. Three to five sentences is plenty.
- Hero images and a gallery selection. One image for the cover, then eight to twelve that read as a series rather than as twelve separate pictures.
- Image metadata. For every file: a short title, the location, the date, and a one or two line caption.
- Photographer information. A 60-word bio, a longer version, a headshot, and the city you work from.
- Credits. Client, producer, stylist, retoucher, gallery, and anyone whose name belongs in the frame.
- Releases. Model, property and IP releases for any recognisable person, private interior or piece of artwork.
- Usage rights summary. One short paragraph on what an editor may do with the images, and for how long.
- Delivery setup. A folder on Google Drive or Dropbox with permissions set, plus a file-naming convention you apply before you send anything.
Press-ready images are not your Instagram exports. These are the specifications most editorial desks actually work with, and sending exactly these saves everyone a round trip.
| Destination | Long edge | Colour space | Format | Target file size |
|---|---|---|---|---|
| Magazine or newspaper print | 3000 px or larger | Adobe RGB for print, sRGB for screen proofs | JPEG at maximum quality | Around 10 MB |
| Online article | 2000 to 3000 px | sRGB | JPEG | Under 5 MB |
| Social and promotion | 1600 px square, 1080 px vertical, 1920 px horizontal | sRGB | JPEG, PNG for cut-outs | Under 2 MB |
In Photoshop the Image Size dialog is where you check this. In Lightroom, use the export panel with sRGB ticked and a long-edge limit set. Export at least three crop orientations for each hero image so a designer is not trimming your composition in a hurry on deadline.
For the document itself, InDesign gives you full control over a print-quality PDF, Canva is quicker when the project is simple, and Notion works well when you would rather keep the kit as a web page you can update without re-exporting anything.
Step-by-Step: How to Prepare a Press Kit for a Photo Project
1. Define the project’s press angle
Before touching images, write one sentence answering a single question: why would an editor run this? Not what the project is about, but why it belongs in their publication now.
That sentence becomes your pitch, your cover subtitle and the first line of the email. It also filters everything else, because an image that does not support that sentence probably does not need to be in the kit.
Write the sentence, then add three supporting facts. Dates, numbers and places are what an editor can turn into a line of copy without inventing anything. A project shot across four winter months at a working container terminal gives an editor a shape; a project described as personal work on labour does not.
A useful test: read your sentence to someone who has never seen the photographs. If they cannot say who it is for, the angle is still too broad.
2. Select and prepare the strongest images
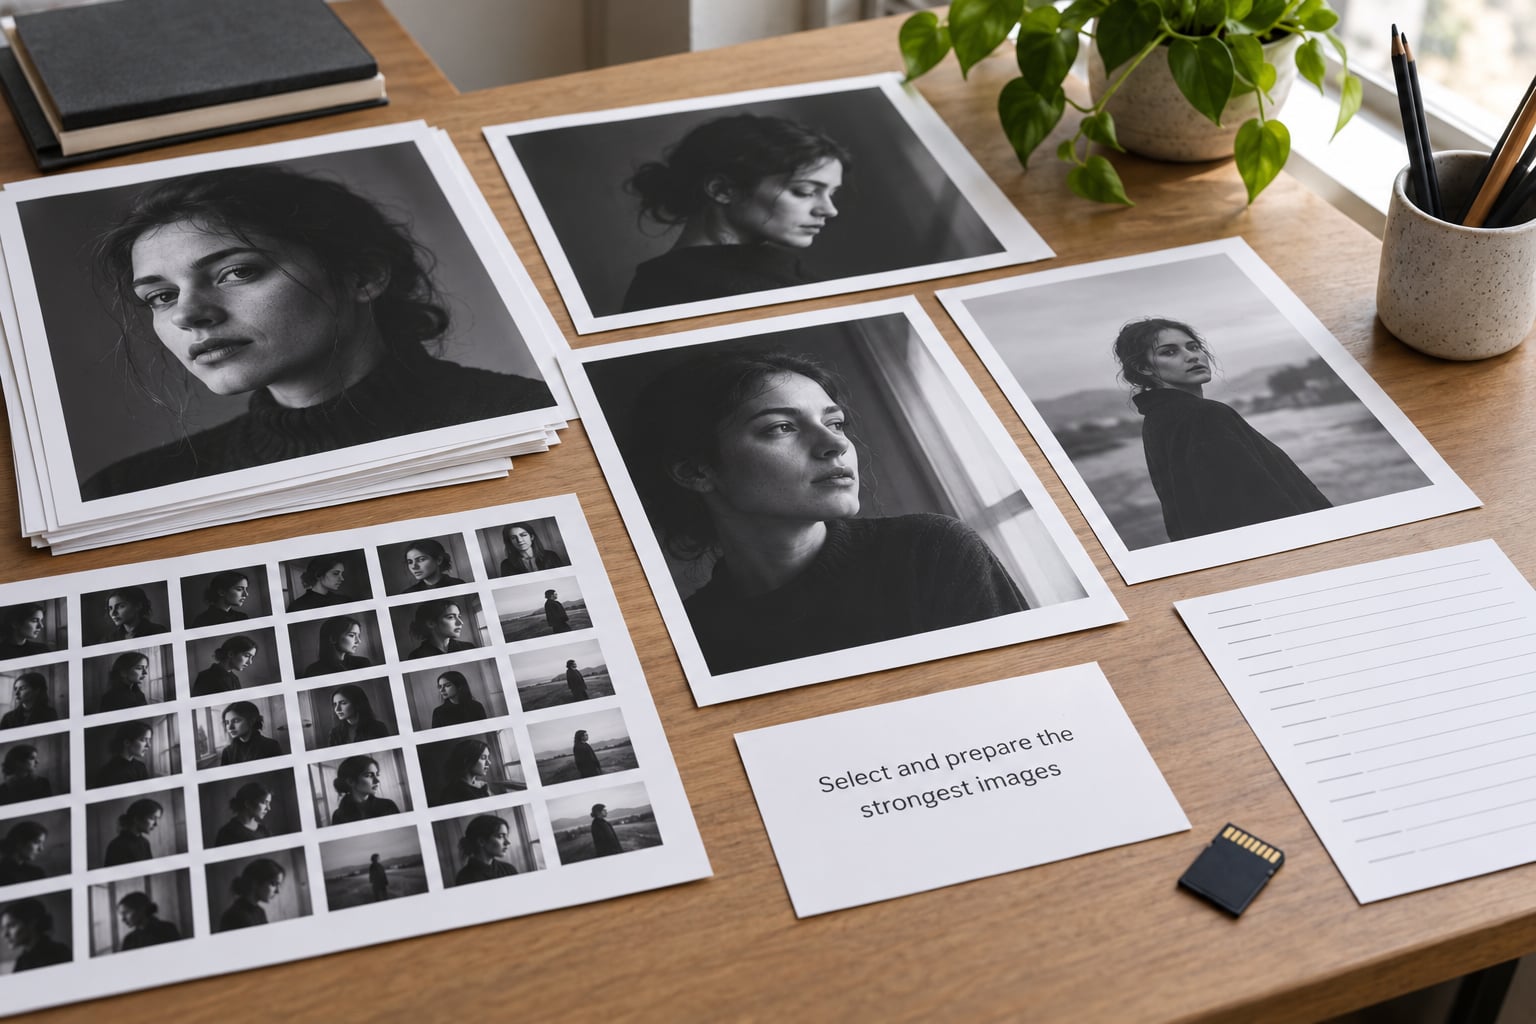
Choose the images the way you would edit a short sequence, not the way you would fill a folder. Eight to twelve frames is the working range: enough to show range, few enough that an editor can scan them in under a minute.
One frame should carry the project on its own. That is your hero image, and it goes on the cover and in the first slot of the folder, named so it sorts first. The rest should include at least one wide frame for a header, one vertical for mobile, and one detail shot that shows the work up close.
Every image needs a caption and a credit line before it leaves your computer. Here is the format I use, with the filled-in version underneath:
Caption format: [Full Name], [short descriptive title], [location], [month and year]. [One sentence of context about what the frame shows or why it matters to the series.]
Example: Marta Ivers, Dock Shift, Aarhus container terminal, October 2026. A crane operator waits for the first move of the morning shift, the start of a series made over four months of early starts.
Credit line format: Photograph by [Photographer Name]
Keep captions to two sentences at most. Editors cut them down anyway, and a caption that already fits under a headline saves them the work.
3. Write concise project and photographer copy
You need three pieces of text, written fresh rather than lifted from your website. A project synopsis of about 120 words that says what the work is, how it was made and what it documents. A photographer biography in two lengths, roughly 60 words and roughly 200, so a caption fits the short one and a features page fits the long one. And five or six short answers to the questions editors always ask: where the series came from, how long it took, what camera and process you used, what is planned next, and who to contact about prints or licensing.
Write the synopsis in plain sentences. If a sentence would need simplifying before an editor could read it aloud, simplify it now.
Include the practical details in the same place, not scattered through the document: exhibition dates and venue, publication or campaign details, awards, and any previous coverage with working links. Real dates and real links are the fastest way to look like a finished project rather than an idea.
4. Organize the press kit structure
Order the kit the way an editor works under deadline: what is this, show me the pictures, who took them, what do I need to know, how do I reach you. Six pages is the target, and each page does one job.
- Cover. Project title, hero image, your name, the year, and one line on what the project is.
- Project story. The synopsis, the context, the places and dates, and what comes next.
- Gallery. Four to six images across two pages with captions and credit lines printed underneath, not collected in a list at the end.
- Photographer. The long bio, a headshot, and a short client or publication list.
- Credits and releases. Everyone who contributed, plus a short usage rights note and a confirmation of which releases are on file.
- Contact. Email, phone, website, studio address, and the link to the high-resolution folder.
If a page does not serve one of those six jobs, cut it. A rate sheet, a services page and a paragraph about your equipment belong in a separate document you send after interest, not in the kit itself.
5. Design a readable, branded PDF
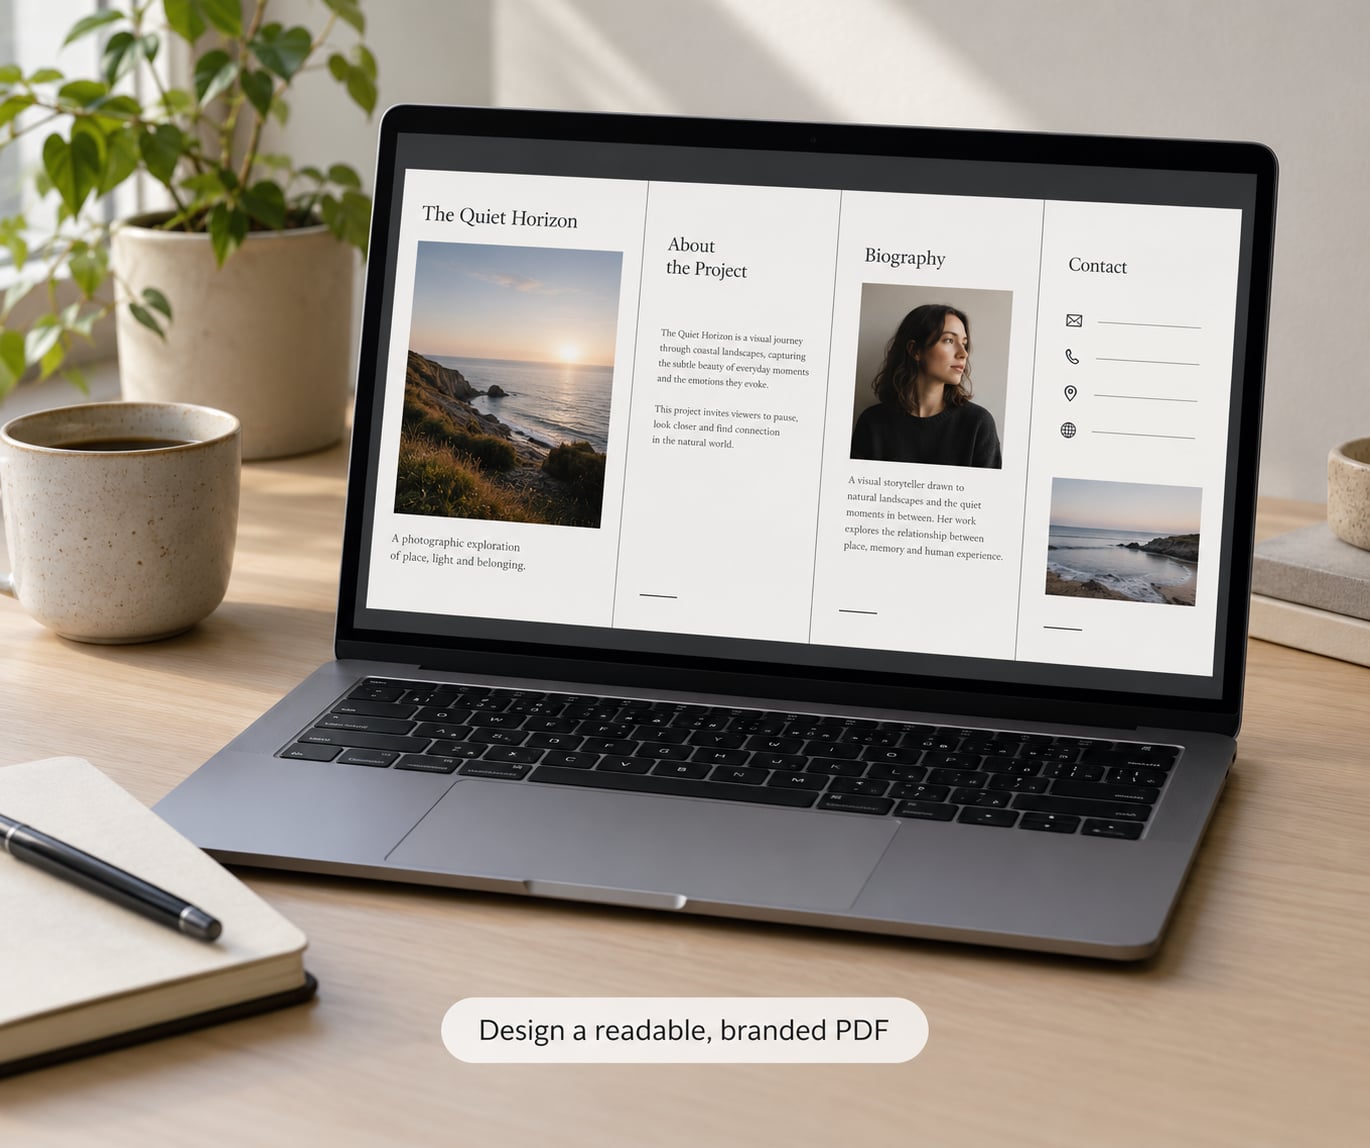
The design job is restraint. One typeface in two sizes, generous margins, images given room to breathe, and captions set smaller but never below a readable point size. White space costs you nothing and makes the photographs look better than any template decoration will.
Keep the photographer’s identity consistent with the project itself, but do not reprint the project’s web page as a PDF. A press kit is read once, quickly, and often on a phone in a train.
Practical details that matter more than the visuals: page numbers, real text rather than flattened images so the file is searchable, live links for the folder and contact details, and a file size that still opens on a weak connection. Under 10 MB for the whole document is a sensible ceiling.
6. Fact-check and export delivery files
The last hour before sending should go entirely on checking. Read every name, date, location and number in the document against your project records, not from memory. Editors publish names correctly when they are correct the first time, and a typo in a credit line is the kind of thing that gets remembered.
Then confirm the delivery folder matches the document. Apply a naming convention such as project name, image number, orientation, so files sort into a sensible order: AARHUS_DOCK_01_HORIZONTAL.jpg. Check that the link opens in a logged-out browser window, since that is how an editor on a newsroom network will see it.
Verify that every image in the folder has its matching caption, that the file size and resolution match the specification table, and that permissions allow viewing without requesting access. An editor who hits a request form at 6 pm on deadline will simply move on to the next story.
Keep the releases with the project files and note which images they cover, so a follow-up question about a specific frame can be answered in one sentence rather than a week.
7. Distribute the kit with a tailored message
Distribution decides whether the kit gets opened. Send the press kit alongside a short press release, never on its own, and keep the email to a few sentences that make clear why this project suits one specific publication.
A pitch that works has four parts: the hook sentence from step one, one or two concrete details that show you know the publication, the link to the kit, and one specific ask. Something like: images available immediately, an interview on the terminal if useful, print enquiries welcome.
Offer a couple of dates rather than asking for a call with no reason attached. Attach nothing heavier than a few megabytes; link the PDF and the folder so an editor can pass them to an art desk without hitting a download limit.
Send to a handful of relevant names rather than a broad list, follow up once after about a week with a single line, and log who you sent it to. The same kit will be reused for an exhibition application, a book publisher and a grant panel, so keep your distribution list as a file next to the kit.
Common Mistakes
These six come up again and again, and each has a straightforward correction.
- Sending fifty images. An editor opening a folder of fifty files stops looking. Cut to twelve and let the full archive be a separate request.
- No captions or credit lines. Images without metadata get set aside, because writing them costs the desk time. Include a caption under every image and a ready credit line.
- A PDF larger than 20 MB. Heavy files get dropped on slow connections. Compress the images inside the document and link the high-resolution originals separately.
- Missing releases. If any recognisable person, private interior or artwork appears, attach the release or say plainly that it is on file. This is where placements get pulled.
- Mixing the kit with the services and rates sheet. Mixing the two makes the project look like a sales pitch. Send commercial details after interest, as a separate document.
- A link that asks for permission. Test the folder link in a logged-out browser before every send. Access requests are the quietest way a press kit dies.
One more habit worth building: date the file and version it. When an editor comes back four months later about an exhibition, you want to know which version of the caption they were reading.
Frequently Asked Questions
What is the difference between a media kit and a press kit?
A press kit is scoped to one project and carries the images, captions, dates and releases an editor needs to publish that work. A media kit is scoped to you or your business and carries bio, headshots, client list, services and rates for booking and partnerships. Photographers usually need the press kit for coverage and the media kit for paid work, and they should never be the same document.
How long should a photo project press kit be?
Six pages is the working target for a photo project: cover, project story, gallery, photographer, credits and releases, contact. A one-page project summary works for a small campaign or a newsletter. Length matters less than order, because an editor opens the kit under deadline and scans for images, captions and a way to reach you before reading anything else.
What size and format should press images be?
Send 3000 px on the long edge for print, 2000 to 3000 px in sRGB for online use, and 1600 px square, 1080 px vertical or 1920 px horizontal versions for promotion. JPEG at maximum quality suits editorial delivery; PNG only when a designer needs a cut-out. Keep the whole press kit PDF under about 10 MB and each image file under 5 MB for screen use.
Do I need model or property releases for editorial photos?
You need releases for recognisable people and for recognisable private property, and it is the photographer’s job to confirm the signed paperwork before offering images to an editor. Editorial use is treated more loosely than commercial advertising in many jurisdictions, but it is not a free pass. Keep signed releases with the project files and state in the kit which images they cover.
Should I send a PDF, a web page or a shared folder?
Send a PDF as the kit itself and link a shared folder for the high-resolution files, because the PDF is what gets read, passed around and attached to a story, while the folder is what gets downloaded at full size. Set the folder to view-only for anyone with the link, test it in a logged-out browser, and keep your canonical copy somewhere you control so you can retire the link later.
How do I pitch a photo project without following up five times?
Send the press kit with a short press release rather than alone, keep the email to a few sentences, and name the specific reason your project suits that publication. Offer two dates, an interview, and print enquiries instead of a vague call request. Follow up once after about a week with a single line, then stop. Two or three well-targeted pitches beat a list of fifty contacts.
Conclusion
Preparing a press kit for a photo project comes down to three things: one clear sentence about why the work matters now, a small set of images that carry the project with captions and credit lines already written, and a link that opens without a password. Build those, keep the document to about six pages, and the same kit will serve a magazine, an exhibition application and a grant panel.
Start with the sentence and the image selection. The layout takes an hour once those two are done.