You can light a shoot alone without help by replacing the three things an assistant normally does: holding the light, aiming it, and triggering the camera. A weighted light stand does the holding, a clamp-mounted reflector or V-flat does the aiming and shaping, and a remote release, intervalometer or Wi-Fi monitor app does the triggering. In this guide, lighting a shoot means controlling the quality and direction of light on your subject, not just raising the room brightness. Most solo setups go up in about fifteen minutes once you have a repeatable routine, and the first shoot is usually the slow one.
That last point matters more than gear. Solo shooters rarely struggle because they lack equipment. They struggle because there is no second person to reach up and nudge a softbox half a foot closer to the subject while the light falls off and the shadows go crunchy.
Table of Contents
- What You Need
- Step-by-Step: How to Light a Shoot Alone Without Help
- 1. Plan one setup: how to light a shoot alone without help starts here
- 2. Prepare the space before the subject arrives
- 3. Set exposure remotely and confirm it without touching the camera
- 4. Make a test shot and check the light before the real frame
- 5. Adjust the setup in small moves
- 6. Direct the subject while holding the composition
- 7. Capture variations without rebuilding the scene
- 8. Finish with a safety and consistency check
- Common Mistakes
- Frequently Asked Questions
- Can I shoot a portrait alone with just one light?
- How do I check exposure when I am away from the camera?
- What is the easiest lighting setup for a solo photographer?
- Do I need a light meter to light a shoot alone?
- How can I create different looks without adding more lights?
- Is it safe to use studio lights without an assistant?
- What to Do First
What You Need
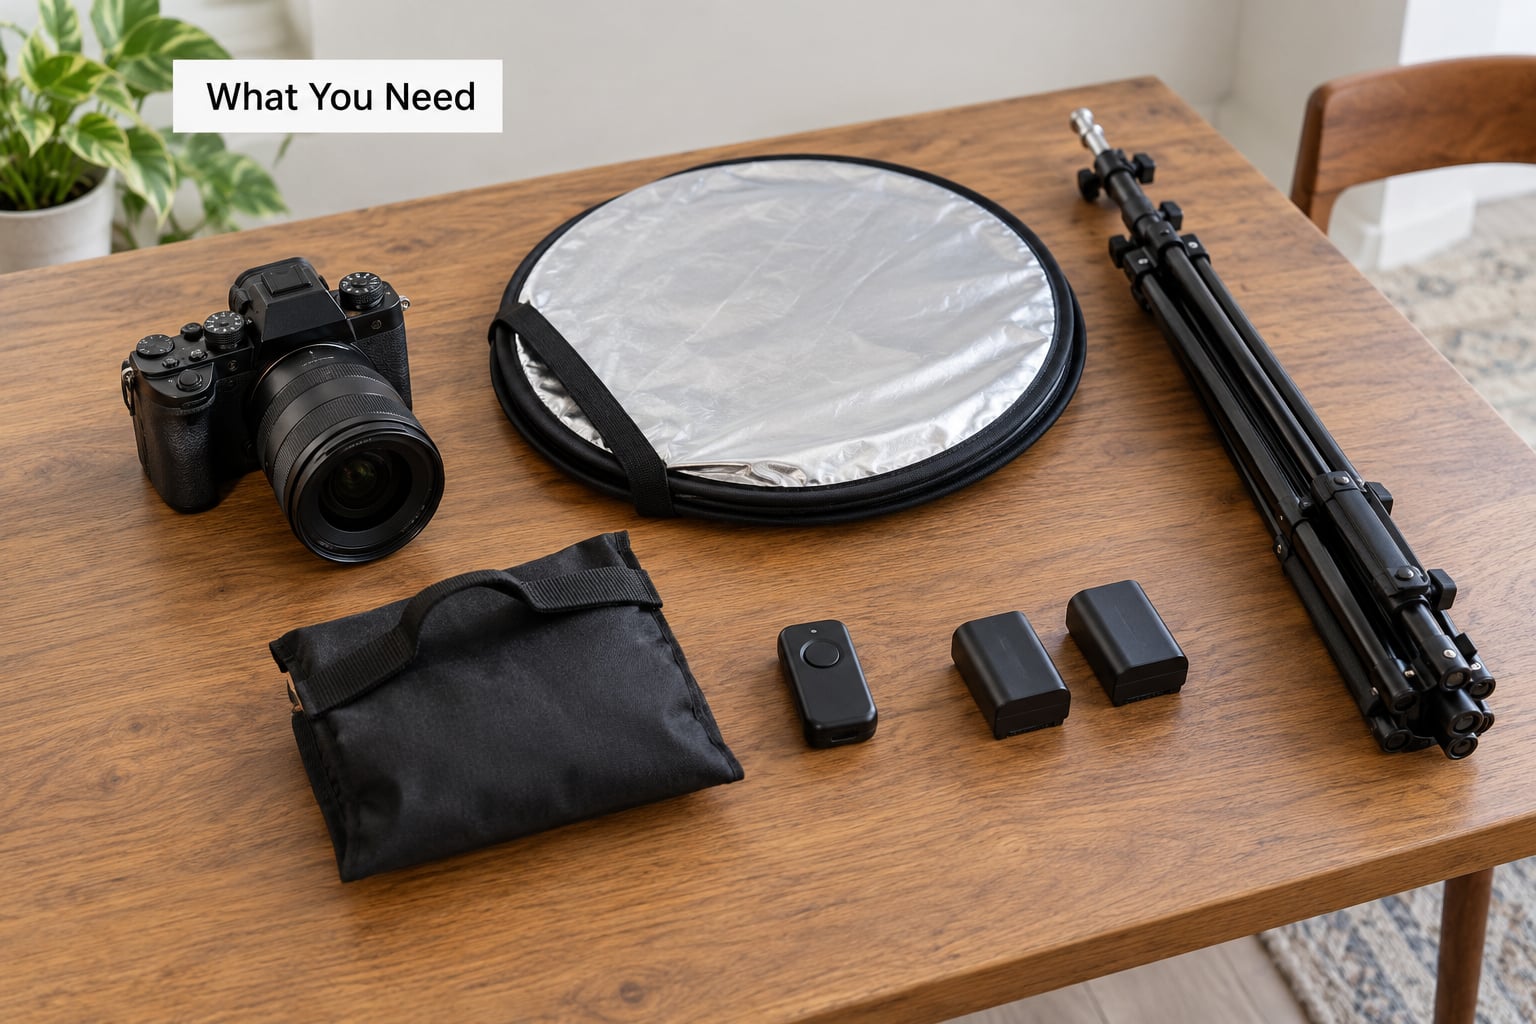
The required kit is short. Everything else is an upgrade you can live without for months.
Required to shoot alone:
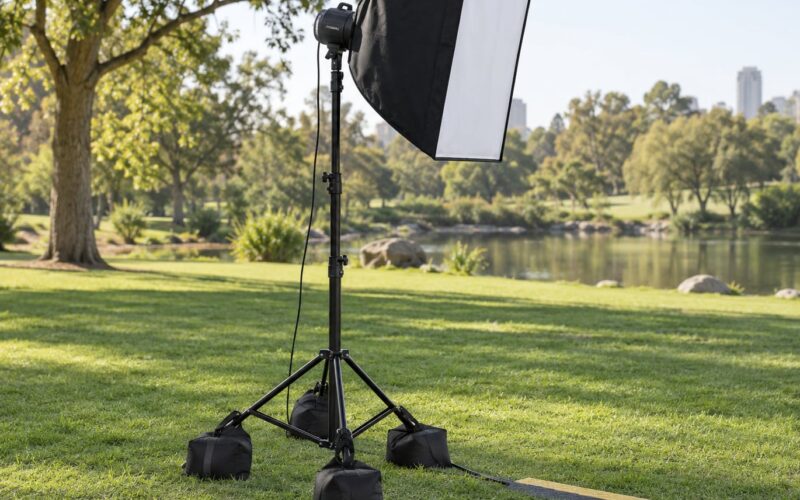
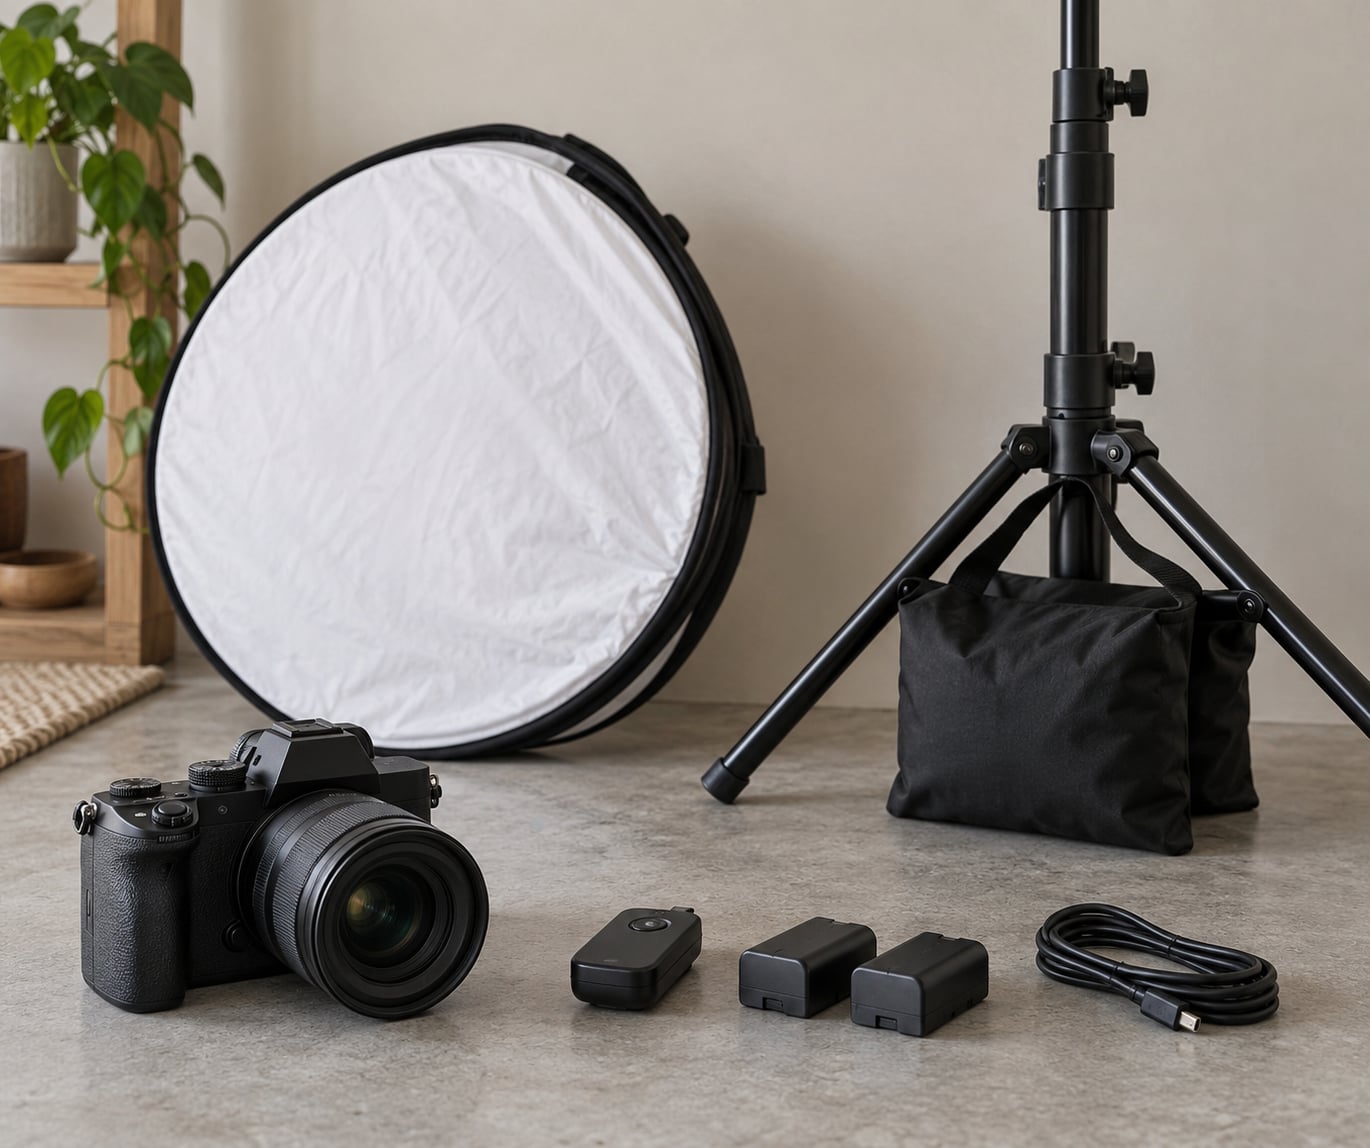
- A light stand with a base heavy enough for the modifier you are putting on it. Air-collapsible lightweight stands are fine indoors and a liability outdoors.
- A weight for the stand. A single filled sandbag works; two is safer once a modifier is attached and you are outside.
- A remote release, intervalometer, or the camera’s built-in Wi-Fi app with shutter control.
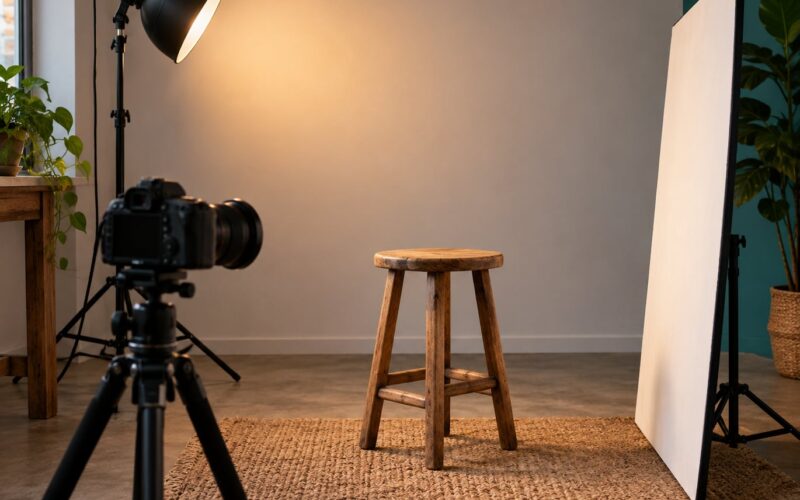
- A tripod if the light is off-camera. Without one, the light and the camera fight for the same position.
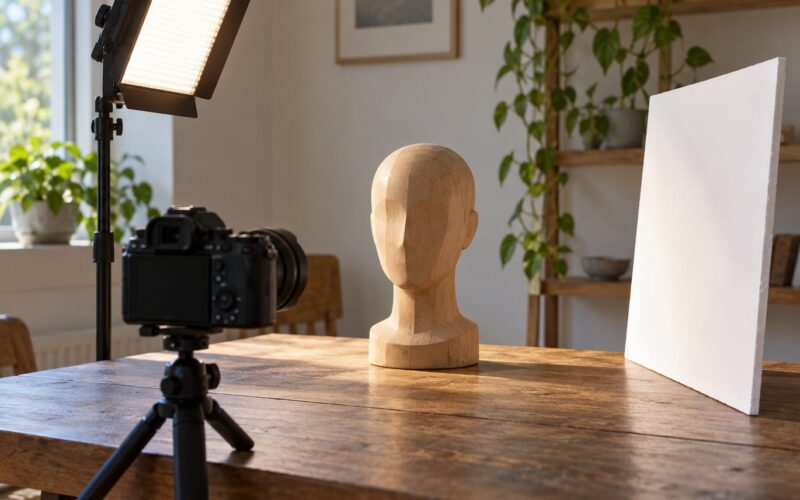
- A reflector or a piece of white foam board that can be propped, clamped or leaned somewhere stable.
- Spare batteries and a way to charge them before you leave, not during.
Useful but not required:
- A modelling light on your flash or strobe, which shows you the direction of the light before you fire.
- A grid or snoot on the flash head so you can aim precisely without spilling onto the background.
- Clamps that hold a reflector or V-flat to a stand without a second pair of hands.
- A collapsible reflector disc for groups or for a subject who can hold it during the wide frame.
- A small light meter, though it is genuinely optional. Learn one combination of ISO, aperture and flash power per light source and reuse it.
Leave out anything that needs two people to assemble, or that you would have to walk twice to set up. Every extra modifier is another thing to carry and another thing that can drift.
Step-by-Step: How to Light a Shoot Alone Without Help
1. Plan one setup: how to light a shoot alone without help starts here
Choose a single primary light and one modifier, then commit to it for the whole session. Pick the look first, then the gear that produces it, then the location that supports it. Trying to design a new setup per shot is what turns a twenty-minute session into an hour of standing around.
Decide before you pack whether you are shooting indoors or outdoors, because that changes the stand weight, the modifier, and the battery plan. Know your fastest reset: if the setup takes more than ten minutes to break down and rebuild, simplify it until it takes less.
2. Prepare the space before the subject arrives
Set the whole scene first, alone, then call the subject in. Clear anything behind and beside them that will show up in the background. Close curtains or blinds to control ambient light, or open them deliberately if you want the window as your key.
Position the stand, then place the tripod where your feet will be, then look through the camera and mark that spot with tape. Secure cables along the floor or run them behind the stand base rather than across the walking path. You want to be able to move freely around the setup without tripping on your own gear.
3. Set exposure remotely and confirm it without touching the camera
Put the camera on the tripod and drive it from a distance. Set manual exposure for the ambient conditions, then set your flash or panel output for the key. The remote release lets you trigger a test frame from where the light is, so you can see the shadow edge and fix it before walking back.
If you own no remote at all, the camera’s built-in intervalometer works: two seconds of delay gives you time to get your hand off the camera, and a ten-shot burst gives you options. It is slower than a proper remote, but it keeps you out of the frame. A speedlight’s own optical slave receiver can also fire from a test button on a stand out of frame, which is a workable shortcut for a still subject.
4. Make a test shot and check the light before the real frame
Fire a test, review it at full size, and read four things: the histogram for clipped highlights or crushed shadows, the catchlight to confirm the light is where you think it is, the shadow edge to judge how soft the source is, and the background to see whether the light is spilling where it should not.
Work from the histogram rather than the camera’s rear screen brightness, which lies badly in daylight. A blown cheek in bright sun can look fine on the LCD and lose every bit of skin texture once you open the file on a proper monitor.
Check the background last, but check it. A rim light that separates a subject from the wall can also put a bright halo on the wall behind them.
5. Adjust the setup in small moves
When the test is wrong, make one change and re-shoot rather than three. Light falls off with distance, so moving a source closer changes softness and intensity together, which is a big jump. Rotating a light a few degrees changes the shape of the shadow without much else.
Keep a baseline. Note the working settings for that light and that distance, then return to them after every experiment. Solo shooting loses time in small ways, and re-deriving your settings from scratch between every frame is the biggest one.
6. Direct the subject while holding the composition
Ask for a change, fire a test, walk back and check. That loop is slower than giving instructions live, so batch your direction: ask for the pose, the head angle and the expression in one go, then take several frames before moving them again.
Give direction in terms they can act on rather than camera terms. Instead of “turn your chin toward the light”, say “look toward the window and bring your shoulder toward me”. Small movements and short holds work well here because you cannot reach in and adjust them yourself.
7. Capture variations without rebuilding the scene
Build variety out of pose, framing, background and small light moves, not out of more equipment. Change which side of the frame the subject stands on, tighten from a half-body to a head-and-shoulders crop, drop the background exposure a stop or two, and swap a silver reflector for white to shift the contrast.
Ask the subject to hold the reflector themselves for a wider frame if they want to be involved. It looks natural, it fills the shadow side, and once the portrait tightens the reflector leaves the frame anyway. That trick covers the one job a helper does that gear cannot.
8. Finish with a safety and consistency check
Before you call it, confirm the stands are weighted and the modifiers are secure, cables are out of walkways, and there is nothing overhead that a gust could bring down. Outdoors, a stand in wind is the top injury and gear-loss risk in a solo shoot, and a lighter stand should come down if the wind picks up rather than be fought.
Confirm your final settings match the look you settled on, that cards and batteries are accounted for, and that you know the exact order you will pack down in. Pack down in reverse of build. It is faster at midnight than searching the bag for the charger.
Common Mistakes
Almost every solo lighting failure comes from one of these seven.
- The light is too far away. A source at six or eight feet is a different light from the same head at three feet, softer in one direction and harder in another. When in doubt, move it closer and drop the power.
- Checking exposure only on the rear screen. Harsh sun makes the LCD optimistic. Read the histogram and check a file on a real monitor before you commit to a look.
- Underexposing shadows. Lifting shadows in post on a solo shoot reads as grey mush, because you have no second light to recover them with. Fix the ratio at the set instead: reflector closer, or the flash nearer the axis.
- Cable spaghetti. Cables crossing the shooting area will be stepped on, and a stepped-on cable is a dropped modifier mid-frame. Tape them down or route them behind the stand.
- Drifting settings. Every tweak without a written baseline means re-solving the exposure each time. Write the settings down before you start.
- Adding lights. A second and third head multiplies the number of trips to the stands. One light plus a reflector covers nearly every solo portrait until the session goes long.
- Leaning the reflector on something unstable. A reflector propped on a chair or a bin moves the moment the subject shifts. Clamp it, put it on a stand foot, or have the subject hold it.
One honest limitation: a real assistant is genuinely faster. They can adjust an angle while you keep shooting, and you can skip the extra stand weight because a person holds the weight. If a client can pay for a gaffer for the hero shots of a commercial day, that is a better use of the budget than another light. For everything else, the stand-and-reflector system holds up.
Frequently Asked Questions
Can I shoot a portrait alone with just one light?
Yes. One light plus a reflector covers most solo portrait work. Put the source at roughly 45 degrees to the subject, place the reflector on the shadow side slightly closer to camera than the light is to the subject, and check the ratio on a test frame. You are trading fine shading on the far cheek for speed, and most portraits do not need that shading.
How do I check exposure when I am away from the camera?
Trigger a test frame remotely and review it at full size, or check the histogram and highlights on the camera from where you are standing. A Wi-Fi monitoring app that shows a live or delayed feed on your phone is the easiest version of this. For speedlights, a modelling light lets you judge brightness and direction before you fire at all.
What is the easiest lighting setup for a solo photographer?
One continuous panel or a single flash head on a weighted stand, placed at about 45 degrees and slightly above eye level, with a white reflector opposite. Continuous light is the fastest to learn alone because you can see where the light is pointing and how bright it is before taking a photo. It also travels without a trigger or a separate battery pack.
Do I need a light meter to light a shoot alone?
No. A meter is a shortcut, not a requirement. Pick one light source, find the aperture, ISO and flash power combination that works at your usual shooting distance, and write it down. Reusing a known combination is faster alone than metering every time, and it removes the walk from subject to camera to subject.
How can I create different looks without adding more lights?
Move the subject, not the gear. Shift which side they stand on, change the crop from half-body to head-and-shoulders, drop the background a stop or two, swap silver reflector for white or gold to change contrast and warmth, and reposition the light closer or further for a softer or harder shadow. Those four moves give you several distinct looks from one setup.
Is it safe to use studio lights without an assistant?
It is, with the right base. Weight the stand, use a modifier rated for the head, sandbag it outdoors, and keep cables out of walkways. Wind is the real risk on an open location: a lightweight stand should come down rather than be braced by one person. Strobe and modelling lights also need good ventilation and clearance from fabric.
What to Do First
Pick the shoot you will do next and set it up once, completely, with nobody in the frame. Weight the stand, place the reflector, lock the settings on a written baseline, and take five test frames from across the room. Do that before you need it, and the next time you are alone the setup is already solved. Everything else on this list is refinement on top of a stand that stays upright and a shutter you can fire without walking back to the camera.