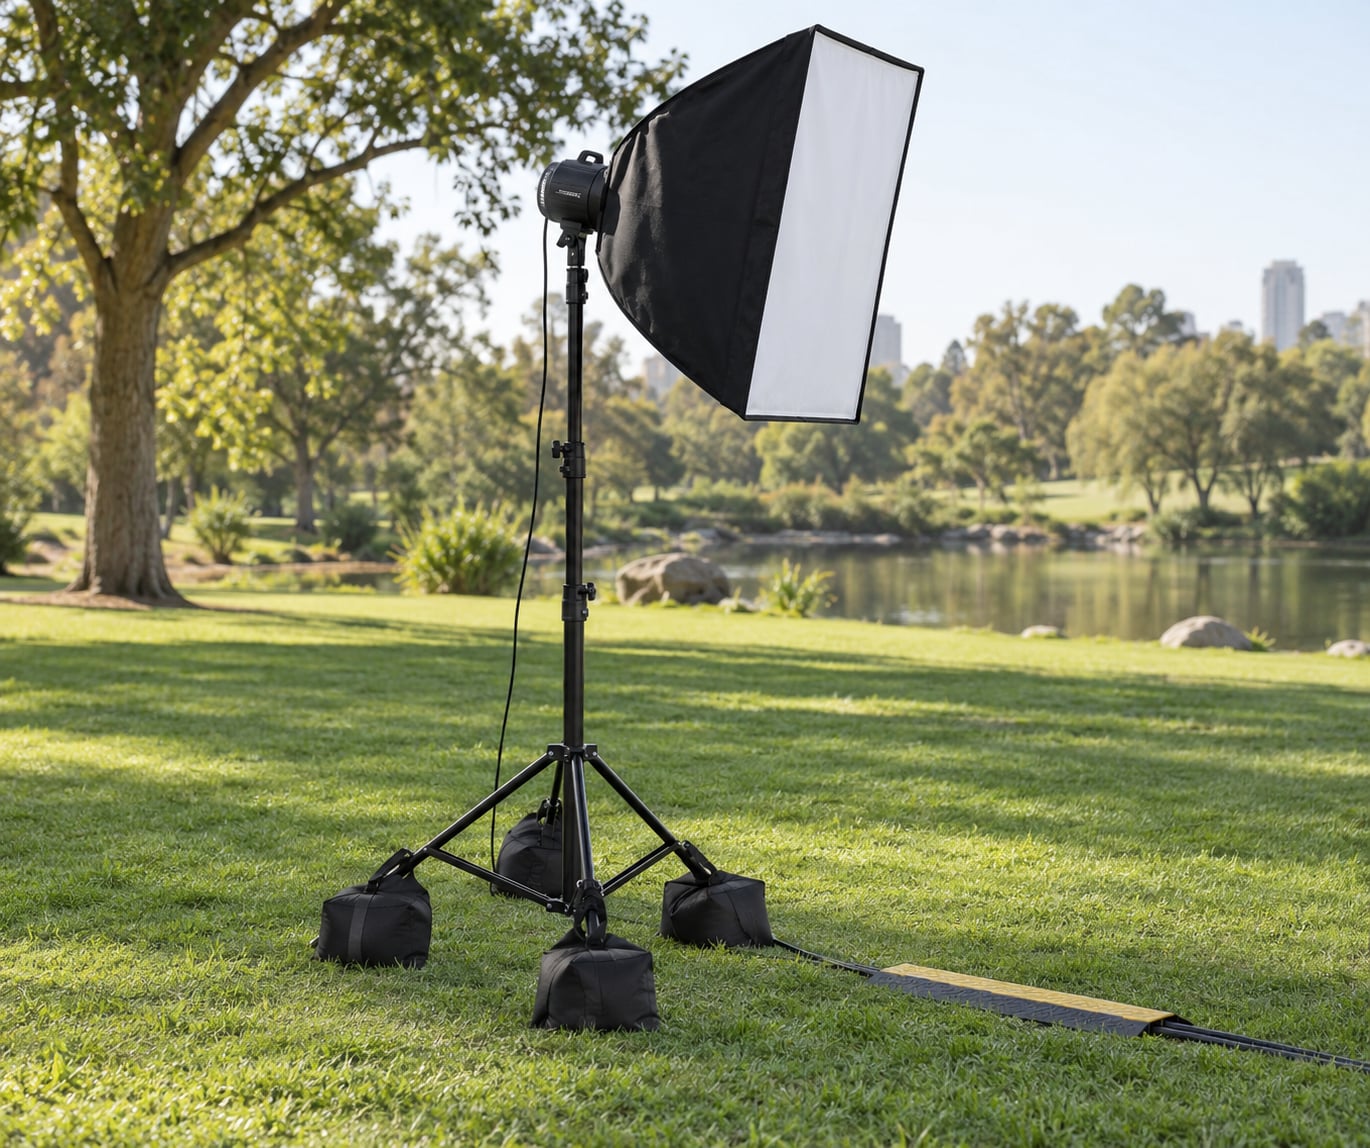
Using a light stand safely outdoors comes down to four things: ballast the base, anchor into stable ground, keep the wind load low, and never leave the rig unattended when the weather turns. A stand on open ground is a sail with an expensive light on top, and the wind speed that tips it over is usually much lower than people expect.
The physics is the reason this guide exists. It takes remarkably little wind to tip a stand carrying a softbox or an umbrella, and the higher the rig goes, the less wind it takes and the harder that light hits the ground when it comes down. Most safety advice stops at “add sandbags.” This one covers the ground, the cables, the bystanders and the moment you decide to stop shooting.
Budget about fifteen minutes of setup for the checks below once you have done them a few times. Most of it happens before you unload the car.
Table of Contents
- What You Need
- How to Use a Light Stand Safely Outdoors: Step-by-Step
- 1. Inspect the Site Before Unloading Equipment
- 2. Choose the Right Stand and Base
- 3. Assemble the Stand on Stable Ground
- 4. Add Ballast and Secure the Equipment
- 5. Raise and Position the Light Safely
- 6. Manage Wind, Rain, and Changing Conditions
- 7. Route Power Cables Safely
- 8. Test, Monitor, and Break Down the Setup
- Common Mistakes
- Frequently Asked Questions
- How much weight should I put on a light stand outdoors?
- Do light stands need sandbags in every weather condition?
- What wind speed is too high to use a light stand outside?
- Can I set a light stand on grass, sand, or uneven ground?
- How should I secure power cables across an outdoor shoot?
- When should I take down an outdoor light stand?
- Use It Safely, Not Just Quicker
What You Need
Most outdoor light stand trouble comes from arriving with half the kit. Build a small safety bag you keep packed, and check it against this list before every location shoot.
- The stand itself. Match its load capacity to the light plus the modifier, not the light alone. A 10 kg light inside a 4 kg softbox needs a stand rated well above 14 kg.
- Ballast. Two sandbags per stand is the practical minimum for open ground, and a third helps in anything above a light breeze. Purpose-made filled bags with a hook loop beat loose sand.
- A suitable base. A wide three-leg turtle base or a heavy flat base gives you a wider footprint radius than the narrow folding legs on a small stand.
- A spigot and baby pin wrench. The 5/8 inch baby pin connection is what keeps a light or modifier from rotating off the stand, and the little thumb screw is the one people forget to tighten.
- Rated extension cords and outdoor power. Outdoor-rated, correctly sized for the load, with weather-resistant connections.
- Cable covers or heavy gaffer tape. Both for taping cords flat and for keeping a tripod leg out of a walkway.
- Weather protection. Rain covers for lights and heads, a spare dry cloth, and a way to keep sand out of open vents.
- A small safety kit. Ground stakes for soft ground, a ratchet strap or thin steel cable for a redundant tie-off, a wind meter app on your phone, and a headlamp for packing down after dark.
A soft-sided bag for all of that beats a hard case in the car. Grip gear gets carried, not wheeled, and a box you cannot get out quickly is a box you leave at the car.
How to Use a Light Stand Safely Outdoors: Step-by-Step
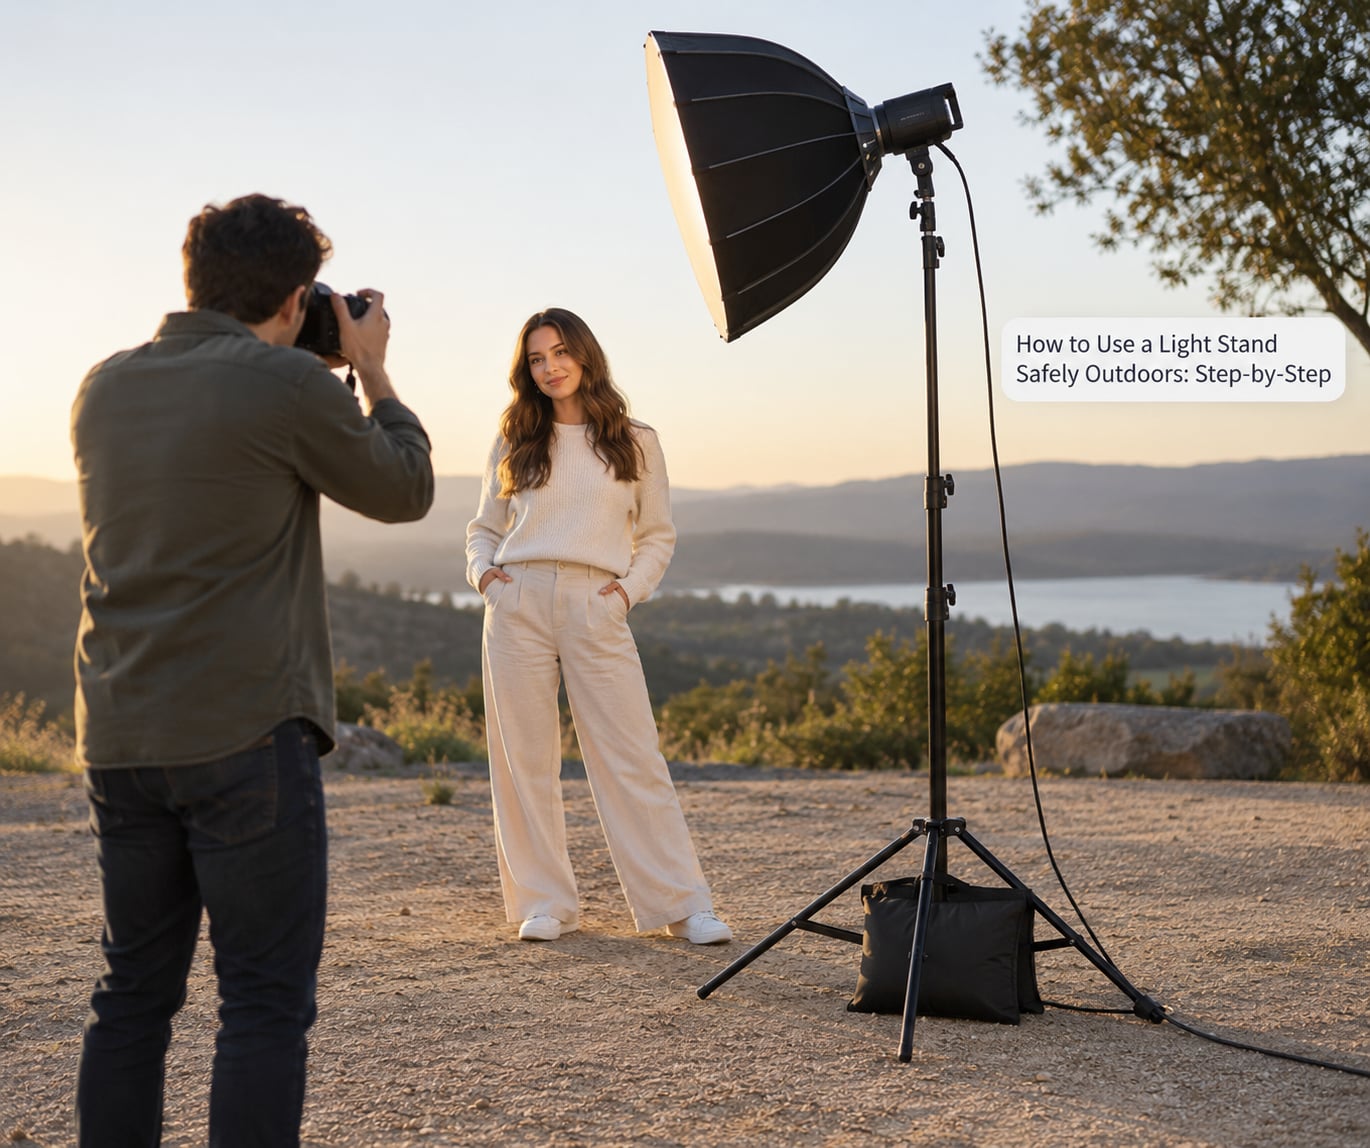
Work through these eight steps in order. Each one is quick on its own, and together they are the difference between a controlled rig and a piece of equipment in a ditch.
1. Inspect the Site Before Unloading Equipment
Walk the location first, with the car still closed. Check the wind at head height rather than at your face, watch where the gusts come from, and note any slope, soft ground, frost heave or loose gravel. Look overhead for power lines and low branches, and identify where people actually walk so you can keep cables and legs out of those lines.
Pull up a wind forecast for the shoot window on your phone before you leave, not after you are already set up. If the forecast shows gusts, plan to shoot lower rather than planning to out-muscle them.
2. Choose the Right Stand and Base
Stand height, base width, material and the weight of the stand all decide how much wind it takes to tip. Taller stands have a longer lever arm, so the sideways push from the wind acts further out from the ground and needs far less wind to overcome the base weight. A light aluminium stand raised to three metres with a softbox on top is dramatically less stable than the same rig at chest height, even if the base is identical.
Static load ratings describe a still, indoor load. Outdoor wind is a dynamic load, and treating the printed rating as an outdoor safe load is the most common mistake there is. If you must go high or wide, use a heavier stand with a wider base and add ballast rather than trusting the number on the collar.
3. Assemble the Stand on Stable Ground
Set the legs down first on level, firm ground, then open them fully so the stand reaches its maximum footprint radius before you add any weight. Half-spread legs halve the stability of the whole rig. Lock every section with its actual locking screw or lever, and check the feet: rubber tips on hard surface, spikes into soft ground.
On uneven ground, level the base rather than tilting the whole stand. One leg sitting lower than the others pushes the column off vertical, which means the light leans away from the axis the base was designed to support. Pack it out with a folded pauldron, a closed rain cover or a flat rock so the foot bears weight properly, without creating a trip bar.
4. Add Ballast and Secure the Equipment
Hang sandbags on the legs, not on the spigot or the arm. The lowest sensible points on the base give the most restoring force per kilo, and a bag on the leg stays put when the leg is loaded. On a stand with a tall tripod section, the tallest leg should point toward the load, and you can hang its bag high enough that it never becomes an obstacle someone trips over.
Attach the light or modifier, tighten the baby pin thumb screw properly, then give it a firm tug with one hand. If it rotates, creeps or the collar turns, it is not secure. Secure power cables with velcro at the stand so a snag cannot transfer load into the head, but do not wrap cord around a stand leg and do not pull it tight enough to drag the column sideways.
5. Raise and Position the Light Safely
Extend the column section by section and lock each section before extending the next. A stand with an air cushioned column lets you fine-tune height without a lever release and the risk of dropping the light when a section collapses under it. If your stand has none, keep two hands on the head and lower it in small steps rather than cranking a loose lever with one hand.
Keep the stand out of walkways and out of the camera’s sightlines, and keep it behind the subject rather than beside them where a passer-by could clip it. If you need the light above head height, make sure the tallest leg points at the load and that someone is watching the rig whenever talent or crew are inside the working area.
6. Manage Wind, Rain, and Changing Conditions
Wind matters most in gusts, not in the average reading. A stand that sits comfortably in a steady breeze can go over in a two second gust, because the frontal area of the softbox acts as a sail and the force scales with the square of wind speed. Check the forecast in gusts rather than averages, and treat any sharp rise in noise from fabric or cables as your cue.
You can reduce wind load instead of fighting it. A honeycomb grid or egg crate on the front of the panel cuts drag substantially compared with a bare softbox, and turning an edge-on to the wind helps more than adding weight. Rain and wet ground reduce friction under the feet, so add ballast when the surface gets damp. Lightning means strike immediately, not after the shot. On frost or thawing ground, re-check that feet have not lifted.
7. Route Power Cables Safely
Use outdoor-rated extension cords rated for the load, keep connections off wet ground and out of any puddle, and never overload or daisy-chain more than the cable’s rating allows. Do not wrap the cord around the stand to make it tidy; wrap it with velcro and leave enough slack that a snag or a shifted foot cannot pull the head sideways.
Where a cord crosses a walkway, tape it flat with heavy gaffer tape or run it under a cable cover. Loops of cable are trip hazards that nobody remembers being there. On public ground, a trailing cord is also a liability problem, so keep the run short and visible.
8. Test, Monitor, and Break Down the Setup
Use a click, tug, check pass before you call it set. Open and close each lock until you hear it click. Tug the head and each leg in turn and confirm nothing moves. Check that the ballast is on the legs, that cables are velcroed, and that the base is fully spread.
Then stay with the rig. Someone should watch the stand whenever the shoot is live, and you should re-check it after any gust, any passer-by who brushed it, and any change in the ground. When the shoot ends, lower the light before you release any lock, disconnect the power before you move the column, and let the light come down rather than catching it. Fold the arm on a grip arm before packing so it cannot swing open, and carry stands with the head end up so nobody is under a falling modifier. Inspect legs, locks and feet for damage after every strike.
| Wind (gusts) | Risk level | Ballast per stand | What to do |
|---|---|---|---|
| Under 10 mph | Low | One sandbag on two legs | Normal operation, still check the base after each gust |
| 10 to 20 mph | Moderate | Two sandbags, one per leg pair | Add a grid, keep height low, monitor continuously |
| 20 to 30 mph | High | Three sandbags or equivalent plus anchoring | Lower the stand or relocate indoors before shooting |
| Above 30 mph | Severe | No practical ballast | Strike the rig. Do not leave it standing unattended |
These bands are a working guide, not a certified limit. Open water, a shoreline or a hillside cuts the safe number further, because the failure is not always a tip-over. If you cannot hit the ground safely, you cannot rig safely.
Common Mistakes
These are the errors that get stands blown over, in roughly the order they turn up on location. Each has a simple correction.
- Too little ballast. One bag on a tall stand in open ground is decoration. Add one bag per leg, and add them before the light goes up rather than after.
- Half-spread legs. Opening legs to any old width cuts the footprint and the restoring force with it. Spread them fully, every time.
- Setting up on a slope. On a hillside, orient the rig so the load sits between the uphill legs, or move to flatter ground. A slope turns a lean into a fall.
- Ignoring gusts. Watch the fabric and listen for it before the forecast tells you. Average wind speed is not a safety number.
- Loose locks. An unlocked section or a loose thumb screw lets the head drift, and drift turns into rotation. Use the click, tug, check pass.
- Cables across walkways. Tap them flat or cover them. Also keep them off the stand legs so a snag cannot pull the head over.
- Using damaged equipment. A bent leg or a cracked collar changes the geometry in ways you cannot see. Retire it.
- Delaying teardown. Weather changes faster than a call sheet does. Lower early rather than finishing a setup that no longer suits the conditions.
One more myth worth clearing up: a heavier stand is not automatically safer. Weight at the base helps, but a heavy head on a narrow footprint still tips. Ballast low, spread wide and keep the lever arm short beats buying a bigger stand and leaving it empty.
Ballast does not have to come from a catalogue either. Filled sandbags are the standard, but a closed gear case on the base, a low camera bag, or a stack of sealed water bottles on the lowest leg point all add weight in the right place. What matters is that it is low, secured and not somewhere a passer-by can kick it.
| Ground surface | What to do |
|---|---|
| Paved, flat | Normal setup, full spread, two bags minimum |
| Firm grass | Ballast normally, add a third bag if the grass is wet |
| Soft sand or mud | Use spike feet or ground stakes, add ballast, expect to level the feet |
| Slope or hillside | Point the tallest leg toward the load, or move to flatter ground |
| Gravel or loose stone | Expect feet to sink as the shot progresses, re-check height and ballast |
| Frost or thawing ground | Re-check that feet have not lifted; avoid packed soil after rain |
Frequently Asked Questions
How much weight should I put on a light stand outdoors?
Treat ballast as a moving target rather than a fixed number, because height and modifier size change the answer. As a baseline for open ground, hang one sandbag per leg, which means two or three bags on a standard stand. Add more when the stand is tall, when a softbox or silk is fitted, or when the ground is soft or sloped. Keep the weight low on the base, since ballast placed high on the column adds very little resisting force.
Do light stands need sandbags in every weather condition?
Calm indoor conditions do not need ballast, and a smooth floor indoors is why the habit never forms. Outdoors, wind is the deciding factor even on a still-looking day, because gusts arrive between readings and a modifier acts as a sail. On a sheltered patio with a small light and no modifier, one bag per stand is plenty. Anything open, elevated or exposed gets the full load regardless of what the weather app says right now.
What wind speed is too high to use a light stand outside?
Above roughly 30 mph gusts, no amount of practical ballast makes a normal stand safe, and you should strike it. Between 20 and 30 mph is a high-risk band where three bags plus anchoring may hold briefly, but lowering the stand or moving indoors is the better answer. Below 20 mph most single stands are manageable with two bags per stand and a honeycomb grid. Open water, shorelines and hillsides sit in worse bands than the raw number suggests.
Can I set a light stand on grass, sand, or uneven ground?
Yes, with preparation, and the preparation depends on the surface. On soft sand or mud, use spike feet or drive ground stakes so the base has something to grip. On sloped ground, point the tallest leg toward the load or find flatter ground, since a lean turns into a fall. On uneven ground, pack out a short foot so it bears weight properly. Whichever surface you are on, spread the legs fully and re-check them once the ground has settled or dried.
How should I secure power cables across an outdoor shoot?
Keep cords short, velcroed to the stand rather than wrapped around a leg, and slack enough that a snag cannot pull the head sideways. Where a cable crosses a walkway, tape it flat with heavy gaffer tape or run it under a cable cover. Use outdoor-rated extension cords sized for the load, keep connections out of puddles and off wet ground, and never exceed the cord’s rating. On public ground, a trailing cable is also a liability issue.
When should I take down an outdoor light stand?
Take it down when gusts reach the high-risk band, when rain makes the ground slippery or start lifting the feet, when anyone is working inside the stand’s fall zone, or when you simply cannot reach the head safely to lower it. Nobody needs to be near a rig in a forecast thunderstorm, and lightning ends the shoot immediately. The reverse is true too: do not leave a ballasted stand standing unattended overnight, because the wind will be different by morning.
Use It Safely, Not Just Quicker
The first thing to change tomorrow is the ballast habit, not the stand you own. Hang one bag per leg before the light goes up, spread the base fully, and run the click, tug, check pass. Then decide the height last, because that choice sets your wind limit more than anything else in the rig.
Check the forecast in gusts before you leave, keep cords out of walkways, and treat a rising fabric noise as your signal to lower rather than to shoot one more take. For anything genuinely elevated, public or over water, the honest answer is that this guide is the floor, not the ceiling. Bring in a grip crew when the fall zone reaches people.