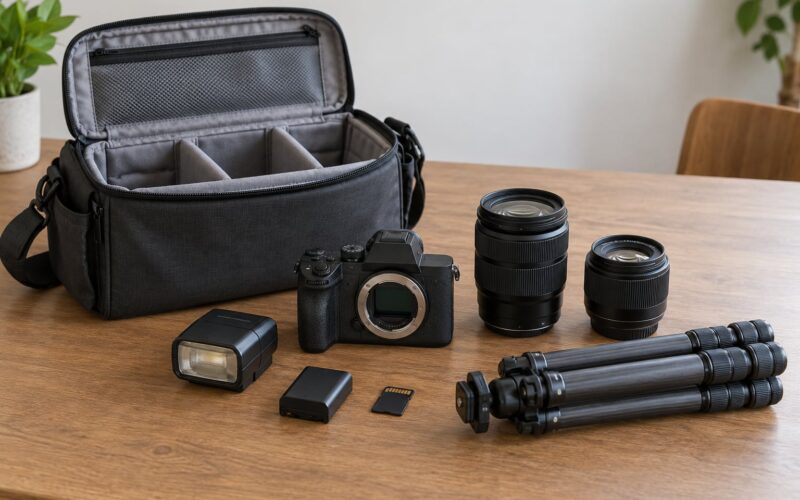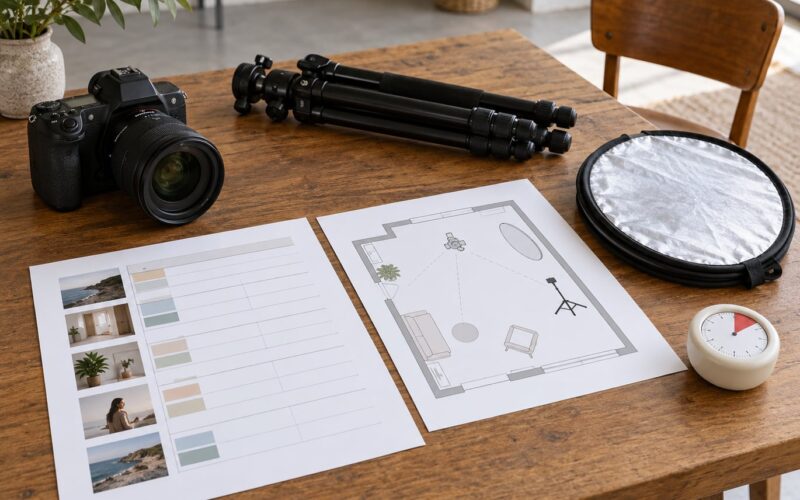
Learning how to work with an assistant on a shoot comes down to three things: write the brief before the date is booked, hand over a clear lane of responsibility on the day, and keep the final word on every creative decision. Do those three and you get setups that reset in minutes instead of twenty, a subject who never waits, and a shoot that wraps on time.
The bit most photographers get wrong is not the gear. It is scope. Bring in someone expecting to be a second pair of hands and you will spend the morning explaining what a c-stand is. Bring in someone expecting to run lighting and grip, and you get your attention back for the actual photograph.
Here is the whole working method, from the email you send a week out to the wrap conversation that decides whether you hire the same person next month.
Table of Contents
- What You Need Before the Assistant Arrives
- How to Work With an Assistant on a Shoot: Step by Step
- Step 1: Set the Scope Before the Shoot
- Step 2: Make the Photography Assistant Role Explicit
- Step 3: Build a Contact and Logistics Plan
- Step 4: Brief Everyone at the Start
- Step 5: How to Direct a Photo Assistant Without Micromanaging
- Step 6: Adapt Together When Conditions Change
- Step 7: Review, Credit, and Reset
- Common Mistakes Working With an Assistant
- Frequently Asked Questions
- Conclusion
What You Need Before the Assistant Arrives
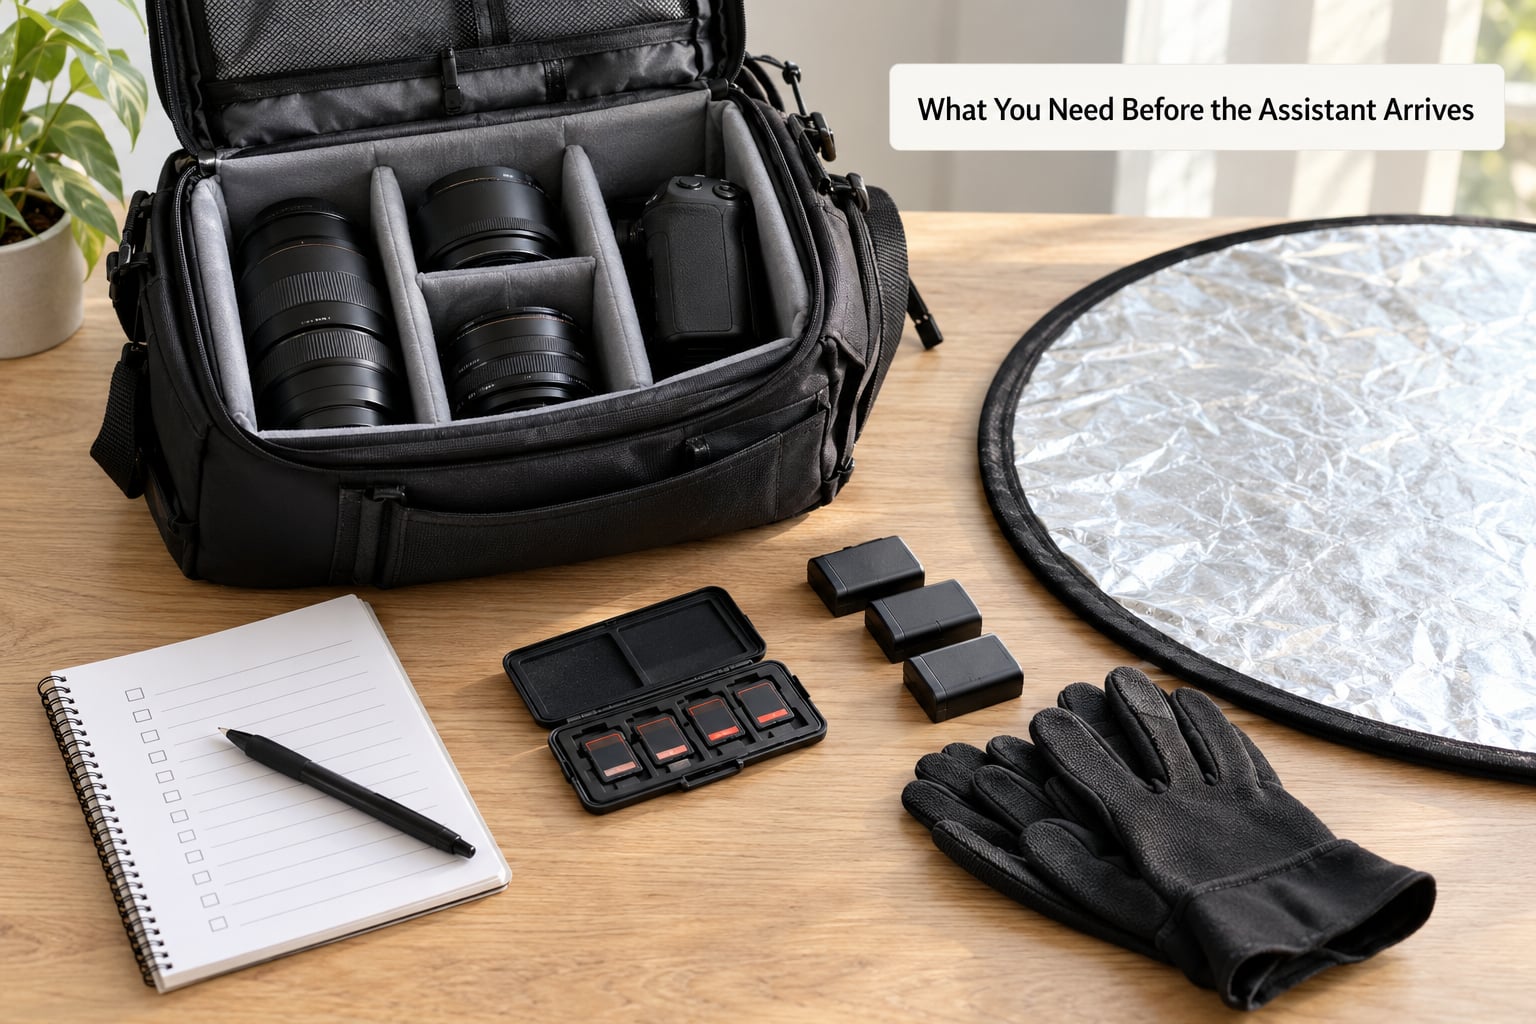
A photo assistant is the person who handles everything on a shoot that is not taking the picture: lighting and grip setup, tethering and card management, keeping the set tidy, and anticipating your next need before you ask for it, so the photographer can stay on the creative.
That definition matters because the role is wide and the titles are not standardised. The same job goes by photo assistant, photography assistant, first assistant, 1st AC, digi op, and on smaller jobs simply second pair of hands. Before you book anyone, write down what you need the person to own on this specific shoot.
A short list covers most of it:
- Loading and unloading — cases in, cases out, and keeping them secure when the location is busy.
- Lighting and grip support — assembling strobes, softboxes, beauty dishes, c-stands and flags, then striking them at the end.
- Gear management — sandbags on every stand, cables managed, batteries charged and rotated.
- Tethering and card workflow — running Capture One or Lightroom, clearing folders, checking focus on screen.
- Subject support — water, wardrobe resets, wardrobe steamers, a break when the subject needs one.
- Set discipline — keeping the set tidy, watching the room, stopping people walking through frame.
- Logistics — parking, passes, meals, the rental car, the coffee run nobody wants to mention out loud.
What a Photography Assistant Should Bring Themselves
Send the assistant into the day with their own kit so your cases stay closed. On assistant forums the same short list keeps coming up: a multi-tool or utility knife, gaffer tape in a couple of colours, a small torch or headlamp, a notebook and pen, gloves, a water bottle, blister plasters, a phone charger bank, a lint roller, and snacks that survive eight hours in a bag.
A small first aid kit matters more than people expect. Studio sets get hot, cables get tripped over, and stands go over in tight spaces.
Which Role Do You Actually Need?
Most confusion comes from buying the wrong role. A photo assistant makes the set work. A second shooter produces a second set of images. A digital tech runs the tethered capture and the client-facing review. These are different hires with different deliverables, and the boundaries are worth writing down before you start.
| Role | What they own | Deliverable |
|---|---|---|
| Photo assistant | Lighting and grip setup, gear, set discipline, logistics | A faster, safer, better-organised set for you to shoot on |
| Second shooter | A camera and a full set of images from an agreed angle | Frames you did not take, usable for the same brief |
| Digital tech (digi op) | Tethered capture, culling, colour, client review screen | Reviewed, backed-up, colour-matched selects on the day |
| Stylist or wardrobe | Looks, fittings, wardrobe, hair and makeup continuity | Subjects dressed and presentable on every setup |
If you are not sure, the honest test is whether you want more images or a faster set. A second shooter gives you coverage you did not create. An assistant gives you the hours back to create the images you planned.
Do You Need Help at All?
Hiring an assistant on a small shoot can cost more than the shoot. A simple studio portrait in your own space with one headlight and a backdrop, where you can reset in four minutes, does not need one. Location work with a full lighting kit, anything tethered for client review, editorial or commercial jobs with a crew, and anything shot with two cameras at once all justify it quickly.
The test I use is the reset. Time your last setup change. If it ran past ten minutes and you spent any of that walking to the car, you had an assistant-shaped problem hiding inside a one-person shoot.
How to Work With an Assistant on a Shoot: Step by Step
Step 1: Set the Scope Before the Shoot
Write a short brief that answers seven questions: what the work is, where and when, who the subjects are, what the visual direction is, which three setups are non-negotiable, what is fixed (location permit, client brand rules, wardrobe), and what the assistant is expected to own. Two pages at most.
Send it before the shoot, not on the morning of it. An assistant who reads the brief at 5am on the day has had no time to think, and thinking is most of the value you are paying for.
Include the shot order if you have one. A numbered list of setups lets the assistant pre-build the stand for the next frame while you are still shooting the current one. That single habit is often the difference between a comfortable day and a scramble.
Step 2: Make the Photography Assistant Role Explicit
Every hire needs one named lane and a short list of things they do not touch. Vague delegation is the single most common failure, and it is usually accidental: the photographer assumes the assistant knows the plan, and the assistant assumes they will be told.
The words that work on set are specific and short. Not “can you sort the lighting” but “two stands, both sandbagged, key light three feet left of camera at forty-five degrees, flag on the near side.” Specificity reads as respect, not distrust.
Set the boundary on the camera out loud at the start: the assistant does not touch the body, the lens, or the tripod unless asked. That protects you, and it protects them from being blamed for a focus shift they did not mean to cause.
Step 3: Build a Contact and Logistics Plan
Swap practical details early, not creatively. Call time, wrap estimate, address, parking and loading rules, floor or site access, who the client contact is, meal breaks, the nearest food that will not cost half your budget, and a backup plan if weather turns. Then agree how you talk on the day: radio channel if there is a crew, hand signals if there is not, and who makes the call when they conflict.
Settle the money in the same conversation, not at wrap. Typical US day rates reported across assistant communities and rate guides run roughly USD 100 to USD 150 in smaller markets, USD 150 to USD 300 in mid-size cities, and USD 350 to USD 600 in New York and Los Angeles. These are indicative ranges that shift by region, experience, and the kit on the truck, and they change over time.
The convention most crews work to is an eight-hour day with time and a half after that, plus any per diem agreed in advance. Assistants who work regularly say the overtime conversation is the one that actually causes friction, and it is much easier to have in an email than across a loading bay at eight in the evening.
Two more clauses are worth ten minutes of typing: confidentiality if the client would not want their work public, and whether the assistant may use frames from the day in their own portfolio. Photographers who skip the portfolio question tend to discover the problem later, when an image they shot appears on someone else’s Instagram.
Budget the assistant line into the client quote before you book the date. Quote it as an item, not as margin you absorb. If the client says no, you have a real decision to make with real numbers instead of a vague feeling that the day will be tight.
Step 4: Brief Everyone at the Start
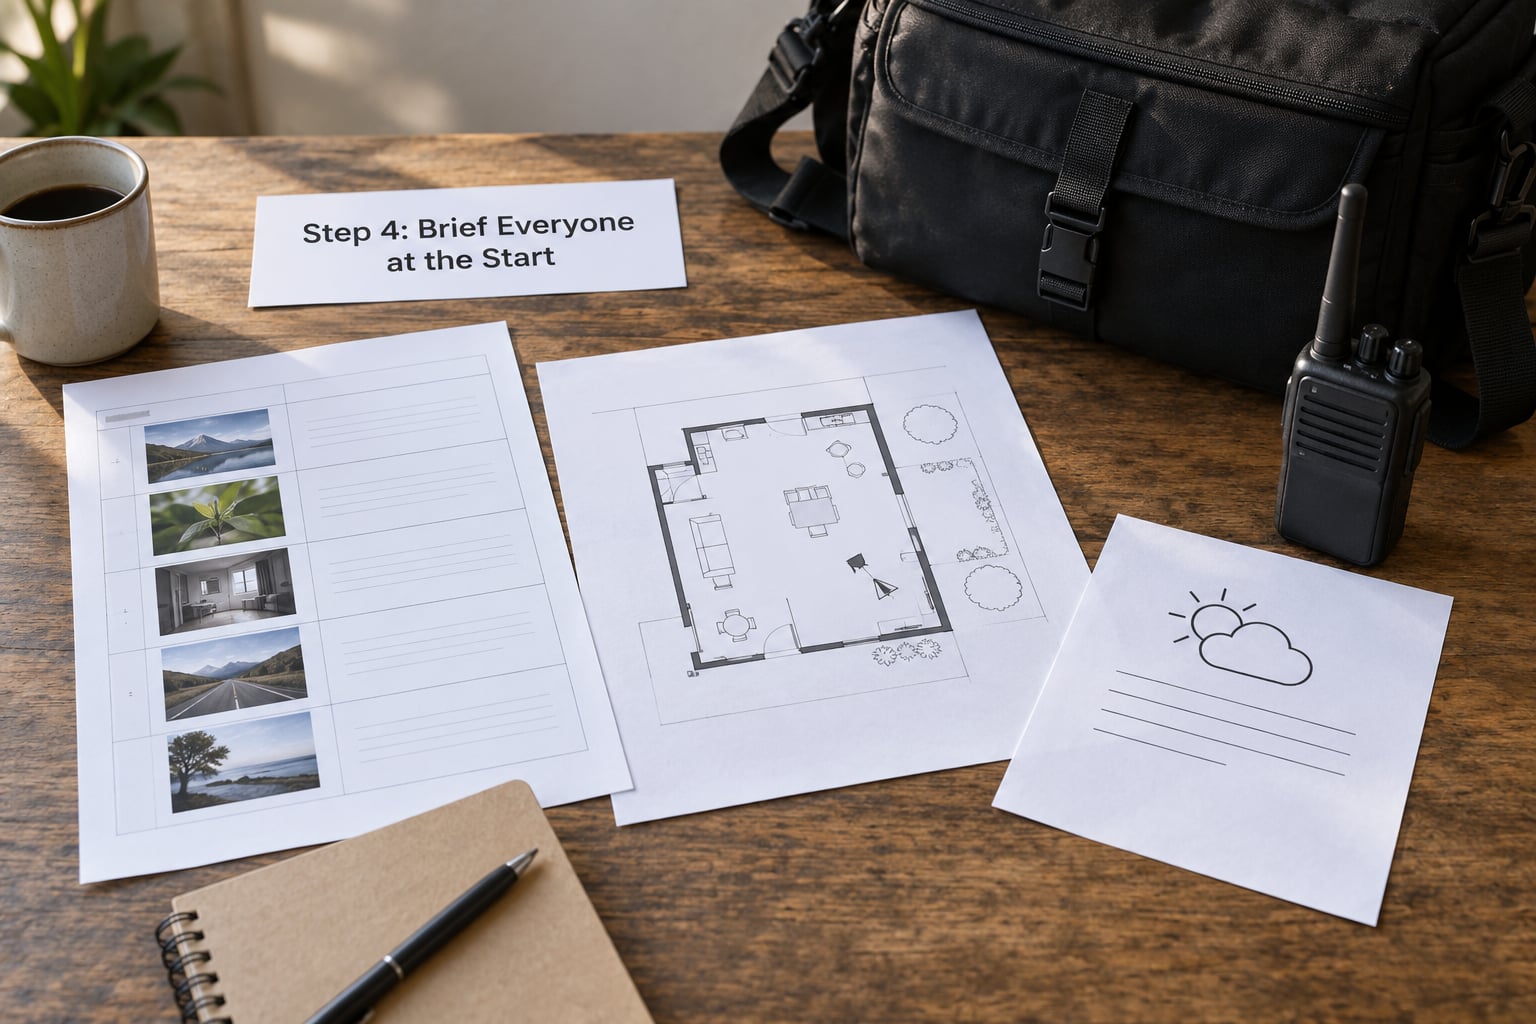
Ten minutes at call time, with everyone present, prevents most of the day. Confirm the visual direction in one sentence each. Confirm the order of the setups. Confirm what the assistant owns and what stays with you. Confirm the decision rule: they handle anything that does not affect the final image, you decide anything that does.
Say it plainly. A useful line is: if you are not sure whether something changes the picture, bring it to me rather than doing it. Then walk the set together so the assistant sees the light, the subject’s position, and where the cable runs go.
Add three safety points every time. Lifting heavy cases is a two-person job, you tell each other before moving anything, and nobody carries a stand through a space they cannot see. A young photographer on a forum described the moment that habit clicked into place: nobody is being polite about the weight anymore, they just say it.
Step 5: How to Direct a Photo Assistant Without Micromanaging
The best direction is a sentence at the start, a sentence when something changes, and then quiet. Assistants describe the ideal photographer as someone who gives a clear instruction once and then leaves them to get on with it.
Aim for three rules. Say what you need, not how you would do it. Let them solve the immediate problem without checking in, because they are standing closer to the set than you are. Give feedback in the moment for safety and equipment, and leave anything about performance, pacing and style for the wrap conversation. Mid-shoot criticism about their attitude or their work is the fastest way to lose someone good.
Expect silence to be normal. A new assistant will probably over-talk on the first shoot because they are nervous, not because they are annoying. Tell them at the brief that quiet is fine and questions should be asked between setups rather than while you are composing.
When you are working with a friend or a family member, the rules are the same with one adjustment: agree the feedback rule before the day, and stick to it. Tell them in advance that you will give notes on their work in the debrief, and that the day itself is execution only. It takes one sentence and it saves the friendship.
Step 6: Adapt Together When Conditions Change
Light, weather, subject energy and running late all change the plan. What matters is who names it and how fast. Say the problem out loud in one line and agree the new action in one line: cloud cover has moved the key two stops, we go to the window, then we get the frame from the wider setup.
Reassess together rather than blaming. Conditions are not the assistant’s fault, and treating a weather change like a performance review is how good hires quit. An assistant who hears a calm problem statement comes back with options. The same person, told off, goes quiet for the rest of the day.
Recalculate the day when the schedule moves. If you are two hours behind at lunch, drop the setup you liked least, not the one that carries the brief. Say that decision out loud too, because a visible trade-off is what stops people quietly resenting the schedule.
Step 7: Review, Credit, and Reset
Do the wrap together. Open every case against the kit list you wrote before the day, not from memory. Check the triggers, the batteries, the cables and the modifier surfaces before anything is packed into a case that is about to sit in a hot car. Photograph the packed kit if the cases are going to a rental company.
Back up the images in front of both of you, and confirm the second copy is somewhere else. Then have the ten-minute debrief while it is fresh: what worked, what was slow, what you would both do differently. Assistants with repeat work say the honest debrief is the thing that turns a one-off hire into a regular.
Pay the agreed rate the agreed way, and handle any overtime in the conversation you planned for on day one. Credit the assistant in your caption or your credits list without being asked. It costs nothing and it is the difference between a portfolio shot and an uncredited day of work.
Then write down two or three sentences for yourself about what to brief better next time, while the details are still available.
Common Mistakes Working With an Assistant
Vague instructions. “Sort the lighting” gets you a half-built setup you have to inspect. Name the setup, the position, and the finish. It costs you one extra sentence and saves a reset.
Unclear authority. Without a stated decision rule, both people wait for the other one during every problem. Agree it at the brief: they handle anything that does not change the final image, you decide anything that does.
Late arrival to call time. This comes up more than any other complaint in assistant communities, and it is treated as a hard no for future work. If someone is going to be late, a phone call at 5:30am is the difference between an inconvenience and a lost relationship.
Incomplete or wrong kit on the day. The right modifier, the wrong flag, a stand without a sandbag. Put the kit list in the brief and do a check together at load-in, not at first setup.
Touching the camera uninvited. Some assistants adjust a dial out of helpfulness. It wrecks a take and it destroys trust instantly. Set the boundary in the first ten minutes.
Talking through your compositions. A conversation while you are framing is noise the subject feels as much as you do. Brief them to ask between setups.
Treating the assistant as extra hands only. This under-uses them completely. The value is anticipation and setup speed, not carrying bags. If you only need a pair of hands, say so honestly and it may be a cheaper arrangement.
Saving the feedback for the drive home. Notes that surface hours later feel like a verdict. Give the work notes in the debrief, in private, and end the day with something you would genuinely hire them for again.
Skipping the agreement. Rate, overtime, confidentiality and portfolio rights feel awkward to raise until you have already worked together. Raise them before the day, in writing, when it is still a normal business conversation.
One more worth naming: skipping the safety conversation. Two-person lifts, cable runs, hot stands, crowded rooms. It takes two minutes and it is the part people are most grateful you did.
Frequently Asked Questions
Do photography assistants get paid?
Yes, and you should assume they expect to. Regular assistants treat assisting as paid work, not a favour, and the industry norm is a day rate plus agreed overtime after roughly eight hours. Rates reported in assistant communities and rate guides typically land between USD 100 and USD 150 in smaller markets and USD 350 to USD 600 in New York and Los Angeles. Agree the rate in writing before the shoot, not at wrap.
What is a photographer’s assistant called?
Most commonly a photo assistant or photography assistant. On commercial and film sets the same person is usually titled first assistant, or 1st AC. If the job is mostly running tethered capture and the client screen, the title is digital tech or digi op. Titles vary by market and production, so the job description matters more than the label when you are hiring.
How do I brief an inexperienced assistant?
Assume nothing and give them a written brief a few days ahead: the shot order, the setup list, what they own, and what they should never touch. On the day, walk the set together and show them the light angle and where cables run. Give one clear instruction per task and then leave them to it. They will not know your shorthand, so describe the frame rather than naming equipment.
Do I need an assistant for a small shoot?
Not always. A simple studio portrait in your own space, with one headlight and a backdrop you can reset in a few minutes, rarely needs one. You do need one for location work with a full lighting kit, tethered client sessions, or anything shot on two cameras. The quickest test is to time your last setup change: past ten minutes, with a walk to the car involved, means you had an assistant-shaped problem.
Should I hire a second shooter instead?
Hire a second shooter when you need coverage you cannot create yourself, such as a second angle, a second camera rolling during a ceremony, or backup on a long day. Hire an assistant when you want setups to move faster and the set to run properly. They are not interchangeable and the rates are not the same. Some beginners do both jobs in one hire, which usually ends with neither done well.
How do I give feedback to an assistant who is a friend?
Agree the rule before the shoot day: the day is execution only, and notes come in the debrief. During the day, correct safety and equipment handling immediately and in private, because those affect the work. In the debrief, be specific and one-to-one, name what you want more of, and end with something you would hire them for again. Do not manage their feelings in public on the day.
Conclusion
Write the one-page brief before you book the date. Set the scope, name the lane of responsibility the assistant owns, settle the rate and overtime in writing, and put the call time and access details in the same email. On the day, give one clear instruction per task, then let them work. At wrap, check the kit together, back up the frames together, and say what you would hire them for again.
That is the whole of how to work with an assistant on a shoot: clarity in advance, quiet on set, and honest notes afterwards. The people who get good, repeatable results from assistants are rarely the ones with the biggest crew. They are the ones who were clear.