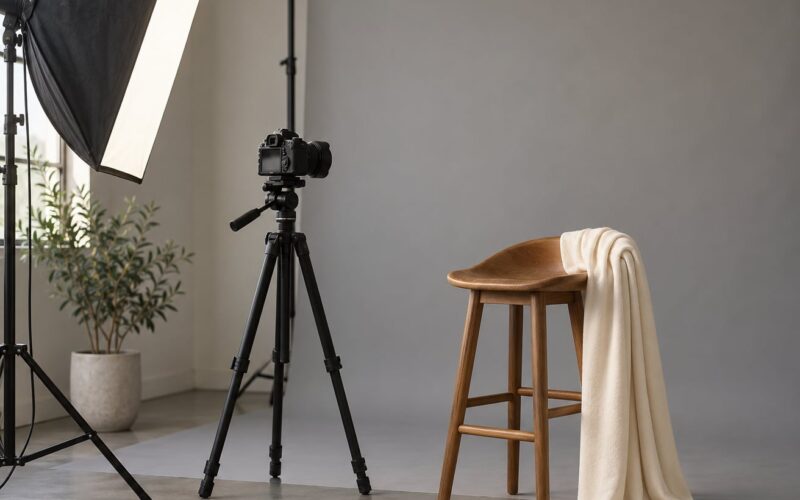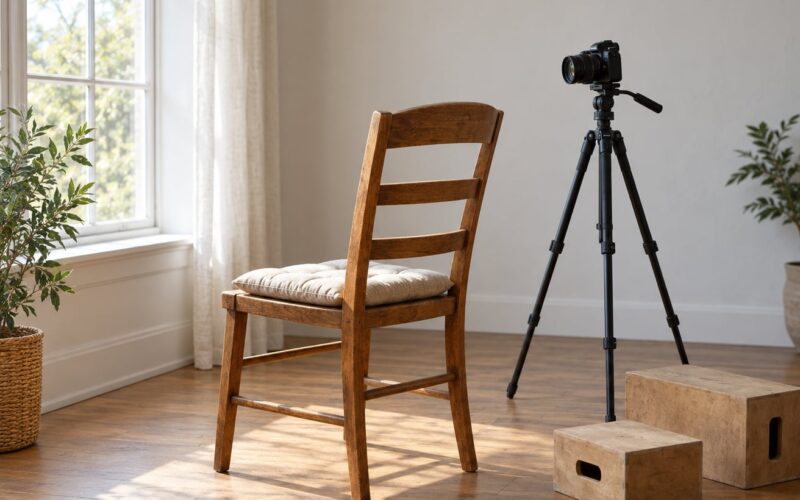
The double chin you see in your portraits is mostly a geometry problem, not a body problem. When the camera sits at or below chin height it looks up under the jaw, foreshortens the space between chin and neck, and fills that space with shadow. Raise the camera above the eyeline, push the forehead gently toward the lens with the chin tipped slightly down, and light the face from one side at about 45 degrees, and the fold disappears without a single retouch. Most people can get a usable headshot in under five minutes once they know what to move.
That matters because the jawline is one of the first things the eye reads in a portrait. A shadowed area under the chin changes how the whole face is perceived, which is why a photo can feel off even when the subject says nothing is wrong with it. The good news is that nearly every fix is a decision you make in the ten seconds before you press the shutter.
Table of Contents
- What You Need to Hide a Double Chin in Portraits
- Step-by-Step
- Common Mistakes
- Frequently Asked Questions
- What camera angle is best for hiding a double chin in portraits?
- Should the subject tilt the head up or down for a slimmer chin?
- Does lighting make a double chin less noticeable in a portrait?
- How can I reduce a double chin in Photoshop without looking edited?
- What pose works best for hiding a double chin in a headshot?
- Conclusion
What You Need to Hide a Double Chin in Portraits
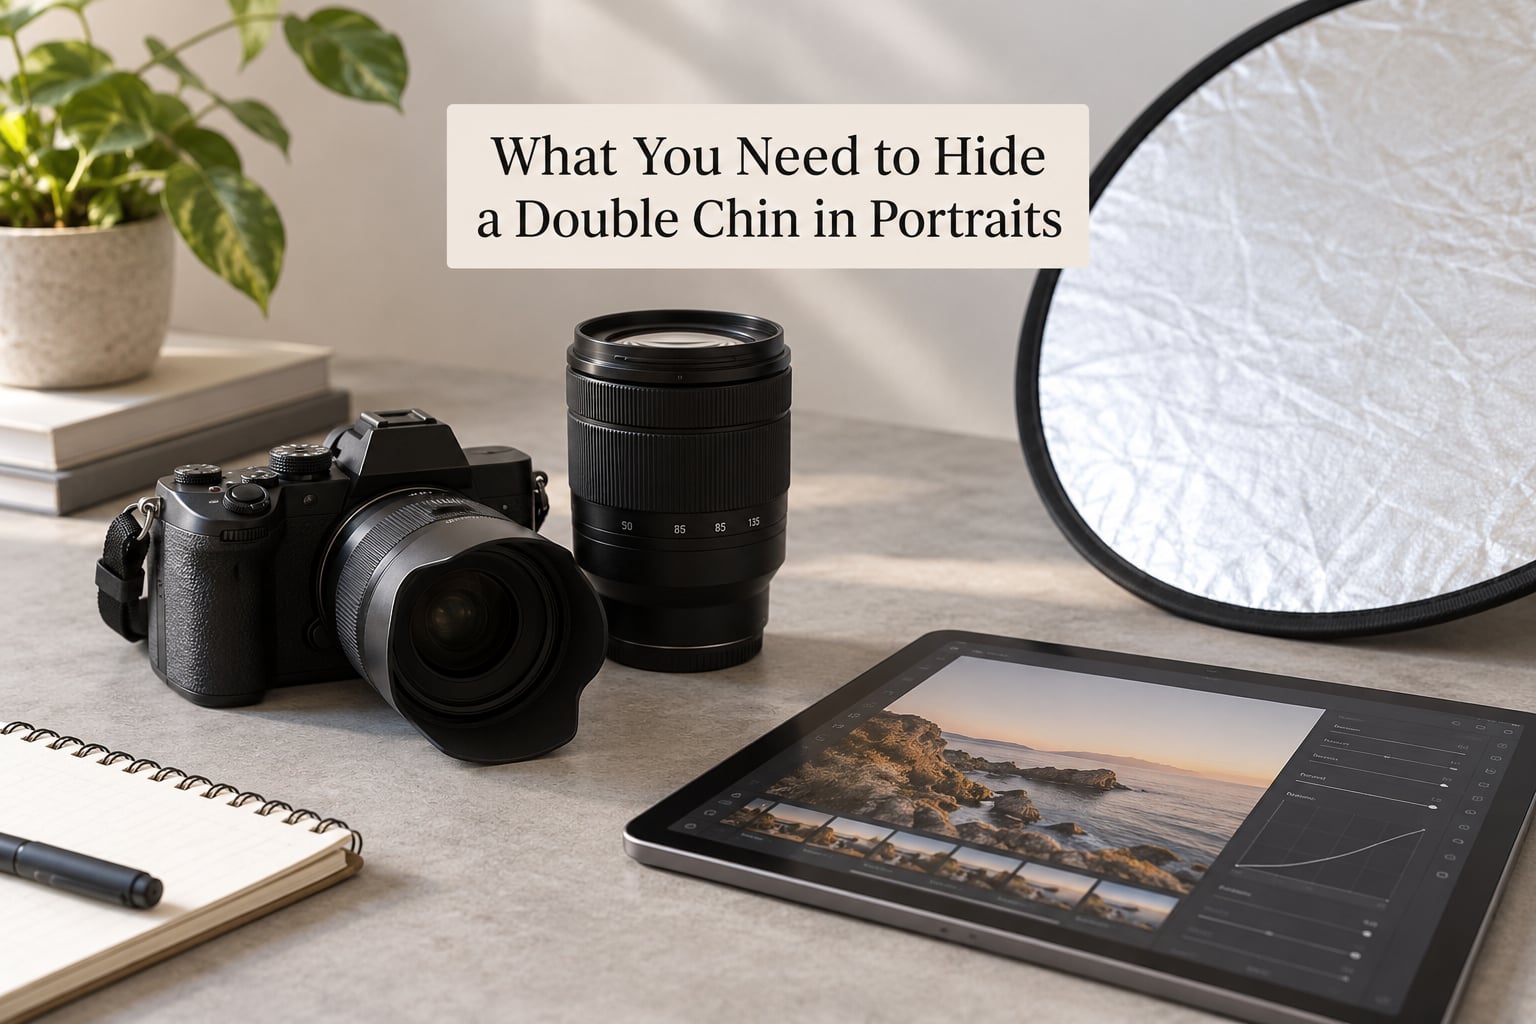
You need very little. A phone held slightly above eye level will get you most of the way there, and the same three rules apply whether you are shooting on a phone, a mirrorless body or a studio setup.
- Something you can raise. A camera on a tripod, a laptop stacked on books, or simply holding the phone a little higher than your chin. Height is the single biggest lever in this whole guide.
- A lens with some reach. An 85 to 135mm equivalent portrait lens compresses facial features so the chin sits flatter against the neck. Phone cameras and kit zooms sit wide by default, which exaggerates the under-chin area.
- A reflector or white surface. A 5-in-1 reflector, a sheet of white foam board, or even a white t-shirt on a chair bounces light back up under the jaw so the shadow softens.
- One light you can move. A window is genuinely enough. What matters is that you can put it to one side rather than straight in front.
- Editing software. Any program that lets you dodge, burn and work on a soft selection will do. Naming names matters less than knowing how far to take it.
If you have nothing but a phone and a window, skip ahead. The steps below all work with zero gear.
Step-by-Step
1. Establish a Flattering Camera Height
Put the camera above the subject’s eyeline and angle it very slightly downward. This is the single change that does most of the work, and it is also the one most often skipped, because laptop webcams and low-held phones sit well below chin height by default.
What is happening is vertical perspective distortion. When the camera looks up at you, near objects project larger than far ones, and the underside of your jaw is the nearest surface in the frame. Shoot from above and that projection reverses, the neck lengthens, and the space between chin and throat opens up.
The check is simple: look for the shadow under the jaw. From above, it either disappears or becomes a thin line. From below, it becomes a wide dark band. Take one frame, look at the screen, move the camera fifteen centimetres higher, take another. That second frame is usually the one you keep.
A low camera is the number one offender and photographers say so every time. If someone is on a laptop call and dislikes how their chin looks, raising the laptop so the screen top sits at eyeline height costs nothing and fixes most of it.
2. Turn the Head and Extend the Neck
Ask the subject to bring the forehead gently forward toward the lens while tipping the chin down slightly. The chin moves forward and down at the same time, which lengthens the visible neck and pulls the underside of the jaw into a cleaner line. Some photographers call this the turtle technique, and it stays useful whether or not you like the name.
The version people get wrong is chin down alone. If the head just drops, the neck shortens and the chin tucks into the collar, which makes the fold worse. The movement has to be forward and slightly down, driven by the forehead, not by pointing the chin at the floor.
There is a second, less obvious move: lean the subject forward over their own waist or belt before they straighten up. Bending slightly at the hips, then lifting the chest, lengthens the back of the neck without asking anyone to “stand up straight,” which almost no one does naturally.
To check whether the pose is working, look for two things in the preview. There should be a visible gap of light or background between the jaw and the collarbone, and the neck should show a line rather than a solid block. If you cannot see the neck at all, the head is still too low or the shoulders are rolled forward.
One more refinement works well and is physically impossible to get right by accident: placing the tip of the tongue on the roof of the mouth, just behind the front teeth. It quietly lifts the base of the jaw and tightens the underside of the chin. Models use it constantly and most people never realise they could.
3. Use a Three-Quarter Profile
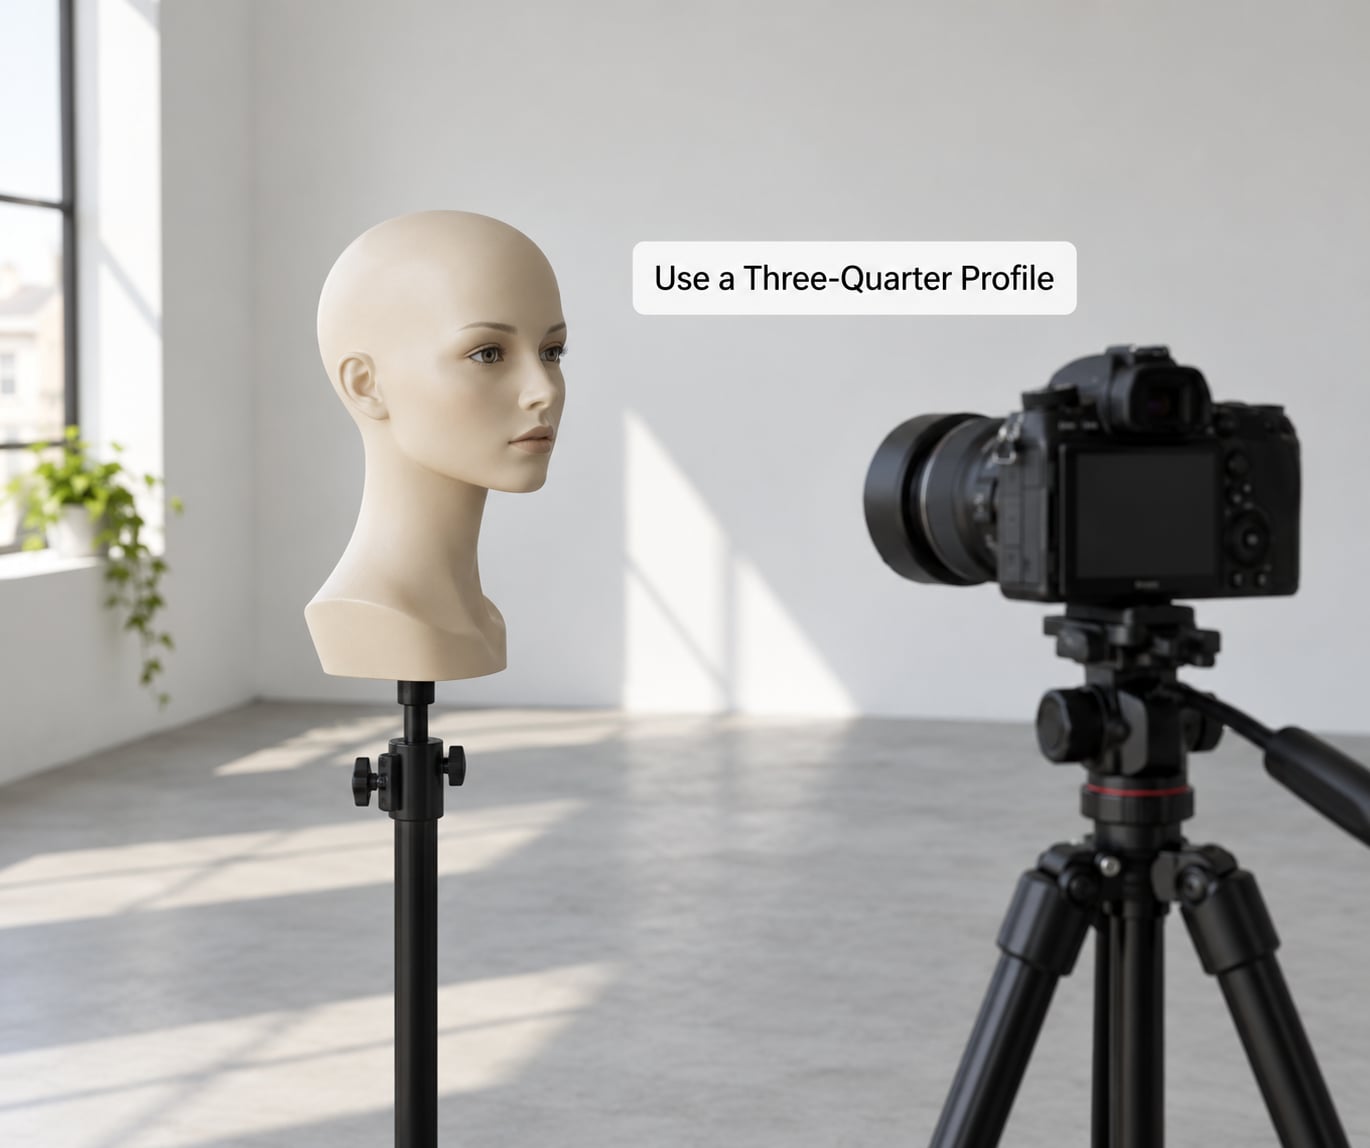
Turn the head 20 to 35 degrees away from the lens and keep the eyes looking back at the camera. The sideways projection of the chin becomes smaller, the under-chin area turns partly away from the viewer, and the far cheek and jaw edge start doing the work of describing the face.
The part that surprises people is the shoulder. Bring the shoulders toward the camera while the head turns back toward it, and you get a counter-rotation through the neck that reads as slimmer than either position alone. Photographers on Photography Stack Exchange describe exactly this combination, and it is the single most repeated piece of advice in that discussion.
Stack it with the squinch. Drawing the cheek up and back toward the ear raises the cheekbone, tightens the skin along the jaw and deepens the shadow under the jawline, all at once. It is described in a SitePoint community thread as the move that hides a double chin and highlights the jaw, and it is the first thing studio photographers ask for because it does three jobs in one.
You do not need all three at maximum strength. A three-quarter turn with a light squinch and the chin forward usually reads as natural, which is the goal. When the pose starts looking staged, back off one variable rather than all three.
Go fully frontal only when the style calls for it, such as a corporate headshot where symmetry matters. In that case lean harder on camera height and lighting, because a frontal pose gives you no geometric cover.
4. Create Definition with Directional Light
Put the key light about 45 degrees to one side of the face and slightly above eye level. Side light throws a shadow along the jaw edge, and that shadow is what makes a jawline visible. Flat front light erases the same edge and leaves the under-chin area as the only feature the eye can read.
Overhead light is the enemy here. A ceiling fixture or a bare flash above the head drops a shadow straight down under the jaw and deepens the fold you are trying to remove. If you cannot move the light, use the reflector to fill that shadow back in.
For free setups, face the subject toward a window on an overcast day with the window at roughly 45 degrees to the side. Cloud cover gives you a large, soft source with no hard edge, which is easier to control than direct sun. Open shade outdoors works the same way. If you need a bounce, hold a white sheet of foam board or a white t-shirt just out of frame below the chin and let it lift the shadows.
The butterfly and paramount setups work here too. The light goes above and in front, casting a small symmetrical shadow directly under the nose, which draws attention upward and away from the jaw. It suits a corporate headshot, and it does less for a jawline than side light does.
Test before the subject arrives, or at least before they settle in. Stand a mannequin or a chair where they will stand and look at where the shadow falls under the jaw. That takes two minutes and saves a session.
5. Frame Below the Chin Carefully
Where the frame ends below the chin changes how big the chin reads. A crop that stops right where the under-chin shadow is widest draws the eye straight to it. Ending the frame lower, with more neck and shoulder in shot, gives that area less relative weight and makes the jaw look like part of a longer structure.
Headroom matters in the other direction. A portrait with a large empty space above the head makes the face sit small in the frame, and a small face reads as rounder. Tighter crops from mid-chest upward are more flattering than the wide head-and-shoulders shots most people default to.
The rule of thumb: crop so the neck is visibly longer than it is wide, and stop the crop before the widest part of any collar. A high collar or a chunky necklace puts a hard horizontal line right under the jaw and visually doubles it, so let the subject change what they are wearing before you change your crop.
6. Capture Several Poses Before Editing
Shoot variations rather than committing to one frame. Five seconds apart, try chin forward, then chin neutral, then chin slightly down, with the head turning a few degrees each time. Change the light position once and shoot again.
Three reasons this matters. Most people cannot feel whether the pose is right, so the difference only shows up on the back of the camera. Editors work far better choosing between good frames than rescuing one bad one. And expression shifts the chin, which leads to the next point.
Smiling pushes the chin forward and the cheeks up, and that is why people complain their chin looks bigger when they smile. The jawline also shortens because the muscles under the cheek tighten and the chin rides up. If you need a smile frame, try a closed-mouth half smile or a smile with the head still in the chin-forward position.
7. Retouch Subtly in the Jaw and Neck Area
Retouching is the last step, not the first. If you are reaching for it because the frame is wrong, you will spend twenty minutes on something a camera adjustment would have fixed in two.
When you do retouch, work on a duplicate layer and stay small. Select the under-chin area with a soft brush selection, not a hard-edged one, then darken it very slightly so the shadow reads as shadow rather than as a separate form. Dodge a little along the jaw edge to brighten it. That pair of moves is most of the job.
A camera raw adjustment can do the first pass. Pull the shadows up under the jaw in the tone panel, then use the healing tool on any blemish that pulls attention. Keep the texture intact; skin that has been smoothed into a flat plane looks edited immediately.
Be careful with Liquify and similar warp tools. A small forward push of the jaw reads as subtle tightening. Push further and the ears, the smile lines and the neck start to disagree with each other, and the face stops looking like the same person. If the warped area grows past roughly two percent of the frame width, put it down and fix it in the pose instead.
A final sanity check: zoom to 100 percent and look at the chin against the neck. If there is a hard tonal edge where you have been working, soften it. Viewers spot a visible seam long before they notice an absence of a fold.
Common Mistakes
Shooting from below. The most common error by a distance, and it happens automatically on laptop calls and low-held phones. Fix: raise the screen or camera until the top edge sits at or above eyeline height. This one change usually does more than everything else combined.
Tipping the head back for a long neck. Stretching the neck upward exaggerates the under-chin angle instead of hiding it, and it looks posed. Fix: push forward and slightly down, driven by the forehead, and keep the throat visible rather than extended.
Trying to hold the pose too hard. People hold their breath, tense the neck and lose the expression, which is why head-tilt advice so often fails in practice. Fix: breathe out, then apply the chin-forward movement on the exhale and shoot on the next breath.
Flat frontal light. Light straight on or straight above leaves the under-chin shadow as the only structure in that part of the face. Fix: move the source to one side, or bounce white card back into the shadow if you cannot move it.
Heavy retouching. A visibly smoothed and reshaped chin reads as corrected, and it changes the apparent expression. Fix: darken and lighten rather than warp, and stop before you are satisfied with how it looks rather than when it looks finished.
Cropping at the widest point. Ending the frame exactly where the jaw is broadest pulls the eye to the one area you worked on. Fix: include more neck, or crop tighter and higher so the chin is one element rather than the subject.
Not controlling the phone camera. Front-facing cameras are wide and sit below your eye line when you hold the phone at arm’s length, so they exaggerate exactly the effect you are fighting. Fix: use the rear camera with someone else, or hold the phone higher and further away with a timer or a small tripod. Switch on the portrait mode at the rear camera if you want background blur, and be aware that many phones blur the edges of faces on that setting.
Forgetting to check weight expectations. Plenty of people lose weight and still see a chin fold in photos. Chin shape is largely skeletal and genetic, and a fat pad under the jaw changes far less than people expect. If that is the case for you, the answer is camera height and lighting, not another diet, and a doctor or registered dietitian is the right person for advice about your own body.
Frequently Asked Questions
What camera angle is best for hiding a double chin in portraits?
Shoot from slightly above the eyeline, angling the camera down a few degrees. A low camera looks up under the jaw, makes the underside of the chin the nearest surface in the frame, and fills the space between chin and neck with shadow. Raising the camera reverses that projection, lengthens the visible neck, and usually does more for a jawline than any other single change.
Should the subject tilt the head up or down for a slimmer chin?
Neither extreme works well. Tipping the head back stretches the neck upward and exaggerates the under-chin angle. Dropping the chin straight down tucks it toward the collar and shortens the neck. The movement that helps is forward and slightly down, driven by the forehead moving toward the lens, so the neck lengthens while the chin stays clear of the throat.
Does lighting make a double chin less noticeable in a portrait?
Yes, and it is the second biggest lever after camera height. Light coming from about 45 degrees to one side and slightly above eye level throws a shadow along the jaw edge, which makes the jawline visible and keeps the eye on the contour. Flat light from the front and overhead light both leave the under-chin shadow as the only feature in that part of the frame.
How can I reduce a double chin in Photoshop without looking edited?
Work on a duplicate layer at low opacity. Select the under-chin area with a soft brush, darken it slightly so the shadow reads as shadow, then dodge a little along the jaw edge to brighten it. Avoid aggressive warping tools, which pull the ears and smile lines out of agreement with the new jawline. Keep skin texture intact and check the result at 100 percent zoom for hard tonal edges.
What pose works best for hiding a double chin in a headshot?
Turn the head 20 to 35 degrees away from the lens with the eyes back at the camera, keep the shoulders toward the camera for a counter-rotation through the neck, and push the forehead gently forward with the chin tipped slightly down. Add a light squinch, drawing the cheek up and back toward the ear, to raise the cheekbone and tighten the skin along the jaw.
Conclusion
Raise the camera above the eyeline first, then ask for the chin forward and slightly down with the shoulders square to the lens. Light from one side at 45 degrees so the jaw edge reads, check the preview for a visible neck, and keep the retouching to a slight darken and brighten under the chin. A double chin in portraits is a lighting and perspective problem, and it is one of the cheapest problems in photography to fix.