Swapping a head in a group photo means cutting a better expression out of a second frame and compositing it onto the group shot: select the head, paste it as its own layer, scale and align it, mask the edges, then match color and sharpness so it stops looking pasted in. A single good swap takes about ten minutes once you have the masks down, and the whole family of them gets faster each time you repeat the steps. This guide covers the current desktop Photoshop workflow as of 2026.
The hard part is never the copy and paste. It is the twenty seconds of judging whether the light on the replacement head agrees with the light on the body underneath it.
Table of Contents
- What You Need
- Step-by-Step: How to Swap Heads in a Group Photo Edit
- Frequently Asked Questions
- What is the easiest way to swap heads in a group photo edit?
- How do I match a replacement head so the lighting looks natural?
- How do I select hair and complex edges when swapping heads?
- How do I fix a visible neck or skin-tone seam after swapping a head?
- Should I use Photoshop Generative Fill or manual layers to swap heads?
- Conclusion
What You Need
You need three things before you open anything: the group photo you want to fix, at least one spare frame of the person whose face you are replacing, and Photoshop on the desktop. Mobile apps can do a rough version, but they give you no mask control, and group photos are exactly where control matters.
- The group photo. The frame with the blink, the grimace, or the person looking at the wrong person.
- Replacement head photos. One per face you plan to swap, ideally taken seconds apart from the same spot.
- Current desktop Photoshop. The Select and Mask workspace described below is the current interface. Older releases put refinement in a separate Refine Edge dialog with the same controls in the same order, so nothing here breaks if your version is a few generations old.
Open both files as tabs rather than as separate windows. Tabs make dragging a layer from one document into the other a single move instead of a copy-and-paste dance, which saves you about thirty seconds per swap.
One honest note before the steps. Swapping a face to fix a blink on your own family photo is routine retouching. Using it to place someone in a photo they were not in, or to alter evidence, is a different act entirely, and it is worth deciding which one you are doing before you start. My rule is that the person whose face it is should know it happened, and if the photo is being published or sold, say so.
Step-by-Step: How to Swap Heads in a Group Photo Edit

The whole method is non-destructive: every head lives on its own layer above a Smart Object copy of the original. If a swap looks wrong, you hide the layer and nothing is lost. That is the difference between an edit you can fix and an edit you have to redo.
Choose the Best Replacement Photos
Photo selection does about half the work, and it is the step people rush. Match the camera angle first, then the expression, then the light.
- Angle. A head turned fifteen degrees off its target angle never recovers. Shoot from the same side of the room and roughly the same height.
- Expression. Similar is not enough. A closed-mouth smile dropped onto a frame full of open-mouth smiles reads as a different person.
- Lighting direction. Check where the highlights fall. Light from the left onto a face lit from the right is the single most obvious giveaway.
- Resolution and sharpness. The replacement needs to be at least as large as the area it covers, or you will sharpen noise into the skin trying to hide it.
- Headwear, hair, glasses. Anything that crosses the head edge has to match too. A replacement without glasses going onto a face wearing glasses is a job, not a five-minute fix.
Frames shot seconds apart from a burst are the best possible source. Same light, same pose, same background, only the expression changed.
Create a Smart Object for the Group Photo
In the group photo document, select the background layer and press Ctrl+J on Windows or Cmd+J on Mac to duplicate it. Then go to Layer, Smart Objects, Convert to Smart Object.
Now duplicate that Smart Object as well and hide the duplicate’s visibility by clicking the eye icon in the Layers panel. You have just built your reference copy. Toggle between the two at the end and any correction you missed becomes obvious instantly.
Keeping the untouched original on its own layer is what makes this workflow repairable. Flattening early is the habit that turns a ten-minute fix into an afternoon.
Select and Isolate the Replacement Head
Switch to the document holding the better face and open Select, Subject. Let Photoshop build the head selection for you, then open Select and Mask to fix what it missed.
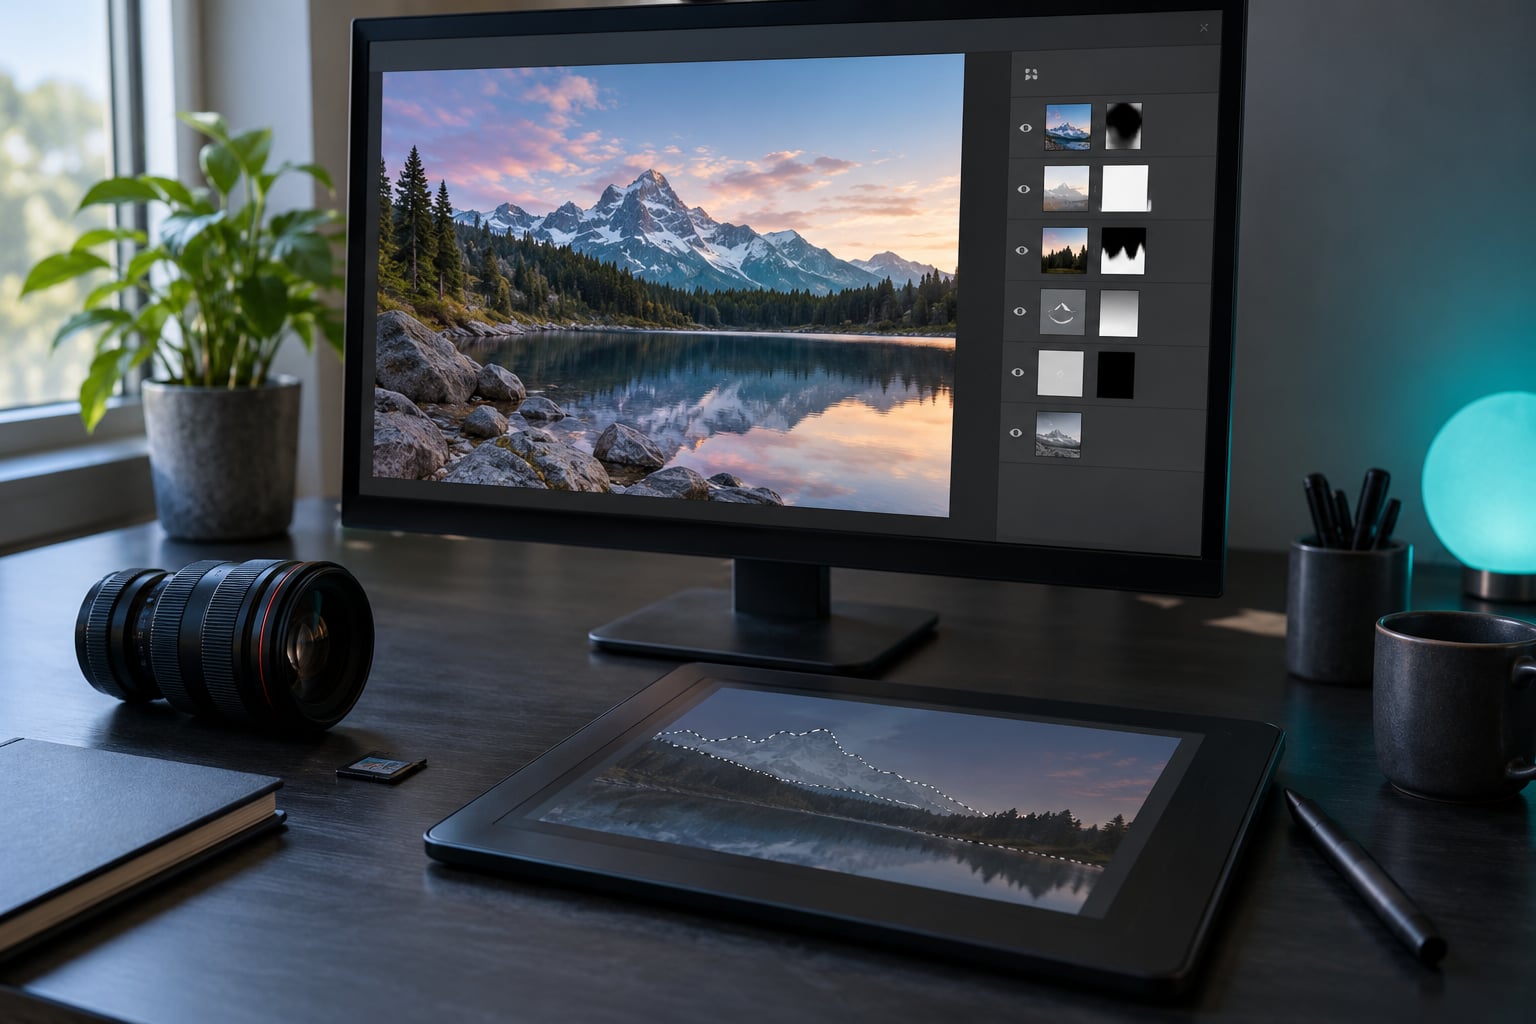
In the Select and Mask workspace, set View to Layer Mask so you can see what is actually selected rather than the marching ants. Work through these in order:
- Refine Edge Brush. Paint over hair, wispy edges, and the shadow the chin casts on the neck. Set the size small, the hardness soft, and refine at a zoom level where individual strands are several pixels wide.
- Smooth. A light pass at 1 to 3 percent knocks off the jagged fringe the selection leaves behind without melting the hair.
- Feather. Half a pixel to one pixel. Any more and the head develops a visible glow against a sharp background.
- Shift Edge. A negative value pulls the edge inward. It removes the halo of original background still clinging to the hair, which is the other half of the problem after feathering.
- Decontaminate Colors. Five to ten percent is plenty. This strips the old background’s color out of semi-transparent edge pixels so you are not compositing a green lawn into someone’s fringe.
Include the ears, the whole hairline, and enough neck that the swap has somewhere to land. Stop at the collar. If you are dragging a rectangle of body along with the face, you will spend the next ten minutes deleting shoulders.
Set Output As to Layer Mask, click OK, and you have a layer that is already masked rather than one you have to erase by hand. This is how to swap heads in a group photo edit without leaving a chalky outline around the new face.
Place and Scale the Head
With the masked head selected as a layer, use Layer via Copy, switch to the group photo tab, and paste. The new layer lands above the Smart Object.
Drop its opacity to about 50 percent, then use Move (V) to align it over the original face. At half opacity you see both faces at once, which makes eye-line alignment easy. Match the inner corners of the eyes first, then the nose, then the mouth. Shift-drag constrains movement to a straight line, which is faster than nudging with the arrow keys.
Now Free Transform (Ctrl+T or Cmd+T). Hold Shift while dragging a corner handle to keep the proportions honest, because a stretched head is obvious from across a room. Scale until the width of the head matches the width of the original, and check the ears against the ears and the jaw against the collar.
Perspective catches people out when one frame was taken slightly from above and the other level. Commit the transform, then right-click the layer and choose Warp. Drag the lower corners a fraction and use the handles under the chin line to correct the tilt. Small moves only; warping is where swaps get that pinched look.
When the alignment is right, put the opacity back to 100 percent. Half opacity hides misalignment, and you need to judge the real thing.
Refine the Mask and Blend the Edges
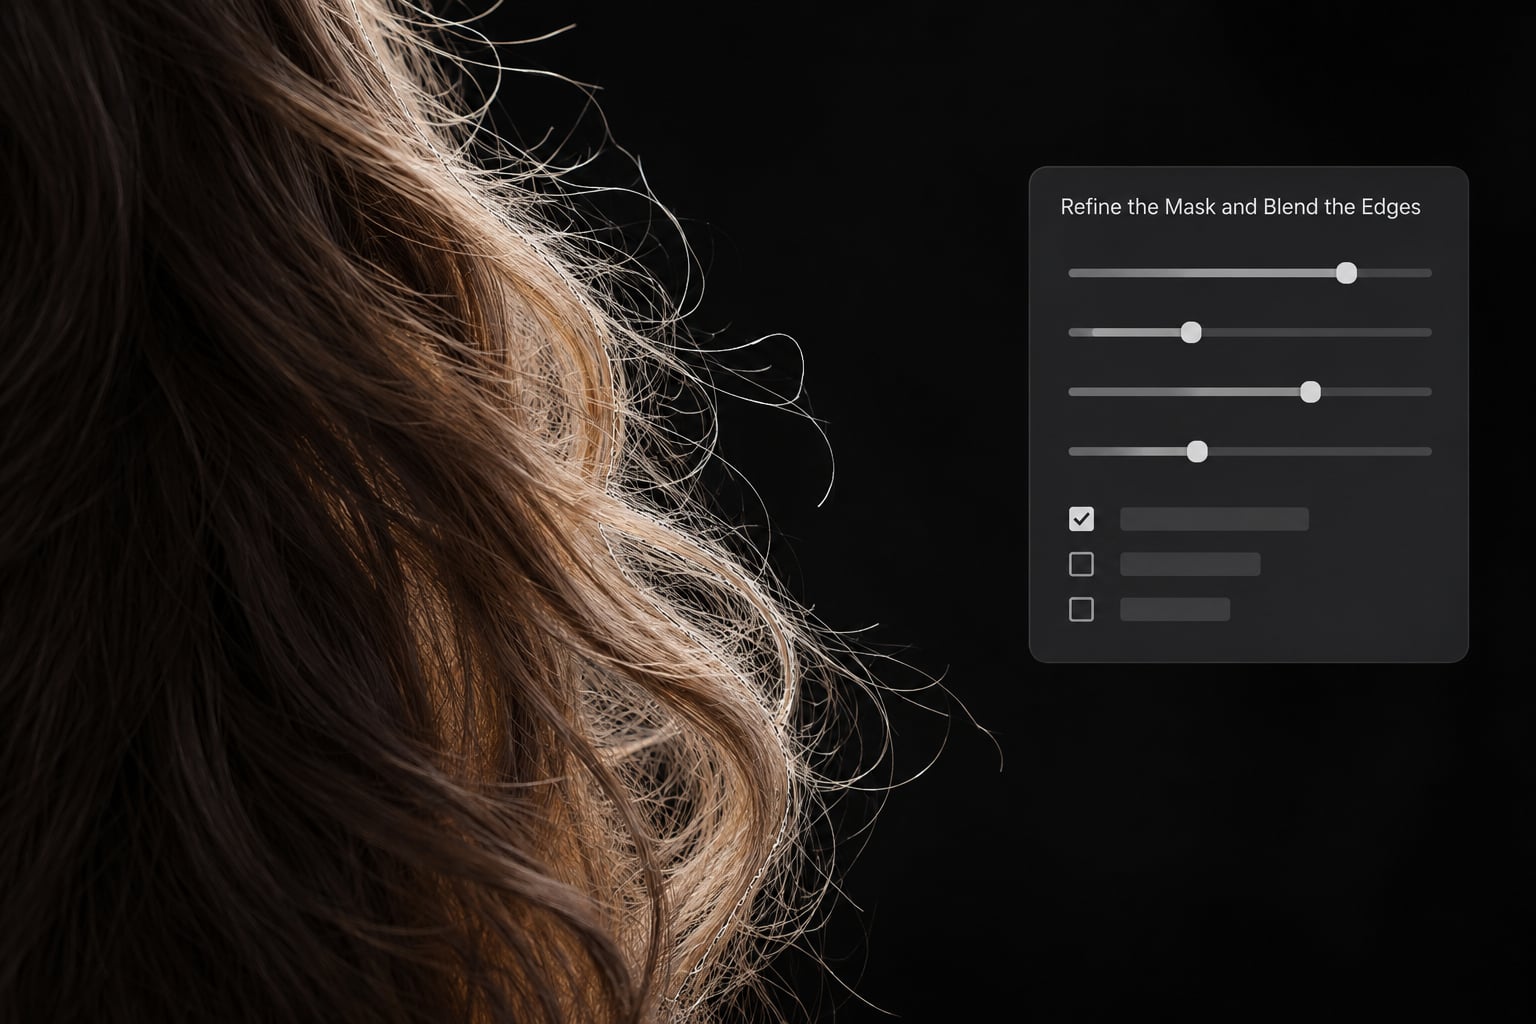
Select the black on the layer mask thumbnail with the Brush tool (B). Painting black hides, painting white brings back, so this step is entirely about removing what does not belong: strands of the old background, a sliver of the original ear, the edge of the old jaw.
Check the result in two places. Zoom to 100 percent and look at the hairline against the background, then zoom out to fit the whole photo on screen and look at the head as a shape. Defects that scream at 100 percent disappear at 50 percent, and the reverse happens too. The fit-on-screen view is what the viewer of the final photo will actually see.
Once the mask is clean, lower the head layer’s opacity to around 80 percent and set the blending mode to Color Dodge for a quick test. Dodge ignores dark pixels and picks up the light underneath, so the head takes on the body’s lighting fast. It looks wrong in a still frame and it is the fastest diagnostic there is: if the result falls apart under Color Dodge, the tonal difference is too big for a blend mode to carry and you need Curves.
Match Color, Sharpness, and Lighting
Put the layer back to Normal, then correct in this order. Exposure first, then white balance, then contrast, then skin hue, then detail. Skipping ahead is why faces end up looking like stickers.
- Curves or Levels. Pull the black point and white point until the new head shares the range of the surrounding skin. This fixes the shot at 60 percent opacity, then finish at 100 percent.
- Hue/Saturation. Small moves on the Hue dial, five to ten degrees at most, and the Saturation slider down slightly. A face that suddenly looks healthier than everyone else has been oversaturated.
- Match Color (Image, Adjustments). Photoshop’s eyedropper samples the skin you want to match and shifts the head toward it. It is fast and it is blunt, so treat the result as a starting point and clean it up with Curves.
- Camera Raw Filter. The Grain Amount slider is the one to reach for. A replacement frame shot at a different ISO carries different grain, and matching it is what stops the head looking airbrushed against a sharp background.
- Sharpening. Camera Raw Filter sharpening at a low amount, or a Smart Sharpen on a separate layer at reduced opacity. Sharpen the whole head evenly and then knock the edge back down if it rings.
Wrap the head layer in a clipping mask so the corrections stay inside it, or you will spend the next step painting your color work back in by hand.
Repeat the Process and Compare the Result
For a second and third face, duplicate the setup. Keep the same refinement settings, the same feather value, the same Curves approach, and the same zoom level while you work. Consistency is what stops three swapped heads from looking like three different edits.
Then do the comparison pass. Toggle the Smart Object visibility off and on, and look only at the area you changed. Most of the time the difference is a brightness step at the hairline or a shadow the new head brought with it. Hit the surrounding skin with the Healing Brush on a separate layer, sampled from just outside the correction, to clean up the last of it.
Export two files. Flatten a copy for delivery, and save the layered PSD with the Smart Object intact, because you will get the call six months later that the family wants a different frame. If the photo is going to print, work from the largest original you have and check it at print size before you flatten.
Common Mistakes
- A bright fringe around the hair. The old background is still there in the edge pixels. Raise Decontaminate Colors slightly, then Shift Edge inward a little more before you feather.
- The face looks pasted on. Almost always tonal, not structural. Drop the layer to 60 percent and check whether the overall brightness matches; if it does not, fix that first and the rest usually resolves itself.
- Wrong head size. Compare the head to the shoulders it sits on, not to the other faces in the row. People standing at different distances produce heads of very different sizes.
- A visible neck seam. Extend the selection further down before masking, then blend the junction with a soft brush at low opacity instead of a hard edge.
- Repeated skin texture. Cloning or healing across a large area repeats pores visibly. Vary the source and keep the corrections small.
- A halo around the whole head. You feathered too much. Undo the feather and use 0.5 pixels instead.
- Skin that looks airbrushed. Sharpening and grain were skipped. Add grain last, matched to the background, not to the face.
Before you export, zoom to 100 percent and scan the whole frame once at full size. It is a slow check, and it is the only one that catches a background you disturbed two minutes ago.
Frequently Asked Questions
What is the easiest way to swap heads in a group photo edit?
The easiest route is a manual layer composite. Use Select Subject on the good frame, refine it in Select and Mask with the Refine Edge Brush, paste the result as a masked layer above the group photo, align it at 50 percent opacity, then run Edit and Auto-Blend Layers with the Panorama method to match tones. Generative Fill is faster but gives you no mask control, which group photos need.
How do I match a replacement head so the lighting looks natural?
Work in a fixed order: exposure, white balance, contrast, skin hue, then detail. Use Curves or Levels first to match the tonal range of the surrounding skin, Hue and Saturation for a small hue shift, and Camera Raw Filter Grain Amount to match the noise of the original frame. Set the head layer to Color Dodge at 80 percent opacity as a diagnostic; if it falls apart, the tonal gap is too wide for a blend mode.
How do I select hair and complex edges when swapping heads?
Select Subject gets you most of the way, then open Select and Mask and switch the view to Layer Mask so you see the actual selection. Paint over hair and wispy edges with the Refine Edge Brush at high zoom, run Smooth at 1 to 3 percent, keep Feather under one pixel, use a negative Shift Edge to pull the old background out of the fringe, and set Decontaminate Colors between five and ten percent.
How do I fix a visible neck or skin-tone seam after swapping a head?
Extend the original selection further down the neck before you mask, so the head lands on skin rather than on the collar. Feather that lower edge lightly and blend it with a soft brush on the mask at low opacity. If the tone still jumps, select the new neck, Sample the surrounding skin with the eyedropper, and correct with Match Color or a Curves adjustment layer clipped to the head layer.
Should I use Photoshop Generative Fill or manual layers to swap heads?
Use manual layers when the frame is a deliverable, a family portrait, or a wedding job. You control the pixels, the lighting match, and the mask. Generative Fill is a good scratch-pad for removing a bystander or filling a gap, but it invents texture rather than reusing it, and that invented skin rarely survives a print. Manual layers take longer and win.
Conclusion
Start with the source photo, not the timeline. A replacement shot from the same burst, same light, same angle does most of the work before you touch a tool.
Then isolate, place, mask, correct: Select Subject and Select and Mask for the head, Free Transform and Warp for size and angle, a layer mask cleaned with a black brush for the edges, then exposure, hue, grain and sharpening in that order. Keep the original as a Smart Object so you can compare, and the swap will hold up at print size.