A multigenerational family portrait works when the plan is finished before anyone arrives: the light is chosen, the tallest and shortest people have a place, everyone has somewhere to sit, and the photographer knows the shot order. Most failed reunion photos are not technical failures. They are planning failures that show up as squinting, blinking, flat light, and a two-year-old sitting on the grass.
This guide walks through how to photograph a multigenerational family portrait from the first phone call to the final gallery, including camera settings, light direction, posing order, and how to keep four generations comfortable for ninety minutes. Budget roughly two hours on site, plus editing time later. The difficulty is not technical. It is keeping a group of people with wildly different energy levels in the same frame.
Table of Contents
- What You Need to Photograph a Multigenerational Family Portrait
- Step-by-Step: How to Photograph a Multigenerational Family Portrait
- 1. Define the portrait’s purpose and visual style
- 2. Plan the people, location, and timing
- What to do about families with tension in the room
- 3. Learn how to photograph a multigenerational family portrait in good light
- Indoor light setups that cover ten or more people
- Working with grandparents who cannot stand for long
- 4. Build and adjust the group pose
- Three-generation and four-generation posing formulas
- 5. Direct the family through natural interaction
- 6. Make group variations without losing the thread
- Setting the camera before you put anyone in the frame
- 7. Review images and deliver a thoughtful set
- Common Mistakes in Multigenerational Family Portraits (and the Fix)
- Frequently Asked Questions
- How many generations should be included in a multigenerational family portrait?
- What is the best way to pose three generations without making the group look crowded?
- How do you light a multigenerational family portrait outdoors?
- How can I keep children engaged during a family photo session?
- Should every family member look at the camera?
- How many photos should I take during a multigenerational portrait session?
- Conclusion
What You Need to Photograph a Multigenerational Family Portrait
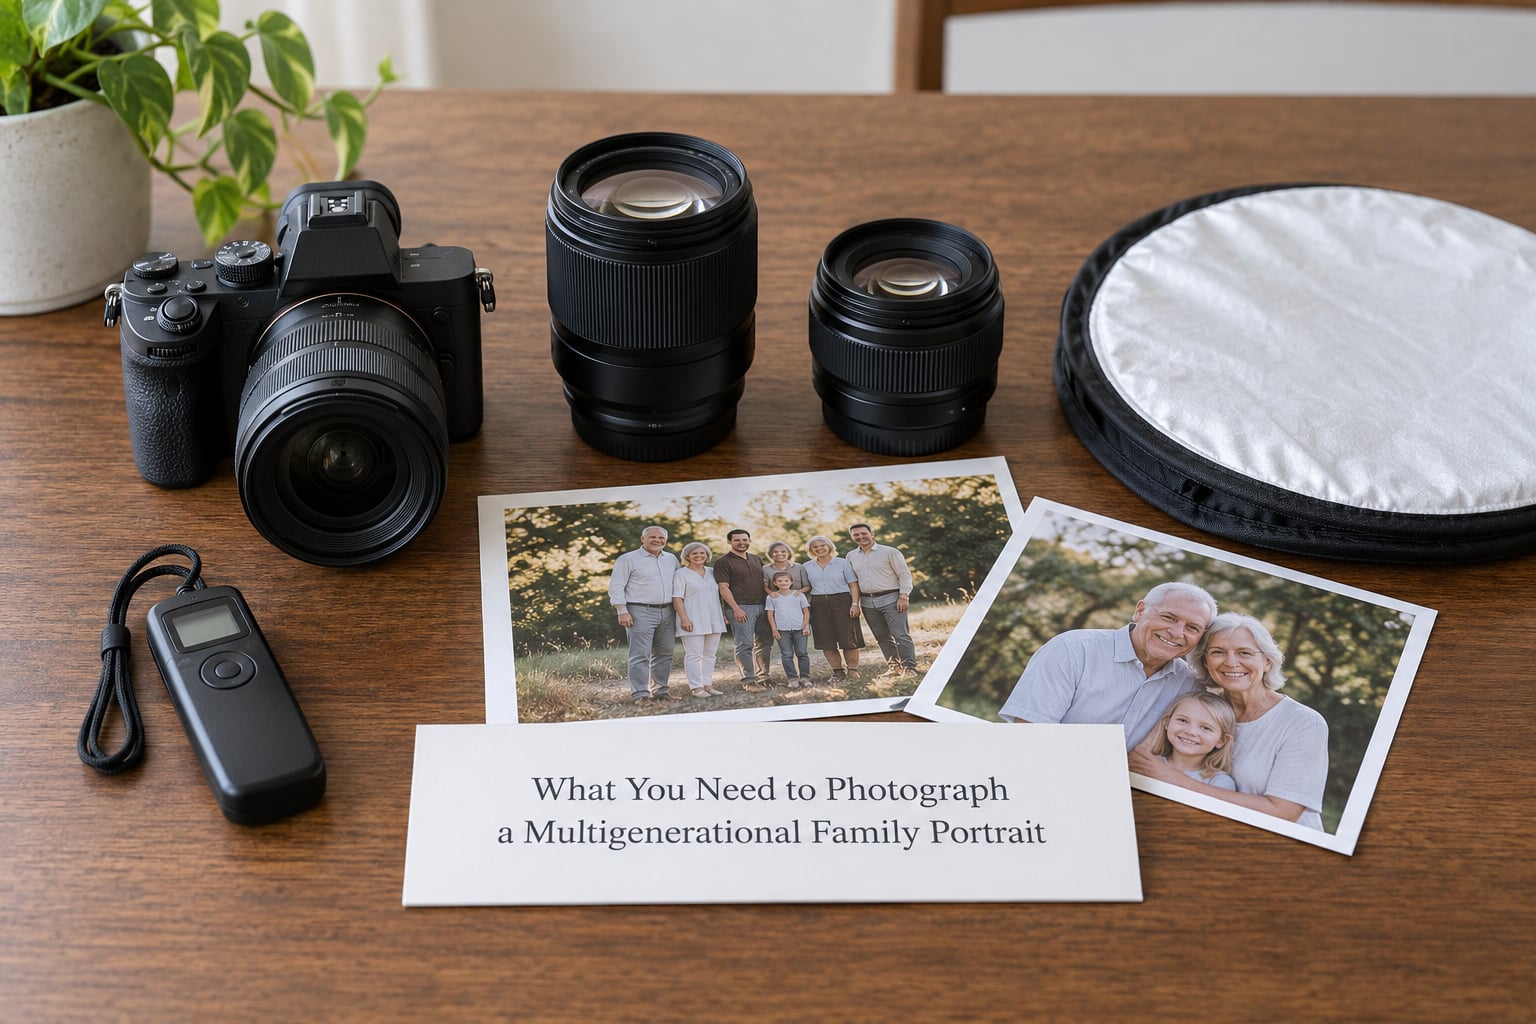
Everything here is ordinary kit. The only unusual item is a written list of who needs to be photographed with whom.
Before the day
- A combination list: whole family, each generation, grandparents with grandchildren, siblings, couples, and individuals
- Named arrival times that account for naps, meals, and mobility
- A fallback location with indoor cover and no steps
- Outfit guidance sent a week ahead, in plain words
Camera and light
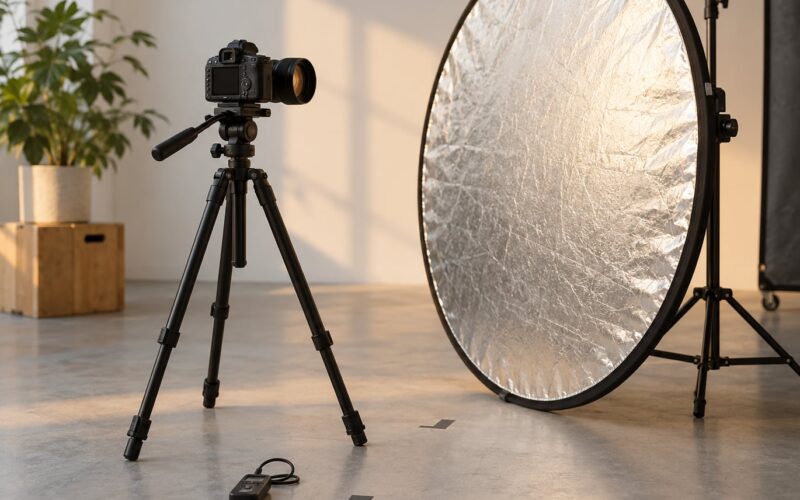
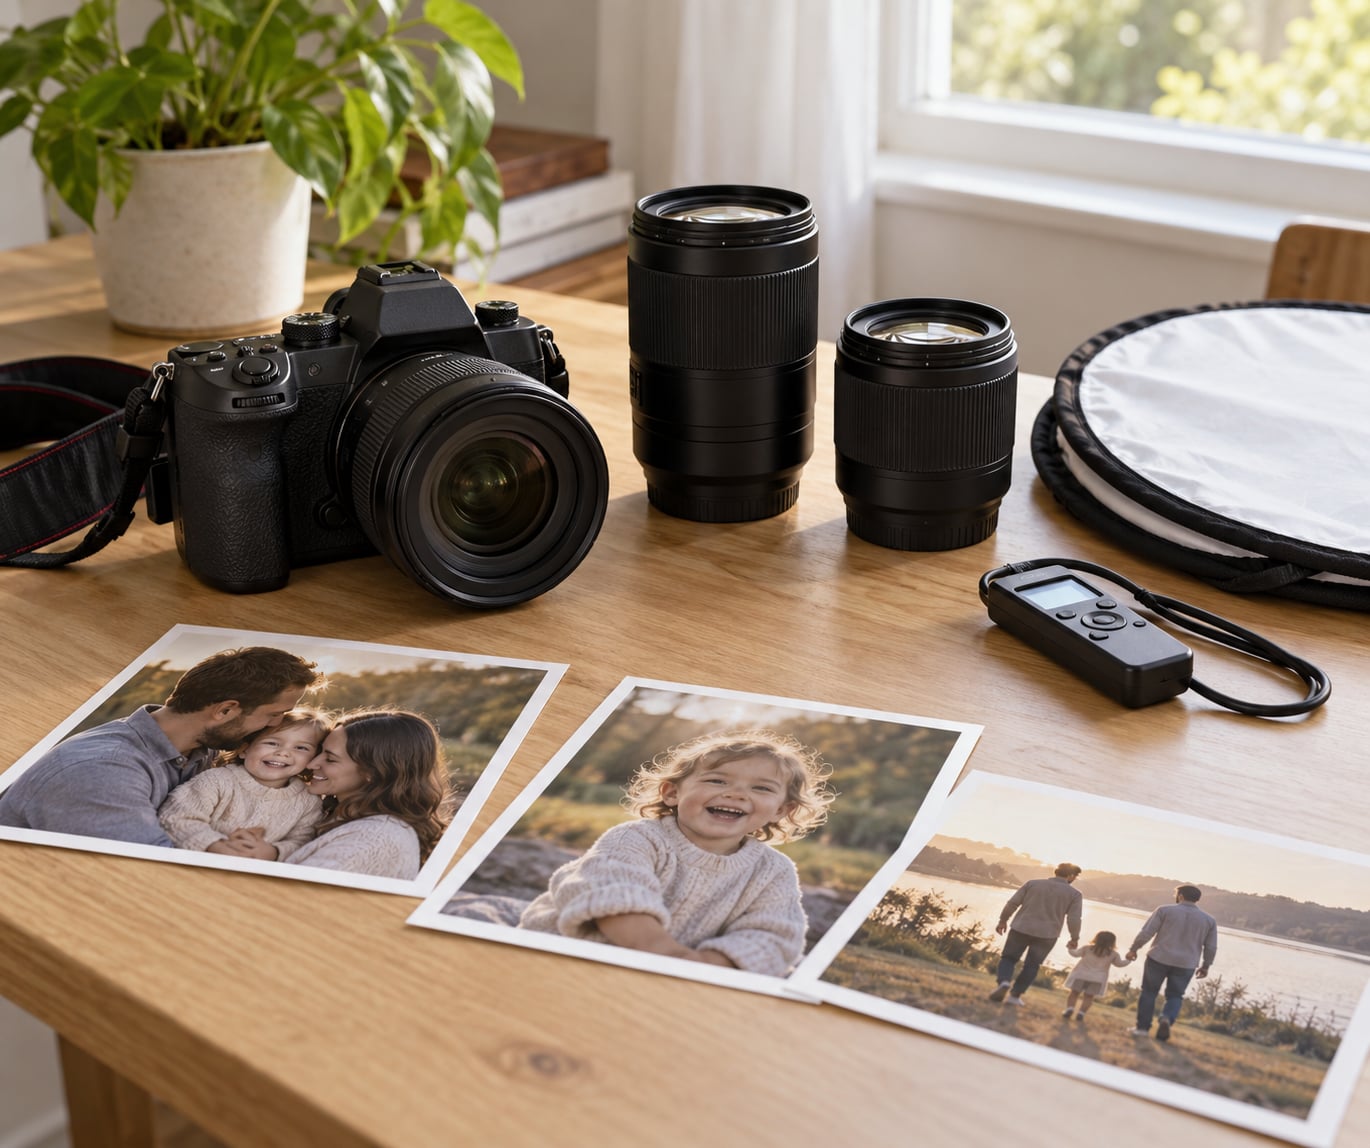
- A camera with manual control over aperture, plus a tripod and a remote release or interval timer
- A 24-70mm or 35mm lens for indoor or small spaces, a 70-200mm for outdoor groups
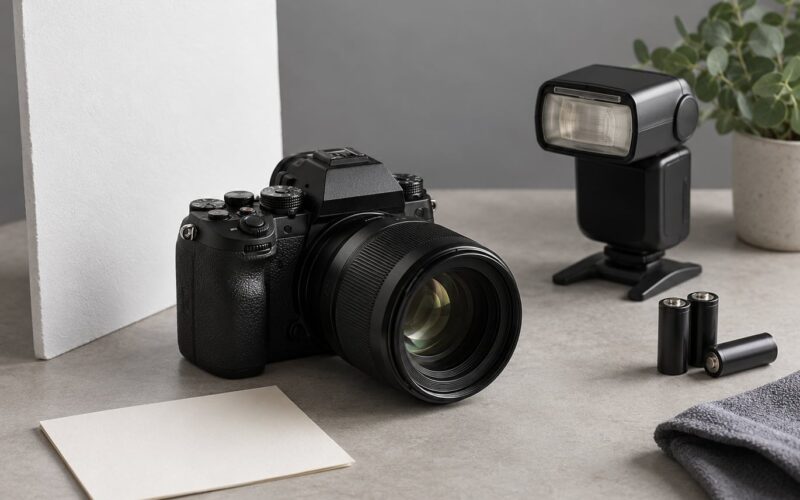
- A white reflector or a 5-in-1, and optionally one off-camera flash with a stand
- Spare batteries and two formatted cards
Comfort and control
- Chairs with backs and arms for grandparents, and a stool or two for small children
- Water, snacks, and a planned break roughly halfway through
- A second adult who is not taking pictures, to gather people, hold coats, and watch the kids
- A rug, blanket, or mat so nobody has to stand on wet grass
Simple portraits are often better than complicated portraits. A glass of water and a chair solve more problems on a reunion day than a second light modifier.
Step-by-Step: How to Photograph a Multigenerational Family Portrait
1. Define the portrait’s purpose and visual style
Ask what the family wants to remember before you talk about light. A milestone birthday portrait, a holiday reunion, and a documentation of everyone in one room each produce a different photograph.
Formal portraits use rows, symmetrical spacing, and matching posture. Documentary portraits catch people talking and laughing. A blended approach, which is what I default to, starts with the formal arrangement everyone expects and then stays long enough to catch the real moments.
Outfit coordination deserves a conversation early, because it is the thing most likely to cause friction. Neutrals with one accent color reads well in almost any setting and never dates badly. Fully matching outfits can look stiff, and busy patterns fight with faces at small sizes. Tell people to wear what they feel good in, in a color that sits next to cream, grey, navy, tan, or olive.
Shoes matter more than most people expect. Bare feet on grass look unintentional, and everyone should know in advance whether the picture is taken standing or seated.
2. Plan the people, location, and timing
Build the combination list before the shoot and treat it as your shot list. For four generations, mine is short: everyone together, three generations, each couple alone, grandparents with their children, grandparents with grandchildren, siblings, and one or two individual frames of children.
Location beats gear here. Look for flat, walkable ground, shade or a building edge within a few steps, a background with texture but no clutter, and somewhere everyone can sit down. If a grandparent uses a wheelchair or a walker, check the path from car to spot before anyone arrives, and confirm there is a bathroom nearby.
Timing is mostly a matter of working around people, not light. Golden hour gives the softest outdoor light, but it lands at the end of a toddler’s good hour and after a great-grandmother has finished standing. An afternoon start with open shade often produces a better result than chasing the sun.
Plan a rough order: the whole group first while everyone is fresh, then generation groups, then the small combinations, then candids at the end. If the weather turns, you will already have the main frame.
A simple timeline keeps a two-hour session on track. Give the first twenty minutes to arrival, hydration, and settling in without a camera in anyone’s face. Spend twenty minutes on the full group and the three-generation frames, then move to couples, grandparents with grandchildren, siblings, and children. Break for ten minutes about halfway. Use the final thirty minutes for candids and any combination you missed.
What to do about families with tension in the room
Reunions often carry something unresolved: a divorce, an estrangement, a difficult year. Do not pretend it is not there, and do not attempt to referee. Find out before the day whether anyone genuinely does not want to be photographed, and offer them a separate arrangement that still includes them in the frame later through a small combination.
Blended families need a decision rather than an improvisation. Photograph each parent with their own children first, while everyone is comfortable, then bring the combined groups together. That order means a tense combination gets five minutes, not the ninety minutes it would take if you attempted it first.
Give people something to look at besides the lens. A grandchild counting on their fingers, a sibling leaning into a joke with a cousin, all of it works better than a photographer asking for a smile.
3. Learn how to photograph a multigenerational family portrait in good light
Find open shade and treat it as your default. A building edge, a porch, or the shaded side of a tree gives you soft directional light, and it holds up at any hour. Harsh midday sun is the hardest condition to rescue, because it creates dark eye sockets and squinting.
Indoors, put the group near a large window and turn their faces about 45 degrees toward it. Light coming from one side gives shape; light coming from directly behind the window makes a window-shaped shadow across every face. Open curtains and pull people a few feet back so the light spreads.
Backlight works when there is something behind the family to hold it up: a golden field, tree line, or low sun haze. Meter for the faces so they stay correctly exposed and let the background glow.
Do not let people stand directly in front of a busy background, and do not let one generation’s head sit exactly behind another. Step sideways until every face has separation. That single move fixes more crowded-looking portraits than any lens change.
A reflector or off-camera flash placed near the camera lifts the shadows under eyes and chins, which matters most in open shade under trees. Keep it a few feet from the group and raise it above eye level.
Indoor light setups that cover ten or more people
Indoors, a single on-camera flash pointed straight ahead is the worst option. It flattens everyone and throws a hard shadow on the wall behind. Use one flash on a stand, positioned about 30 degrees to one side of the camera and slightly above head height, aimed at a white wall or ceiling to bounce. That gives one soft source for the whole group.
Where a room is too dark for that, open every curtain and door first, then add a reflector to even out the near side. Interiors with high ceilings, pale carpets, and white walls can carry a fifteen-person group if you shoot by a large window and put the darkest clothing nearest the glass.
Window light only works if people are close to the window and facing it. Push the back row further into the room and it goes grey and grainy, because you will raise ISO to compensate. Ten feet back from a window on an overcast day is usually the practical limit for a group this size.
Metering matters more than most guides admit. Evaluative or matrix metering reads the whole frame and gets fooled by bright sky behind the family. Spot meter on a face, then hold that exposure as people move. If you have time, highlight warnings or a zebra display on a lit face will tell you faster than the histogram.
Working with grandparents who cannot stand for long
Standing endurance is the most practical constraint on a reunion day. Ask in advance, not on the day, because people downplay it. Find out who can stand for five minutes, who can only manage one or two, and who must sit for the entire shoot.
Photograph the seated combinations first, while everyone is fresh and nobody has been asked to hold still. If someone must sit throughout, build the pose around their eye level rather than treating it as an exception. A composition with seated grandparents in front and everyone else leaning in behind reads as intentional.
Keep seniors out of wind, direct afternoon sun, and hard shadows. Bring a shawl or blanket for a porch setting even in warm weather, and check the walk from car to spot before anyone arrives. Wheelchairs and walkers change where you can stand, so scout from the seated position, not your own.
Watch for pace changes. If a grandparent tires, switch to the combination that includes them and let everyone else move. The frame you lose in sharpness from a small aperture is a smaller loss than a portrait made of a distracted, tired face.
4. Build and adjust the group pose
Arrange people in staggered heights rather than a straight line. Two rows work well: taller people and standing adults at the back, seated grandparents in front, and children placed where they can move without crossing the frame.
Give grandparents chairs with backs and arms. Position them slightly forward of the standing row so their faces are not blocked, and ask them to place hands on thighs or lap rather than hanging arms at their sides.
Children are the wild card. A toddler on a parent’s lap, a stool near the front, or an adult tasked solely with holding one child all work better than asking the group to wait for stillness.
Connect people through small actions rather than required touching. A hand on a shoulder, a grandchild leaning against a knee, heads tilted slightly toward each other. If someone does not want to be touched, ask them to stand close instead, and frame the two so their bodies overlap in the picture.
Depth of field is the setting that decides whether the back row is sharp. Here is a workable starting point by group size and space.
- 3-5 people: f/4 to f/5.6 on an 85mm, focused on the front face with single point autofocus
- 6-9 people in one row: f/5.6 to f/8 on a 50-85mm, focused on the middle face
- 10-15 people in two rows: f/8 to f/11 on a 35-50mm or 70-200mm, focused on the front row centre face
- 15 or more, or deep rows: f/11 on a 24-35mm moved further back, focused on the front row before stepping back again
Check the result by zooming in on the back row at 100 percent before you shoot the full burst. If the back row is soft, stop down further or move back. Every extra stop of depth of field costs light, so watch your shutter speed and ISO.
Wide-angle lenses distort the edges of a group badly. A 24mm at close range stretches the person nearest each side of the frame, which on a family portrait means the parents on the ends look stretched while the grandparents in the middle look small. The fix is distance: step back and use the long end of a 24-70mm rather than moving in with a wide lens.
Three-generation and four-generation posing formulas
Three generations usually means grandparents seated, parents standing behind, children in front. The variation that works best puts the children on the floor level, leaning against a grandparent’s knees, so the frame has three visible heights instead of two.
Four generations needs a taller shape. Put the eldest seated at one end rather than the centre, with the next generation seated or standing beside them, parents standing behind, and children at the front. Offsetting the eldest breaks the symmetry that makes four generations look crowded.
Grandparents with grandchildren is the frame families want most, so give it real time. Work at the child’s height, sit beside them rather than behind them, and use a prop that produces contact without posing: a book, a puzzle, a small blanket. Ask the adult to sit behind the child and guide their hands, which solves the hands problem in one instruction.
Blended combinations get their own small frame rather than being forced into the big one. Photograph each household as a unit, then place them together. It reads as warm instead of staged, and it gives you insurance if the combined frame is not working.
For movement and candid frames, keep the shutter around 1/250s and let Auto ISO handle the rest. For a still group where everyone is holding a pose, 1/125s is enough and lets you hold a narrower aperture. Shoot RAW so you have room to recover skin tones in mixed light later.
5. Direct the family through natural interaction
Short prompts work better than long instructions. Ask everyone to look at grandma, then at me, then back at grandma. Three seconds of attention beats thirty seconds of holding a smile.
Give people something to do: squeeze a hand, whisper something to the person next to you, tilt your head toward the person beside you. Movement in the first frame of a burst is often the frame you keep.
Blinking is the most common failure in large groups. Give a short countdown rather than a long one, and ask people to blink and reopen on your count. Shoot the last two frames of a burst as often as the first, because people settle and blink in the middle.
Take five to ten frames for each combination, and keep shooting while you talk between poses. The frame after the group relaxes is usually the one with real expressions.
6. Make group variations without losing the thread
Photograph the whole family first, then break the group down. The order matters: the everyone shot has the least margin for error and the most value, so do it when people are fresh and cooperative.
Work through combinations in descending size: three generations, parent pairs, grandparents with grandchildren, siblings, cousins, then individual children. Move smaller groups back into roughly the same spot with the same light so the set looks like one family, not ten different afternoons.
For grandparents with grandchildren, work at their seated eye level rather than standing over them. Ask the adult to sit behind and guide the child’s hands to a book or a small toy that gives the hands something natural to hold.
If a pet belongs in the family, add it at the end rather than the start. One person takes the dog, a second keeps a treat, and the group relaxes.
Pull the photographer into the frame with a tripod, remote, or interval timer when the family wants a self-portrait version. Focus on a face, set the delay, walk into position, and hold still. If nobody wants that, skip it.
Setting the camera before you put anyone in the frame
Set the camera up before people arrive: tripod at chest height for a standing group, lower for a seated one. Aperture priority works well for most of this session, because you hold the aperture constant and let the camera pick the shutter speed.
Set white balance to a fixed value rather than auto once the light is settled. Auto white balance will shift colour between the wide frames and the combinations shot twenty minutes later, and a family gallery with mismatched tones is the one thing that reads as amateur.
Decide how you will focus. Single point autofocus on a front-row face, then step back, works well. Face detection with eye focus is faster on a modern camera but can hunt when half the group is turned sideways. Whichever you choose, focus once, check at 100 percent, and shoot.
Leave burst mode on and set a short interval timer as your safety net for self-portraits. A two-second delay gives people time to settle rather than scrambling the instant the shutter fires.
7. Review images and deliver a thoughtful set
Cull on eyes and gestures first, then technical quality. Sort the whole set into three groups: wide frames with the full family, medium combinations, and candid moments between poses.
A good delivery for a reunion is roughly three to five wide frames, the key generation combinations, each grandparent with their grandchildren, every child on their own, and a dozen or so candid frames. That mix means a family can find what they need when a birthday, a graduation, or an obituary comes due.
Edit in RAW with a neutral preset, correct the white balance against something grey or white in the frame, and check each face. Head swaps are a normal part of this kind of work when one person blinked in an otherwise perfect group frame, but use them sparingly. Families notice.
Export two sizes: a full-resolution version for printing and a web version for sharing. Ask the family which single frame they would enlarge, and print that one at a size that works on a wall.
Common Mistakes in Multigenerational Family Portraits (and the Fix)
Everyone stands on one flat line
Two or three staggered heights read as a group; one line reads as a lineup. Seating the front row is the fastest fix.
Flat light from the sky behind everyone
An open grey sky is soft but directionless, and it flattens faces. Turn the group so light comes from one side, or use a reflector or flash near the camera to put shape back into the faces.
Forcing physical contact
Arms over shoulders and hands clasped to ankles produce stiff bodies and sore arms. Ask for close proximity and frame tighter instead, or give each person a task that involves touch, like holding a small child or sharing a blanket.
Every face wearing the same expression
A group held in one expression for forty frames will look strange at print size. Break the pose into three parts and photograph between them.
Children parked at the edge
Toddlers sitting on the ground at the far end of the row get cut off or blurred. Put a child at the front centre, in an adult’s arms, or assign one person to hold them for each combination.
Changing settings between every shot
Adjusting aperture, white balance, and focal length for each combination breaks the visual consistency of the set. Fix aperture and white balance for the session and change only the framing.
Over-directing until everyone looks frozen
Constant instructions kill small gestures. Give one prompt, take a burst, then talk for ten seconds while the camera is still firing or while you check the frame, and capture that in-between state.
Ignoring comfort
Standing for an hour in cold or heat is why people look tired. Plan a seated section, keep water and snacks within reach, and take a real break. Ten minutes costs you two frames and buys you a better second half.
Frequently Asked Questions
How many generations should be included in a multigenerational family portrait?
Three generations is the classic setup: grandparents, parents, and children. Four works well if everyone is comfortable standing or seated in a stable position, and five is realistic only indoors or with a wide frame. Include everyone who can take part comfortably rather than chasing a number, then photograph the smaller combinations separately so the youngest and oldest are not lost in a crowd.
What is the best way to pose three generations without making the group look crowded?
Use staggered heights instead of rows of equal height. Seat the grandparents in front, put standing adults behind and slightly to the side, and place children at the front or in an adult’s arms. Step sideways until no head sits directly behind another, then use a 70-200mm outdoors or 35-50mm indoors to keep the spacing visually tight.
How do you light a multigenerational family portrait outdoors?
Use open shade by default, with the light coming from one side rather than straight overhead. A reflector or a single off-camera flash near the camera fills the shadows under eyes and chins, which are the first thing to look flat in shade. For backlight, place the sun behind the family, meter for the faces, and let the background glow.
How can I keep children engaged during a family photo session?
Give children a job rather than asking them to hold still: hold a stuffed animal, read a book with a grandparent, or pass something to the person beside them. Shoot the full group first while everyone is fresh, take child combinations early, and keep snacks and a short break within reach. Short bursts followed by ten seconds of talking produce better frames than long standing instructions.
Should every family member look at the camera?
Not for the whole session. Photograph one or two frames where everyone looks at the lens, since that is often the frame the family wants framed and printed. Then direct attention elsewhere: look at each other, at a grandchild, or off toward something out of frame. Those images usually outlast the lens-facing ones, because they look like a real afternoon.
How many photos should I take during a multigenerational portrait session?
Expect a few hundred frames across a full set of combinations. Take five to ten frames per pose and twenty or more for the full family group, where blinks and small movements are most likely. Finish every combination with a burst taken while you talk, then cull hard: the delivery usually needs three to five wide frames, the key combinations, and a dozen candid moments.
Conclusion
Start by deciding the story the family wants to keep, then build a plan that makes that story comfortable: shade instead of sun, chairs for anyone who needs them, staggered heights, and a written combination list in a known order.
Photograph the whole group first while everyone is fresh, then work down into the smaller generations and the candid frames between them. That is the whole answer to how to photograph a multigenerational family portrait: plan the light, plan the heights, plan the seat, then let the afternoon happen. When a family opens that gallery years later, they are not looking for perfect symmetry. They are looking for the hand on the shoulder and the child mid-laugh.