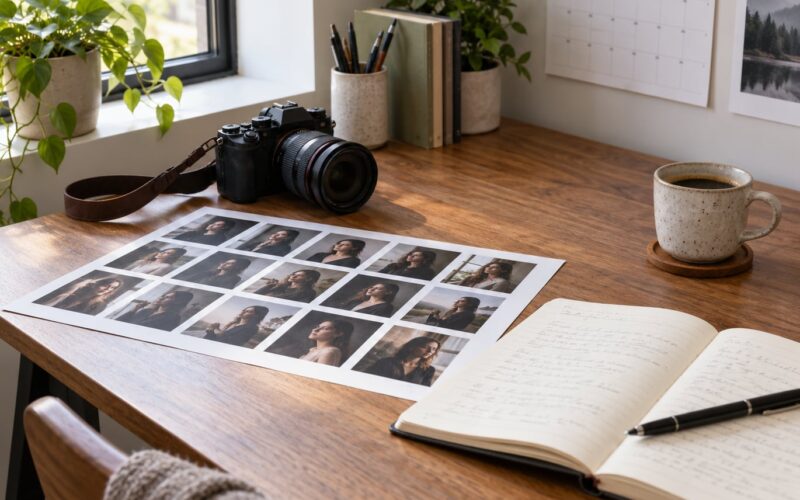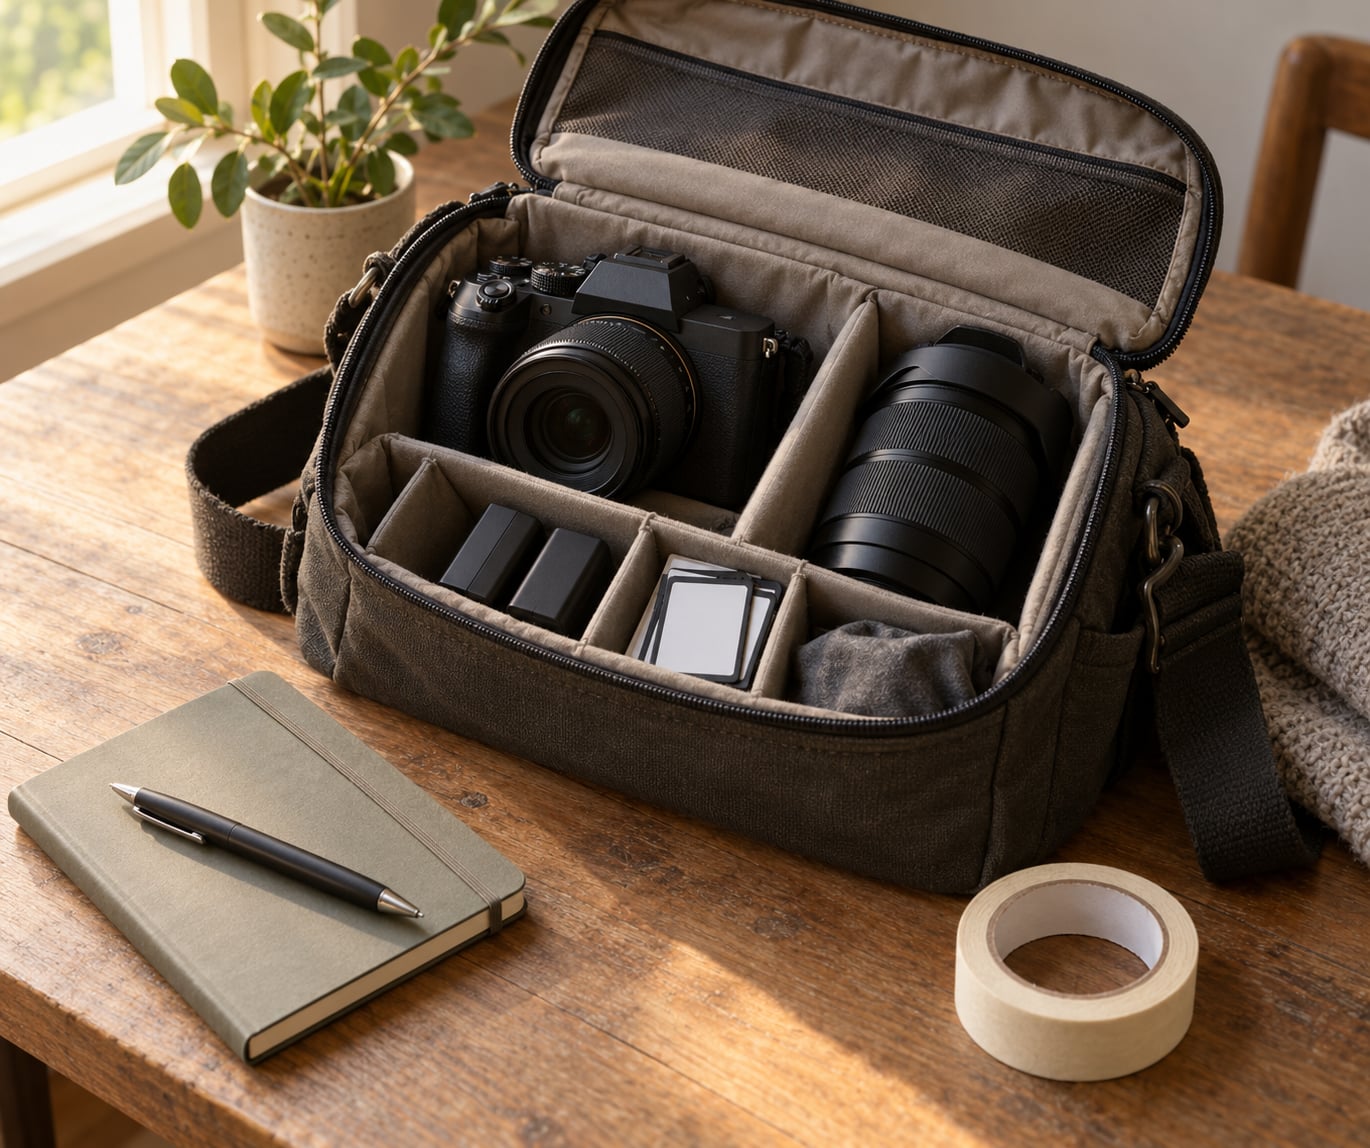
Respectful community event photography means documenting an event while protecting the people inside it: announce that you are shooting and why, get consent where it is genuinely needed, stay out of the moments that matter, frame people without making them feel watched, and control carefully what happens to the images afterwards.
It is different from wedding or corporate event photography in one specific way. In those, your subjects are paying you or have hired you, and they can fire you. Here you are usually an outsider with a camera, and the people in the frame never agreed to be documented, published, or talked about later. The power sits with you, which is exactly why the boundaries matter.
If you have never done this before, allow three hours of preparation before you raise a camera. Most of that preparation is conversation, not kit.
The seven rules below are the short version, and they are worth reading even if you skip nothing else on this page.
- Announce yourself before you shoot, and say who asked you to be there.
- Put up a photography notice with a named contact for opting out.
- Never photograph a child whose parent or guardian is not present and has not agreed.
- Shoot from the edges of a crowd, not through the middle of it.
- Ask, do not assume, when a moment feels private or emotional.
- Agree where the images go before you shoot, not after.
- Delete anything a person asks you to delete, without negotiating it.
Table of Contents
- What You Need
- Step-by-Step: How to Photograph a Community Event Respectfully
- 1. Learn About the Event and Its Communities
- 2. Speak With Organizers Before the Event
- 3. Establish Consent Without Creating Barriers
- 4. Photograph People, Not Just the Occasion
- 5. Ask Before Crossing Personal Boundaries
- 6. Include Rather Than Tokenize
- 7. Capture Honest Moments Without Stealing Them
- 8. Protect Names, Stories, and Private Information
- 9. Review, Credit, and Share Images Responsibly
- 10. Archive Images for the Community
- Group Photos Without Compromising Anyone
- What to Say When You First Introduce Yourself
- Common Mistakes and How to Fix Them
- Frequently Asked Questions
- Do I need permission from every person at a public community event?
- How should I photograph children at a community event?
- Can I take candid photographs if someone did not sign a consent form?
- What if an organizer allows photography but an attendee does not?
- How do I photograph people in private, emotional, or vulnerable moments?
- Can someone ask me to remove a photograph after it is published?
- Start by Agreeing on Boundaries and Respect
What You Need
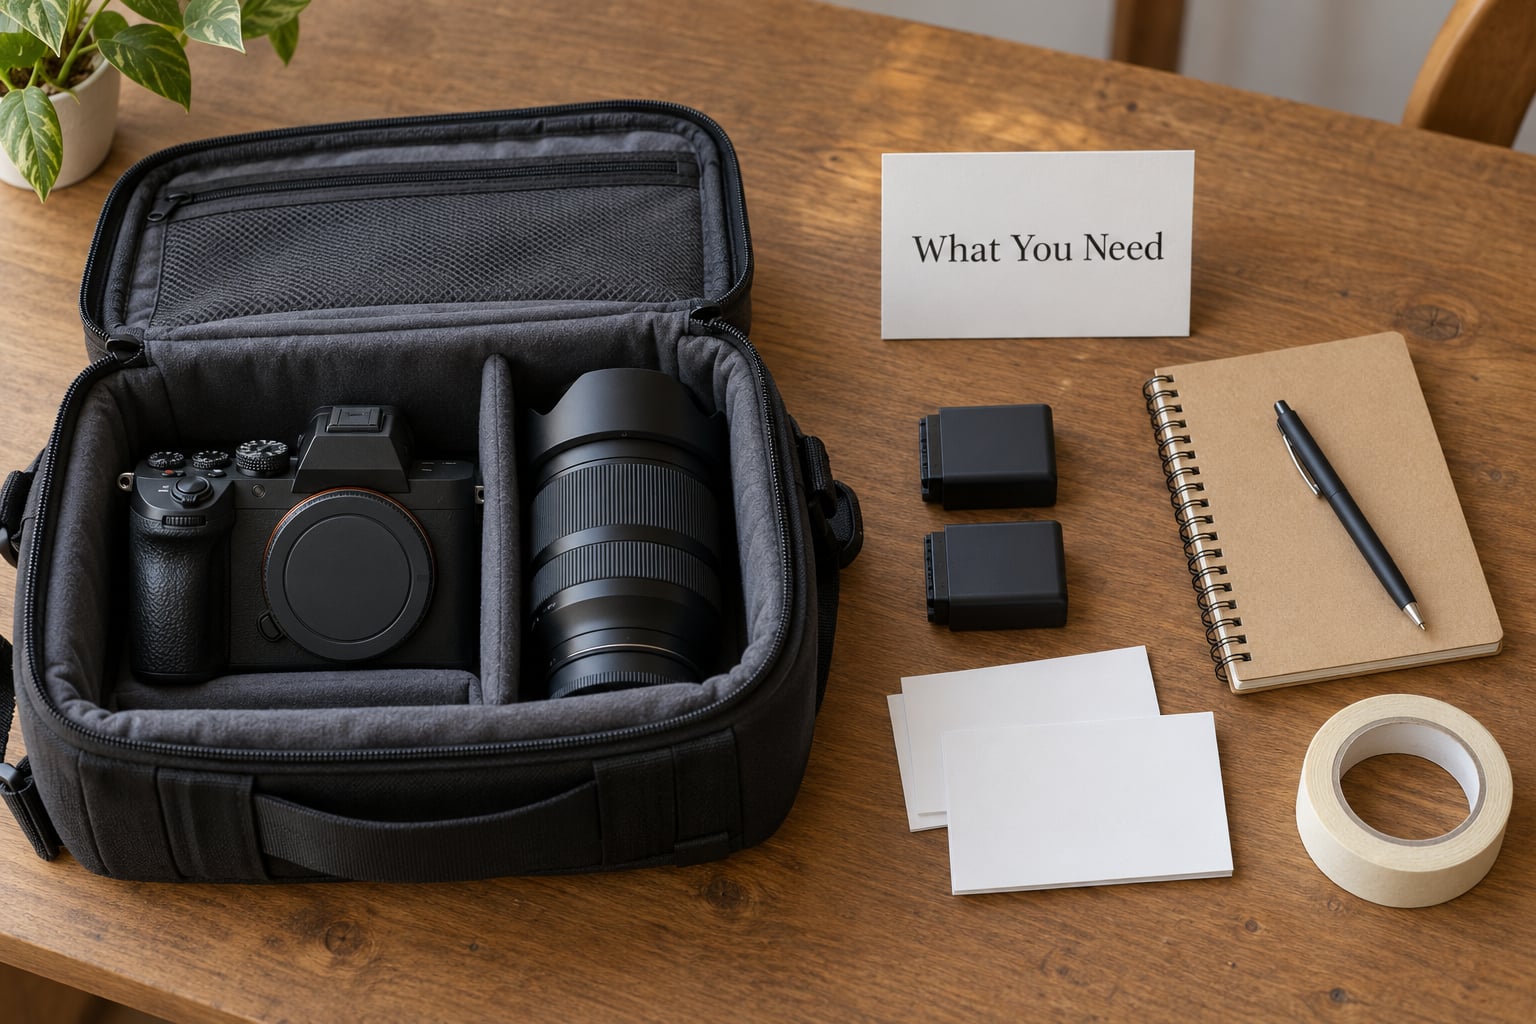
Bring less kit than you think. A long zoom is the single most respectful piece of equipment you can own at an event, because it lets you fill the frame from across a room instead of walking into somebody’s conversation.
- A camera with a fast zoom covering roughly 24 to 200mm equivalent. One body is plenty; a second body is useful only if you are also culling on a laptop.
- Two spare batteries and at least three memory cards, formatted before you leave. Events run long, and a card failure at the end of a six-hour day is the most demoralizing thing there is.
- A phone for showing a frame back to the person who just noticed you shooting them. Turning the screen around disarms almost every tense moment.
- Printed photography notices and consent forms, plus a roll of masking tape or removable sticky tabs. Paper notices at the entrance beat any consent you chase later.
- A notebook for names, name preferences, pronouns as people give them, and any promise you make about where an image will be used.
- A quiet shutter mode if your camera has one. In a hall of two hundred people, mirror slap is louder than it looks on a screen.
- An accessibility plan: a spare chair, a clear route you are not blocking, and a decision about whether you will shoot someone seated from standing height or kneel. Ask the organizer which parts of the venue are step-free.
Leave the flash unit at home unless the organizer has specifically asked for lit portraits and you have a space for them. A flash fired across a room during a quiet moment is the fastest way to make an entire group dislike you.
Step-by-Step: How to Photograph a Community Event Respectfully
1. Learn About the Event and Its Communities
Before you accept the assignment, find out what the event is actually for. A neighborhood cleanup, a youth football tournament, a food bank shift, a remembrance gathering and a corporate volunteering day all look like “a community event” and behave nothing alike.
Search for the group beforehand and read what they publish. You are not looking for gossip, you are looking for the shape of the event: who runs it, which languages or faith traditions appear, whether there is a stated no-photo policy, and whether the same people have been photographed before without being asked.
If the group has a public code, policy or safeguarding page, read it before the first email rather than after the third one.
2. Speak With Organizers Before the Event
One conversation with an organizer prevents almost every problem that follows. Ask who has asked you to shoot, what the images will be used for, where they will be published, whether any part of the event is closed to photography, whether children will be present, and whether any attendee has already asked not to be photographed.
Get the answer on ownership early. Community consensus in photography forums is that if you shoot as a volunteer, you probably still own the copyright unless you were formally employed or formally assigned it, but you need to say that out loud at the start rather than discover it at the end.
Write the agreement down. A short email confirming your role, your intended use, and who approves images saves both sides later.
3. Establish Consent Without Creating Barriers
Asking one person at a time is exhausting and often unfair, because the people most confident in front of a camera end up being photographed most. Layered consent works better: organizer approval sets the baseline, a posted notice covers the room, and opt-out badges or private messages handle the rest.
Three types of consent do most of the work.
Explicit consent is a clear yes from a specific person to a specific use. You have it when someone says yes and knows what you will do with the picture.
Implied consent is the absence of objection inside a clearly announced, publicly accessible setting where no one is singled out. It is weaker than most people assume, and it disappears the moment the door closes or the setting becomes intimate.
Guardian or parental consent is required for anyone under the age of majority in your jurisdiction, obtained in advance and in writing for a documented event.
Here is the photography notice you can copy, paste and print:
Photography notice
Photographs of this event are being taken by [name], [organisation or “a volunteer photographer”]. The photographs may be used on our website, in printed newsletters, on social media, and in reports to funders.
If you would prefer not to be photographed, or would prefer a photo of you removed, please tell any member of the welcome desk, or email [contact name] at [email address]. We will act on that request without needing to explain why.
Some areas of this event are no-photo zones, marked with tape and a sign. Please do not enter those areas with a phone or camera.
And here is the consent form, with the fields named so nobody has to invent them:
Photo consent form
Group name: [name]
Who we are: [name of photographer and role]
Why we are photographing: [event report, newsletter, archive, funder report]
How the images will be used: [website, printed materials, social media, press, funder report, internal archive]
Will they be shared with others: [yes with whom / no]
How long will they be kept: [period, e.g. two years from the date of the event]
How to opt out or request deletion: [contact name, email, phone]
Name preferences: [full name, first name only, initials, or do not publish the name]
For participants under [age]: signed by parent or guardian, name and contact details.
The field people skip is retention. Decide up front how long the images stay, and write the date on the drive folder. Data protection rules in the UK and Europe treat an undeleted archive as a live problem, and a growing archive of identifiable people is hard to defend later.
4. Photograph People, Not Just the Occasion
The strongest community photographs are usually not the stage. They are the woman tying a child’s laces while the speaker talks, the two volunteers passing a box between them without looking at it.
Build a loose shot list before the doors open. I usually write down six to ten things: the room before people arrive, the organizers greeting arrivals, the volunteer doing something repetitive, the person who knows everyone, the person nobody has spoken to yet.
The last one is the frame people remember. Shoot the chairs after everyone has gone home.
5. Ask Before Crossing Personal Boundaries
Some moments are not available to you even with permission from the organizer. A person in distress, someone receiving medical or welfare attention, a private conversation in a toilet corridor, anything inside a religious or cultural ceremony that has not explicitly welcomed photographers, and any moment where someone has turned away from the crowd and is clearly not performing for it.
The organizer can authorize access to a room. They cannot authorize you to photograph someone who is unwell.
There is a reliable test: if you would not be comfortable explaining to the person in the photo, ten years later, exactly why you took it, do not take it.
6. Include Rather Than Tokenize
Tokenizing looks like this: one frame of the only person of color in the room, cropped tight and placed beside a caption about diversity. One close portrait of the one person who looks like the “real” community member while everyone else appears as a blurred crowd.
Instead of a single tight close-up, work through three ranges. Shoot the wide frame that puts a person in their setting, with the activity visible around them. Shoot the medium frame of a person among their own people, engaged in something. Shoot the close portrait only when the person has looked at you and stayed.
Count who appears in your sequence before you leave. If one person dominates because they were easiest to shoot, that is a selection problem, not a photography problem, and you fix it in the edit.
7. Capture Honest Moments Without Stealing Them
The forum answer to the recurring question of how to photograph an event where nobody wants to interact is consistent: say out loud, early, that the organizers asked you to be there and why. The invitation then comes from the group rather than from you personally, and resistance drops noticeably.
Candid observation is appropriate when the moment is genuine and the person is not being boxed in. It stops being appropriate when you need three exposures from a position they cannot leave without being noticed.
Move more, shoot less. Walk the edges, change your height, find backlight. A silhouette of someone greeting a neighbour in a doorway is honest and often better than a flash-lit close-up of the same greeting.
8. Protect Names, Stories, and Private Information
Before you publish anything, read every caption against the image. If you wrote “Jane, who has been volunteering since 2019”, confirm Jane is happy to be named and that the year is right. Names are personal data, and unverified detail about a person is the easiest way to cause real harm with an image that looked harmless when you took it.
Also strip the location metadata that lands with a shared file. Most phones and cameras record exact coordinates, which can identify a small group’s meeting place or a person’s home.
Reduce identifiability when it is appropriate: shoot from behind, keep a rim-lit profile, frame hands and gestures, use a long lens from a distance. These are not only privacy tools, they are better documentary frames.
9. Review, Credit, and Share Images Responsibly
Cull first, edit second, caption third. Remove the frame where someone’s eyes are closed in a moment that matters, and the one where a person is visibly unhappy, before anyone sees the sequence.
Agree captions with the organizer. Ask before tagging anyone by name on social media, and skip geotagging entirely unless the group asked for it. When a person told you their name preference before you left, that preference travels with the image into every folder, embed and caption.
Send the images to the organizer first and give them a realistic window to flag a problem before anything goes live. A week is normal. Twelve hours is not.
10. Archive Images for the Community
Pick out a set the community can actually use: a dozen printable images, at resolution that prints, delivered as files rather than links that expire. Offer prints for participants rather than only posting online, because a person without a social media account still attended the event and still has a claim on the picture of their own afternoon.
Keep the captions and the usage context with the images. A folder called “final_final_v3” with no record of who approved what is a liability, and it makes a deletion request impossible to honour accurately.
Group Photos Without Compromising Anyone
“How do you take the perfect group photo” comes up constantly, and at a community event the technical answer and the ethical answer are usually the same one. Wait until everyone is actually there, and ask rather than count.
Put yourself at the same height as the group. Shoot the wide frame first so nobody is missed at the edges, then take one tighter version. And stop before people start leaving.
What to Say When You First Introduce Yourself
Say your name, say who asked you, say where the pictures go, and say how to opt out. That is the whole script, and it takes fifteen seconds.
“Hi, I’m [name]. The organizers asked me to take some photos for [the newsletter / the annual report / our archive]. They’ll go on our website and in the newsletter, and anyone who would rather not be in a photo can tell me at any time and I’ll delete it. Here’s my card if that’s easier.”
Offer to show people the frame on the back of the camera. It turns a suspicion into a conversation, and it is faster than defending yourself later.
Common Mistakes and How to Fix Them
Framing from the centre of the crowd. You block movement and you photograph the backs of people’s heads. Fix: work the perimeter, and move every ninety seconds.
Assuming a sign equals consent. A notice is information, not permission, and it says nothing about the person who walked past it. Fix: treat the notice as your baseline and ask anyone you single out.
Over-documenting one person. If a family or a volunteer appears in forty frames, your edit is the problem. Fix: cap identifiable close-ups of any individual at three or four, and spread attention across the room.
Unequal attention. The confident people get the portraits and everyone else gets hands. Fix: assign yourself a quota of people you have not yet photographed, and work to it.
Staging emotion. Asking someone to look moved, or repeating an action until the frame looks spontaneous, produces an image that lies about the event. Fix: wait. The real version usually arrives within a couple of minutes.
Ignoring an opt-out. Someone tells you not to photograph them and you keep shooting. Fix: stop immediately, note it in your notebook, delete any frames already taken of that person, and do not reframe it as them being camera-shy.
Captioning from assumption. You guessed at a relationship, a diagnosis, or who invited whom. Fix: captions come from the organizers, not from your inference, and every personal detail gets checked.
Uncontrolled distribution. The group uses the images, a funder reposts them, an attendee screenshots one and posts it. Fix: put the sharing rules in the agreement before the shoot, deliver watermarked previews where the usage is broad, and send the final set only after the review window.
Frequently Asked Questions
Do I need permission from every person at a public community event?
Usually not, but almost never on the basis you expect. A posted photography notice plus organizer approval covers most situations where nobody is singled out and the setting is genuinely public. It does not cover closed-door meetings, staged portrait sessions, private rooms, or any moment where you are photographing one person on purpose. Consent also does not carry forward: permission to shoot for a newsletter is not permission to post to a sponsor’s page. When in doubt, ask, and expect to be told yes more often than you expect.
How should I photograph children at a community event?
Only with the explicit, advance permission of a parent or guardian, and never when the responsible adult is not present and reachable. That means a written agreement obtained before the day, with a named contact for withdrawal. Keep children small in frame where you can, shoot at their height, and avoid close portraits in changing rooms, medical situations or distress. If a child says no, that is the end of it, regardless of what a form says. Post nothing identifiable of a child online, and check what the group’s own safeguarding policy already requires.
Can I take candid photographs if someone did not sign a consent form?
Yes, in many cases, because a signature is one of several consent routes rather than the only one. A clear, publicly visible event with a posted photography notice creates implied consent for people who are not individually singled out. The moment you direct a person, light them, or shoot them as the subject rather than as part of the scene, implied consent ends and you need to ask. Never photograph someone who has already opted out, and remember that a form signed for one purpose does not authorise a different publication channel.
What if an organizer allows photography but an attendee does not?
The attendee wins, every time. Organizer approval sets the rules for the event; an individual’s refusal overrides them. Say thank you, put the camera down, and note it so you do not photograph them later without meaning to. Do not ask why, do not try to negotiate, and do not point out that the organizer already agreed. If the refusal makes a required group shot impossible, take the frame without that person and crop around them, and tell the organizer why the group photo has a gap in it.
How do I photograph people in private, emotional, or vulnerable moments?
The default is not to, and the exception has to be clear. Step back or disengage whenever someone is distressed, unwell, receiving care, having a private conversation, or inside a ceremony that has not welcomed photographers. If you believe an image would serve the community, ask the person or the organizer first and accept the answer. Reduce identifiability instead of avoiding the topic: hands, backs, silhouettes, wide context and long-lens distance give you an honest frame that exposes nobody.
Can someone ask me to remove a photograph after it is published?
Yes, and you should agree to it without arguing. Write the commitment into your form and your agreement before the event so it is a stated term rather than a favour. In practice, take the image down from your channels, ask the organization to remove theirs, and delete your copies, working within the retention window you published. Do not keep a hidden copy as insurance. The one thing worth discussing is whether removing an image from printed material is possible, since it usually is not.
Start by Agreeing on Boundaries and Respect
Learn who the community is before you arrive. Clarify with organizers exactly what you were asked to do and where the images will go. Offer accessible ways to opt out, including a posted notice and a named person to contact. Agree your limits before the doors open, not during the quiet moment. Document accurately, and hand participants and organizers control over how their images are shared.
A respectful event photographer is not the quietest person in the room. It is the one who can tell you, without hesitating, exactly who asked them to be there, where every photo will end up, and how to get a frame deleted.
That answer is only possible if you set it up beforehand, which is why all of this happens before the first frame rather than after the last one.
One note on scope: privacy and consent rules differ by country and by organization, and data protection law is more demanding in some places than others. Treat the guidance here as good practice rather than legal advice, and check your local requirements before committing to anything in writing.