Learning how to photograph volunteers and nonprofit work comes down to three things: a shot list agreed before you arrive, settings fast enough to catch real work, and consent that people actually understand. Nonprofit event photography is the practice of documenting volunteers, beneficiaries and mission activities so the organization has usable images for donor appeals, annual reports, grant applications and recruitment.
Most of the job happens before anyone lifts a camera. A half day with one body, one fast zoom and a written plan beats an expensive kit with no plan every time, and the ethical side is simpler than the legal guides make it sound: ask, explain, and accept no without making anyone feel odd.
Table of Contents
- What You Need
- Step-by-Step: How to Photograph Volunteers and Nonprofit Work
- Common Mistakes
- Frequently Asked Questions
- Do I need written permission to photograph volunteers?
- How should I photograph people receiving services from a nonprofit?
- Can I photograph volunteers or clients who are minors?
- Should a nonprofit approve every image before publication?
- Is it ethical to use flash or stage a scene during a volunteer activity?
- Who owns and controls the photographs made for a nonprofit?
What You Need
The gear list for nonprofit photography is short, and most of it is paper. Professionals who shoot charity events repeatedly say the same thing in photography forums: the organizations that get usable images are the ones that handed the photographer a run of show, a list of names and a decision about consent before the day started.
Camera, lens and power
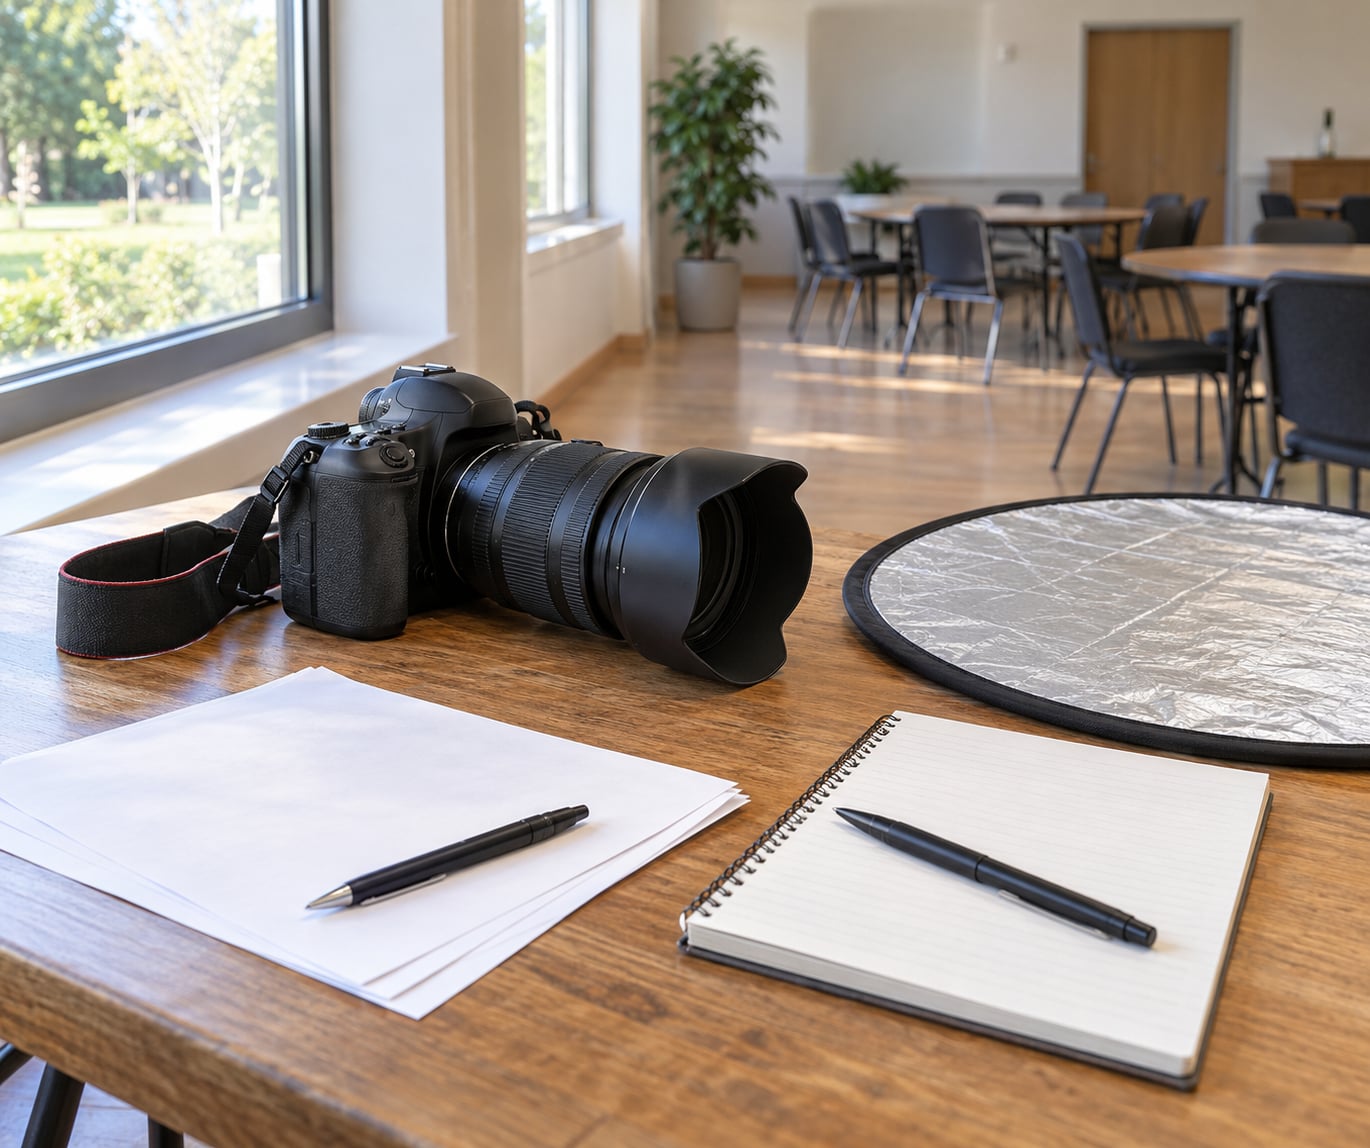
- Any camera you can hold for six hours. A mirrorless or DSLR body with a 24-70mm zoom covers 90 percent of these assignments. A recent phone with a wide lens is genuinely fine for a food drive or a garden build day.
- Speed over resolution. Look for a lens that holds focus at f/2.8 or wider. Gymnasiums and community centres are dim, and a slow lens forces high ISO across the whole event.
- Spare batteries and cards. Two bodies, two batteries, a card in each pocket. Volunteers move between rooms and the ones who document food sorting are often in a walk-in cooler.
- No tripod, usually. A monopod helps for a static portrait wall at an awards dinner. Everywhere else it slows you down more than it steadies anything.
- A reflector or small LED panel. Fill shadow on faces turned toward a window, and give a dark warehouse corner one lift. Skip direct flash in a room full of people; it flattens skin and stops the conversation.
Paperwork and permissions
- A written agreement. Even a one-page email confirming the date, the deliverables and the usage license. Volunteer photographers on Reddit describe the pattern that works: no charge for the shoot, a clear license for the organization to use the images in its own promotion and communications, and no blanket copyright assignment.
- Photo releases in plain language. One page, readable by a fourteen-year-old or a person reading it in a second language. Name who can appear in the images, what the images are used for, how long the organization may keep them, and how someone withdraws later.
- A separate release for anyone under 18, signed by a parent or guardian and countersigned by the supervising staff member, per your organization’s safeguarding policy.
- An opt-out mechanism. Sticker badges, ribbon markers or a wristband colour that says do not photograph. That single item prevents more awkwardness than any conversation you could have.
On the day
- A shot list and a contact list for the two or three people who can answer questions.
- Flat, quiet shoes. You will crouch on gym floors and stand still in a room of people who are trying to concentrate.
- Clothing that disappears. Plain, dark, no logos. Your job is to be invisible and then to be useful when someone needs a shot list read aloud.
- Accessibility in mind. Ask whether the building is step-free, whether there is seating for people who cannot stand for an hour, and where the accessible bathroom is. Knowing that before you arrive changes the pictures.
Step-by-Step: How to Photograph Volunteers and Nonprofit Work
Six steps cover most nonprofit assignments, from the first email to the delivery folder. Each step has a clear finish line, and if you can point to it you know the day is on track.
Step 1: Learn About the Organization and Its Needs
Read the mission, the annual report and the last three social posts before you reply to the email. You are looking for what the organization actually needs images for, which is rarely what the requester says they need.
Ask four questions in writing: what will these photos be used for, who approves them, is there a safeguarding policy for photographing minors or clients, and is there a moment you already know is the heart of the story. Then go look at the work itself, not the brochure. Nonprofit staff frequently take poor photos because nobody trained them on light or settings, so assume you will need to explain more than you expect.
Done means you can name three specific images you intend to make and the channel each one serves.
Step 2: Arrange Consent, Access, and Boundaries
Permission is a conversation in the room on the day, not a signature you chase later. Confirm with the organization in advance what you may and may not photograph: private rooms, computer screens with client records, medical or intake areas, named individuals in a shelter or a recovery programme.

On site, say what you are doing in plain sentences before you raise the camera. Tell a room of volunteers that images go to the organization’s website and newsletter, that anyone can decline, and that they can ask you to delete a frame later. Tell people who receive services the same thing, and never make being photographed a condition of receiving help. Staff on nonprofit forums worry that consent forms become a barrier to service delivery, and they are right: a form that is unreadable is not consent, it is a wall.
Never publish a frame of someone who has not agreed. If a face is recognizable and the person later withdraws, delete it and remove it from any gallery or social queue where it is queued.
Done means every recognizable person in a frame you plan to use has a release, and everyone else has been given an easy way to say no.
Step 3: Build a Respectful Shot List
A shot list is a permission structure, not a checklist of poses. Build it around six categories, in roughly this order, and leave slack in the schedule for the moments nobody planned.
- Establishing shots that show the room, the building and the scale of the operation.
- Action frames where volunteers are doing the actual work, shot from working distance with a long lens.
- Environmental portraits, one volunteer in the space where they work, with the context visible rather than blurred away.
- Hands and detail shots: sorting produce, labelling shelves, taping a box, shaking hands across a table.
- Reaction and connection frames, which are the ones a communications team will put on a homepage.
- Quiet portraits with space around the subject for headline copy to sit beside.
Shoot people receiving services only when it serves the story and they agreed. Sometimes the honest answer is that the most respectful image of a tutoring program is the back of a student’s head, a shared book and two chairs.
Done means you have at least ten frames from each of action, portrait, detail and place, before you consider the day a success.
Step 4: Create Natural Light and a Comfortable Pace
Work with the light that is already there. Put people beside a window with the window at about forty-five degrees to their face, turn off overhead fluorescents where you safely can, and let them look away from the glass when they are being photographed.
Set a manual white balance once per room rather than chasing auto, because mixed fluorescent and daylight in a community centre shifts constantly and a locked setting gives you a consistent series. Shoot RAW, judge exposure on the face, and let the shadows fall where they fall.
These are starting points, not rules. Adjust for how fast the work actually moves:
| Shot type | Lens | Aperture | Shutter | ISO | Example moment |
|---|---|---|---|---|---|
| Establishing / place | 16-35mm | f/5.6 | 1/125s | 400-800 | The gym set up with forty volunteers already sorting |
| Hands and details | 70-200mm | f/2.8 | 1/250s | 800-1600 | Hands labelling shelves at close range |
| Environmental portrait | 35-70mm | f/2.8 | 1/160s | 800-1600 | A volunteer standing in the doorway of the food pantry |
| Moving volunteers | 70-200mm | f/2.8 | 1/500s | 1600-3200 | Boxes being carried down a corridor |
| Group of volunteers | 35-70mm | f/5.6 | 1/200s | 800-1600 | Twelve people and a folding table, no one blinking |
| Low light / night gala | 70-200mm or 24-70mm | f/1.8 | 1/160s | 3200-6400 | A volunteer coordinator speaking into a microphone |
Use continuous autofocus and burst for anything that moves. Ask people to repeat an action rather than performing one for you: hand over the same box twice, start unpacking from scratch, refill the container again. Real movement repeated is honest, and it gives you focus hits instead of blurred frames.
Done means you can keep the room working. If staff have started watching you instead of serving people, you are in the way.
Step 5: Photograph Action and Human Connection
Nonprofit photography is documentary work with a deadline. Anticipate the moment instead of chasing it: watch for the handover, the demonstration, the handshake, the moment a task is finished and someone turns toward the person who helped.
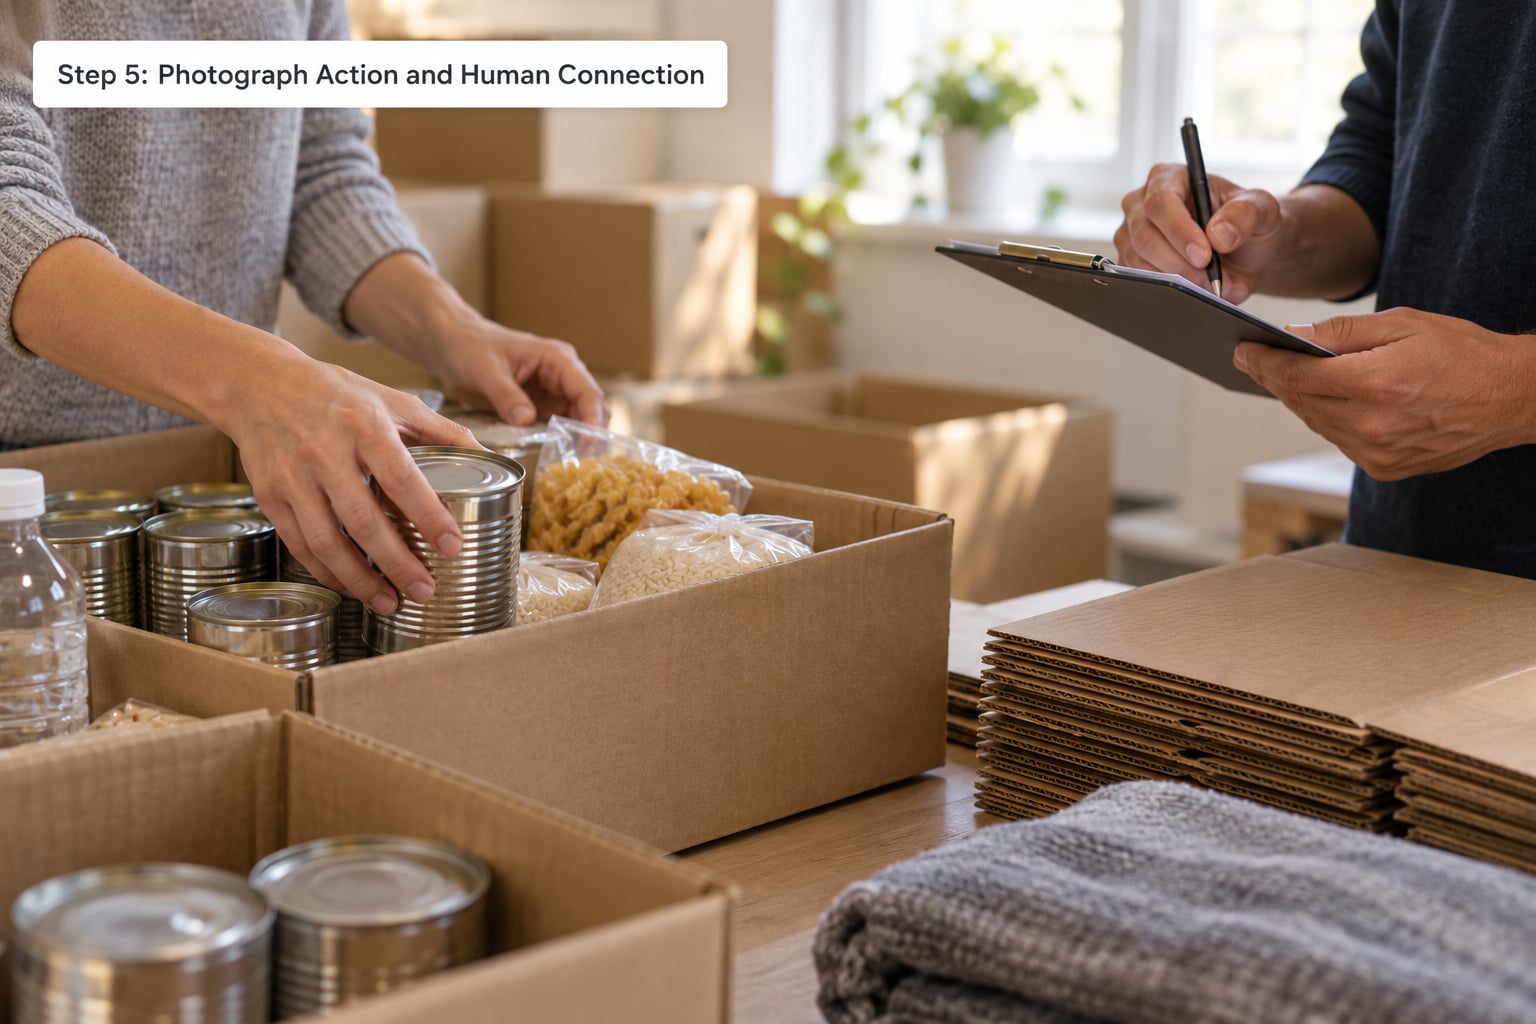
Work at a respectful distance with a long lens and let compression bring the background to them. Vary your own position more than you vary their: kneeling at box height, standing on a step, framing through a doorway. Change nothing about what they are doing.
In dim rooms, a slightly soft frame is better than a flash that blinds the person you are photographing. If a scene is too dark to shoot without disruptive light, put the camera down and wait for daylight, a doorway or an overhead fixture to cooperate.
Done means you have working frames of real tasks, not only portraits of people holding boxes and looking at you.
Step 6: Review, Edit, and Share Responsibly
Cull hard. Organizations complain most loudly about receiving two thousand unedited frames, so deliver a short, deliberate set: fifteen to forty finished images for web, email and social use, plus any wider crops and a handful of quiet frames for the annual report.
Keep skin tones honest. Mixed fluorescent light turns skin grey-green and shifts one person warmer than the person beside them. Correct the green cast, then resist the urge to smooth every texture, because a documentary photograph that looks retouched reads as staged.
Strip identifying detail where it matters: faces on screens, name badges, whiteboard notes, printed rosters on a desk. Check the metadata of files you hand over, and export for the job rather than for your archive: full-resolution JPEG at the size the printer requests for a report, smaller files for email, and a web set with sensible filenames.
Write alt text that describes the picture in plain words, not the mission statement. Then ask which fundraising moments are coming up in 2026, so the images land before the deadlines rather than six weeks after the event.
Done means the communications lead can publish from your folder without opening a single file editor.
Common Mistakes
Most bad nonprofit photography fails for reasons that have nothing to do with the camera. These are the ones I see repeatedly, each with a fix that costs nothing.
- Photographing without consent. Fix: give every recognizable person a release before the frame that matters, and keep the opt-out marker visible.
- Treating beneficiaries as scenery. Fix: ask first, photograph the work rather than the person in distress, and leave when someone is having a hard moment.
- Using dramatic lighting on people who came to help. Fix: work with window light and available fixtures. No one at a food drive needs rim lighting.
- Interrupting operations. Fix: agree on the priority tasks with the coordinator, stay out of the working lane, and shoot from the edge first.
- Assuming everyone wants to be featured. Fix: offer the opt-out to the whole room without singling anyone out, and never ask twice.
- Staging emotion. Fix: create real activity instead of fake feeling. Repeated tasks, real laughter, real concentration. Then wait.
- Delivering a raw dump. Fix: cull to a curated set, name files by date and subject, and caption each one with a sentence the organization can publish.
- Handing over rights by accident. Fix: put the license in writing. Donated time is generous; a blanket copyright assignment of your best frames is a trade you did not agree to.
One habit helps more than the rest: tell people what you are making and why, in the first five minutes. Volunteers photograph far better when they know their work is the story.
Frequently Asked Questions
Do I need written permission to photograph volunteers?
Yes, get a written release from anyone recognizable, and confirm the assignment in writing with the organization before the day. Volunteers who can be identified in a published image should sign a plain-language release naming the intended use and how to withdraw later. Treat the photo as private until the release exists, and keep an opt-out option so nobody feels cornered into agreeing.
How should I photograph people receiving services from a nonprofit?
Ask first, every time, and shoot the work rather than the person having a hard moment. Describe where images will appear, offer a clear way to decline, and step away if anyone is distressed, in treatment, or has not clearly agreed. Where consent is unclear or privacy is sensitive, frame hands, materials and the environment instead. Documenting dignity is usually more persuasive than documenting distress.
Can I photograph volunteers or clients who are minors?
Only with a release signed by a parent or legal guardian, plus the countersignature your organization’s safeguarding policy requires. Have the adult supervisor present in the frame whenever possible, and never ask a child for consent in place of a guardian. Keep minors out of published imagery unless the family has agreed in writing, and check whether your location has specific rules about photographing children in care or in classrooms.
Should a nonprofit approve every image before publication?
Agree this in the written exchange beforehand rather than waiting for the end of the shoot. Many organizations ask to review the final set for accuracy, safeguarding and brand reasons, which is reasonable. What matters is defining who approves, within what timeline, and that approval covers the intended uses rather than giving one person unlimited veto over every frame. Sensitive images should always be checked before release.
Is it ethical to use flash or stage a scene during a volunteer activity?
Direct flash is usually inappropriate in a busy indoor space, because it blinds people and flattens exactly the warmth a donor communication depends on. Staging is different from prompting: repeating a real task honestly is fine, while manufacturing emotion or arranging people for a shot is not. If a scene is too dark, use available light, move closer, wait, or use a reflector and small panel. Never rearrange the actual service to suit the picture.
Who owns and controls the photographs made for a nonprofit?
Unless you sign an assignment, you keep copyright in your images, and the organization gets the license you agreed in writing. The arrangement that satisfies most volunteer photographers is no charge for the shoot plus an explicit license for promotional, fundraising and communications use, including web, email, social and print. Specify duration and territories, state whether the license is exclusive, and avoid blanket assignments unless the fee reflects them.
Start with the next volunteer day on the calendar: get the run of show, print the releases, write the shot list, then go and make ten frames of people doing the work. Most of what makes this kind of photography good happens before the camera comes out, and all of it can be done on a shoestring.